Fix: Windows Update Components must be Repaired
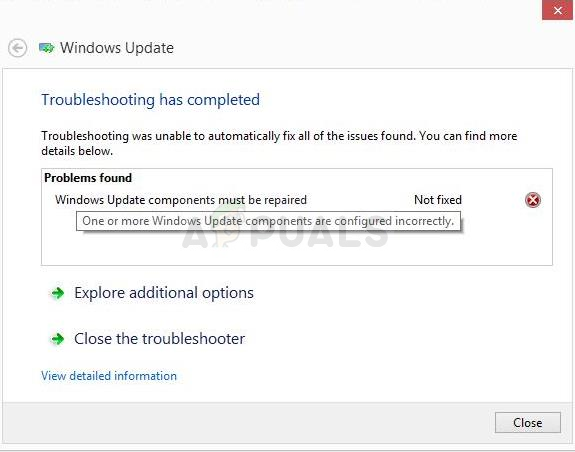
This error appears when users are struggling with the Windows Update service and it’s a message which appears after running the Windows Update troubleshooter. The error itself is not quite self-explanatory and this message is pretty much the only clue you have available in order to troubleshoot the problem.
We have gathered several working solutions suggested by users from all around the world and we have decided to gather them in a single article. Please follow the instructions below carefully and good luck in resolving your problem!
What Causes the Windows Update Components must be Repaired Error?
This error is hard to find the real cause for since there aren’t many cases when this error appears. However, certain real causes can be pinpointed for people who want to know what they did wrong and which method to implement in order to resolve the problem:
- Windows Update Components have broken and they need to be reset in order for the Windows Update service to continue working properly. The process is lengthy but it will make it worth your while.
- There are problems with verifying the version of your Windows OS installation and the best thing you can do is to simply perform a clean install while choosing to keep your files and personal settings.
Solution 1: Reset Windows Update Components
Since the error message is related to Windows Update components, one viable answer would be to simply reset Windows Update components which are closely related to the whole functionality of Windows Update.
This may be a lengthy process but the reason we have chosen the longest solution as the first one is because this method is probably the one which will resolve your problem immediately.
Since you are going to edit the registry, we recommend you check out this article in order to safely backup your registry to prevent further problems.
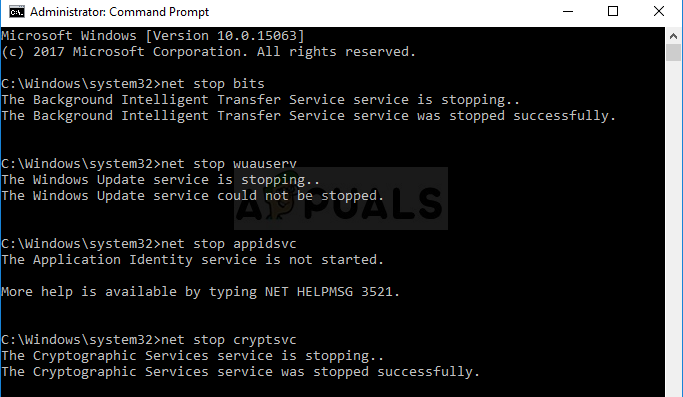
- Let’s proceed with the solution by closing the following services which are the core services related to Windows Update process: Background Intelligent Transfer, Windows Update, and Cryptographic Services. Disabling them before we start is very important if you want the remainder of the steps to perform without errors.
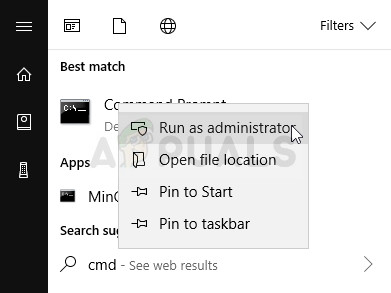
- Search for “Command Prompt” either in the Start menu or by tapping the search button right next to it. Right-click on the first option which appears as a search result and select the “Run as administrator” option. Copy and paste the command below and make sure you tap the Enter key on your keyboard after you do so.
net stop bits
net stop wuauserv
net stop appidsvc
net stop cryptsvc
- After this, you will have to delete some files which should be deleted if you want to continue with resetting the update components. This is also done via Command Prompt with administrative privileges.
Del “%ALLUSERSPROFILE%\Application Data\Microsoft\Network\Downloader\qmgr*.dat”
- Change the name of the SoftwareDistribution and catroot2 In order to do this, at an administrative command prompt, copy and paste the following two commands and click Enter after copying each one.
Ren %systemroot%\SoftwareDistribution SoftwareDistribution.bak
Ren %systemroot%\system32\catroot2 catroot2.bak
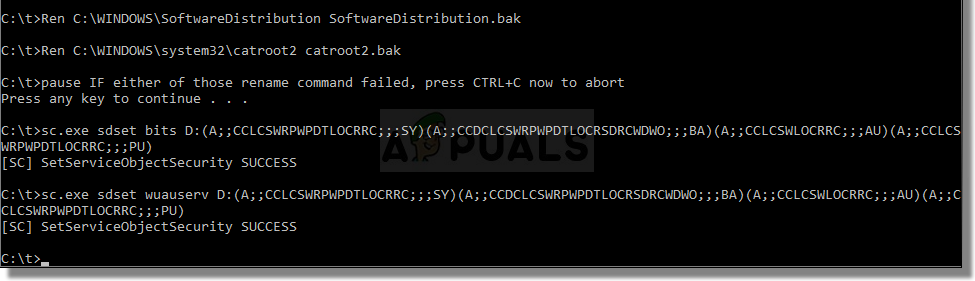
- The following commands will help us reset the BITS (Background Intelligence Transfer Service) and the wuauserv (Windows Update Service) to their default security descriptors. Make sure you don’t modify the commands below so it’s for the best if you simply copy them because of their complexity.
exe sdset bits D:(A;;CCLCSWRPWPDTLOCRRC;;;SY)(A;;CCDCLCSWRPWPDTLOCRSDRCWDWO;;;BA)(A;;CCLCSWLOCRRC;;;AU)(A;;CCLCSWRPWPDTLOCRRC;;;PU)
exe sdset wuauserv D:(A;;CCLCSWRPWPDTLOCRRC;;;SY)(A;;CCDCLCSWRPWPDTLOCRSDRCWDWO;;;BA)(A;;CCLCSWLOCRRC;;;AU)(A;;CCLCSWRPWPDTLOCRRC;;;PU)
- Let’s navigate back to the System32 folder in order to proceed with the final part of this method.
cd /d %windir%\system32
- Since we have completely reset the BITS service, we will need to reregister all of the files necessary for the service to run and operate smoothly. However, each of the files requires a new command in order to make it reregister itself so the process may end up being lengthier than what you are used to. Copy the commands one by one and make sure you don’t leave out any of them. You can find the complete list if you follow this link.
- The next thing we are going to do is reset Winsock by copying and pasting the following command back into the administrative Command Prompt:
netsh winsock reset
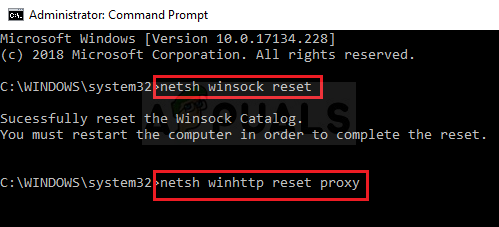
- If you are running Windows 7, 8, 8.1, or 10, at a command prompt, copy the following command in the Command Prompt window and tap the Enter key:
netsh winhttp reset proxy
- If all of the steps above have gone through painlessly, you can now restart the services you closed in the very first step by using the commands below.
net start bits
net start wuauserv
net start appidsvc
net start cryptsvc
- Restart your computer after following through with all of the steps which are listed. Hopefully, you will now be able to go through with Windows Update without receiving the “This app has been blocked for your protection” error.
Solution 2: Perform a Clean Install
If you are using Windows 10, a clean install is no longer a thing to be afraid of, but rather a fix and a reasonably easy method to perform if you start experiencing a serious error such as the “Windows Update Components must be repaired” error message. This can be fixed by a clean install but you should definitely try the method above before deciding to proceed with this method.
- Navigate to the Settings app on Windows 10. You can get there by clicking the gear icon in the lower left part of the Start menu. Select the “Update & security” option and click on Recovery tab in the left pane.
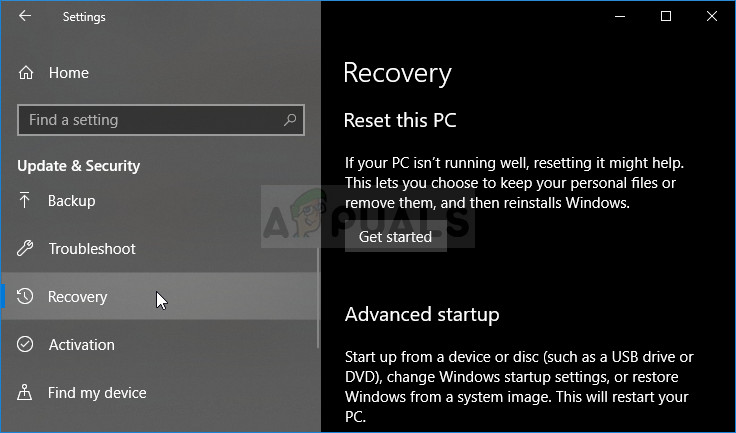
- Windows will display three options: Reset this PC, Go back to an earlier build and Advanced startup. Reset this PC is the ultimate option for starting again with minimal losses to your files if you follow our instructions properly.
- Click either “Keep my files” or “Remove everything,” depending on what you want to do with your files. Either way, all of your settings will return to their defaults and apps will be uninstalled. We recommend you choose the Keep my files option as the problem probably doesn’t lie with your documents or similar.
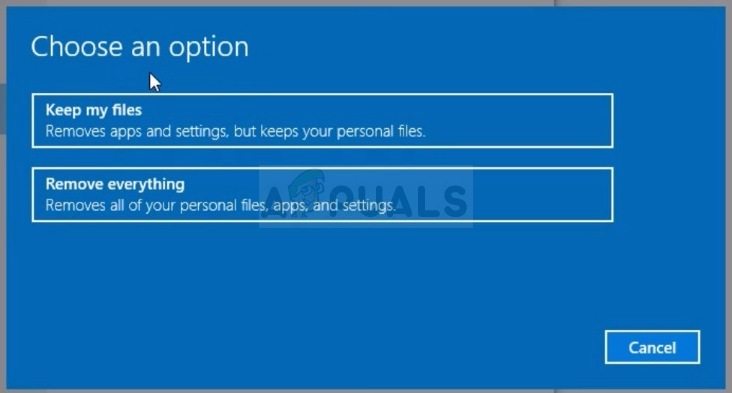
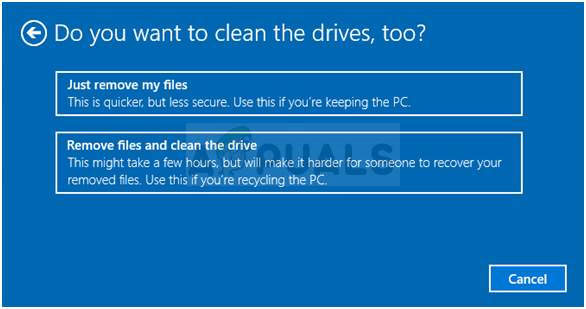
Choose Keep my files or Remove everything - Select “Just remove my files” or “Remove files and clean the drive” if you chose to “remove everything” in the prior step (not recommended). Cleaning the drive option usually takes a lot longer but it will make sure that the next person who will own your computer will have a hard time recovering your erased files. If you are keeping the computer for yourself, you should choose “Just remove my files.” If you chose to keep your files, skip this step.
- Click Next if Windows warns you that you won’t be able to roll back to a prior version of Windows. Click Reset when you are asked to do so and wait for Windows to complete the resetting process. Click Continue when prompted and boot your computer. Check to see if the error still appears.


