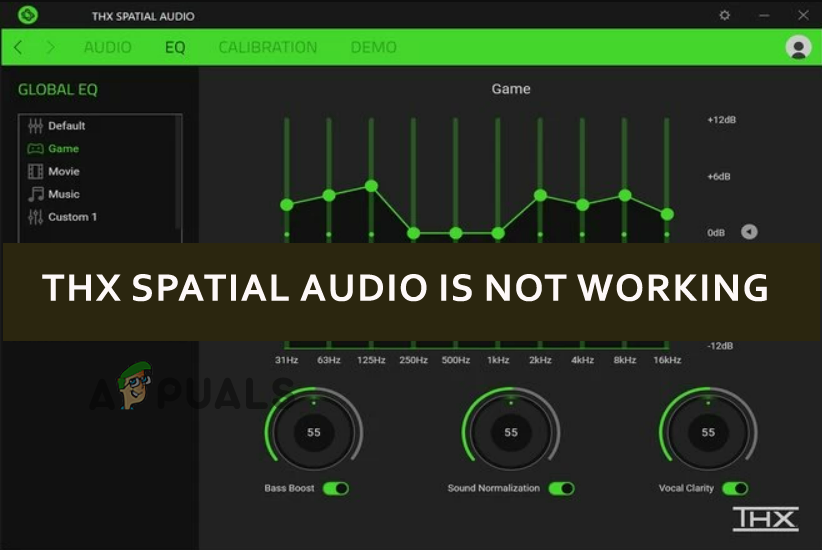
Fix “THX Spatial Audio is Not Working” On Windows?
THX Spatial Audio is not working on Windows 10 and 11 problem occurs with a cracking, distorted, buzzing sound or sometimes no sound. The THX Spatial audio is undoubtedly great sound software available for the Windows operating system for enhancing and bettering controlling the gaming sound on your device, but lots of reports were made that the THX Spatial Audio App not working.
This problem is very much annoying at times as the gamers won’t be able to hear the sound properly. Therefore, we have made a few pieces of research and came up with this article that covers the potential fixes that will help you to get rid of this issue. Well before proceeding directly toward the potential solutions, let’s just have a quick overview of the potential causes that trigger such problems.
What Causes the “THX Spatial Audio not Working” Problem?
Well, there can be numerous reasons behind this particular issue. However, some of them are highlighted and stated below:
- Unsupported THX Spatial audio Headphone- If your headphone doesn’t support THX Spatial audio then it may lead to this audio not working issue. So, the first thing you have to do is to check whether your headphone supports THX Spatial audio or not.
- Using Outdated OS Version- Using an outdated OS version is the cause of most problems and THX Spatial audio not functioning is one of them. Therefore, you need to first update your outdated OS version to the latest one.
- THX Spatial Audio not set as main Playback device- If THX Spatial audio has not been set as the main playback audio device then it may trigger this problem to arise. So here it is suggested to set it as the main playback device to avoid this problematic situation.
- Faulty or Corrupted Audio Drivers – Sometimes the audio drivers got corrupted or get missing and as a result stop the audio device from establishing a connection or start malfunctioning, and this is what starts causing issues. Therefore, in order to get rid of the issue, you need to reinstall your audio drivers.
- Incomplete or Corrupted App Installation- Somehow if your app’s installation process got interrupted or remains uncompleted then it results in corruption of the app. Hereby the situation demands a reinstallation of the app to fix the issue.
- Corrupted App Files- Corrupted app files may also trigger this issue to occur. So try repairing the corrupted app files to fix the issue. You can perform an SFC scan to repair the app files.
- Internal System Issues- Most of the time your PC’s internal issues might trigger this problem. So, try dealing with the situation by rebooting your PC as restarting will help your system to start afresh thereby fixing most of the internal issues associated with it.
As you are aware of some of the possible causes that trigger such problems, now follow the most effective solutions to fix the problem in your case.
1. Replug The Device
If your microphone is not connected properly or connected to a malfunctioned USB port then it might be possible that you may face this problem. Therefore, it is worth checking whether the device is connected properly or not. First, you need to replug your microphone to your system or try changing the USB port to get to know if the problem is with the USB port or something else.
Now if still the THX Spatial Audio is not working properly then head to the next potential fix.
2. Check Your Headphone
Now here, you have to check your headphone are not damaged and connected properly. Sometimes due to faulty headphones, you might not able to hear any sound. So, try checking the headphone by connecting them to another device.
If the headphones are not working on another device, then it is clear the problem is with the device, in this case, try to replace the faulty headphone with a new one. But if on connecting to another device, it works properly then the next thing you have to check is whether the headphone you are using supports THX Spatial Audio or not. If not, then without any second thought replace your unsupportable headphone with a new one that supports THX Spatial audio.
3. Restart THX Spatial Audio App
Sometimes running the app for a long time may create temporary glitches and bugs in the app thereby resulting in the misfunctioning of the app. So here the situation can be easily solved by restarting the THX Spatial Audio app. You just need to force stop the app and then restart it. Follow the steps below to do so:
- Press Ctrl + Alt+ Del key altogether.
- Then select the option Task Manager from the appeared list.
- Next, go to the Processes tab and look for the THX Spatial Audio.
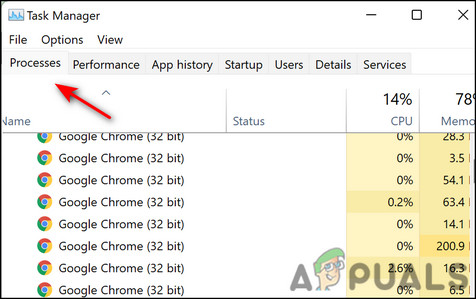
Go to the processes tab - Once found, select it and press the End task button at the bottom.
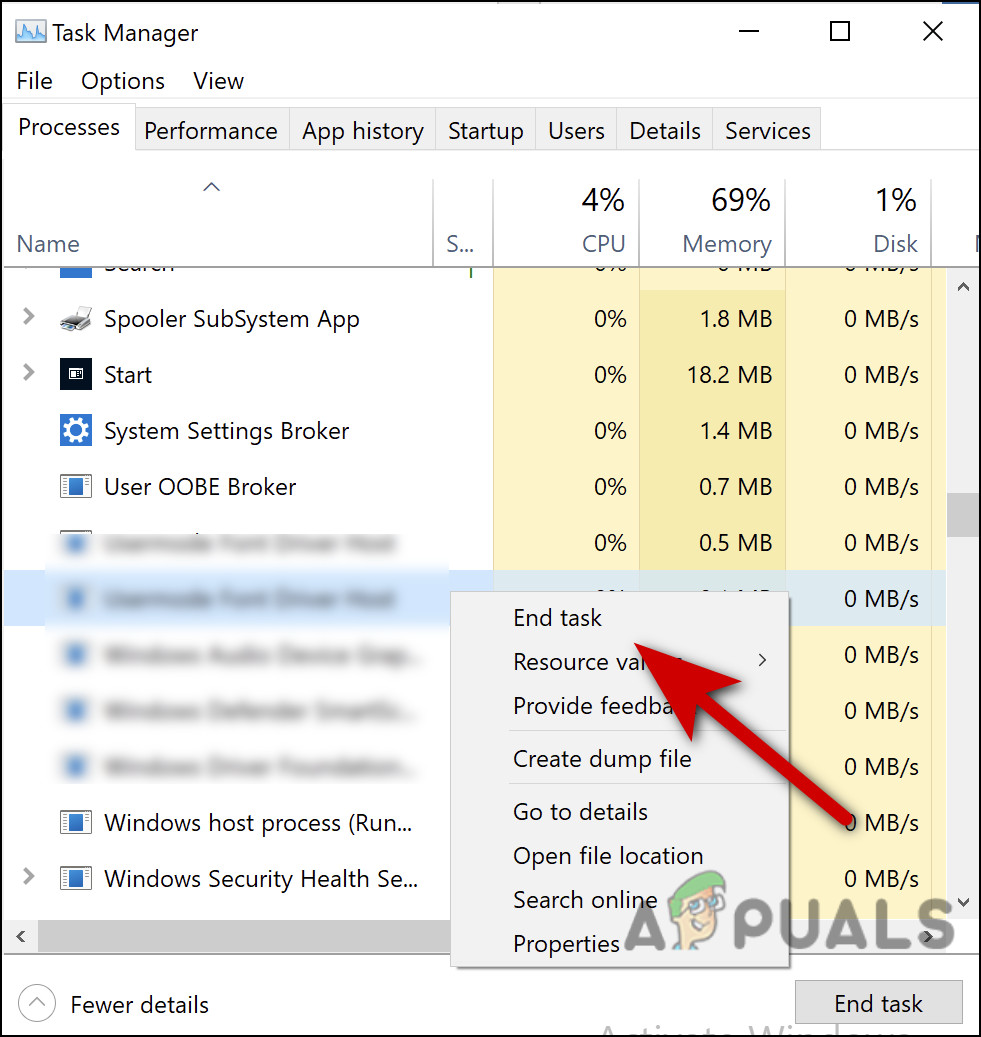
End the application - Now restart the THX Spatial app and verify for the issue is fixed or not.
4. Install the Latest Windows Update
As it has already been discussed that using an outdated Windows version might cause this problem. Hereby the first thing you need to do is check for the available update and update your Windows OS version. The latest update comes with new features and bug fixes that not only improve the performance of your OS but also boost up your overall system. So it is necessary to update your Windows system from time to time.
Here are the steps to update OS:
- Firstly, open Windows settings by pressing the Windows +I key.
- Then click on Update & Security.
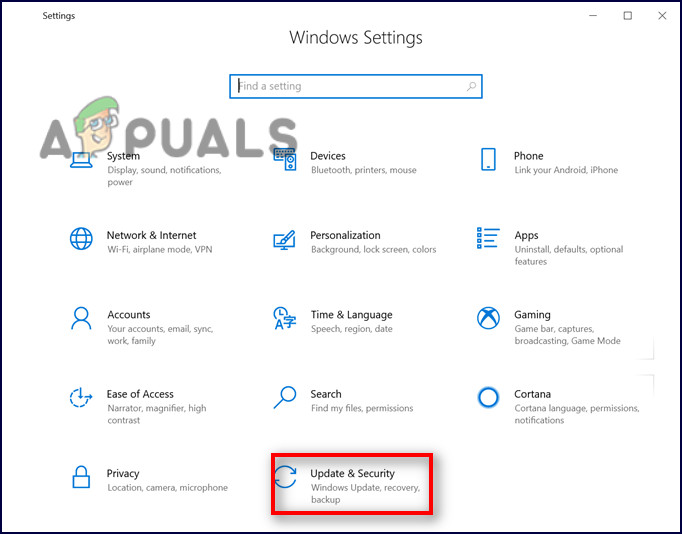
Update Windows & Security - Now, click on the check for update option under the Windows Update section.
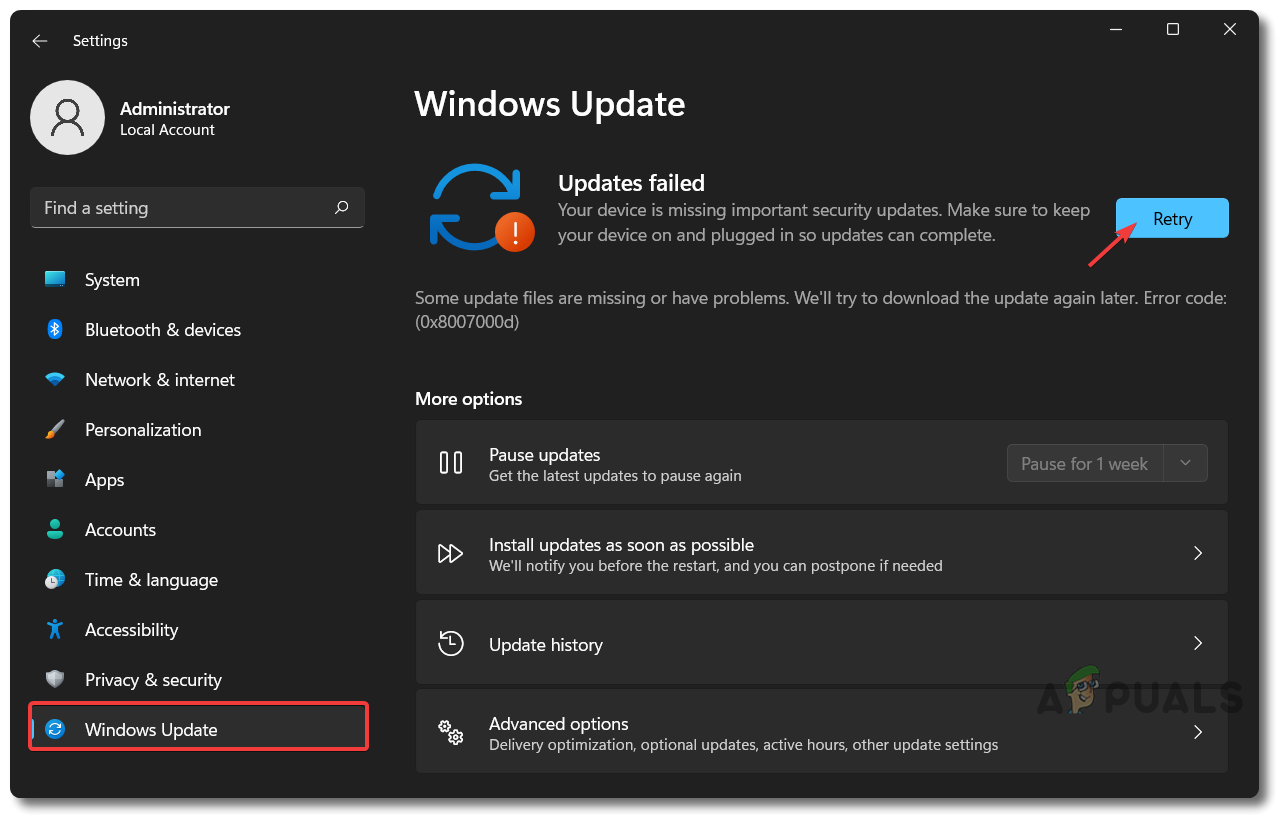
Check For Windows Update - If any update is available, download it by clicking on Download & Install
Now wait till the download gets completed, on completion restart your PC and check for the THX Spatial audio issue is resolved.
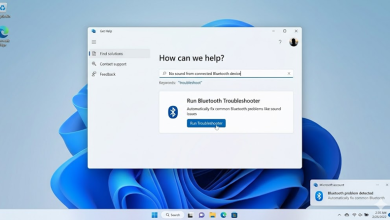
5. Launch The Audio Troubleshooter
After updating your OS version, if still dealing with no sound issue when using the THX Spatial audio app then try fixing the problem by running the inbuilt audio troubleshooter. Running the troubleshooter will detect the issue with the app and tries repairing it automatically.
Follow the below steps to launch the audio troubleshooter:
- Launch Windows Settings.
- Then select the Update & Security option under the settings panel.
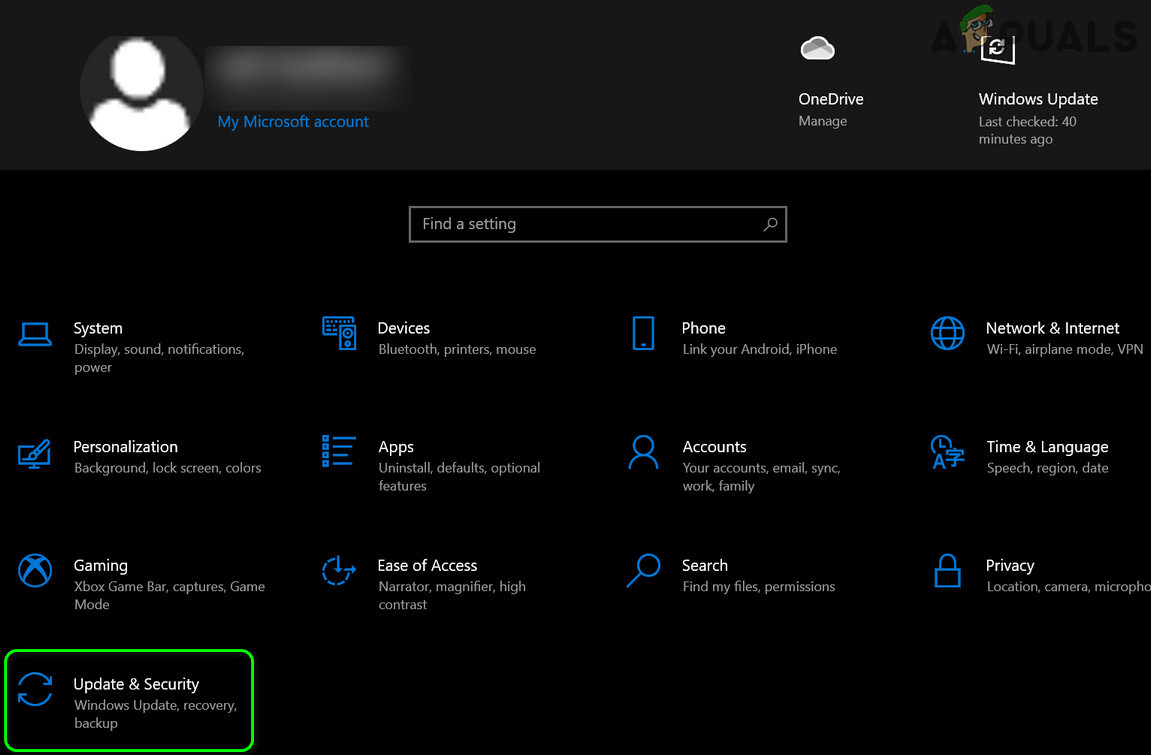
Open Update & Security - Next, go for Troubleshoot option on the left panel.
- After that select Playing Audio Troubleshooter from the appeared troubleshooter list.
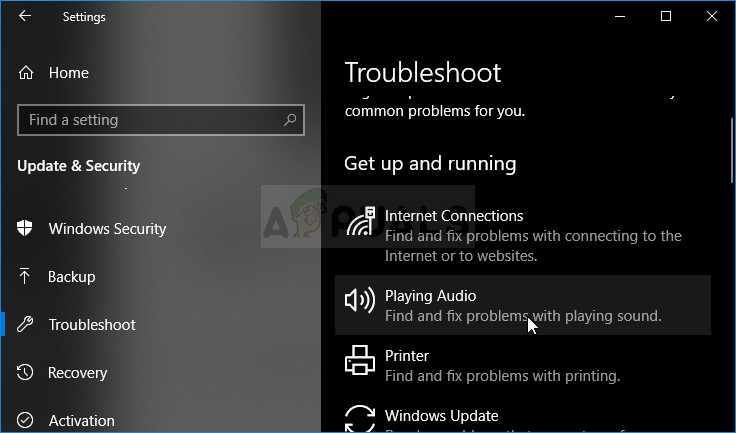
Running the Playing Audio troubleshooter - Hit the Run the Troubleshooter option.

Running the Audio Troubleshooter
Note: [In case you don’t find the Audio troubleshooter option then select Additional troubleshooter]
- Now, wait until the troubleshooter detects the problem and displays the fixes.
- Once displayed, select the recommended fix and get done with the problem.
Restart your system after done applying the fix, and check for the problem still persists or not.
6. Set THX Spatial Audio as Main Playback Device
If the THX Spatial Audio app has been set as the main playback device, then this may not function properly in the dedicated manner and this could be the reason that you are encountering this issue. So, try dealing with the situation by setting the Spatial audio app as the main playback device. Many gamers reported that setting the app as the main playback device resolves the problem in their case.
For this, follow the steps below:
- Open the THX Spatial Audio application.
- Next visit the Audio tab, and turn on the toggle button stating Spatial Audio.
- Now select the option Open Windows Sound Properties.
- After that on the opened Sound window, right-click on Speakers THX Spatial Ready and tap on the option Set as Default Device.
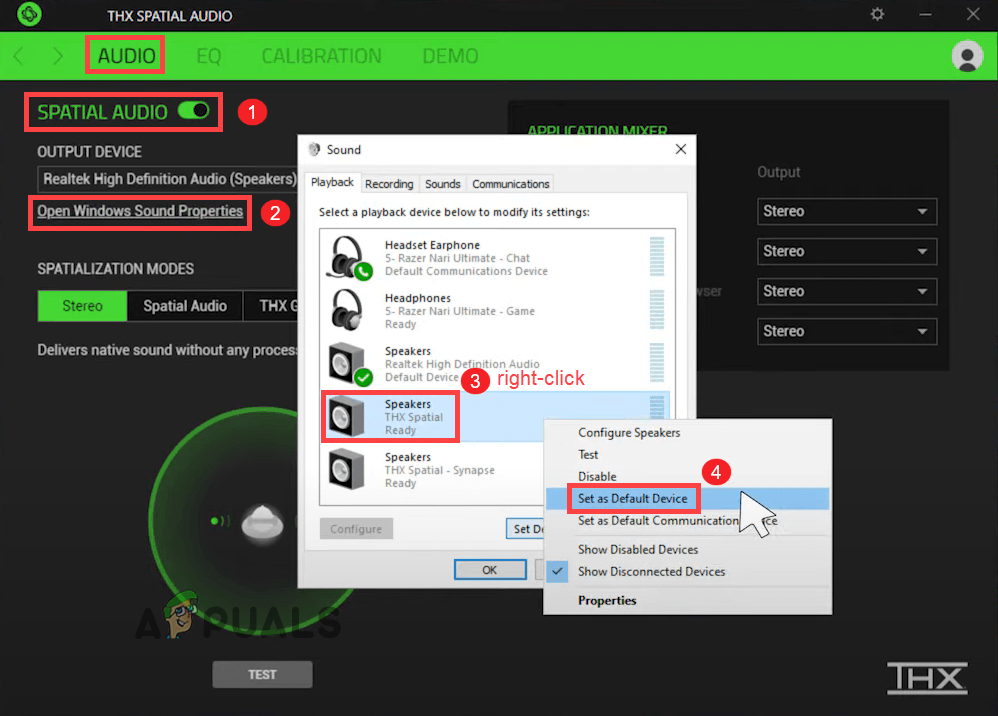
Set as Default Device. - Then on the section Application Mixer, go for Spatial Audio as the output.
7. Update Your Audio Drivers
Many times, the audio problem is related to the audio drivers’ issues. If the audio driver gets outdated or damaged it starts malfunctioning and stops the device from functioning properly or establishing a connection with the device. So, using an outdated audio driver might trigger the problem. Therefore here it is advised to update your audio drivers to the latest available version to get past THX Spatial Audio not working problem. To do so follow the steps below:
- Open the Run box by pressing the Windows + R keys and in the Run box type the command devmgmt.msc and hit Enter to launch Device Manager.
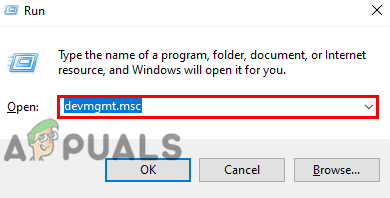
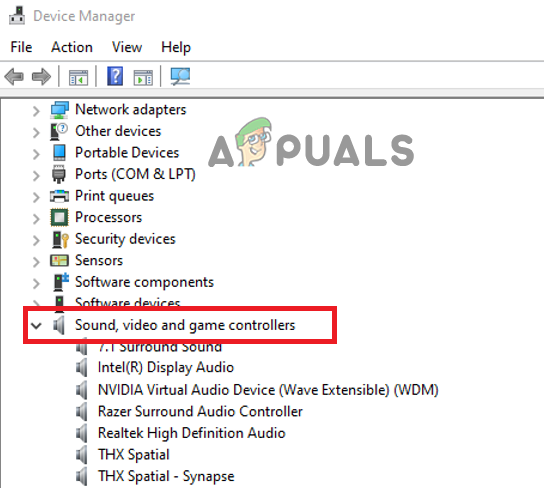
Type devmgmt.msc in Run Window - Then expand the Sound, video and game controllers section and right-click on each audio driver and select the option Update Driver to update all drivers one by one.
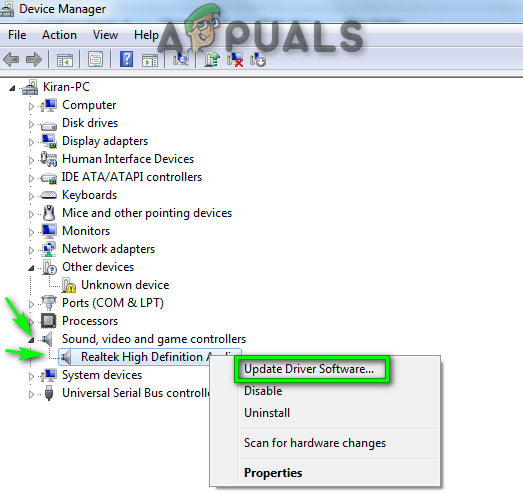
Device Manager Window – Sound, video and game controllers - Next, go for the option Search automatically for updated drivers.
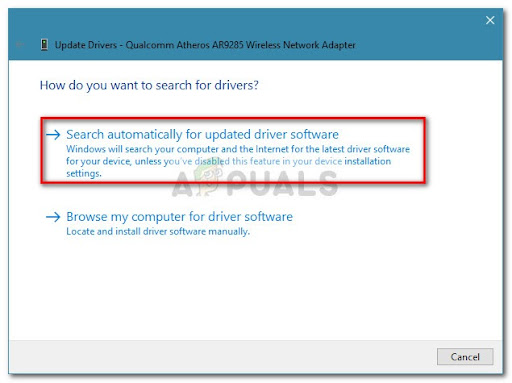
Searching automatically for updated driver software - At last, follow the on-screen guide to install the drivers.
8. Reinstall Audio Drivers
If after updating the audio driver still, the audio not working on the software, then there are chances that the audio drivers are corrupted or incompatible with the Windows version. Most of the time, due to interrupted or incomplete installation processes the drivers get corrupted. Hereby, try to deal with the situation by uninstalling the audio drivers and re-installing them back again.
Below are the steps to do so:
- Press the Win + X keys and look for Device Manager and double click on it to open it.
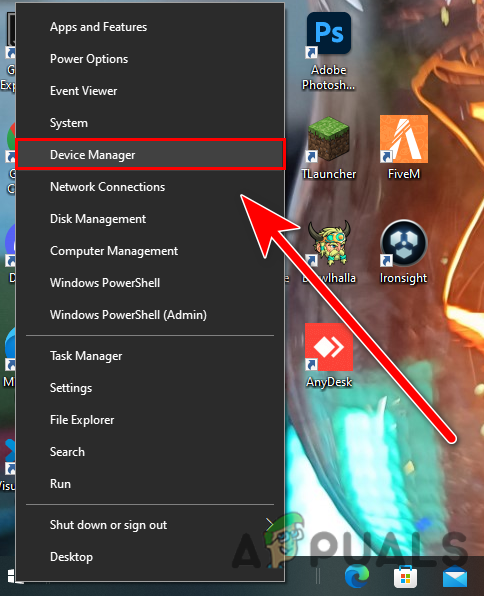
Click on device manager to open it - Next expand the Sound, video and game controller options.
Click on the Sound, video and game controller options. - After that navigate to Audio driver, then right-click on it and go for the options Uninstall device.
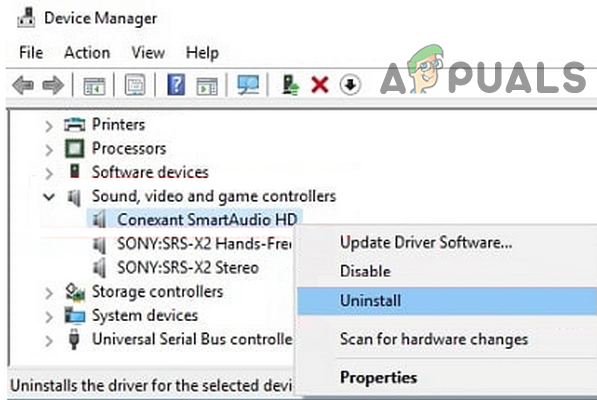
Disable Conexant Device in Sound, Video, and Game Controllers of the Device Manager - Now restart your PC to let Windows install the updated drivers automatically.
9. Repair the System or THX Spatial audio App Files With SFC Scan
Sometimes after installing the latest program the Windows system files get corrupted or missing system files and start conflicting with the Windows process and may trigger this issue. So, here is suggested to try running the inbuilt (system file checker) SFC command to scan and automatically repair the corrupted files on your system.
Below are the steps to perform SFC:
- Go for the search box or press Win+R altogether.
- Next type cmd on the search box and tap Enter to launch the Command Prompt
- Then right-click on the Command Prompt to launch it as an administrator.
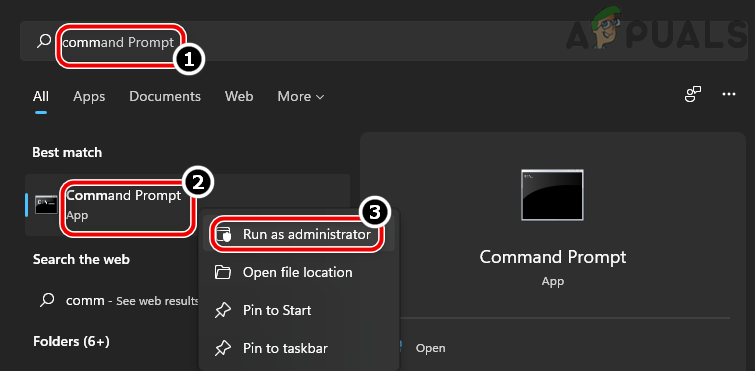
Open Command Prompt as Administrator - After that on the cmd panel run the SFC scan by executing the command sfc/scannow followed by hitting Enter.

Perform an SFC Scan - Lastly, wait until the scan operation gets completed.
Note: [Do not perform any other action while the scanning is in process]
Once done with scanning, reboot your system and check for the issue is fixed or not.
10. Reinstall THX Spatial Audio App
If in case you are still unable to solve the problem in your case, then try uninstalling the app first and then re-installing it again. Sometimes due to bugs or glitches in the app, this issue might get triggered.
Follow the below steps to perform uninstallation:
- Go to Start, and then tap on Control Panel.
- Now go to Programs and click on Uninstall a Program
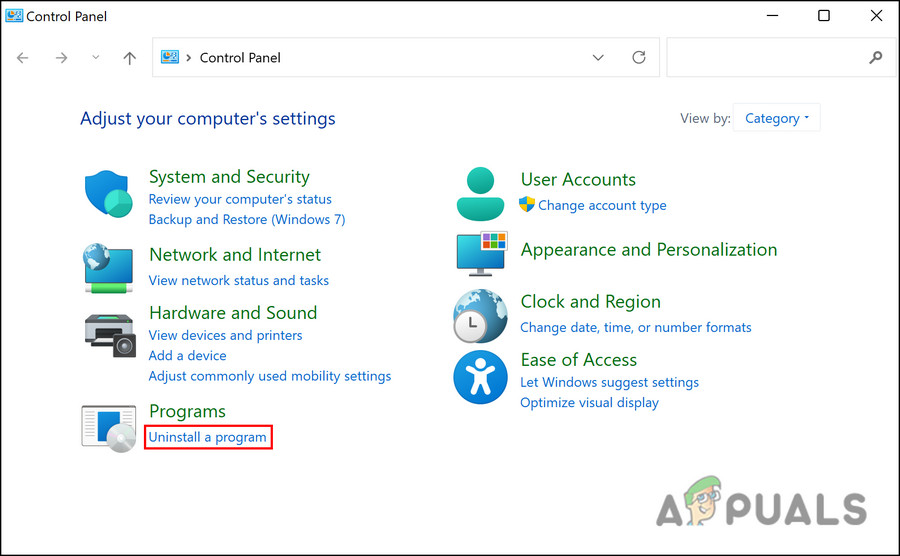
Uninstall a Program - Then look for THX Spatial Audio and right-click on it.
- Next click on the option to uninstall a program.
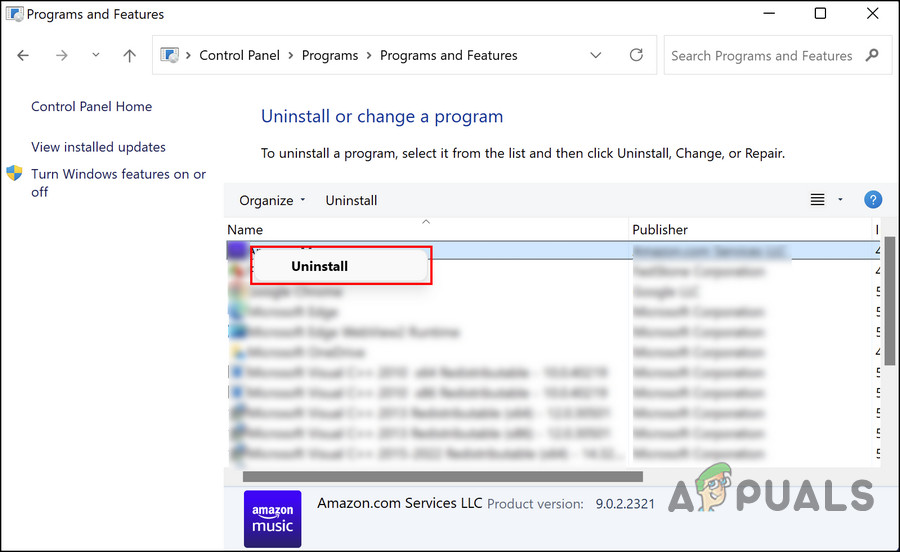
Uninstall the Program - Now wait until the application gets uninstalled.
Once the uninstallation gets completed, re-install the app successfully and check for the problem whether resolved or not.
11. Perform a System Restore
If the above-mentioned solutions won’t work for you to solve the problem, then try performing System Restore. As the problem might be related to some of the recent modifications in the system or some sort of corruption due to third-party app installation.
And in this case, performing the system restore to the previous state may work for you to solve the problem. System restore will take your system to the time when there was no mark of such a problem.
Follow the step by step mentioned instructions below:
- Go to your system Start.
- Next, write System Restore in the box and then tap Enter.
- Go for the System restore option on the appeared list.
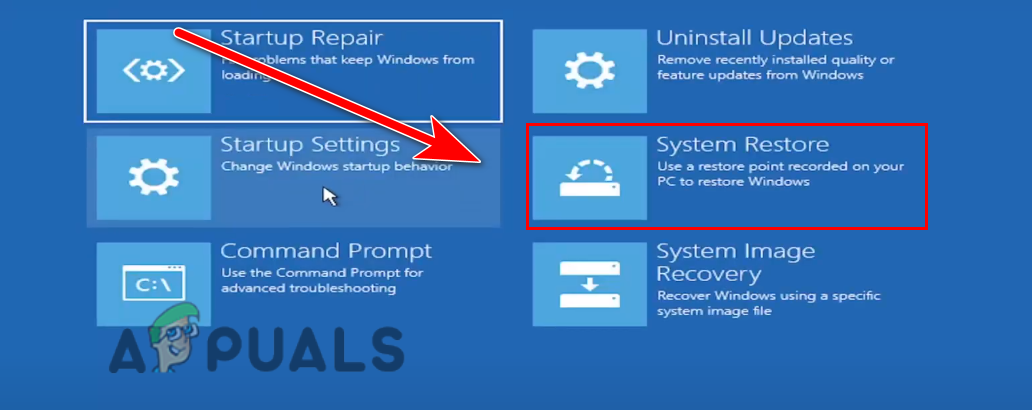
Click on System Restore - Now click on the “Choose a different restore point” option. And tap Next.
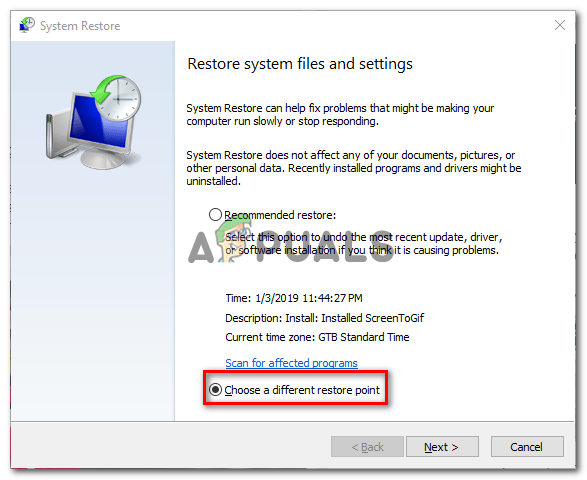
Choose a different restore point - Here in the next step, you need to choose the date when there was no such error mark.
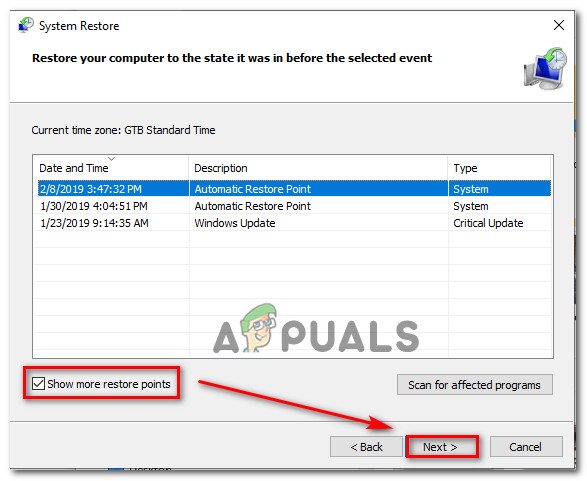
Show more restore points - Then enter your password if asked for and follow the screen instructions to choose the location for restore.
- Finally, restore your PC and check for the problem still persists or not.
So above are some mentioned solutions that will help you out to get rid of the THX Spatial Audio is not working problem on Windows 10 & 11.