Resolve: Target Disk Mode not Working
Target Disk Mode is helpful for accessing the contents of a Macbook that can’t be booted from its own operating system. If you possess two Macbooks that have FireWire, you can connect them so that one of them appears as an external hard disk on the other. Although this mode works fine on the Macbook, but sometimes, the users aren’t able to see the target computer on the host computer in firewire mode. In this article, we will show you some methods that helped other users in fixing this issue for them.
Before proceeding towards the potential fixes indexed below try to shutdown both Macbooks at a time, start up the target computer by pressing the T key, and then start up the host computer with the option key held down. Now, look at the screen and if the firewire logo appears on one mac then you are near to enter the TDM but if the hard drive and recovery options are appearing only at the screen it means there is some glitch that isn’t allowing Mac’s to enter target disk mode. Hence, proceed towards the remedies stated below to get rid of this problem.
Method 1: Turn OFF the Firmware Password
By default, your Mac starts up from its built-in hard disk, but a startup disk can be any storage device that contains an operating system compatible with your Macbook. If the firmware password is enabled on your Macbook you can’t enter the Target Disk Mode from a cold boot hence use the Startup Security Utility to make sure that Firmware Password Protection is turned OFF.
- Reboot your Macbook and hold down Command + R buttons to enter into the recovery mode.
- From the Utilities screen, navigate to the Utilities menu bar item and choose Firmware Password Utility.
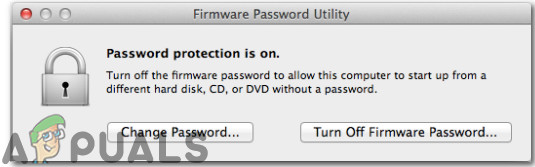
Firmware password utility - Two options would be displayed in front of your screen. The first one stating Change Password and the second one stating Turn Off Firmware Password. From these options, choose to turn the Firmware Password to OFF.
- Now enter your old firmware password to disable it.
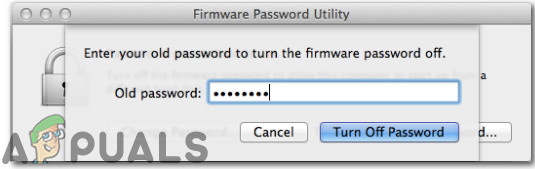
Entering old password - Afterward, choose Quit Firmware Password Utility, Restart your Mac and attempt to launch the Target Disk Mode again.
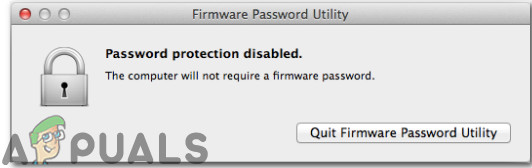
Quit firmware password utility
Method 2: Use External Hard drive as a Target Mac
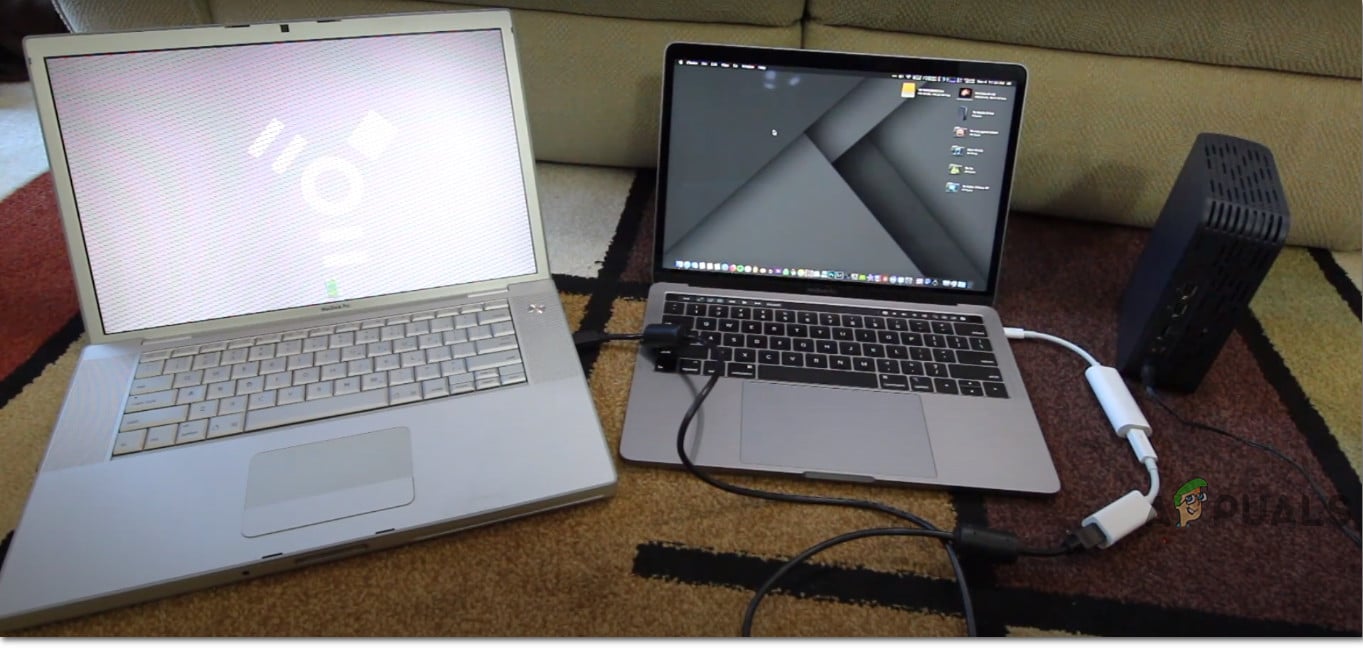
Target Disk Mode permits direct file transfers from your target Mac to your host Mac as if your target Mac is simply an external hard drive connected to your host Mac. Besides using another Mac to boot an unresponsive system in Target Disk Mode, a viable system on an external drive can work as well. If there is a software problem with your Mac then booting from an external drive will usually work therefore follow the steps indexed below to connect the external hard drive with your host Mac.
- Turn on your Mac, then press and hold Command + R immediately after you see the Apple logo.
- When you observe the macOS Utilities window, choose Utilities and then Startup Security Utility from the menu bar.
- When you’re asked to enter the credentials, click Enter macOS Password, then choose an administrator account and enter its password.
- Now, select Allow booting from external media option and afterward connect the external drive to the Mac and Reboot it. While Reboot hold the OPTION key down until you see the boot selection menu.
- Release the Option key when you see the Startup Manager window and choose the external volume from which you want to boot. You will find out that the external hard drives typically are shown with an orange icon.
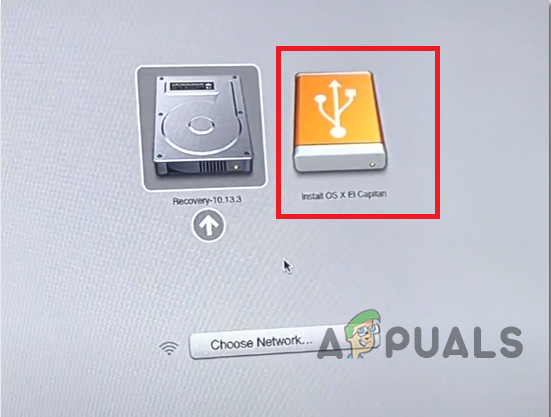
Choose External Drive - When you are done transferring files, you can simply eject your hard drive like you would any other target Macbook.
Method 3: Mount the Disc
It might be possible that the Mac you’re trying to connect in the target disk mode doesn’t appear as a disk on the other Mac, hence follow these steps to mount the disk and get rid of this issue:
- Open Disk Utility on the other Mac. You will find out it in the Utilities folder of your Applications folder.
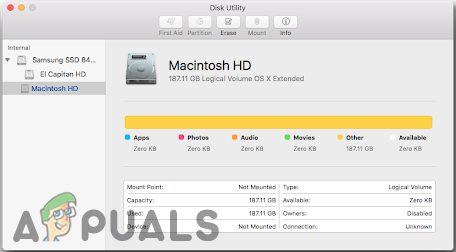
Disk utility - To enter Target Disk Mode, click the Apple menu, and choose System Preferences. Click the Startup Disk icon and afterward click on the Target Disk Mode button to restart your Mac in Target Disk Mode.
- The target disk should appear as a volume in the Disk Utility sidebar. Select that volume and then choose File => Mount from the menu bar.
- If the target disk is FileVault encrypted, you’ll be asked to enter a password to unlock the disk and mount it. Enter the administrator password for the Mac that you started up in target disk mode.
- The disk should now be mounted now and available to your Mac for the file transfer.
Method 4: Monitor the cords
Recognize the ports on both Macbooks so that you can pick the compatible cables. This error arises mostly due to wrong port connections or incompatible hardware. This mode works when both Macbooks are associated with one another utilizing any of these ports:
- Thunderbolt 3 (USB-C)
- USB-C
- Thunderbolt 2
- FireWire
If one or both computers has a Thunderbolt 3 (USB-C) or USB-C port, you can interface them as follows:
- To connect a Thunderbolt 3 (USB-C) port to either another Thunderbolt 3 (USB-C) port or a USB-C port, use the Apple Thunderbolt 3 (USB-C) Cable.
- To connect a USB-C port to either another USB-C port or a Thunderbolt 3 (USB-C) port, use the Apple Thunderbolt 3 (USB-C) Cable.
- To connect a Thunderbolt 3 (USB-C) port to a Thunderbolt 2 port, use the Thunderbolt 3 (USB-C) to Thunderbolt 2 Adapter combined with a Thunderbolt 2 cable.
- To connect a USB-C port to a USB-A port, use a USB-A to USB-C cable that supports USB 3.0 or USB 3.1, such as the Mophie USB-A Cable with USB-C Connector.
Workaround: If the error still persists we suspect that the drive has become dead and it won’t respond to any bootable volume, then you’ll need to replace it. The internal drive will have to be removed from the computer by a qualified technician. Furthermore, as an alternative to target disk mode, you can use AirDrop to send content between two Mac computers wirelessly.