How To Use Strikethrough in Google Docs [Desktop & App]
- Strikethrough is a formatting effect where a horizontal line crosses text, used to mark text without deleting it, highlight changes, or indicate a shift in thought.
- It can be applied via the Google Docs menu or keyboard shortcuts (Alt + Shift + 5 on Windows, Command + Shift + X on Mac). On mobile, it's available in the Google Docs app editing options.
- Strikethrough can be removed by reversing the formatting process or keyboard shortcuts, or by using the 'Clear Formatting' option for removing all text effects.
While there are a ton of ways that can help make your content eye-catching, Strikethrough remains the simplest and easiest one. Strikethrough is a formatting feature used in applications like Google Docs, Gmail, and Microsoft Office. It’s a valuable tool that can come in handy when writing and editing your documents.
With strikethrough, you can cross off text you aren’t ready to delete, highlight corrections or changes, and more. So whether you are on a Windows computer, MacBook, or even mobile, let’s look at what the strikethrough Google Docs feature is and how you can use it when proofreading your documents.
Table of Content
- What is Strikethrough in Google Docs?
- Why Use Strikethrough?
- How to Use Strikethrough on Google Docs — Webpage
- How to Use Strikethrough on Google Docs — Mobile App
- Methods to Remove Strikethrough From Your Text
- Bonus: Adding Strikethrough on Gmail and MS Word
- Tips For Using Strikethrough on Google Docs
- Wrapping Up
What is Strikethrough in Google Docs?
Strikethrough is a formatting effect that works by creating a straight horizontal line that goes from the start of your highlighted text or phrase till the end. The strikethrough line appears on top of the content but doesn’t completely hide it. This way the reader can still see what the text was under the strikethrough line.
In Google Docs, this formatting can be relatively helpful when working or editing collaborative documents as it allows you to make clear and concise edits and changes to it. For instance, if you are checking someone’s content and want to mark a sentence that needs to be removed, you can use the strikethrough feature to indicate what and where needs fixing.
READ MORE: Enable Dark Mode on Google Docs (iOS, Android, and Desktop) ➜
Why Use Strikethrough?
Before you start using the strikethrough feature, there are a few reasons as to why you should employ this font effect in your writing projects.
- Crossing off completed tasks: If you like to make a list of things you need to get done, you know how fulfilling it is to cross off tasks from your list. While doing it on paper is easy, you can also do the same for your Google Docs to-do list with strikethrough.
- Retain text you don’t want to lose: Whenever you are writing something, it’s quite common to delete and change your content. But if you aren’t sure about whether something fits or not, you can simply add a strikethrough line to help highlight the phrase when finishing up your document.
- Indicate a change in thought: If you read a lot of blogs, you must have come across the strikethrough line in one of them. Most of the time bloggers use this to add a subtle touch of authenticity to show how they changed from one thing to another.
How to Use Strikethrough on Google Docs — Webpage
If you are confused about whether Google Docs is supported on Mac or is just on Windows, the good news is that it’s a free website that can be accessed from any browser. When it comes to using strikethrough, there are a few different ways that can help you get around the effect.
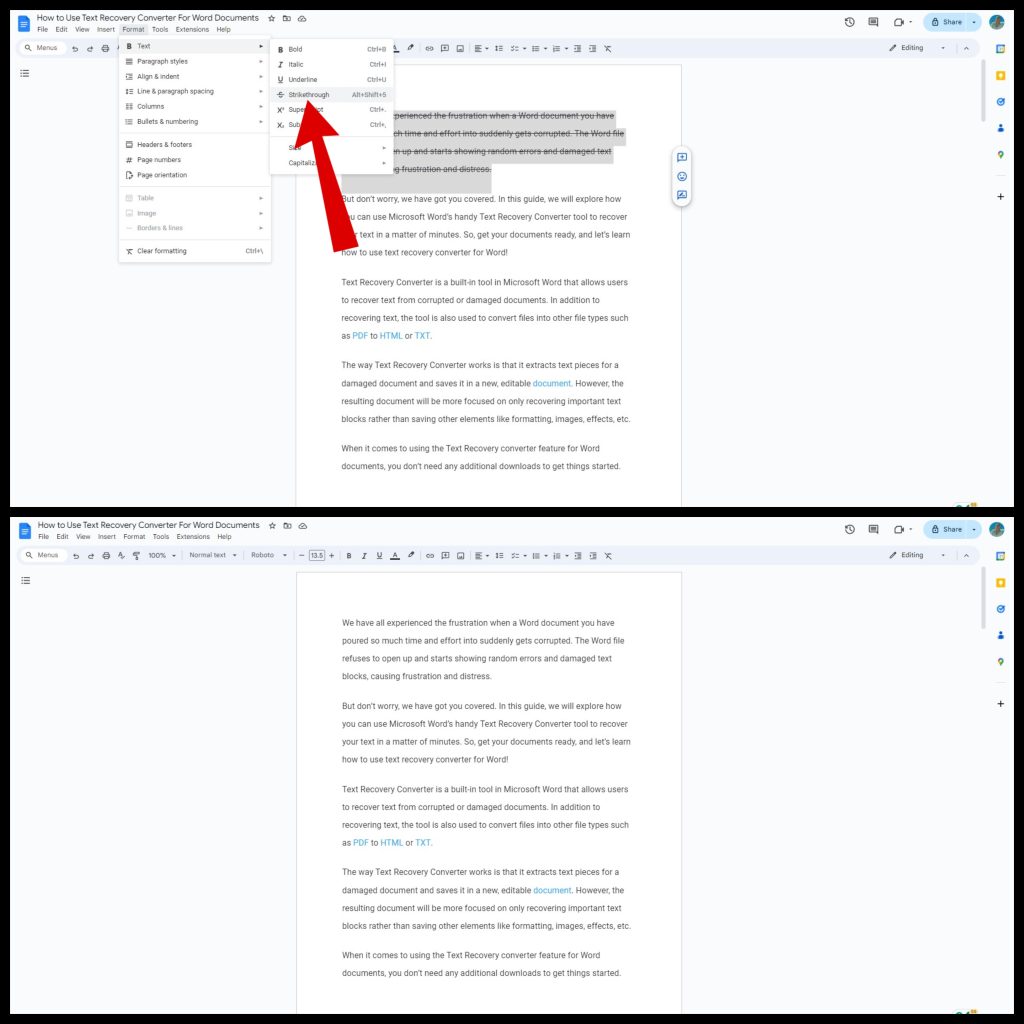
1. Strikethrough Text Using the Google Docs Menu
One of the most common methods of using the strikethrough effect is from the Google Docs menu. Here’s a quick rundown to add the strikethrough effect:
- Head to the Google Docs website on your browser and open up your document.
Open up your document - Next, select the word or phrase you want to apply the strikethrough effect to.
Select your text - Now, head over to the menu bar at the top of your document and click on the Format tab from the given options.
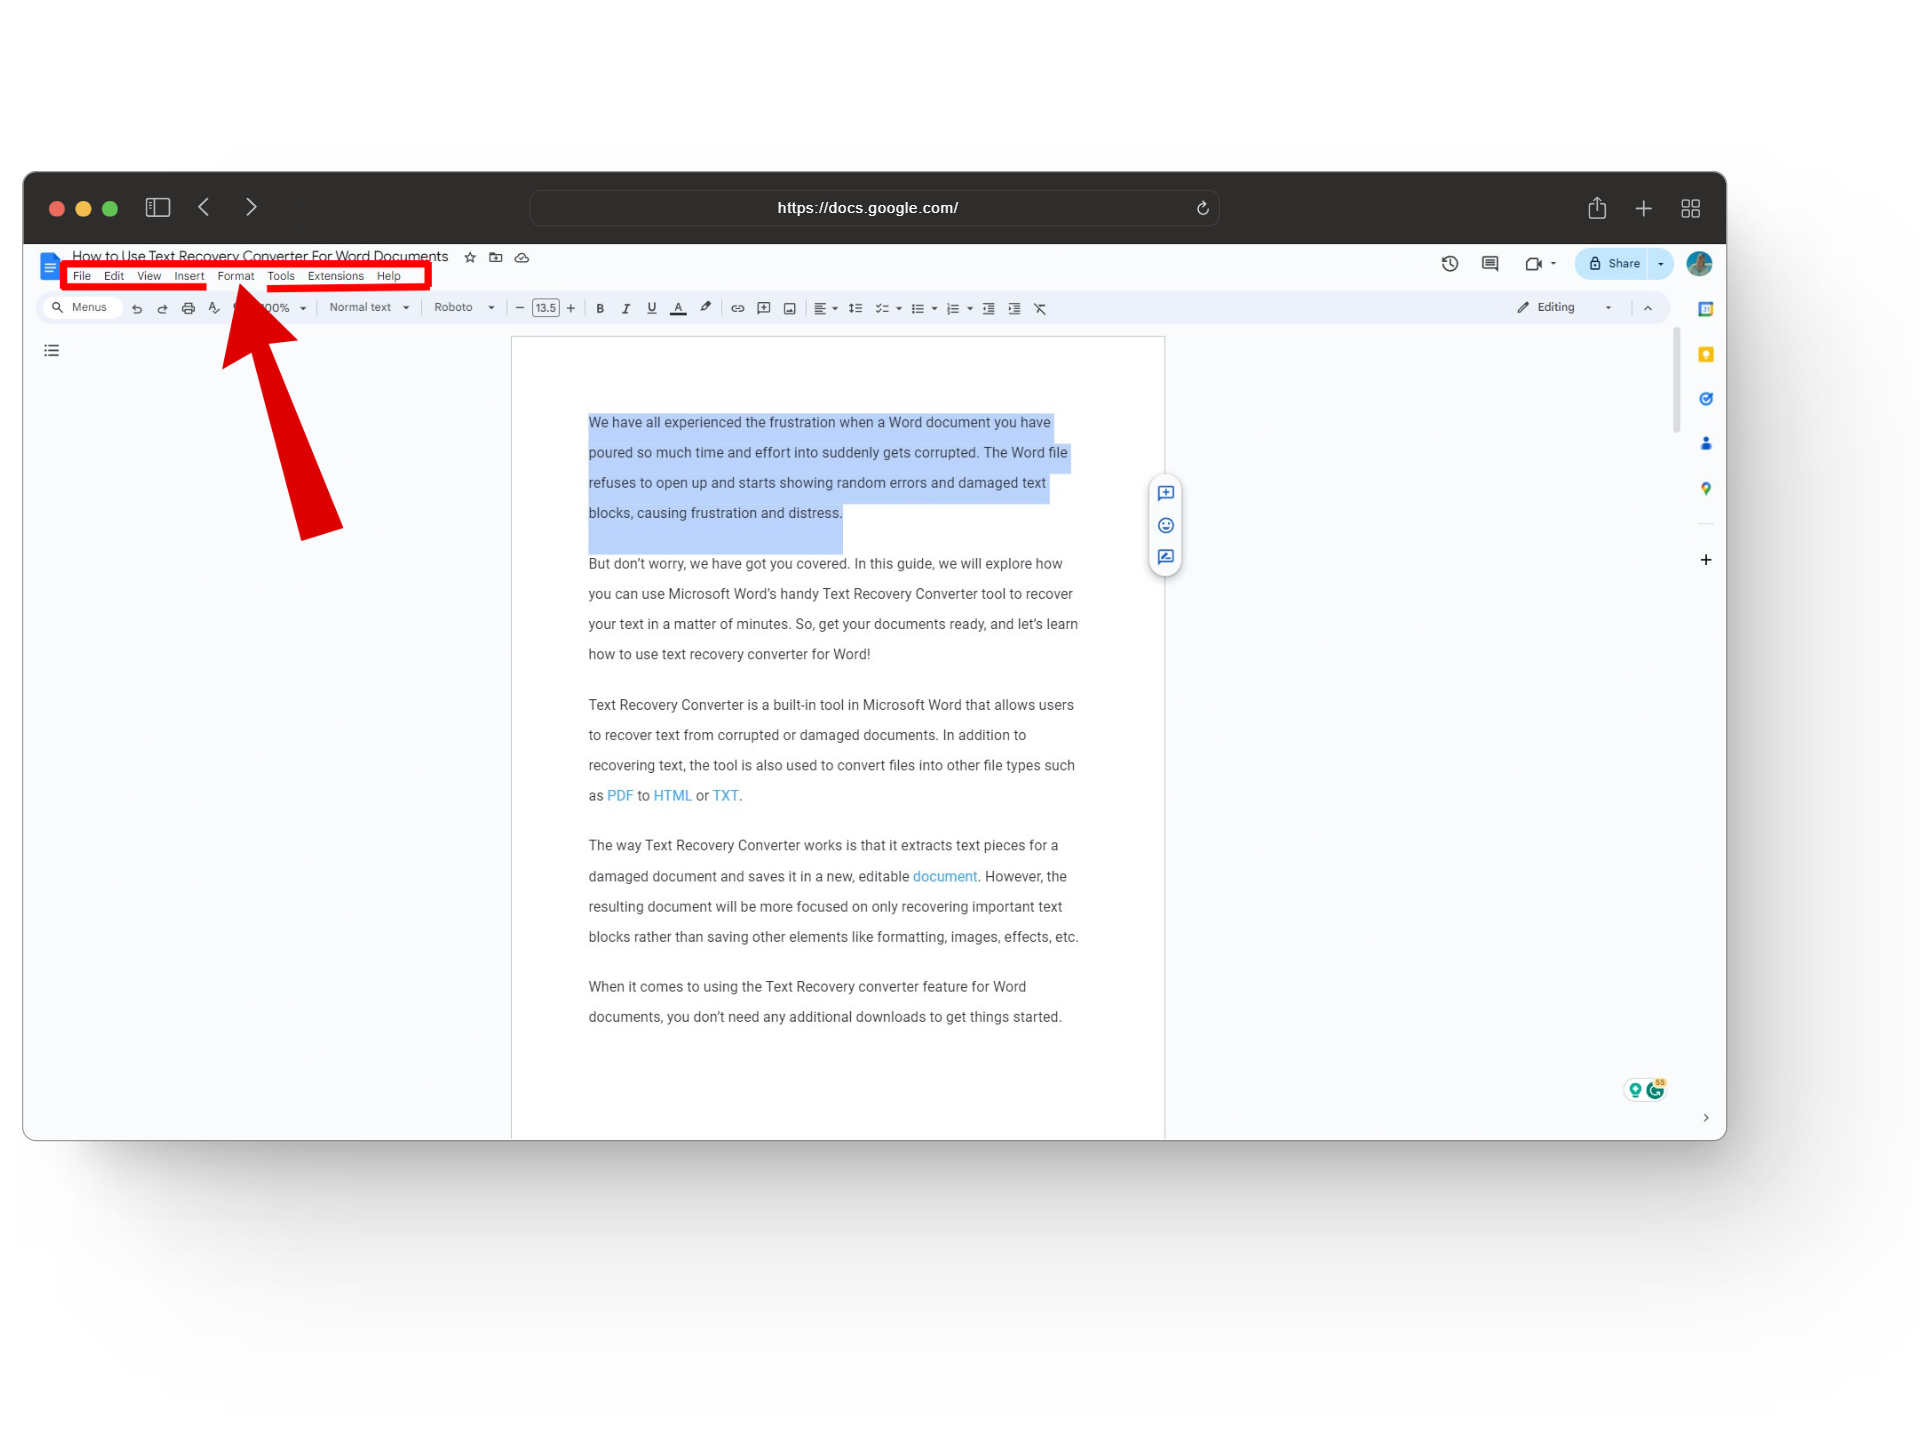
Click on Format - Then hover over to the first option titled “Text.” Here, select the Strikethrough option.
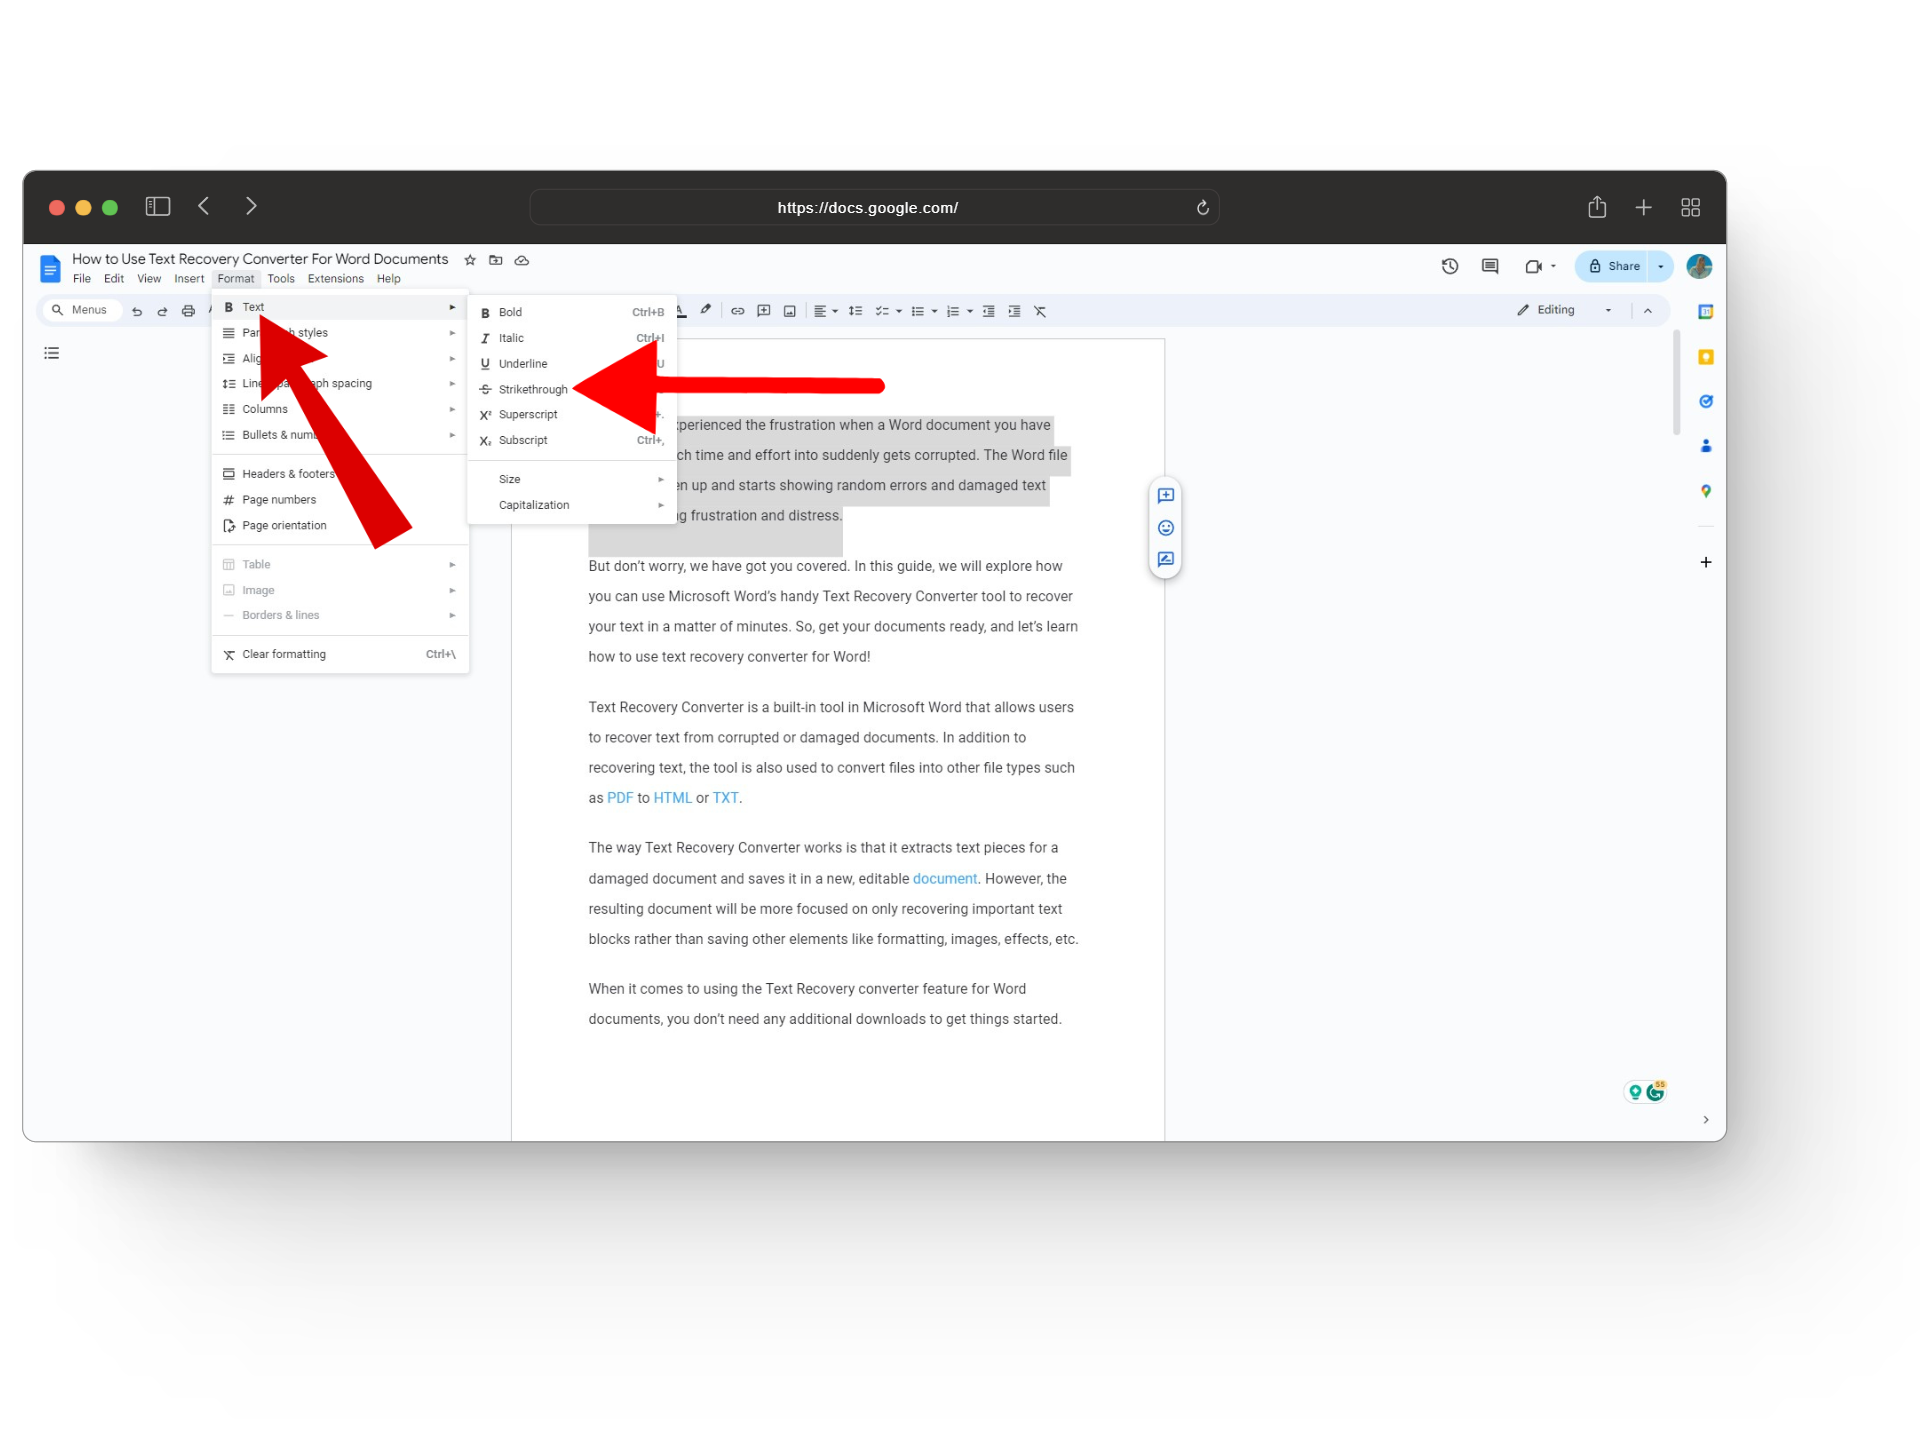
Select strikethrough - And that’s it! Your selected phrase should now have a line going through it.
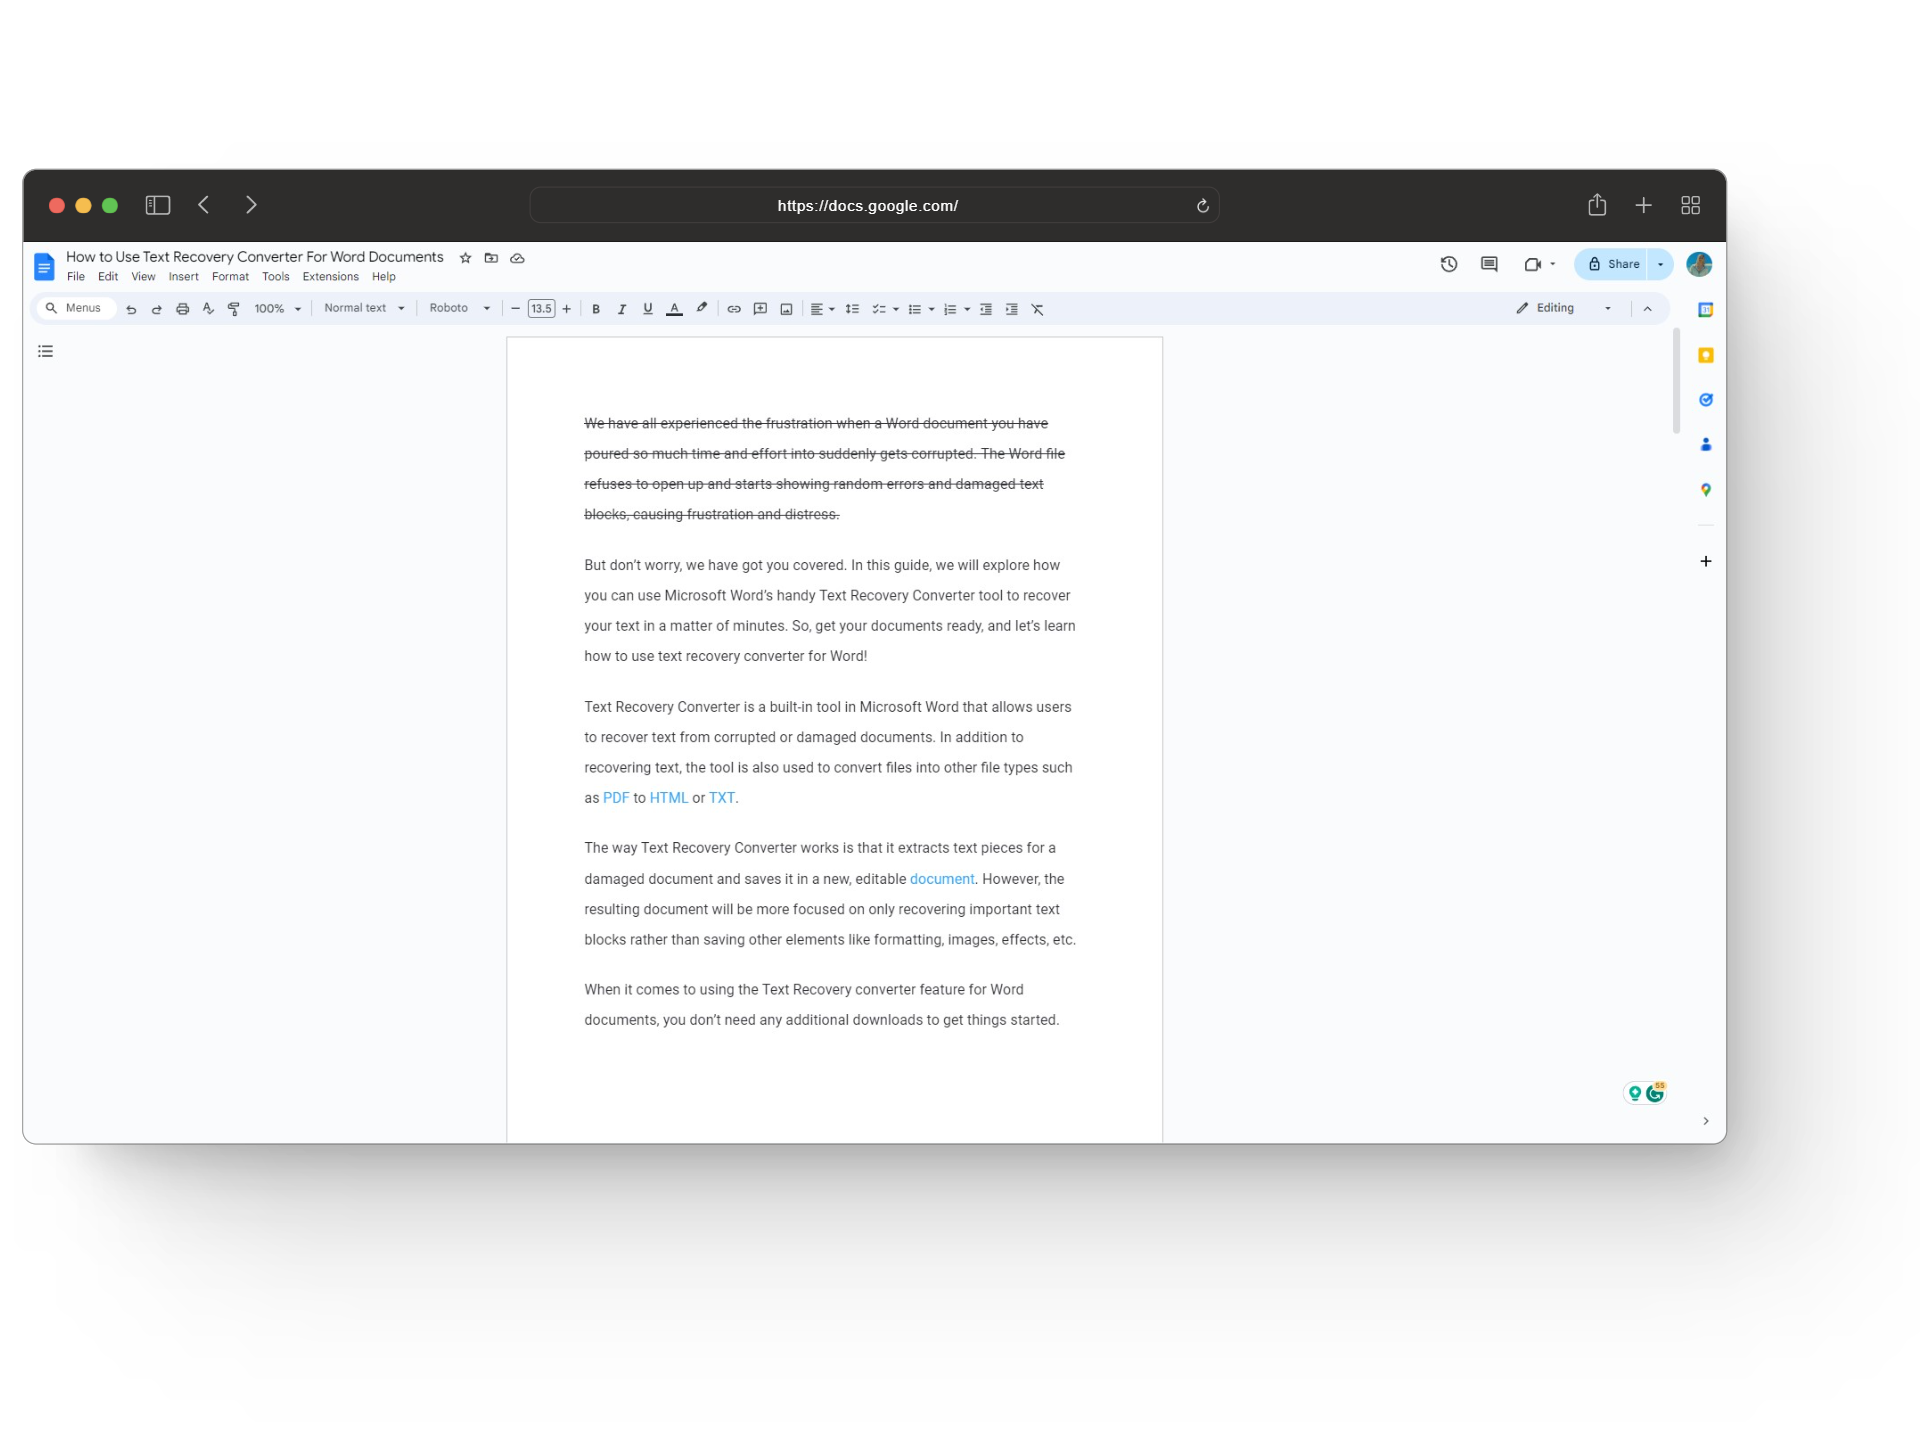
Strikethrough text effect
READ MORE: How to Add Custom Fonts to Google Docs ➜
2. Strikethrough Text Using Keyboard Shortcuts
If the first method seemed tedious for you, this step is just what you need as with this one you can add the strikethrough effect directly from your keyboard without having to navigate through different tabs. Here’s how to add strikethrough to your text using keyboard shortcuts:
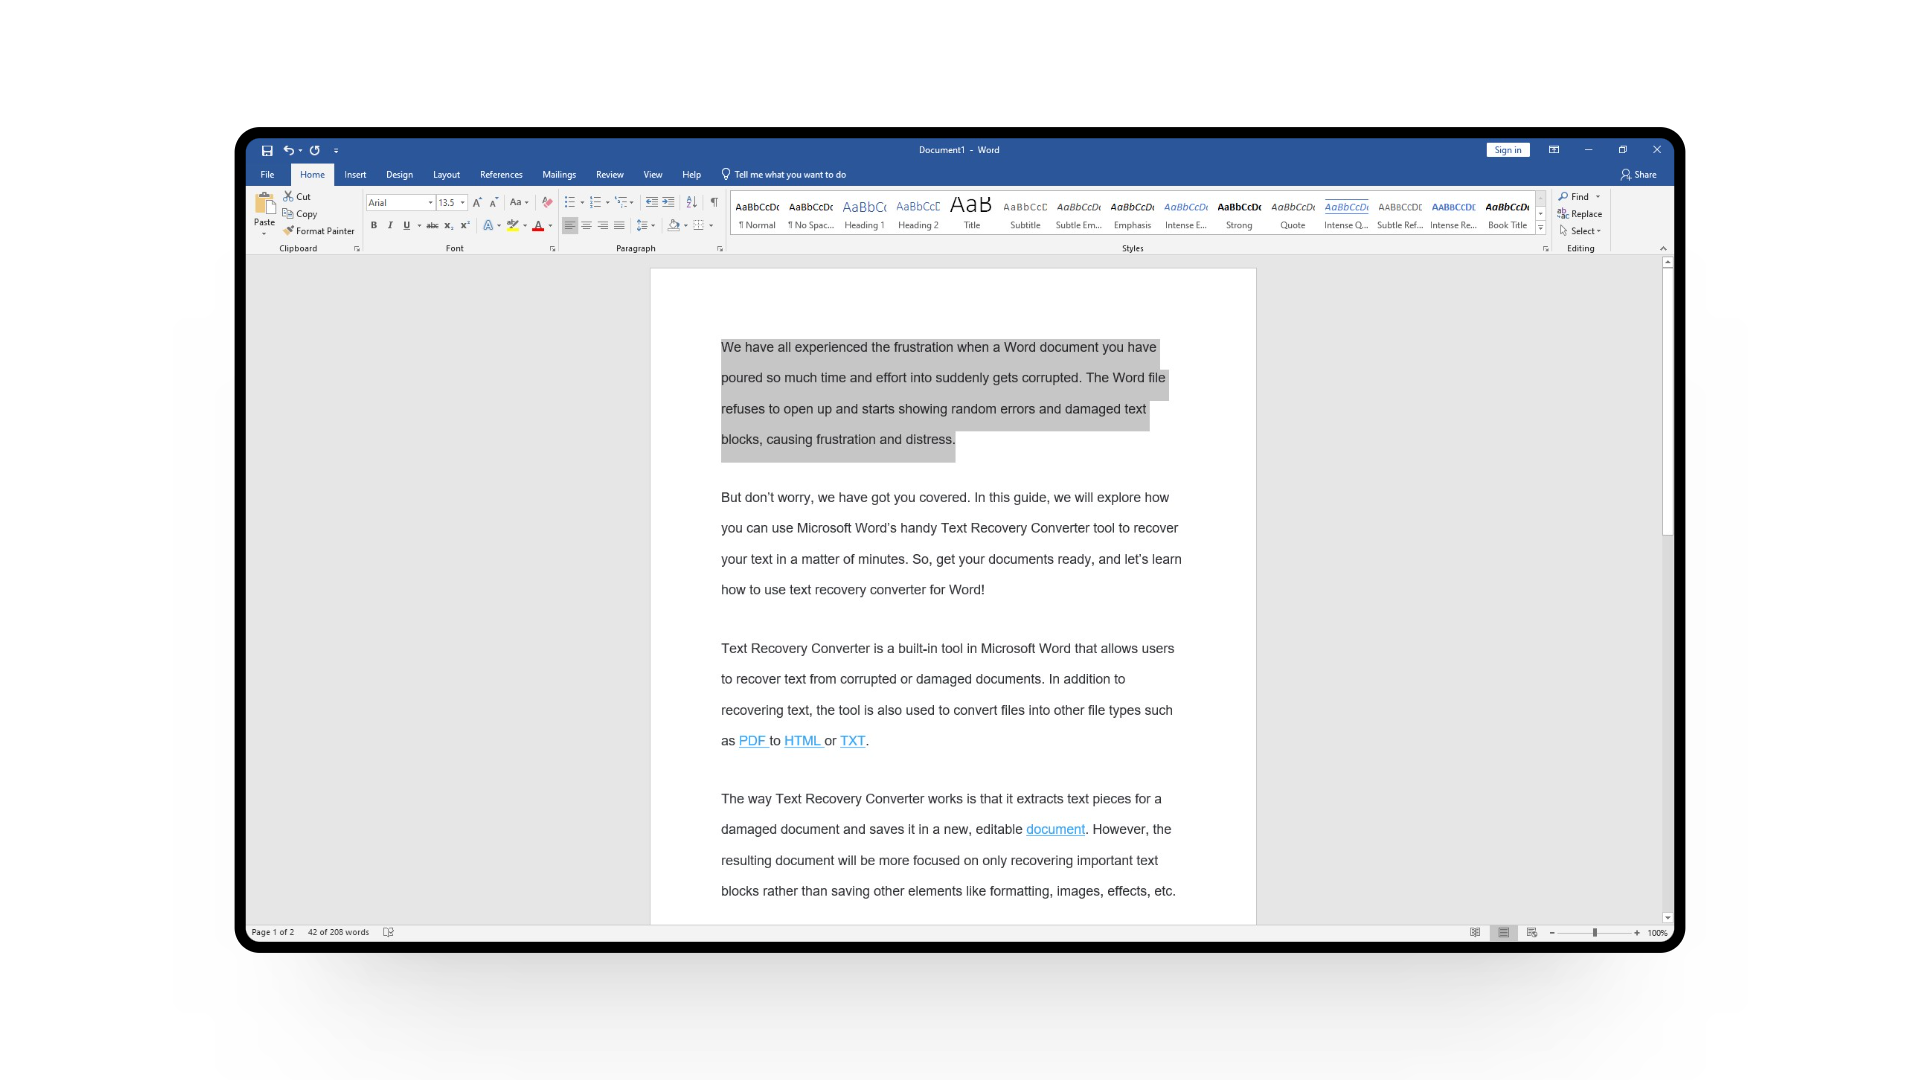
- Once you have your document opened, select and highlight the text you want to add strikethrough to.

Select your text - From here, press the “Alt + Shift + 5” keys simultaneously on your Windows keyboard or the “Command + Shift + X” on your Mac.

Press the key combinations - And that’s all! The selected text will now have the strikethrough effect inserted.

The strikethrough effect will be applied
READ MORE: What Are Hotkeys & How You Can Create One to Boost Your Efficiency ➜
How to Use Strikethrough on Google Docs — Mobile App
Apart from having a free webpage, Google Docs allows mobile users to install its app which provides writers with almost every formatting and editing options they would need. To get started with the strikethrough effect, follow these steps:
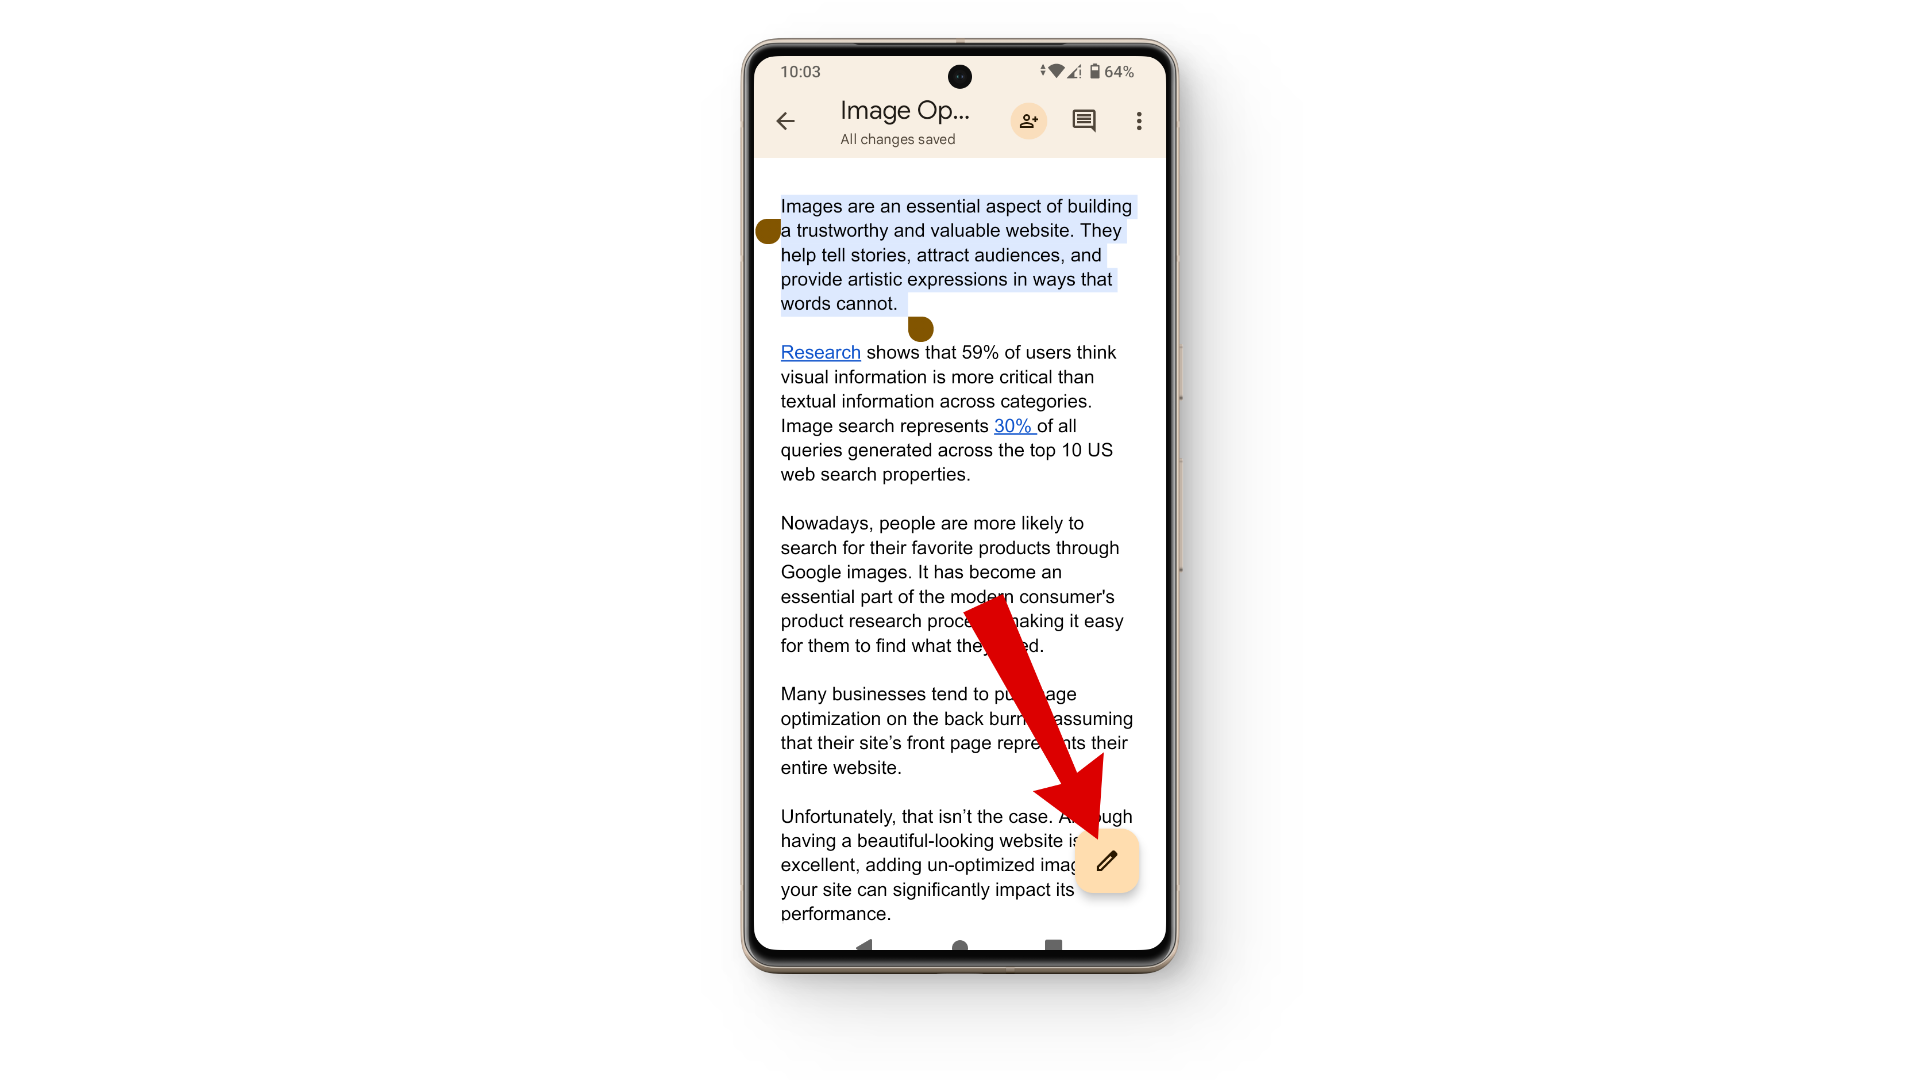
- Open up your document on the Google Docs app and select the text you want to make changes to.
Open your document - Once you have the text selected, tap on the pencil icon at the bottom right corner.
Tap on the pencil icon - This will open up all the editing options. Here, tap on the “A” symbol with four horizontal lines from the top toolbar.
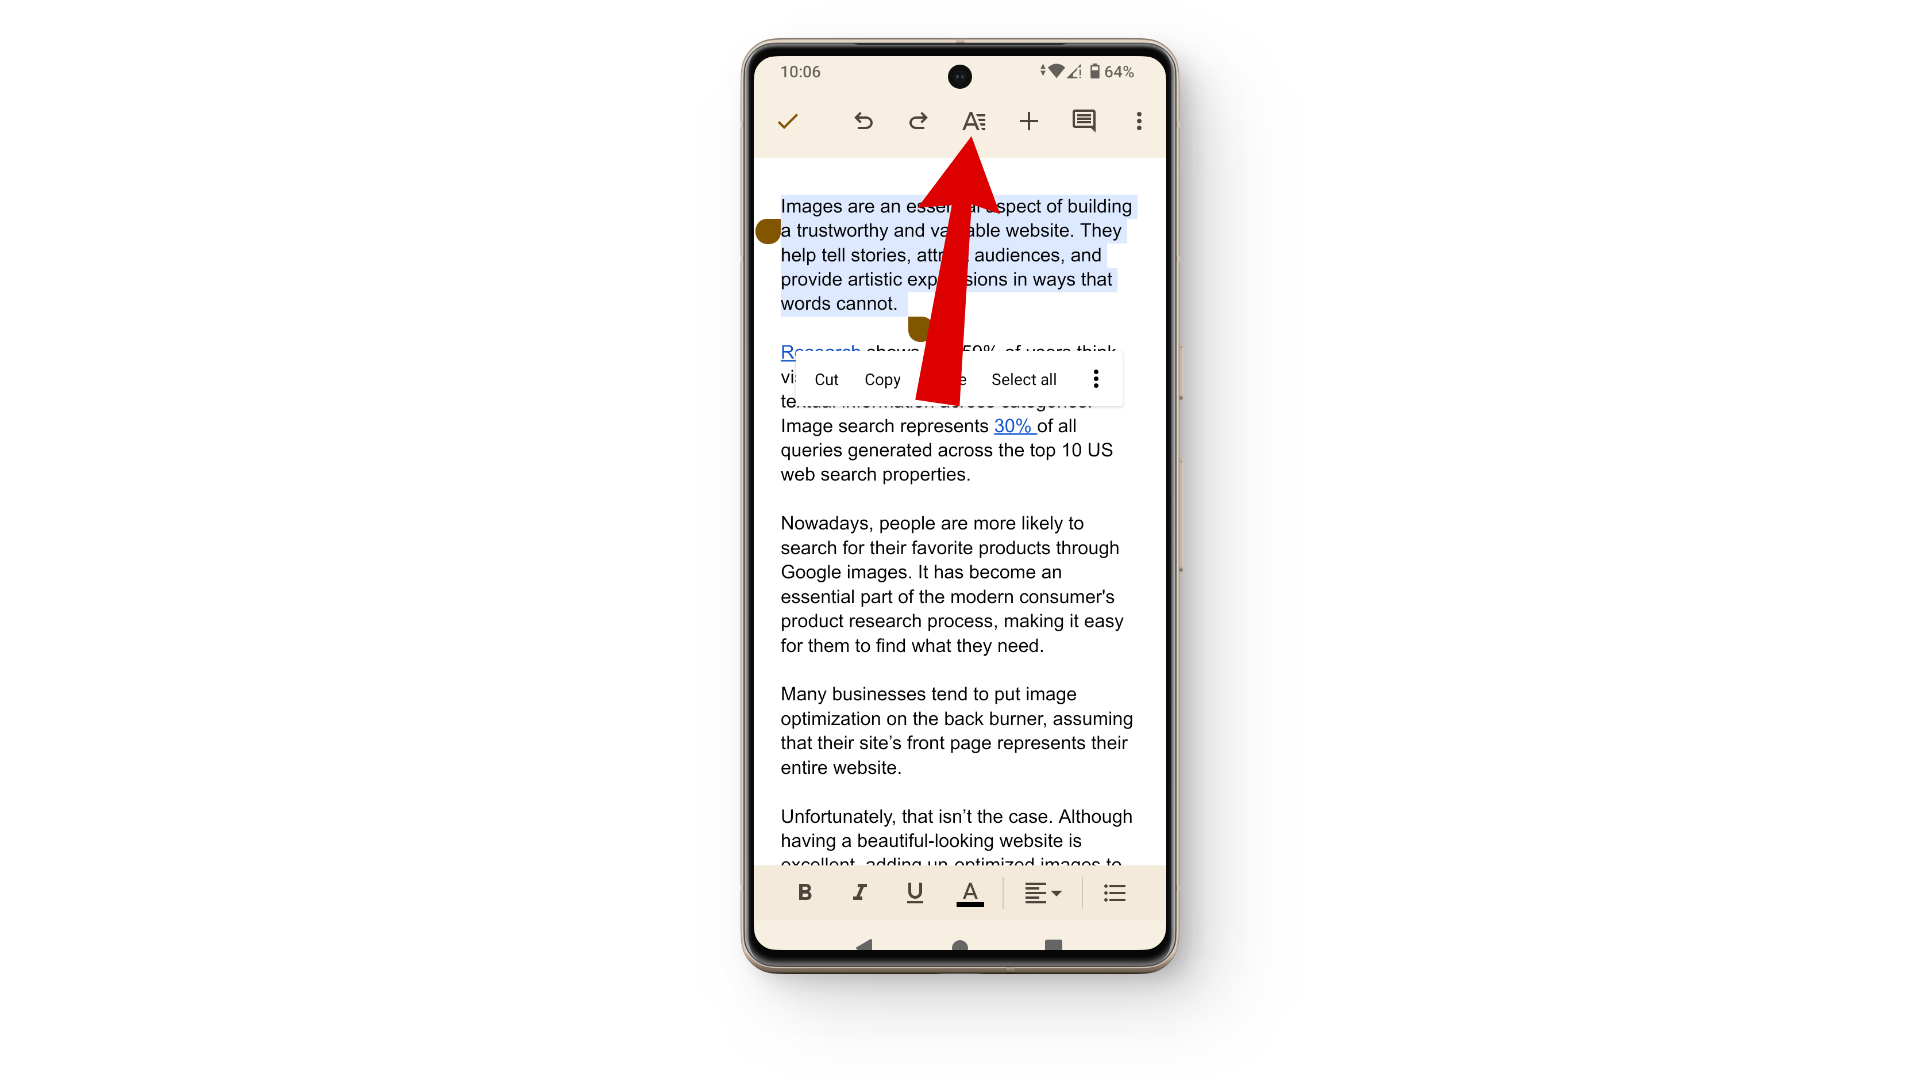
Tap on the A symbol - From the given formatting options, tap on the strikethrough —
S— symbol.
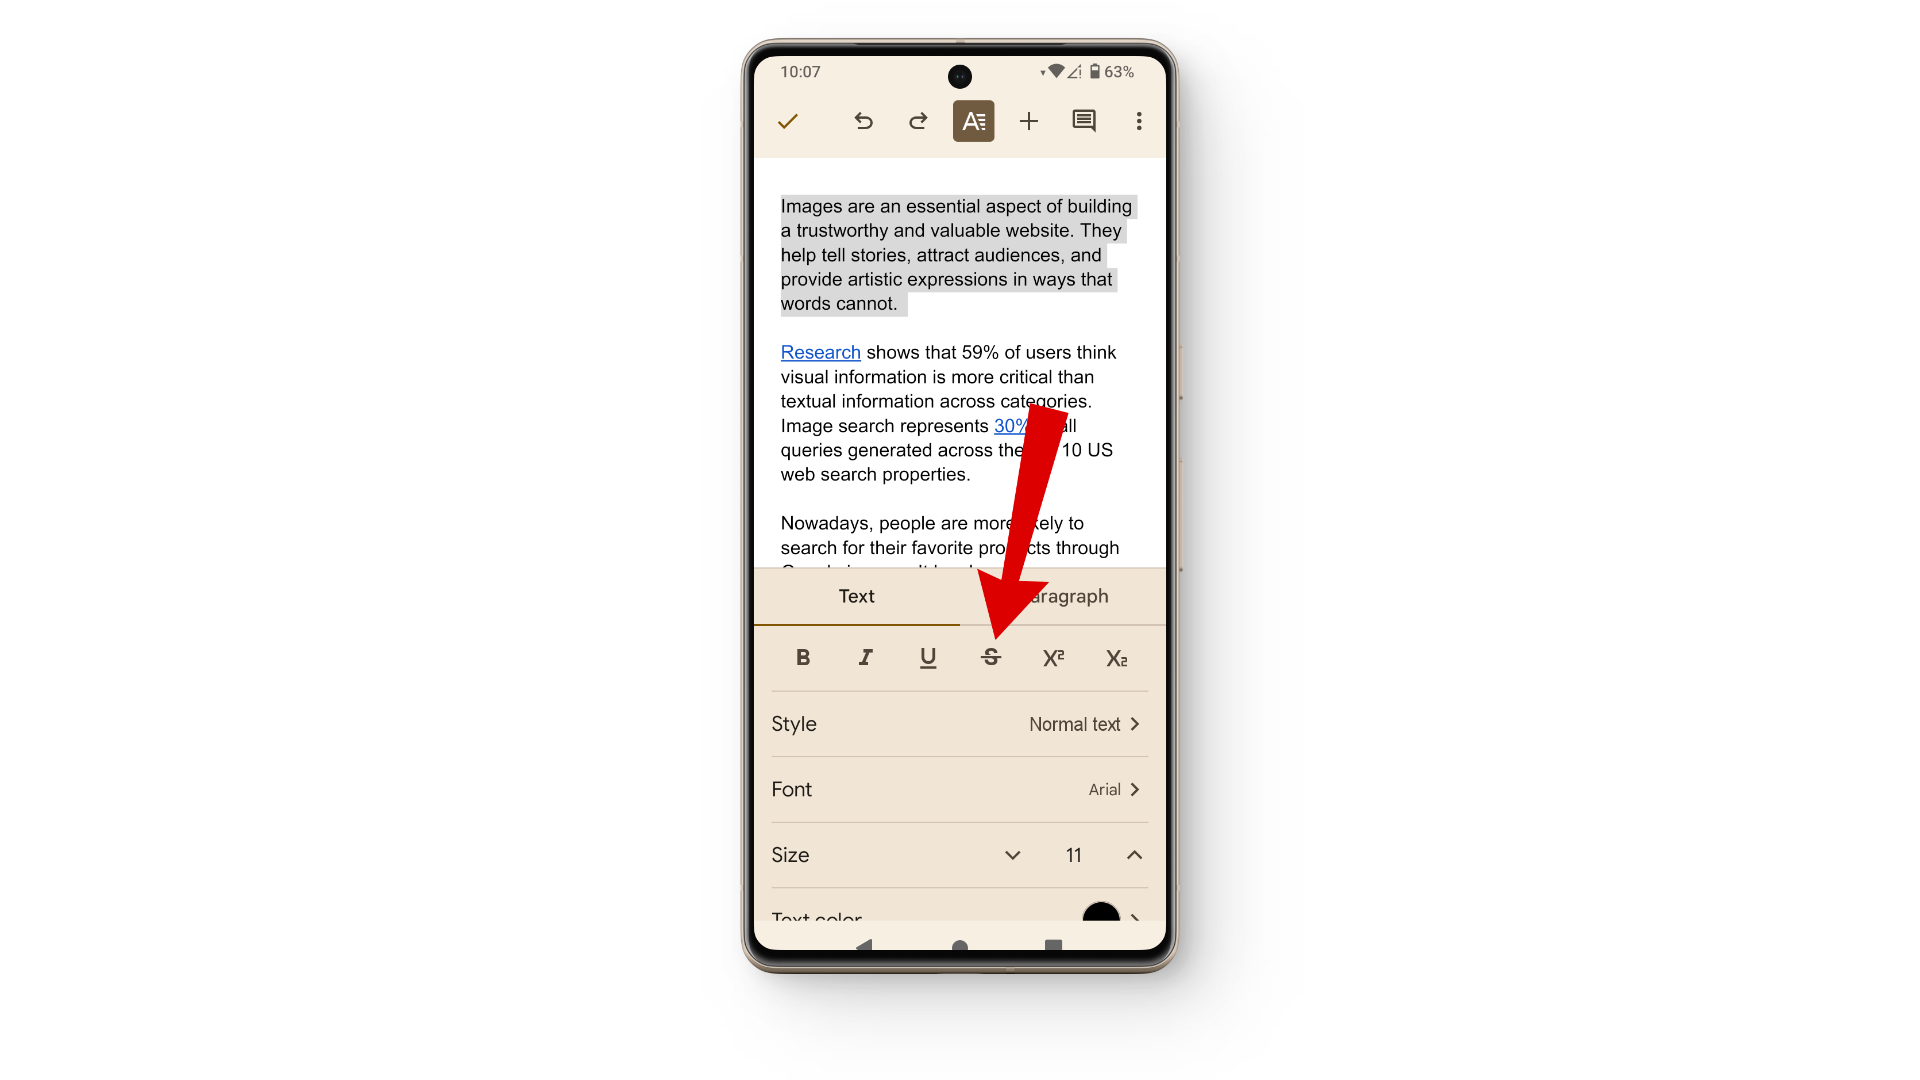
Tap on strikethrough - As and when you tap it, your select text will now have the strikethrough effect added to it.
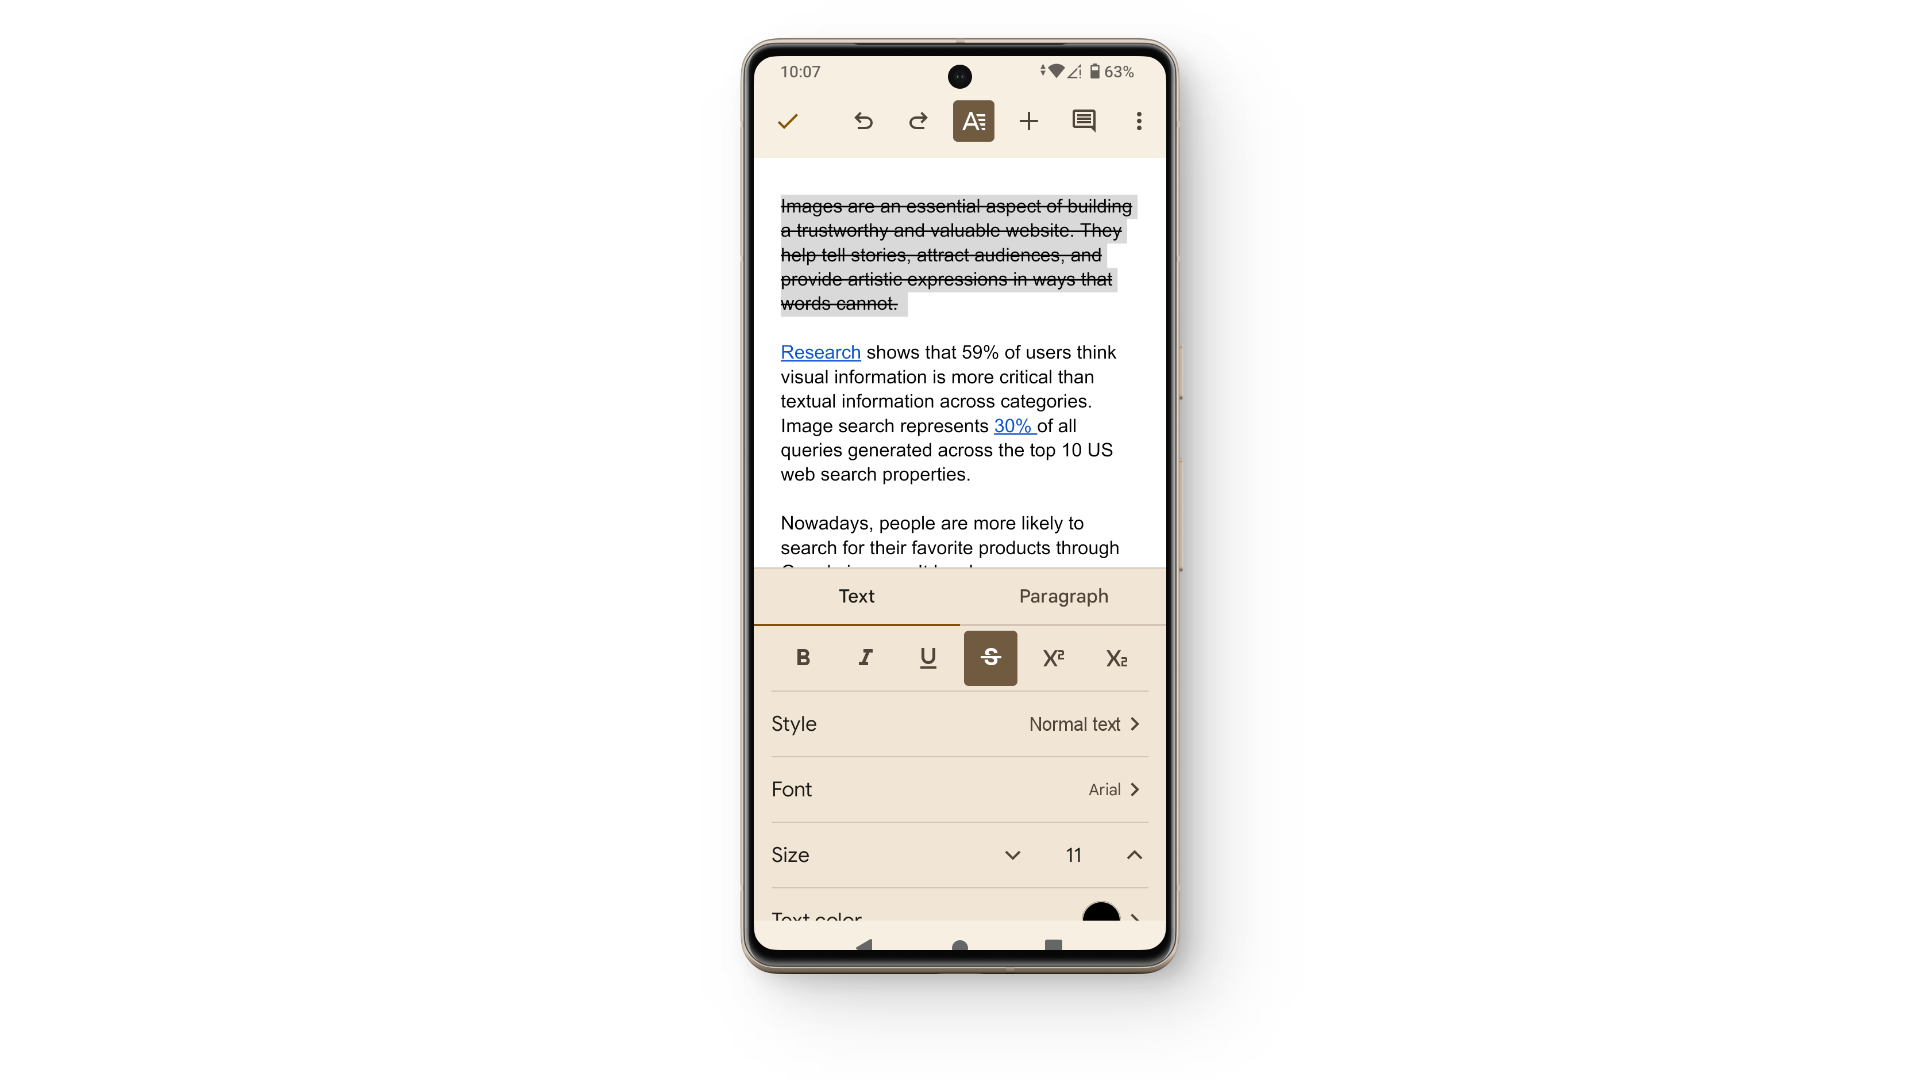
Strikethrough effect on Google Docs mobile
READ MORE: How to Create Borders on Google Docs ➜
Methods to Remove Strikethrough From Your Text
Now that you know the different ways to apply the strikethrough effect to your text, you will also need to equip yourself with the method to remove it. So if you have accidentally used strikethrough or no longer need it, here’s how to remove strikethrough from your text:
Method 1: Reverse the Formatting
When it comes to removing the strikethrough effect from your text, you simply have to do the same as you did to apply it. This means that you have to first select the text with the strikethrough line and from there head over to the formatting tab from the menu and click on the strikethrough effect.
READ MORE: How to Change the Formatting for a Google Document and set it as Default ➜
Method 2: Reverse the Keyboard Shortcuts
Similar to the first method, the second method to removing the strikethrough formatting is by selecting the phrase or word that you want to make changes to. From there, simply press the Alt + Shift + 5 or Command + Shift + X and the strikethrough line should disappear from your text.
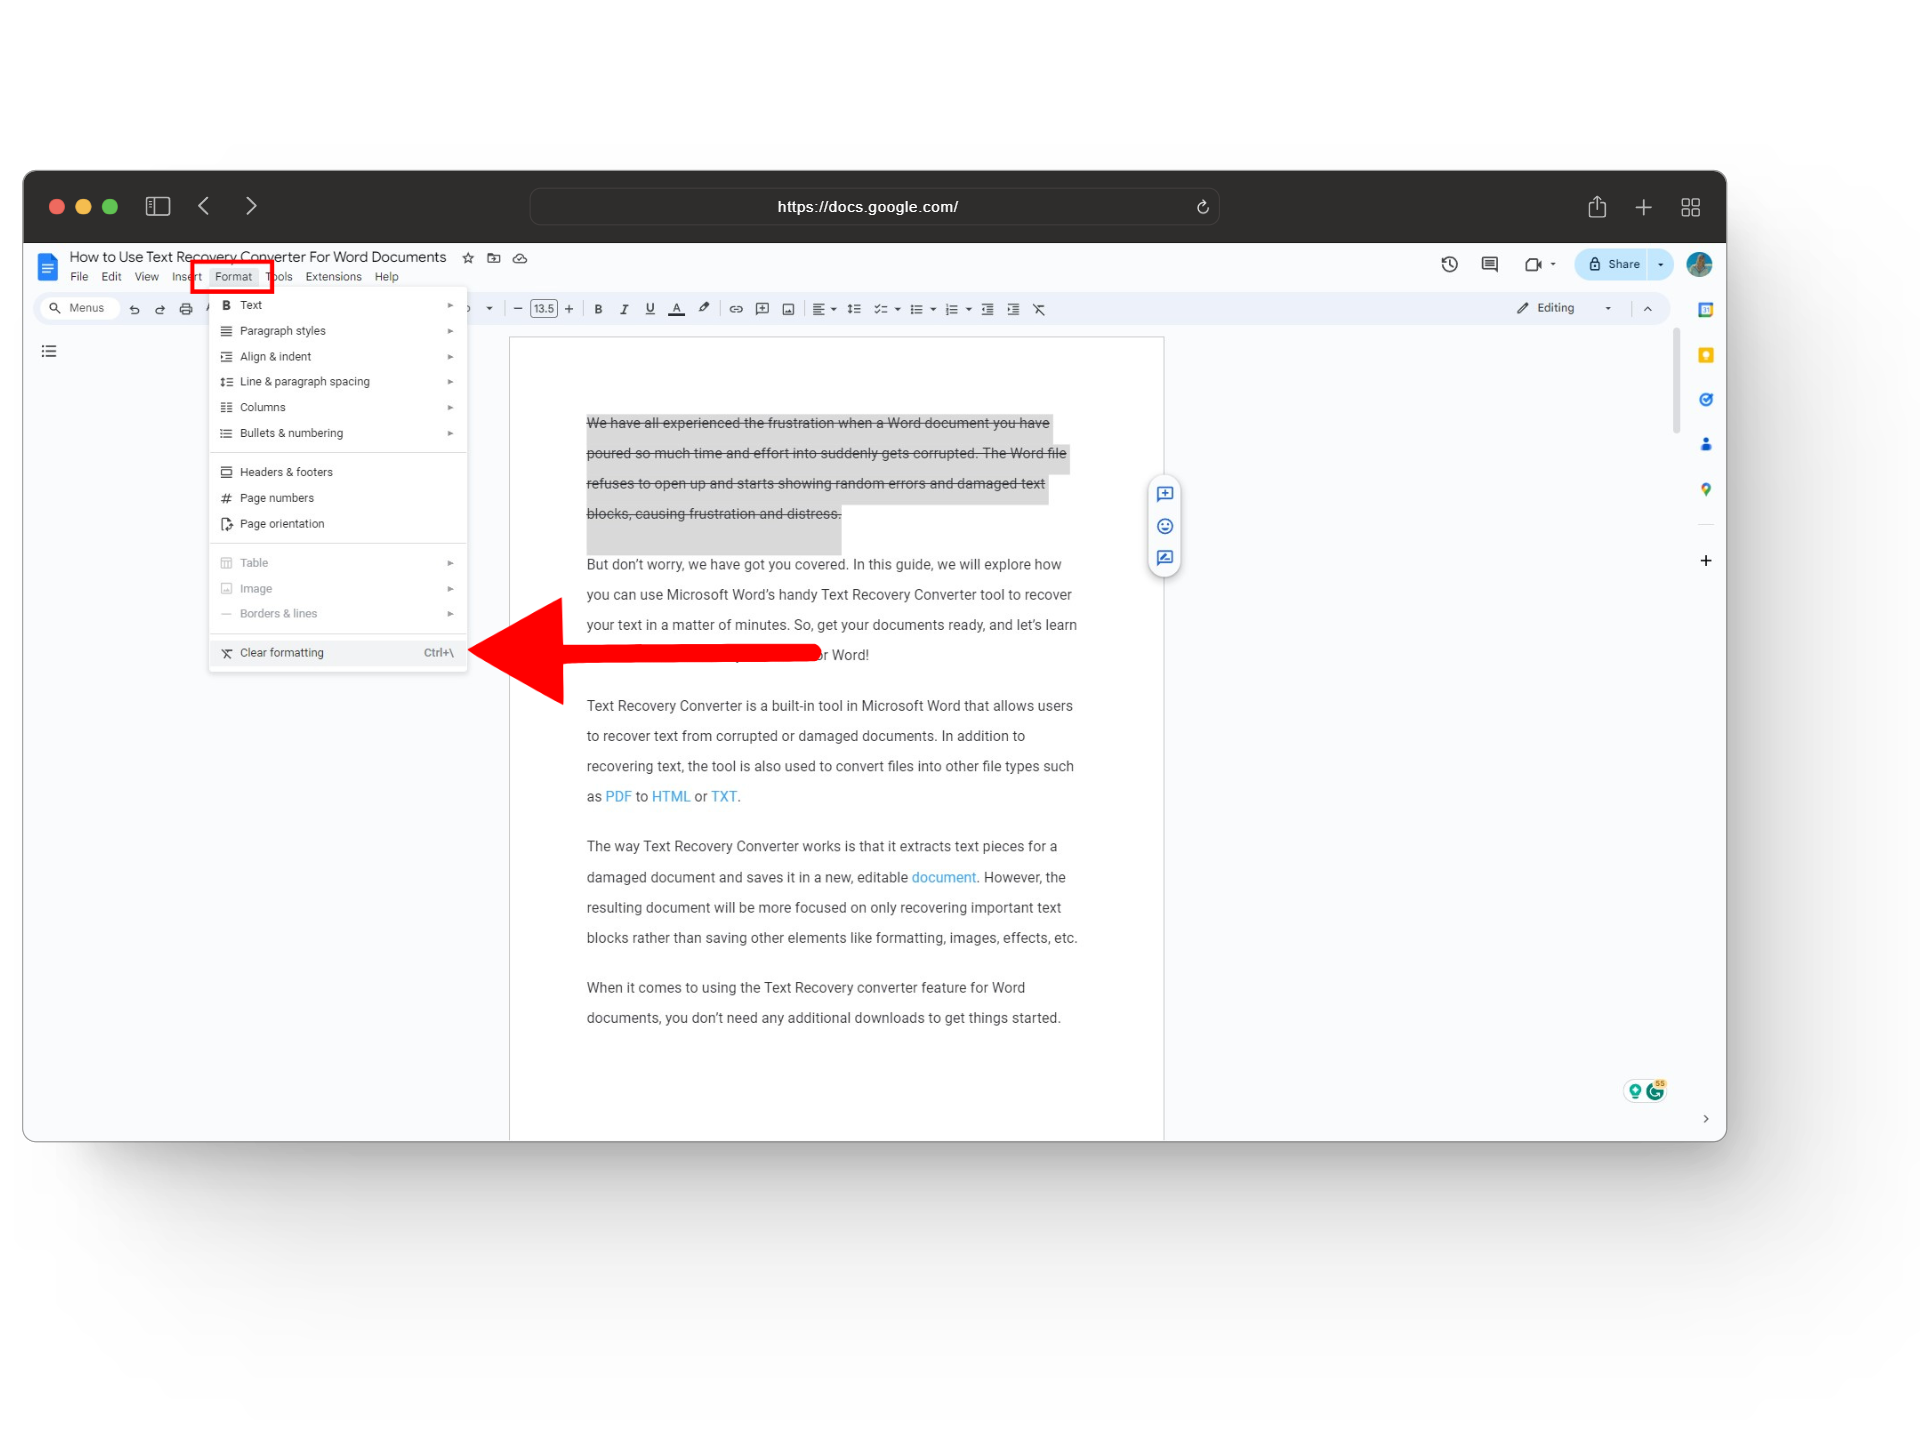
Method 3: Remove All Formatting
While the first two methods are just the same as applying the strikethrough effect, this one is a bit different. With this method, you will not only erase the strikethrough formatting but if your text has any other effects such as Italic, Bold, Highlight, and more, everything will be cleared.
To carry it out, you have to select your text and press “Ctrl + \” for Windows or “Command + \” for a Mac. If your shortcut keys aren’t working, you can also clear all formatting by heading over to the Format tab and selecting the “Clear formatting” option at the bottom of the drop-down menu.
Bonus: Adding Strikethrough on Gmail and MS Word
Whether it’s writing documents on Google Docs or composing emails on Gmail, adding a strikethrough line on top of your text can be done in a breeze. Let’s break both of these down.
1. Gmail
If you write a lot of emails and want to showcase changes or ways to write something in a better way, the thought of using strikethrough must have crossed your mind. Well, lucky for you Gmail also allows users to add effect to their text when composing emails. Here’s how that’s done:
- Open up your Gmail and click on the Compose button to start a new email.

Open up Gmail - Once you are done typing your content, simply select the piece of text you want to add strikethrough to.
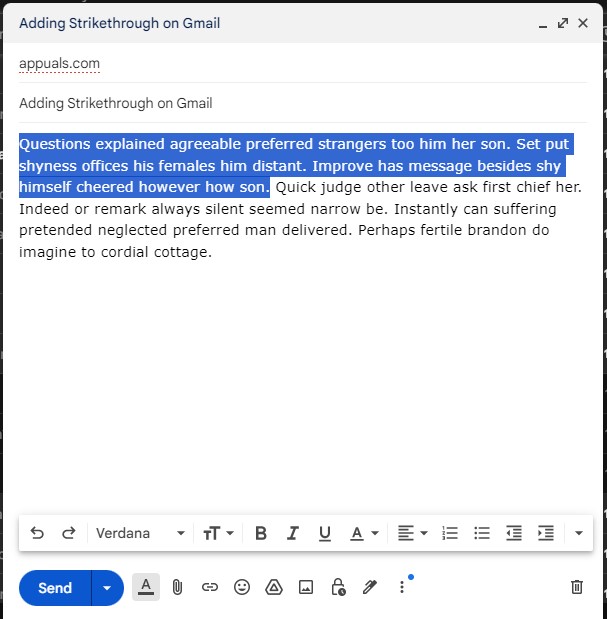
Select your text - Next, at the bottom of your screen, there should be a formatting menu similar to the Google Docs one. Here, click on the small arrow at the extreme right corner.

Click on the small arrow - This will open a small menu with more formatting options. Here, click on the strikethrough symbol to add the effect. Alternatively, you can also press the Alt+Shift+5 combination to get things done.
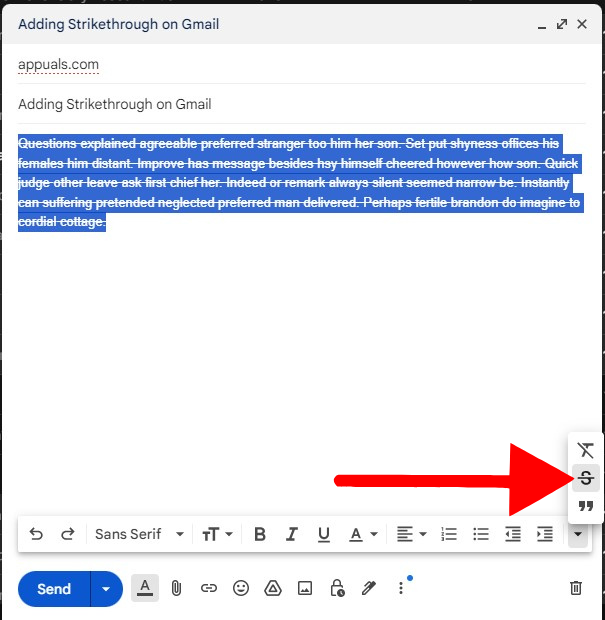
Tap on the strikethrough symbol
READ MORE: What’s The Best Email Service in 2024? Best Clients Ranked ➜
2. MS Word
Despite being a free-to-use writing tool, many people still lean towards MS Word rather than Google Docs as their go-to writing assistant. So, if you are someone who either loves playing with templates or wants offline connectivity, here’s how to add a strikethrough line on MS Word:
- Launch the Word application and open up your document.
Launch MS Word - Once you have that ready, select the text you want to apply strikethrough formatting to.
Select your text - Under the Home tab, move over to the Font section.
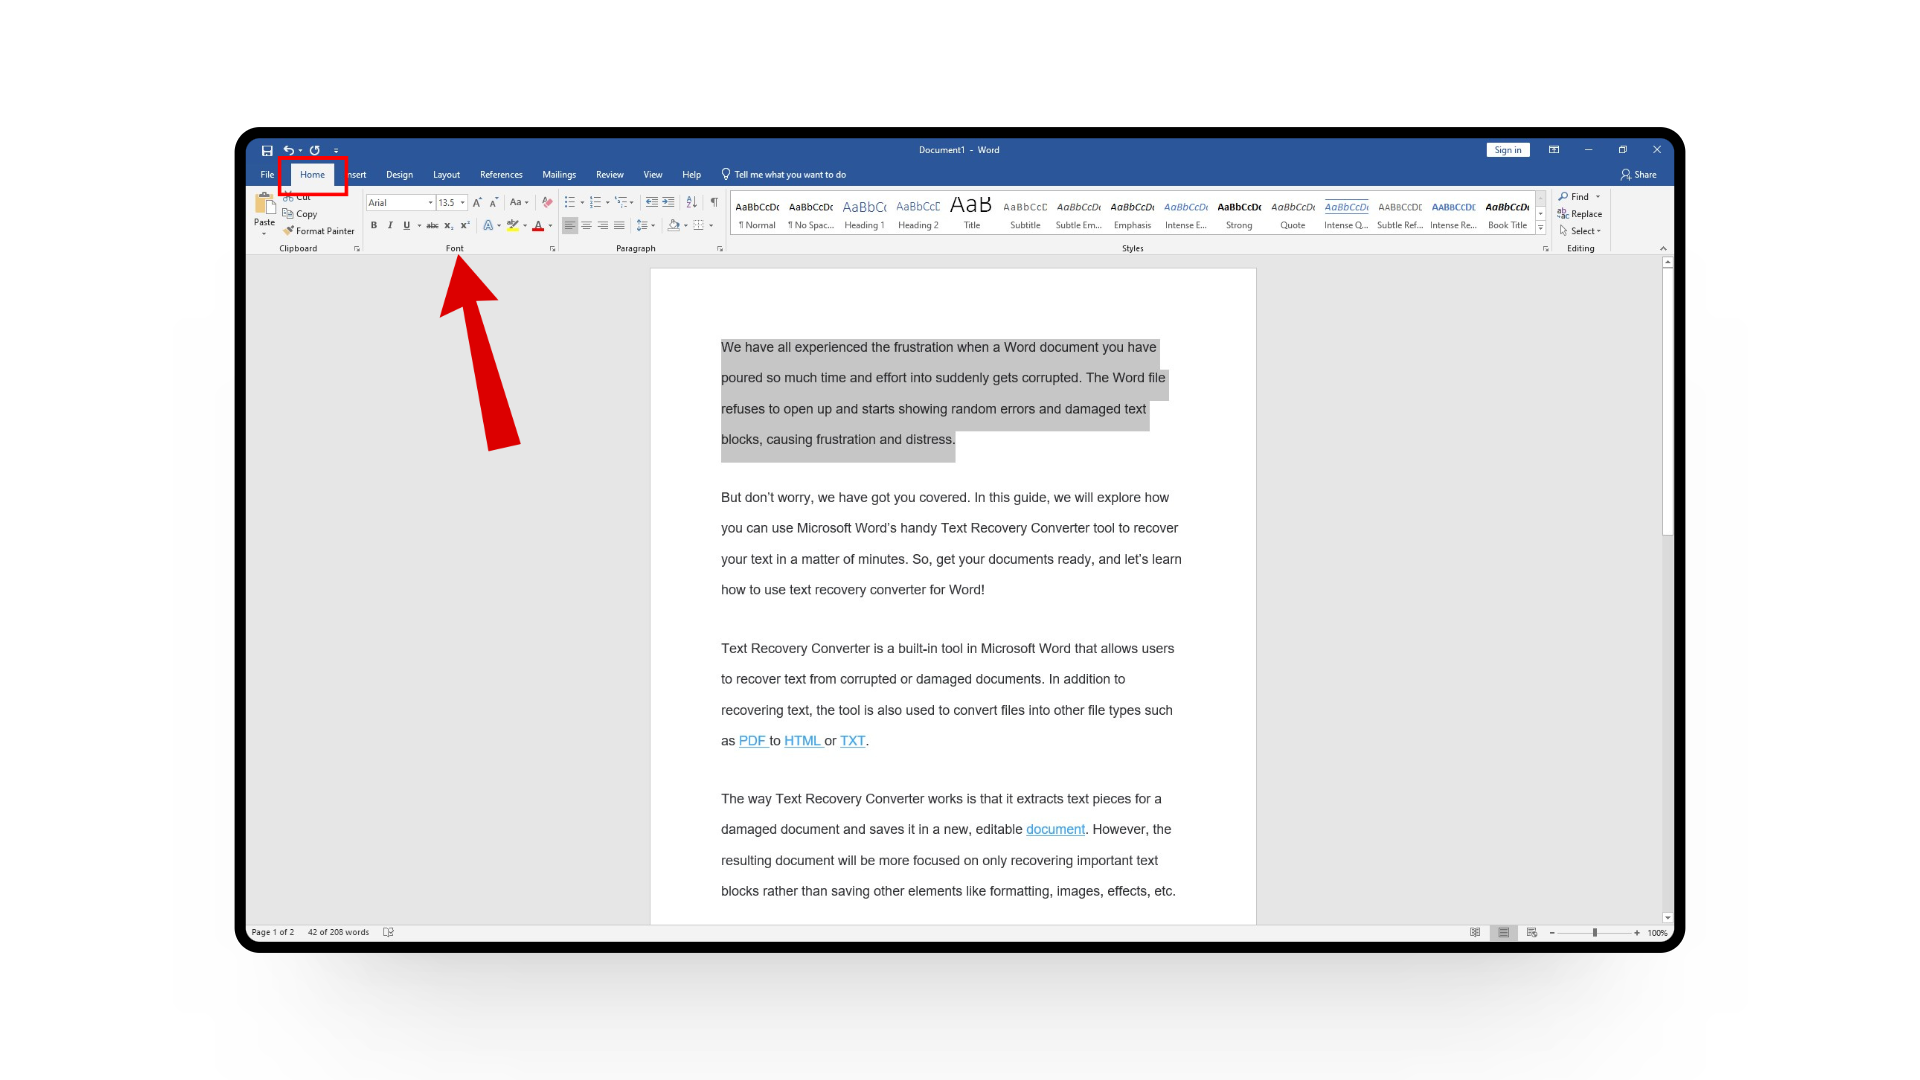
Head to the Font section - Here, click on the “
abc” symbol to add a strikethrough line through your highlighted text.
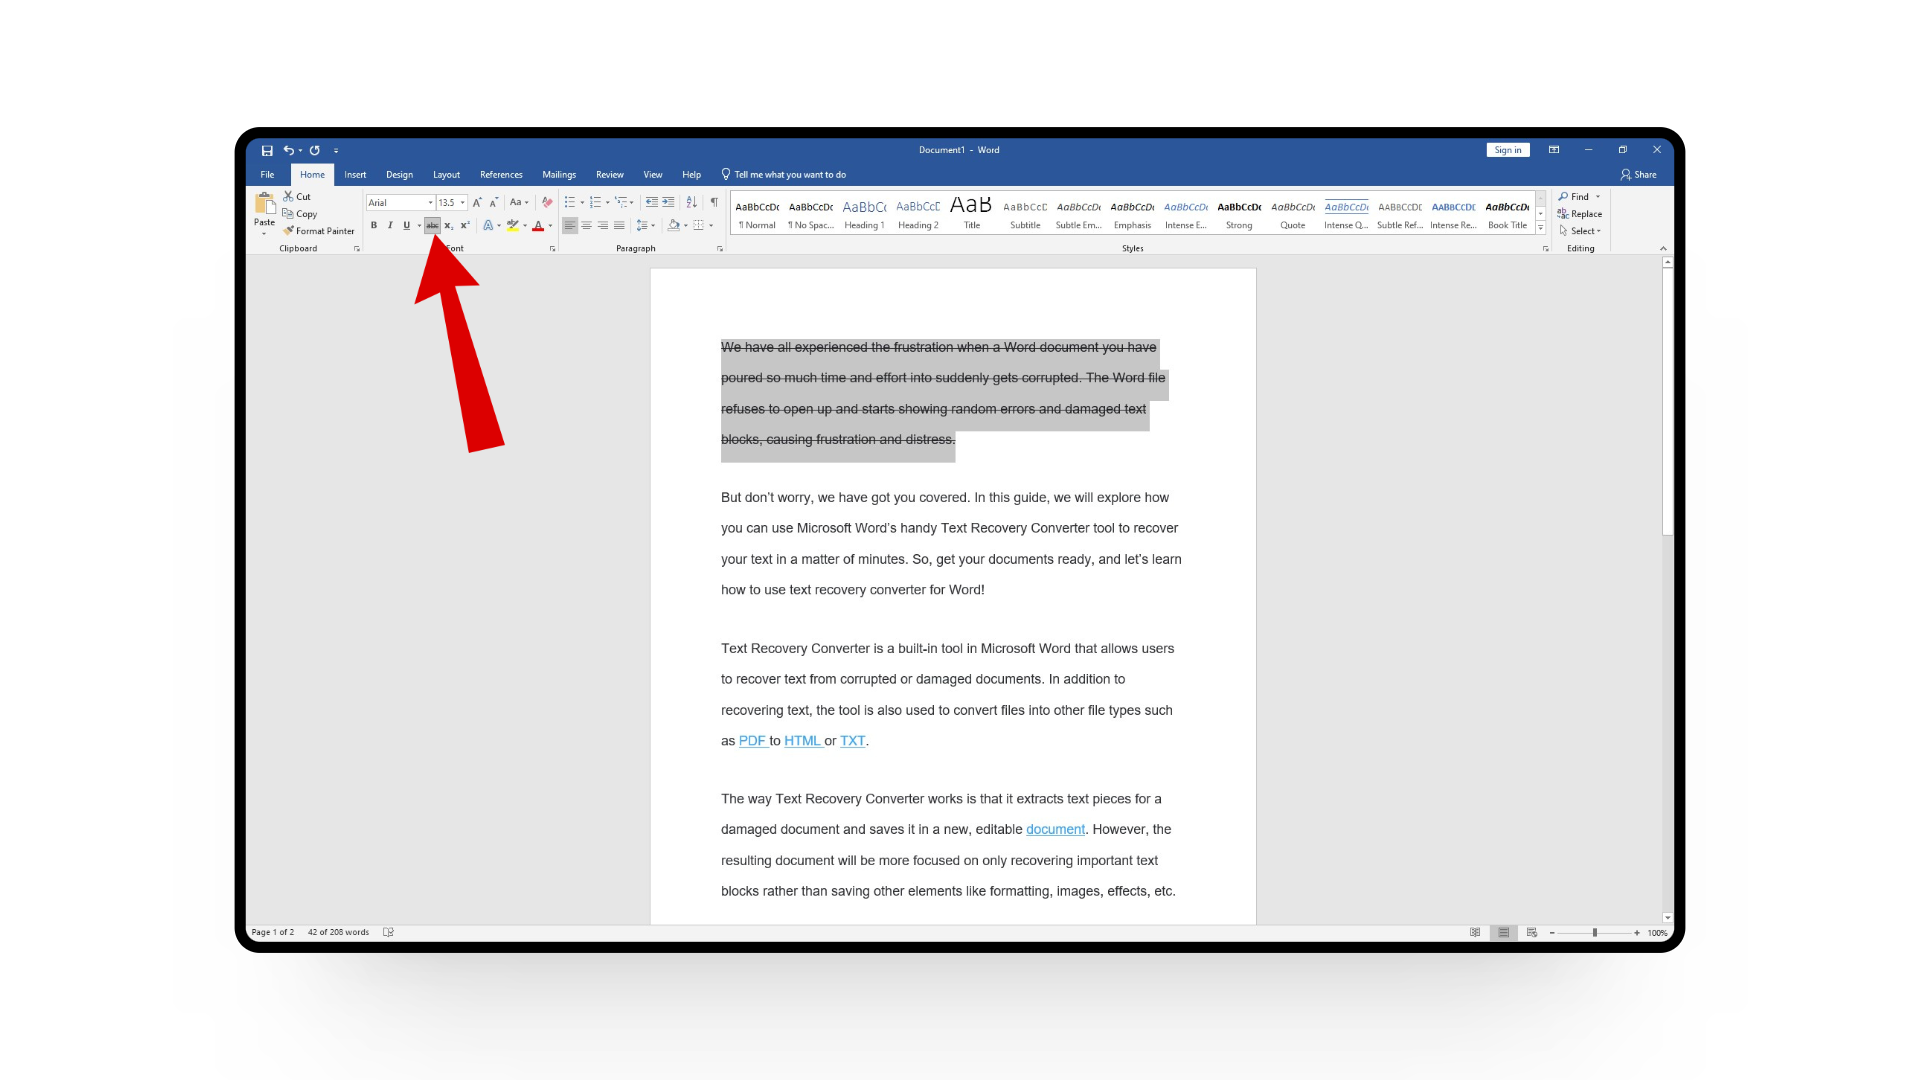
Click on the strikethrough symbol
Tips For Using Strikethrough on Google Docs
While using strikethrough is quite simple, it’s important to ensure you apply the effect properly. Here are some extra tips to use the strikethrough effect effectively:
- Use it Consistently: If you are using the strikethrough effect to point out changes in a document, make sure to use it consistently throughout the text. This means that instead of indicating changes with multiple effects like highlights or bolds, simply mark them with a strikethrough line to ensure everyone understands them properly.
- Don’t Overuse it: While the strikethrough effect is great for highlighting errors or changes, it’s important to not fill your entire document with it. Doing this will not only make your text look cluttered but will also be harder to read.
- Mix and Match Other Formatting Options: Google Docs has several formatting options and it’s best to use different effects for different occasions. For instance, if your entire document is just a plain big chunk of text and you want make to make edits and changes stand out, you can pair strikethrough with bold to make things even clearer. Hence, consider the purpose of the text and use a formatting option that conveys your thoughts effectively.
READ MORE: How to Print Google Doc with Comments on Any Device ➜
Wrapping Up
With the strikethrough formatting effect, you can easily cross out texts to mark changes, indicate revision, or add a touch of humor to your content. Whether you prefer keyboard shortcuts or the Format menu, Google Docs provides several different methods to add the strikethrough line to your documents.
FAQs
Google Docs is free and web-based. It’s part of the Google Drive suite of office applications along with Sheets and Slides. You can create, edit, and store documents online, and collaborate with others in real-time.
Yes, Google Docs is accessible on Mac. You can use Google Docs directly through a web browser on your Mac by visiting the Google Docs website. Additionally, you can download the Google Docs app from the Mac App Store as well.
Google Docs lets you format text with bold, italic, and underline. You can change font styles, sizes, and colors. Adjust alignment, create lists, and insert images or tables. Structure your document with headers, footers, and page breaks.


