How to Create Borders on Google Docs
Borders can make a document look very neat and organized to the reader. You can add borders on Google Docs, to the whole page or even parts of your document. The basic method of adding a border is the same for all unless it is an image that you are adding. The border for an image can be added directly from the editing tools for that image. But for a page, you can follow the steps as mentioned below an make your border for your document on Google Docs.
- Open your Google Docs to an empty/blank document.
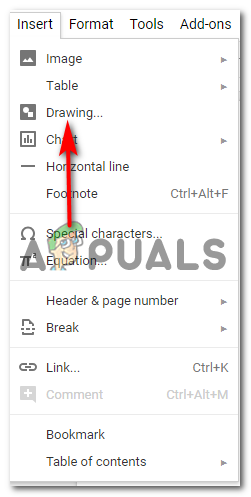
Starting on a bank document - On the top toolbar on Google Docs, click on Insert and then click on ‘Drawings…’ to be directed to more drawing options for your page.
Insert> Drawings - When you click on ‘Drawings…’, a window will open on your screen which will look something like this and will have all these options for your drawing. You can add lines, shapes, change colors and even add images and text boxes, depending on what you want to draw. This again is where you can add a border for the image that will show on your document.
Have a closer look at the drawings by zooming in and draw them accurately by following rulers 
Shapes, symbols, arrows, and callouts. 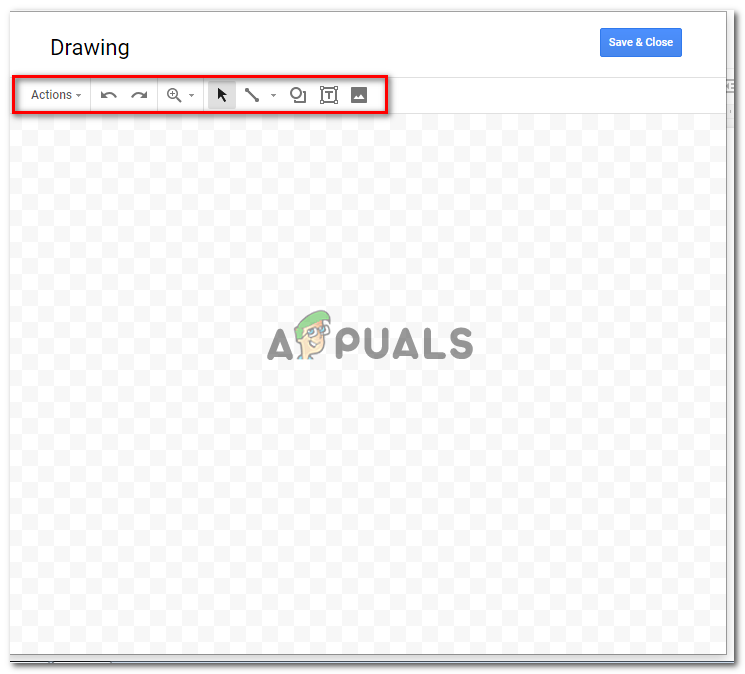
all the tools you need to draw anything here You can zoom in and out on your drawings to make it perfect and flawless.
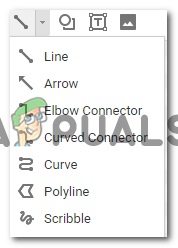
Options for lines and different styles. The various options under the lines tab also give you different lines to choose from.
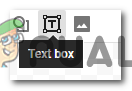
Text box to add text to a shape The tool for shapes offers a range of shapes and symbols that you can add to your drawing.
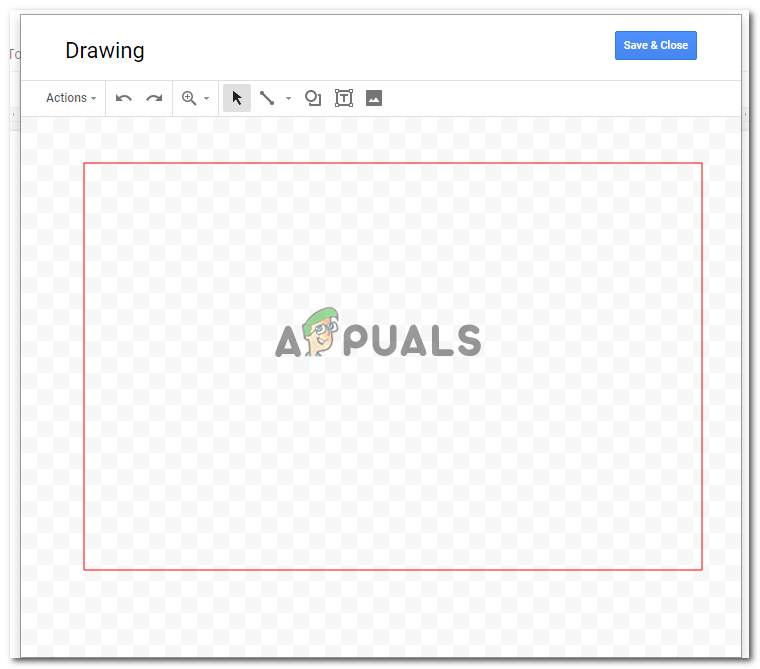
Add an image - For this example, as I want to add a border to my page in Google Docs, I would use the shapes option here and draw a rectangle on the screen.

Various options to choose from 
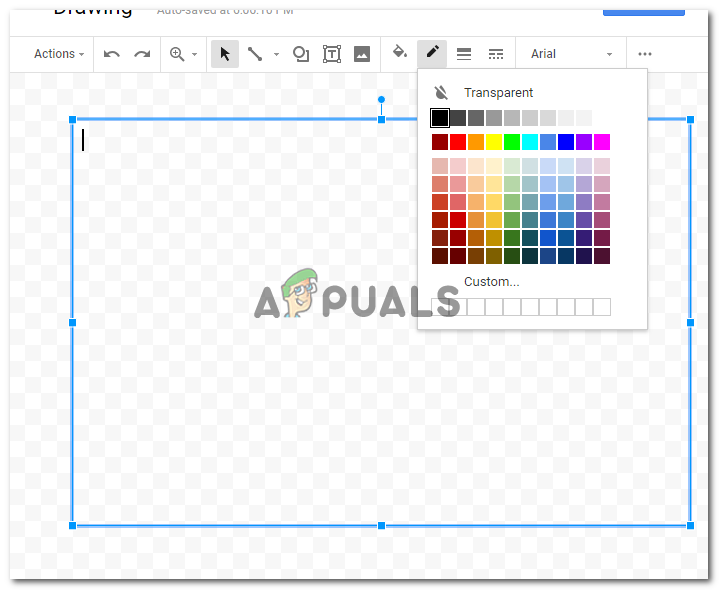
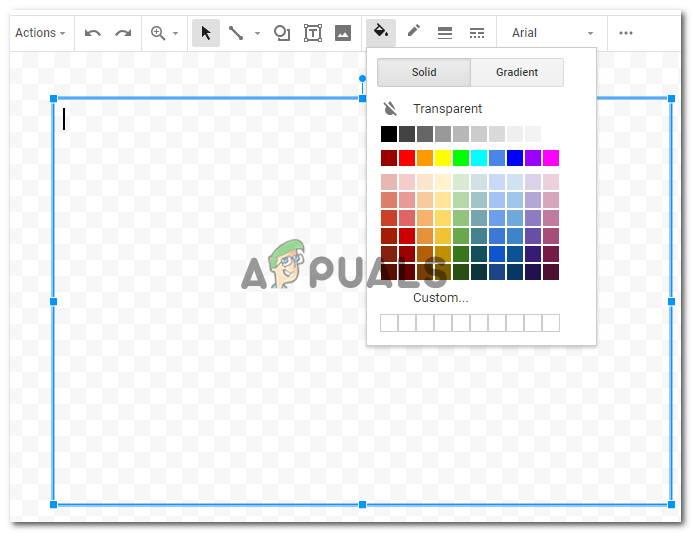
draw the shape. As you are creating g a border, the best shape fr this is a rectangle. You can add a color in the shape, which can be done through the fill option which looks like a paint bucket as shown in the picture below. But since I want to make a border for my page, and keep is simple, I will select the option for ‘transparent’ which will keep the shape transparent within the boundaries.
Color for the border of your shape You can also add a border color to the shape that you just drew. Choose from a variety of colors, keeping in mind the type of document you are working on.
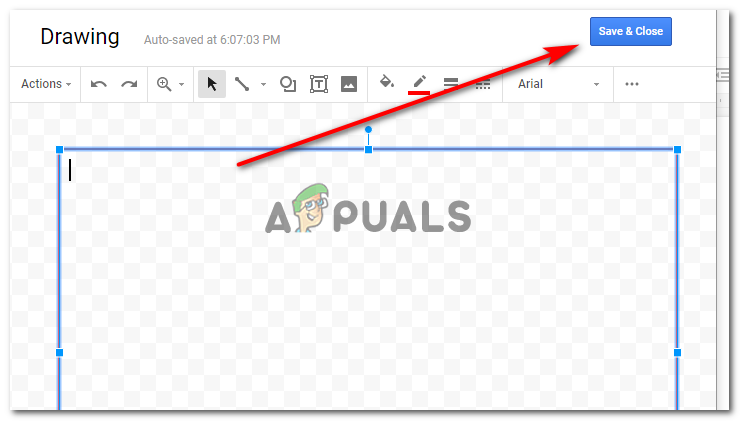
Color fills for your shape Once you are done with these changes on your shape, you can click on the Save and Close button to finalize the settings that you just made.
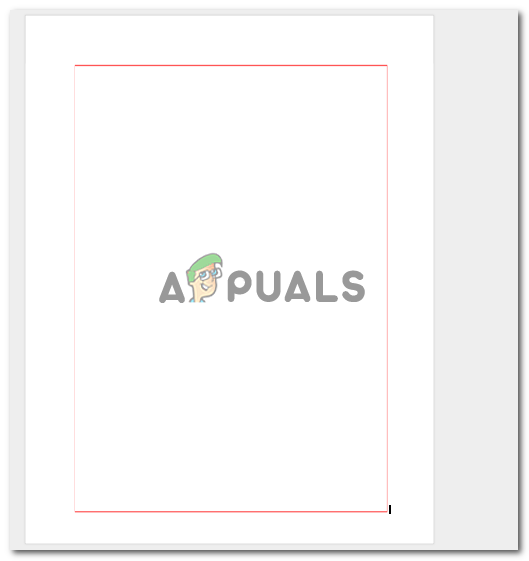
Save and close, click the blue tab. - Once you click on ‘Save and close’, your shape will appear on your document like this.
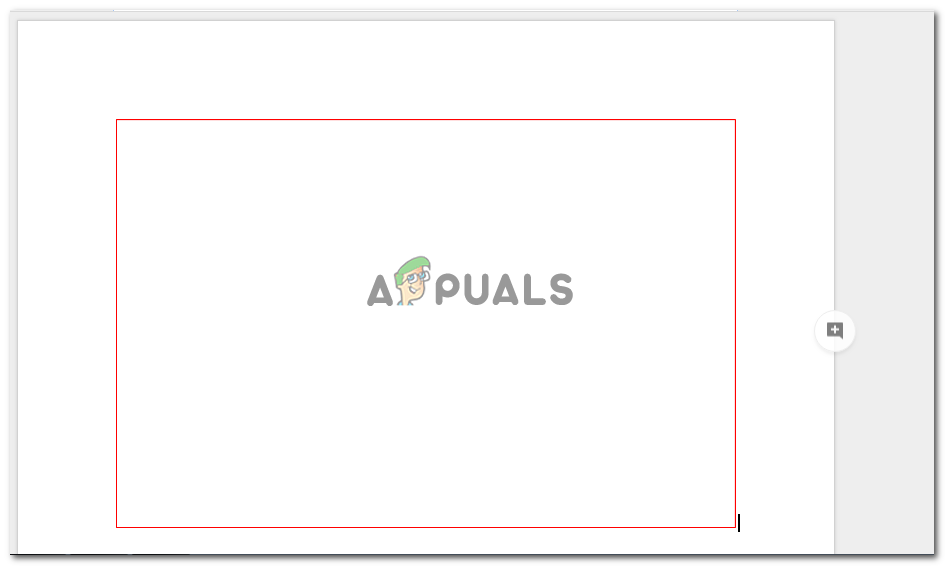
The shape once you have saved the editings. This obviously is not the size of the page, so you edit the shape once it has been added to your document by clicking once on the border of the shape, which will make the anchor points for the shape visible, and now you can drag these anchor points manually according to the shape of the page.
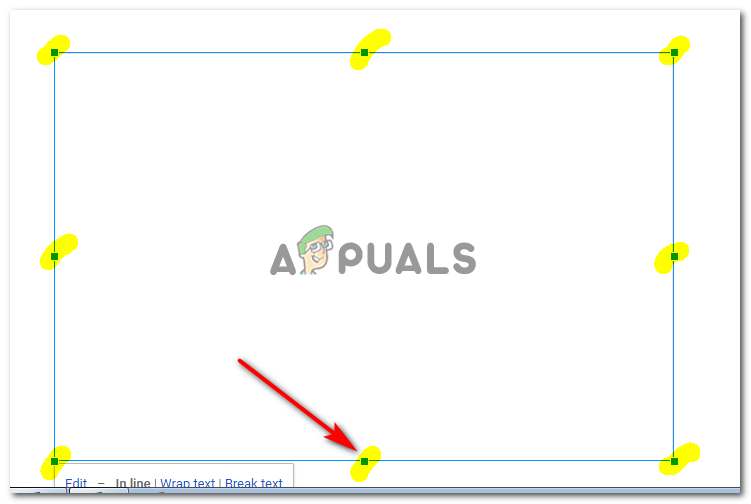
anchor points to edit the shape according to your requirements 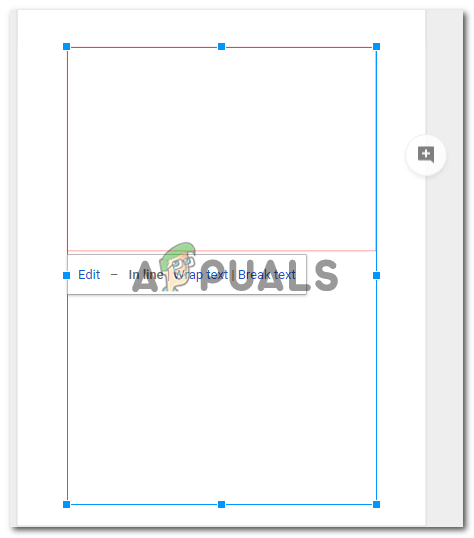
Drag The minute you leave the anchor points, and once you reach the shape of the page, your work here is done. This is how your border for the document will look like.
Set the shape according to the page. This will make the shape look like a border for your page. - If you still feel like this shape doesn’t look like how you want it, and want to change the color of the border, or add a fill color, you can double click on the border of the shape, which will open the drawing window again.
Double tap on the shape to edit it When you click on the shape when the window for drawing opens up, you will find the same options to edit the drawing which appeared when you were initially making the drawing.
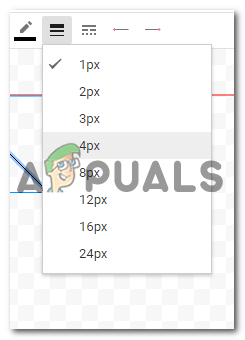
Increase or decrease the weight for the shape borders. 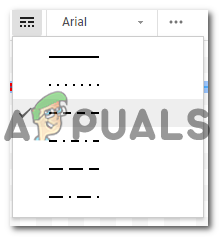
Different styles of lines for your shape. I am going to change the weight of the line and choose a different style for the line of the border. Once I have changed these settings, I will click on save and close to finalize the settings.
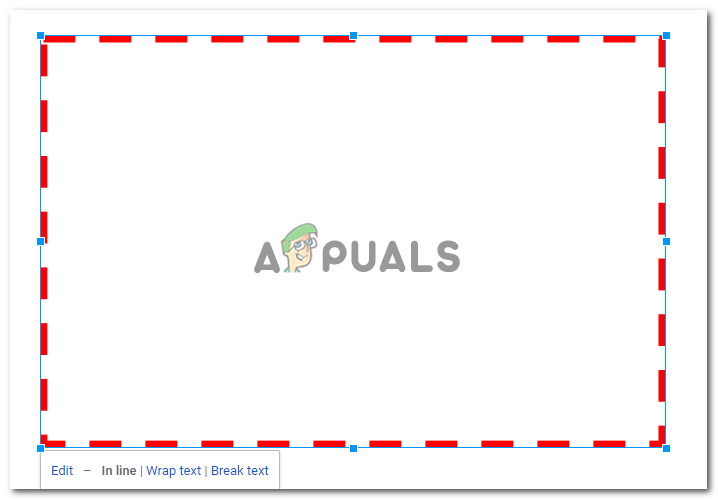
My new border for the page which will have to be edited again according to the size of the page.
I will have to edit the shape and drag it according to the page size as I had done in the earlier steps. If I change the shape again, I will have to repeat this again.


