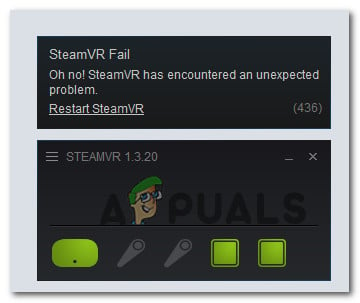
How to Fix SteamVR ‘Error 436’
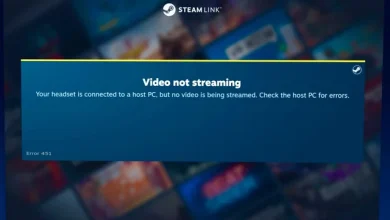
Some VR headset users are encountering the error code 436 when attempting to start the StreamVR. This problem is mainly reported to occur on Windows 10 when the computer supporting the VR setup is connected to more than one output device.
After investigating this particular issue, it turns out that there are several different scenarios that might spawn this particular error code. Here’s a shortlist of instances where the SteamVR Error is known to occur:
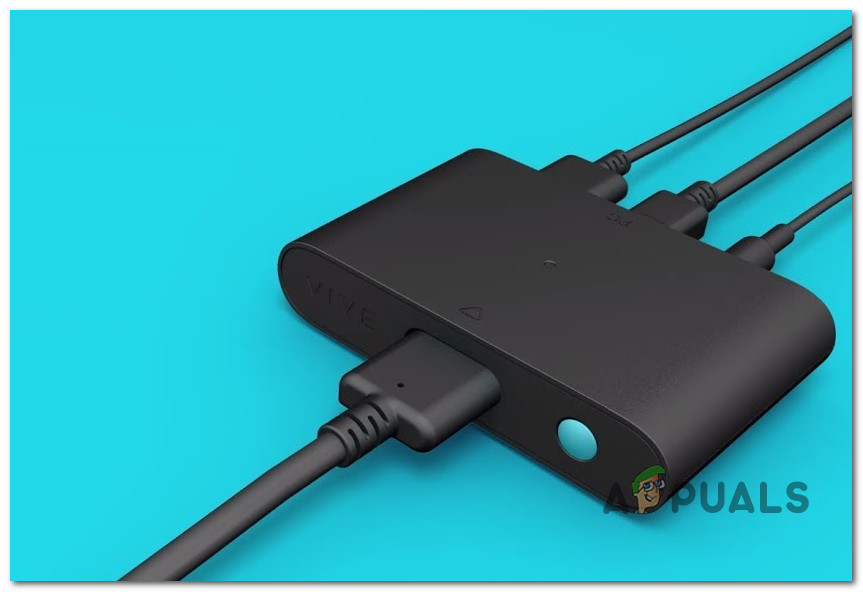
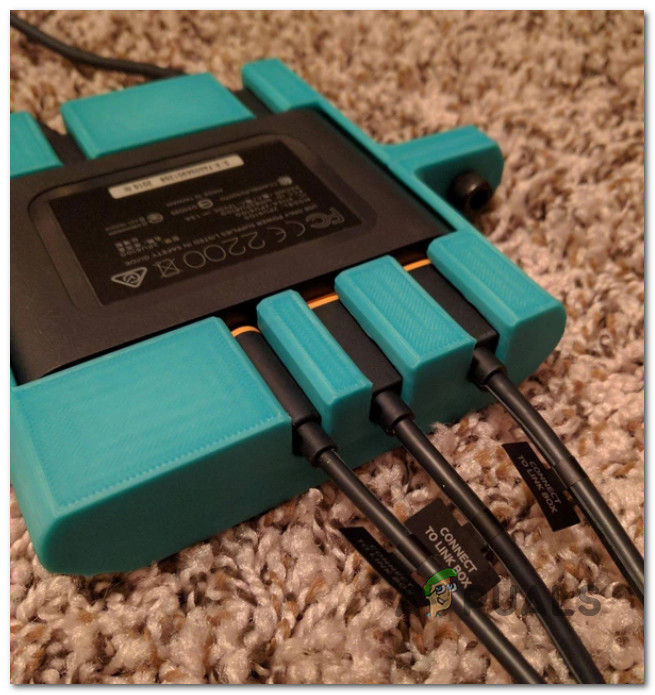
- Tether cable is not properly plugged in – This issue is quite prevalent among HTC Vive PRO users as the default tether cable of the device has a resistance level before it’s properly plugged into the machine. So before you try any of the other fixes below, make sure that all your cables are plugged in all the way and that your VR headset is being recognized by your PC.
- Some Important Add-ons are Blocked – If you started encountering this problem after an unexpected crash, this particular error code is most likely related to some SteamVR add-ons that are actively being blocked by the main app. If this scenario is applicable, you can fix the issue by accessing the Manage SteamVR Add-ons menu and unblocking all SteamVR add-ons.
- Outdated / ‘Bad’ Graphics driver – As it turns out, this problem can also occur due to an issue with your graphics card driver. In most cases, this issue is either caused by an improper driver installation or due to a severely outdated driver. In this case, you should be able to fix the problem by forcing your OS to install the latest available driver or by using the proprietary app to install the latest available driver version.
- Corrupted SteamVR installation – Under certain circumstances, you can expect to see this issue due to an improper SteamVR installation. If this scenario is applicable, you should be able to fix the problem by reinstalling SteamVR along with every associated dependency.
- Vive PRO Glitch w/ StreamVR – In case you’re using the Vive PRO toolkit, you are most likely dealing with a fairly common glitch that only affects HTC users. If you find yourself in this scenario, you should be able to fix the problem by unplugging the USB and DisplayPort / HTP device and removing the VR device from the SteamVR application.
- Integrated GPU interference – If you’re encountering this problem on a PC with both an integrated and a dedicated GPU, it’s possible that the problem is being caused by the integrated component. This happens because SteamVR is not very good at choosing the best GPU option when it has a choice. To fix this problem, you’ll need to disable the integrated component in order to prevent SteamVR from utilizing the integrated GPU.
Method 1: Making sure the Tether cable is Properly Plugged in (if applicable)
Before trying any of the other potential fixes below, you should start out by making sure that the tether cable you’re using to connect your VR device is pushed all the way in tight.
This issue is much more common than it supposed to be due on HTC Vive due to the fact that the tether cable of the VR kit has a resistance level before it’s pushed in properly.
So before you move to any of the other methods featured below, you should take the time to ensure that every involved cable is pushed all the way through.
Once you’ve made sure that every cable is successfully connected, open SteamVR once again and see if the problem is now fixed.
If the problem is still not resolved, move down to the next potential fix below.
Method 2: Unblocking add-ons (if applicable)
As it turns out, one reason why you can expect to see the 436 error code with SteamVR is an instance in which some add-ons that your SteamVR installation was previously relying on are currently blocked after an unexpected crash.
If this scenario is applicable, you should be able to fix this problem by unblocking every add-on in order to deal with the 436 error code. We’ve managed to found a lot of affected users who confirmed that unblocking every forcibly stopped SteamVR add-on finally allowed them to use their VR headset with SteamVR without encountering the same error code.
Here’s a quick step-by-step guide that will allow you to unblock the problematic add-ons:
- First things first, start by unplugging your headset or link box from your computer. Then, go ahead and disconnect any controllers or any other VR equipment that you currently have plugged into your PC.
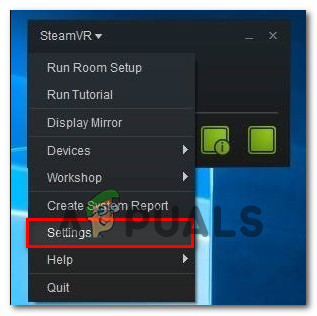
Disconnecting your VR tech from your PC - Once every relevant VR tech is successfully disconnected, click on the SteamVR drop-down menu, then click on Settings from the newly appeared context menu.
Accessing the Settings menu of SteamVR - Once you’re inside the Settings menu, go to Startup / Shutdown, then access the Manage Add-Ons menu.
- From the Manage SteamVR Add-Ons, click on Unblock All button in order to unblock every VR dependency that is no longer functioning correctly.
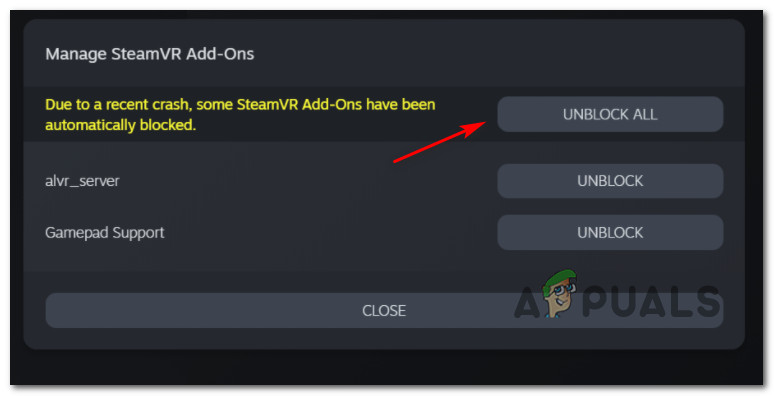
Unblocking every SteamVR Add-on - After every relevant SteamVR add-on has been successfully turned on, go ahead and close the SteamVR application.
- Re-connect your VR headset (using a different USB port if possible) then wait for the relevant drivers to install once again.
- Launch SteamVR once again and see if you are no able to launch the app without encountering the same 436 error code.
If you’re still stuck with the same error code, move down to the next potential fix below.
Method 3: Installing the latest Graphics card Driver
As it turns out, this error code with SteamVR can also be caused by an improper graphics card installation – In most cases, it’s reported to occur due to a ‘bad’ Nvidia driver that ended up breaking the VR functionality of the GPU.
If this scenario is applicable, you should be able to fix the problem by forcing your PC to reinstall the latest compatible graphics card driver or using the proprietary updating application (Nvidia Experience or Adrenalin) to install the latest drivers automatically.
If you haven’t tried this already, follow the instructions below to check whether your GPU is currently using the latest available driver version:
- Open up a Run dialog box by pressing Windows key + R. Inside the text box, type ‘devmgmt.msc’ and press Enter to open up Device Manager. When you’re prompted by the UAC (User Account Control), click Yes to grant admin access.
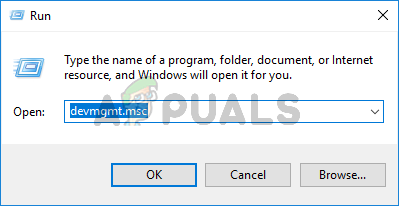
Type devmgmt.msc and Press Enter to Open Device Manager - Once you’re inside Device Manager, scroll down through the list of installed devices, then expand the menu associated with Display Adapters.
- From the Display Adapters drop-down menu, right-click on your dedicated GPU (you’ll only have one entry if you don’t have an integrated GPU), then click on Update driver from the newly appeared context menu.
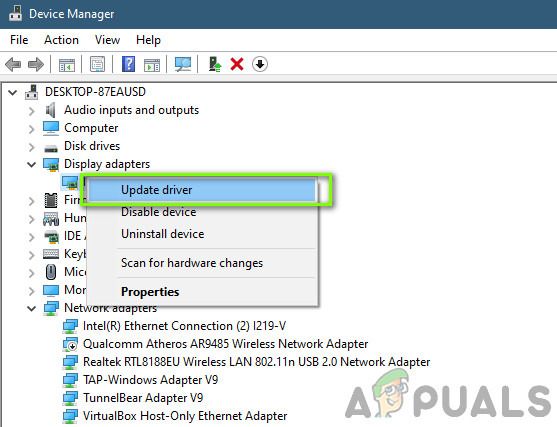
Updating Graphics Driver Manually - Once you get to the next screen, click on Search Automatically for updated driver software. Next, follow the on-screen instructions to download and install the latest GPU driver that the scan has managed to identify.
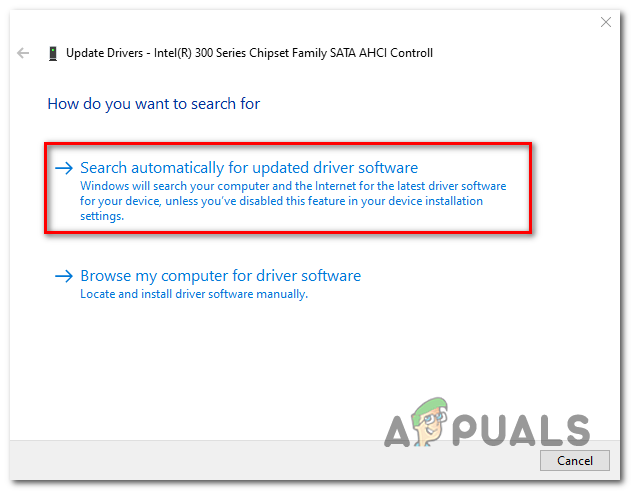
Searching automatically for newer driver software - If a new driver version is identified, follow through with the on-screen instructions to complete the installation, then reboot your computer and wait for the next startup to complete.
- After the next startup is complete, launch SteamVR once again and see if the 436 error code is now fixed.Note: In case Device Manager didn’t manage to find & install a newer driver version for your GPU driver, you should use the proprietary software from your graphics card manufacturer to make sure you’re actually running the latest driver:
GeForce Experience – Nvidia
Adrenalin – AMD
If updating the GPU driver didn’t’ solve the problem or you were already running on the latest graphics card driver, move down to the next potential fix below.
Method 4: Reinstalling SteamVR
According to some affected users, this problem can also occur due to some kind of file corruption affecting the installation files of SteamVR. We’ve managed to find several reports of users that managed to fix the issue simply by reinstalling SteamVR and every associated dependency.
Note: While some users have managed to fix the issue permanently by reinstalling, others are reporting that the error code returned after they disconnected their VR headset and plug it back in at a later date.
If you want to give this method a try, follow the instructions below to reinstall SteamVR and fix the 436 error code:
- Open up a Run dialog box by pressing Windows key + R. Next, type ‘appwiz.cpl’ inside the text box and press Enter to open up the Apps and Features window.
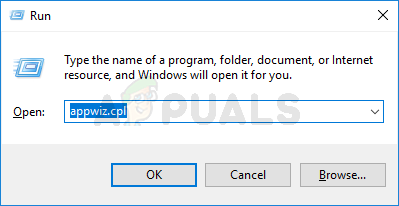
Type appwiz.cpl and Press Enter To Open Installed Programs Page Note: When you’re prompted by the UAC (User Account Control), click Yes to grant admin access.
- Once you’re inside the Apps & Features menu, scroll down through the list of installed applications and locate your Steam installation.
- When you manage to locate the entry associated with Steam, right-click on it and choose Uninstall from the newly appeared context menu.
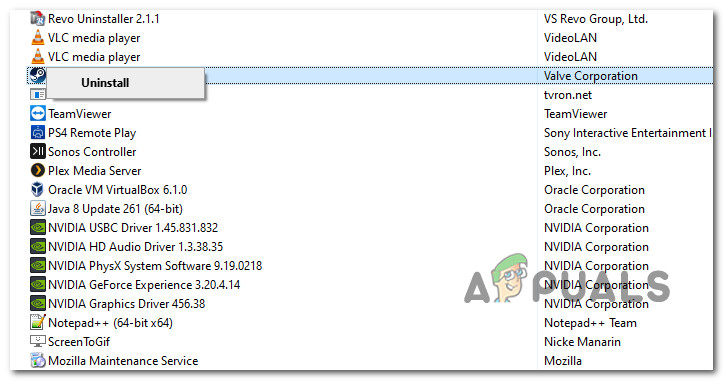
Uninstalling SteamvR - Once you’re inside the uninstallation screen, follow the on-screen instructions to complete the process, then reboot your computer and wait for the next startup to complete.
Note: After you uninstall the main Steam application, go ahead and repeat the uninstallation process with every associated Steam and VR dependency. - After your computer boots back up, visit the official Steam Download Page and download the latest version of the gaming platform.

Downloading the latest version of Steam - Once the installation client is downloaded, double-click on it and follow the on-screen instructions to install the latest version of Steam.
- After you successfully manage to install the latest version of Steam, utilize the store to download the latest version of SteamVR – You can either do it from within the application store or you can download it from an external link.
- Finally, once the parent application and SteamVR have been successfully re-installed, launch the VR app once again and see if the problem is now fixed.
If the issue is still not fixed, move down to the next method below.
Method 5: Removing Vive PRO from All SteamVR Devices list (if applicable)
If you’re encountering this issue with Vive PRO, there’s a good chance you’re dealing with a glitch that’s specific to this HTC VR toolkit. According to some affected users, this headset has the potential to glitch out with SteamVR – There are a lot of similar user reports all encountering the problem with Vive PRO.
Fortunately, the fix for this particular scenario is quite simple – You’ll need to unplug the USB and Display Port for your HTC Vive Pro device before removing all SteamVR devices from the Developer tab of SteamVR – After doing this, rebooting their PC and re-establishing the connection, a lot of affected users have confirmed that they’ve successfully managed to fix the problem.
Note: This is an ongoing glitch that is still not patched by HTC, so this is more of a temporary fix – You can expect the same problem to return down the line. When this happens, follow the instructions below all over again.
If this scenario is applicable and you’re encountering the 436 SteamVR error with a Vive PRO device, follow the instructions below:
- First things first, start by powering your Vive PRO headset off. Next, disconnect the USB and DisplayPort / HDMI ports that are connected to the PC.
- Next, open SteamVR and access the drop-down menu to access the Settings menu.
Accessing the Settings menu of SteamVR - Once you’re inside the Settings menu of SteamVR, select the Developer tab from the menu on the left, then move over to the right-hand side menu and click on Remove all SteamVR USB Devices (under Reset).
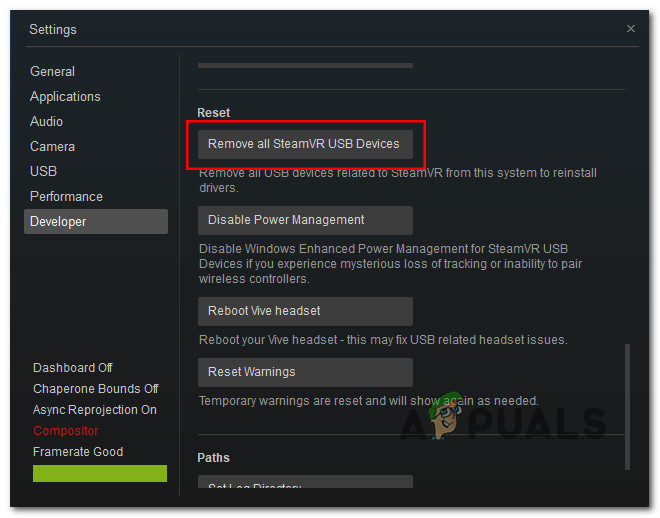
Removing all VR devices from the Developer tab - At the confirmation prompt, click Yes and wait for the operation to complete.
- Once the operation is finished, restart your computer and see if the problem is fixed at the next computer startup.
- After your computer boots back up, plug the VR headset back in conventionally and launch SteamVR to see if the problem has been fixed.
If the same problem is still occurring, move down to the next potential fix below.
Method 6: Disabling the Integrated GPU
If you’re encountering the 436 error code with SteamVR on a dual-GPU PC setup in which one GPU is integrated and the other dedicated, this issue is most likely caused by the integrated component.
As it turns out, this problem might occur due to the fact that SteamVR is not that good at picking the correct graphics card when having to choose between multiple options. If this scenario is applicable and you suspect that you’re seeing this error because SteamVR decided to use the integrated GPU component, you can fix the issue by disabling the integrated component.
If you have an integrated GPU that you think might be interfering with VR rendering, follow the instructions below to disable it in order to force SteamVR to use the dedicated component:
- Press Windows key + R to open up a Run dialog box. When you see the Run box prompt, type ‘devmgmt.msc’ inside the text box and press Enter to open up the Device Manager window.
Type devmgmt.msc and Press Enter to Open Device Manager Note: If you’re prompted by the UAC (User Account Control) prompt, click yes to grant admin access.
- Once you’re inside Device Manager, scroll down through the list of installed devices and expand the drop-down menu associated with Display Adapters.
Inside the Display Adapters drop-down menu, right-click on your integrated GPU and choose Disable Devices from the newly appeared context menu.
Disabling the integrated GPU - After you have successfully disabled your integrated GPU component, restart your computer and wait for the next startup to complete.
- Once the next startup is complete, open SteamVR once again conventionally and see if the problem is now fixed.
Note: If the integrated GPU was successfully disabled, your Windows installation will have no choice but to use the dedicated component. If your Steam is not opening, exit and restart the Steam app and re-do the methods above.