[FIX] Spatial Sound Reverting to Windows Sonic on Windows
One of the most annoying issues currently still a massive pain for many Windows 11 and 10 users is a scenario where the spatial sound is forced to Windows Sonic after each reboot or hibernation. This is a massive inconvenience for those users who paid for Dolby Atmos and want to use it at all times.

After we investigated this issue, we realized that there are several different underlying culprits that could be responsible for this behaviour. Here’s a shortlist of potential culprits that you should investigate when you’re trying to fix this annoyance:
- Windows GUI glitch – More often than not, you can ensure that the spatial sound setting remains to your preferred values by making the change from the dedicated app. Use Dolby Access or DTS Sound Unbound to configure your custom spatial sound and mount it for your Windows 10 or Windows 11 PC.
- Playback device allows exclusive control – If your default playback device is configured to allow another 3rd party app to take exclusive control of it, this might be why your spatial sound settings keep defaulting to Windows Sonic. Disable Exclusive control to make sure this issue doesn’t repeat.
- The conflict caused by the NVIDIA HDMI Audio device – If you have a dedicated NVIDIA HDMI Audio driver installed, that’s likely why you keep seeing the spatial sound setting changing with every restart or hibernation. To prevent this issue from happening again, simply disable NVIDIA HDMI Audio and uninstall the related driver.
- Corrupted Spatial Sound installation – Another reason you might be experiencing this issue is a corruption problem affecting Dolby Access or DTS Sound Unbound. To fix this issue, use the Windows 10 or 11 GUI to repair or reinstall your dedicated spatial sound app.
- Hotfix for Windows 11 is not installed – If you are on Windows 11, you will likely be able to fix this issue by installing a series of hotfix that Microsoft has released to tackle this issue. However, the same fix is unavailable for Windows 10 when writing this article.
- General sound inconsistency – According to some Windows 10 users, this problem can also be related to general inconsistency brought about by a sound dependency. In this case, you can cover many potential suspects by running the sound (audio) troubleshooter and applying the recommended fix.
- Outdated sound drivers – Remember that your sound drivers can also be responsible for this issue (mainly if you use a dedicated sound card). Before you dismiss this potential culprit, take the time to use Device Manager to ensure that all your sound drivers’ fleet is updated to the latest version.
- Registry inconsistency – If you’re still on Windows 11, you are likely seeing this problem perpetuate due to a registry inconsistency. You can address this issue swiftly by modifying the default spacial sound reg. Key using Registry Editor.
- System file corruption – Under certain circumstances, you might face this issue due to corruption affecting your OS. The most efficient way to fix this is to deploy a clean install or repair install procedure.
Now that we have gone over every potential reason why you might be experiencing this behaviour, let’s go over a series of verified fixes that other affected users have successfully used to ensure that Spacial sound doesn’t revert to Windows Sonic with every restart or hibernation.
1. Enforce Spatial Sound from the dedicated app
As it turns out, one of the most successful ways of ensuring that the Spacial Sound preference doesn’t change again on your Windows 10 or Windows 11 PC is to enforce the change from the dedicated app instead of the Sound Settings menu.
For example, if you want to use Dolby Atmos and pay for a subscription (or claim your free trial), you should mount it from the Dolby Access app.
This might seem redundant, but this method has been confirmed to work with Dolby Atmos and DTS.
If you want specific instructions on enforcing your preferred Spatial Sound method from the dedicated app, follow the instructions below:
Note: In the steps below, we’ll show you how to enforce Dolby Atmos from the dedicated app.
- Press the Windows key + R to open up a Run dialogue box. Next, type ‘ms-windows-store:’ inside the text box, then press Ctrl + Shift + Enter to open up the Microsoft Store with admin access.
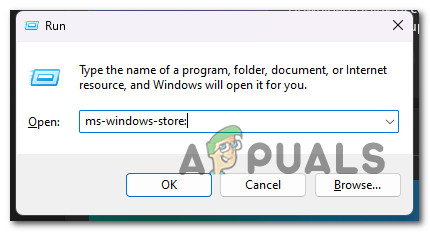
Access the Windows Store - Click Yes to grant admin access when prompted by the User Account Control.
- Once you’re inside the Microsoft Store (Windows Store), search for the dedicated app that facilitates the spacial sound you are looking to use (most commonly, either Dolby Access (for Dolby Atmos) or DTS Sound Unbound (for DTS).

Downloading Dolby Access - Search for the dedicated app using the search bar at the top, then click on the Get button and wait until the app is downloaded and installed.
- Once the app is installed, click on Begin Setup, then follow the on-screen instructions to complete the initialization operation.
- Next, once the operation is complete, click on Configure PC settings, and you will be taken directly to your Speaker/headphones properties.
- Once you’re inside, ensure that the Spatial Sound tab is selected, then go under Spatial sound format and change the drop-down menu to your preferred format (in our case Dolby Atmos for Headphones).

Changing the Spatial Sound format - Click Apply to save the changes, reboot your PC, and see if your spatial sound setting is now preserved between restarts.
If the problem is still not fixed, move to the following method below.
2. Prevent default playback device from taking exclusive control
As it turns out, another potential reason, you might be annoyed by the fact that your spatial sound format changes to Windows Sonic after every restart or hibernation is that your default playback device is configured to allow other applications to take control of itself.
This is a problem because most sound optimization & equalizer apps have the habit of overriding the default spatial sound.
Fortunately, you can prevent this by accessing the advanced settings of your default playback device and disabling Exclusive Mode.
For specific instructions on how to do this, follow the steps below:
- Press the Windows key + R to open the Run dialogue box. When you type “mmsys.cpl” and press Enter, the Sound window will be displayed after a couple of seconds.
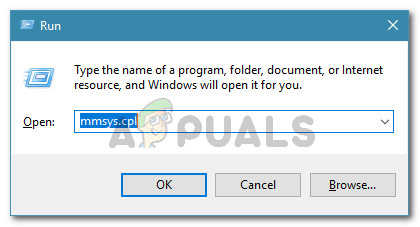
Access the Sound settings - If the UAC (User Account Control) asks you to provide admin access, choose Yes.
- After doing so, pick the Playback tab. Then, right-click on the playback device currently in use, and choose Properties from the context menu.
Note: It’s essential that you select the proper playback device. Look for the device with a green checkmark next to its symbol. That is the one that is in use right now. - Once you’ve reached the Device Properties page, choose the Advanced tab from the window’s horizontal menu.
- Select the Advanced tab, then select the Exclusive Mode section. Uncheck the box next to Allow apps to take exclusive control of this device.

Allow apps to take Exclusive control of the device - After selecting Apply to save the change, restart your computer for it to take effect.
- After the ensuing restart process is complete, change spatial sound once again and reboot or restart to see if the setting is maintained.
If the problem is still not fixed, move down to the following method below.
3. Prevent the conflict with the NVIDIA HDMI Audio Device (if applicable)
Under certain circumstances, you can also expect to deal with this issue if there’s a conflict between your default audio device and the NVIDIA HDMI Audio driver. This might be why you see the spatial sound format changing to the default choice every time you restart or put your computer on sleep or hibernation.
Important: This method only applies if you’re using an NVIDIA GPU. Disregard this method if you’re on integrated graphics or using an AMD graphics card.
Some users dealing with this problem have confirmed that they managed to eradicate this conflict by disabling the NVIDIA HDMI Audio device – this will force the default audio device to function undisturbed.
Note: Remember that you might also be required to get rid of the dedicated NVIDIA audio driver in specific scenarios. Only resort to this if you know you are not actively dependent on the HDMI Audio input.
If you suspect that this scenario is applicable, follow the instructions below to prevent the conflict between the NVIDIA HDMI Audio device and your default audio device:
- Right-click anywhere on free space on your desktop and click on NVIDIA Control Panel.
Note: If you’re on Windows 11, you might be required to click on Show More Options before you get the option to click on NVIDIA Control Panel.
Open NVIDIA Control Panel - Once inside the NVIDIA Control panel, use the menu on the left to go under Display and click on Set up digital audio.
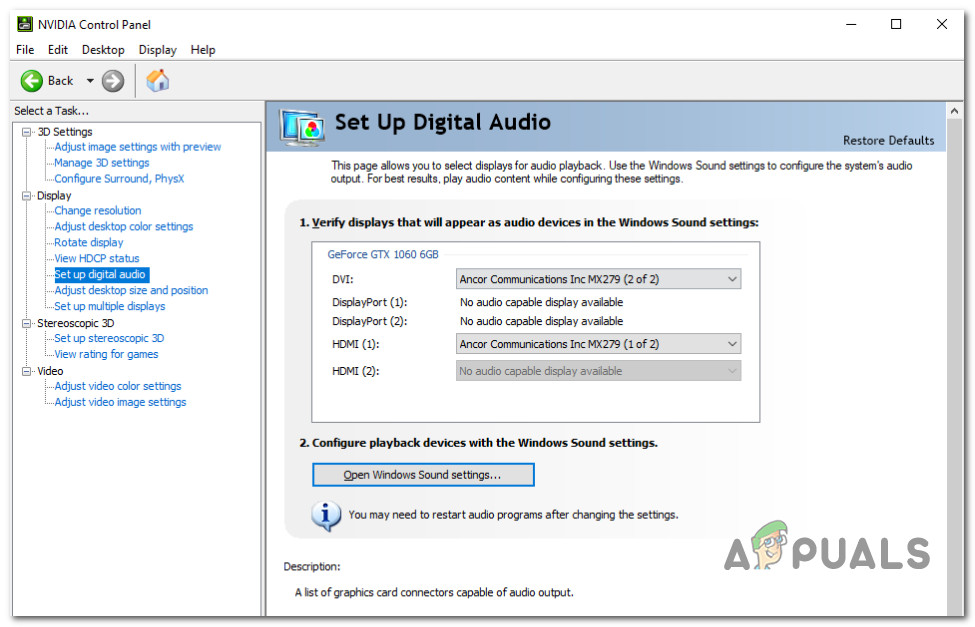
Disable HDMI Audio - Next, move over to the right-hand pane, disable Nvidia Audio, and close the NVIDIA Control panel.
- Press the Windows key + R to open up a Run dialogue box. Next, type ‘appwiz.cpl’ and press Ctrl + Shift + Enter to open up the Programs and Features menu with admin access.
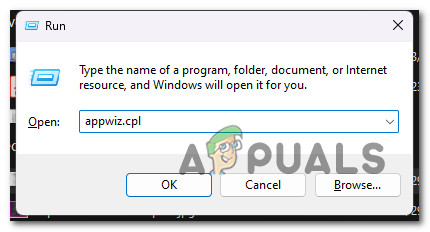
Open up the Programs and Features menu - Click Yes to grant admin access when the User Account Control (UAC) is prompted.
- Once inside the Programs and Features menu, scroll down through the list of installed programs and locate the NVIDIA HD Audio driver.
- When you locate the unnecessary driver, right-click on it and choose Uninstall from the context menu that just appeared.
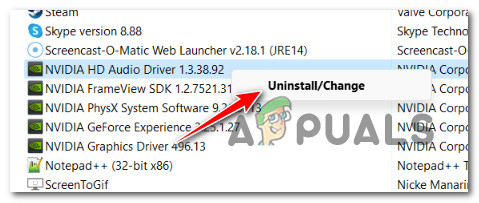
Uninstall the Nvidia HD Audio driver - Follow the remaining uninstallation prompts to complete the uninstallation operation.
- Finally, set the spatial sound format to your preferred option and reboot your PC to see if the setting is now maintained between restarts.
If the same issue is repeated, move to the following method below.
4. Repair or Reinstall the Spatial Sound app
This problem is often caused by corruption affecting the 3rd party spatial sound app you’re using to achieve the custom sound format. Dolby Access and DTS Sound Unbound are most commonly reported for causing this type of issue.
If you keep establishing Dolby Atmos or DTS as the default spatial sound format and your setting gets overridden after every restart or system shutdown, try repairing or reinstalling the spatial sound app that makes it all possible.
This method was confirmed to work by many users, and we’re experiencing this issue on Windows 10 or 11.
If this method looks like it could be applicable, follow the instructions below:
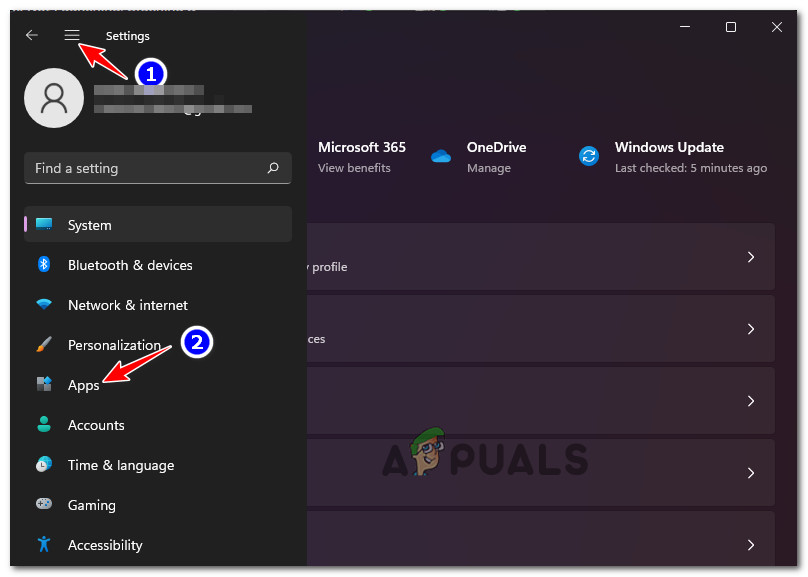
- Press Windows key + I to open the Settings panel in Windows 11.
- Select the Apps tab by using the vertical menu on the left after opening the Settings menu. If the vertical menu isn’t visible when you first open the Settings window, click the action icon at the top to make it visible.
Access the Apps menu - Use the right-hand pane of the Apps menu to access the Apps & Features menu.
- After accessing the Apps & Features menu, use the search function under “App list” to reach for Dolby Access or DTS Sound Unbound (depending on which spatial sound format you plan on using).
- Once you’ve located the spatial sound app, click on the action icon (three-dot icon) adjacent to it. From the context menu that displays, choose Advanced Options.
- Go to the Reset option in the Dolby Access (or DTS Sound Unbound) Advanced Settings menu and choose Repair.
- Set the spatial sound to your custom choice and reboot your Windows 10 or Windows 11 PC to see if the problem is still occurring. If the problem is still not fixed, move to the following method below.
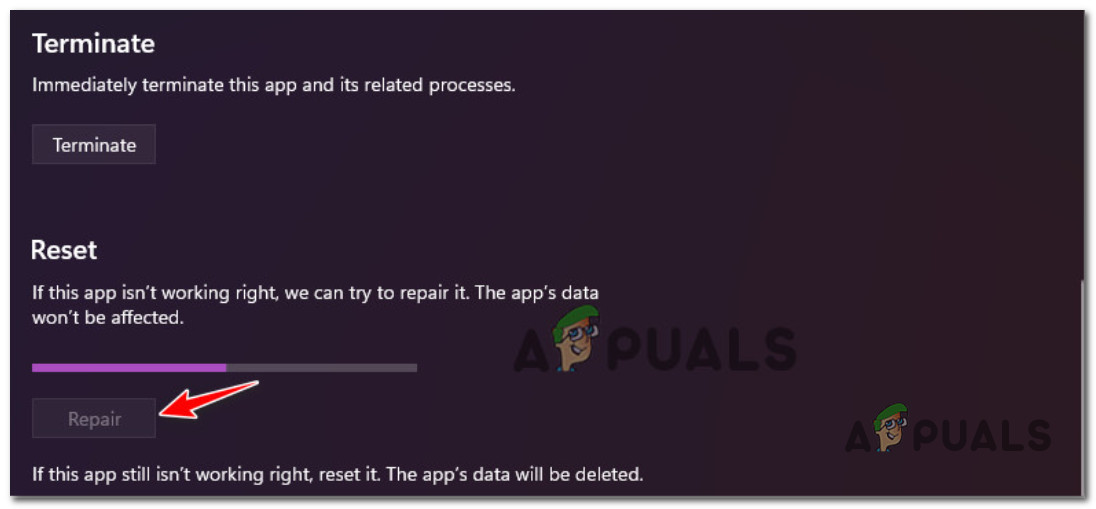
Repair the app - If the problem is still not fixed, try the second mitigation technique by selecting Reset in the same Advanced Options window.
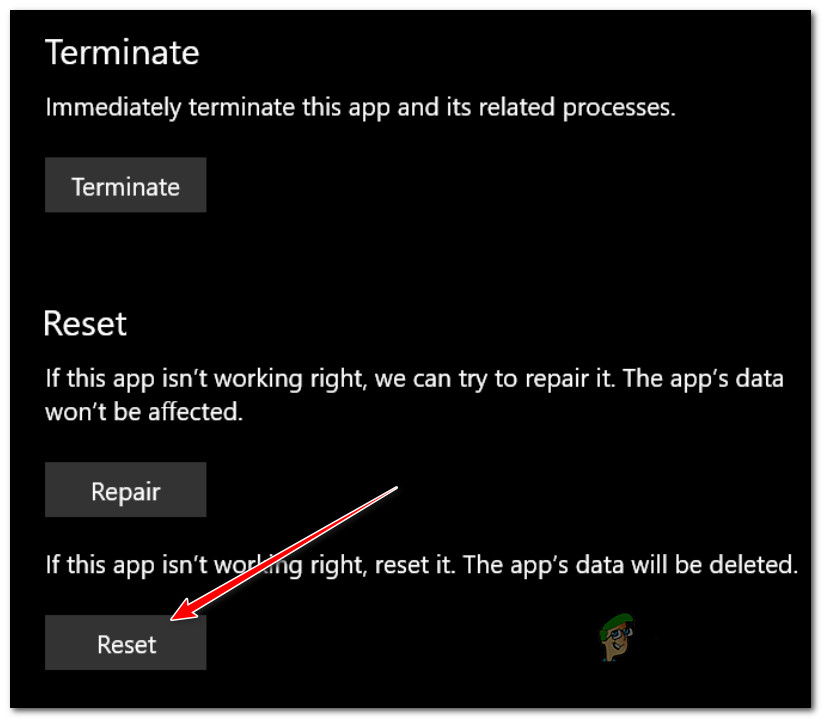
Perform a reset procedure - To see if the problem has been fixed, reboot your PC and see if the sound preference remains unchanged.
If Windows Sonus is still overriding Dolby Atmos or DTS at every startup or after every wake-up from hibernation, move down to the next potential fix below.
5. Install pending Windows updates (confirmed for Windows 11)
Microsoft recently addressed this issue with a series of hotfixes; for the most part, the issue is wholly eradicated. But that’s on Windows 11.
Windows 10 still has not received the widely expected update that prevents 3rd party programs from changing the spatial sound setting.
If you’re on Windows 11, chances are installing every pending update will resolve the issue indefinity for you. But if you’re on Windows 10, don’t get your hopes up (even though you should still follow the instructions below to ensure that your PC is up to date.
Follow the instructions below on how to accomplish this on Windows 10 or Windows 11:
- The easiest way to run Windows Update is using the Run dialog box. Press the Windows key + R on your keyboard to achieve this. After you do this, the Run dialog box will show up.
- Inside the Run dialog box, type ‘ms-settings:windowsupdate’ and press Ctrl + Shift + Enter to open up the Windows Update with admin access.
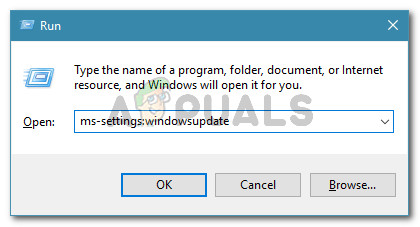
Open the Windows Update menu - If you haven’t changed the UAC settings, you can receive a popup asking for your permission to continue. Clicking Yes indicates that you are in agreement with this.
- Select Check for Updates from the menu on the right after accessing the Windows Update pane.
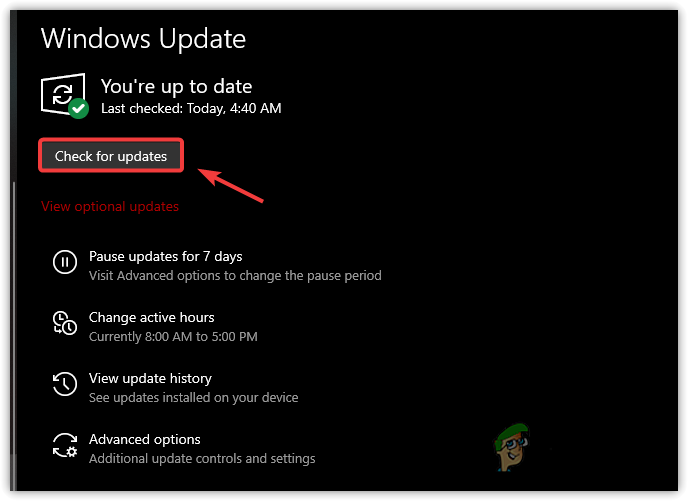
Checking for Updates - Select Install Now to start a local installation when the update has completed downloading.
- Once every pending update is installed, change the default spatial sound setting and reboot your PC.
If your Windows 10 or Windows 11 PC still boots up with the default Windows Sonic Setting, move down to the next method below.
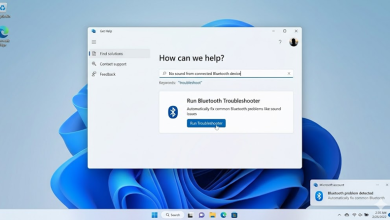
6. Run the built-in Sound troubleshooter
If you’ve come this far without palpable results, you should also attempt to fix this issue using the audio troubleshooter. This utility is available on both Windows 10 and Windows 11 and contains a massive number of automated repair strategies that should help your cause if you’re still trying to get the spatial sound changes to stick.
Follow the instructions below to run the sound (audio) troubleshooter on your Windows 10 or Windows 11 computer and apply the recommended fix:
Note: It’s essential to run this troubleshooter from a Windows account with administrative privileges.
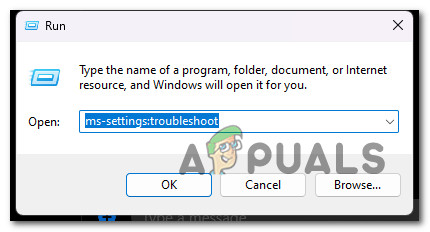
- To open the Run dialog box, press the Windows key + R.
- Type “ms-settings:troubleshoot”, and press Enter to open the Troubleshooting tab of the Settings app.
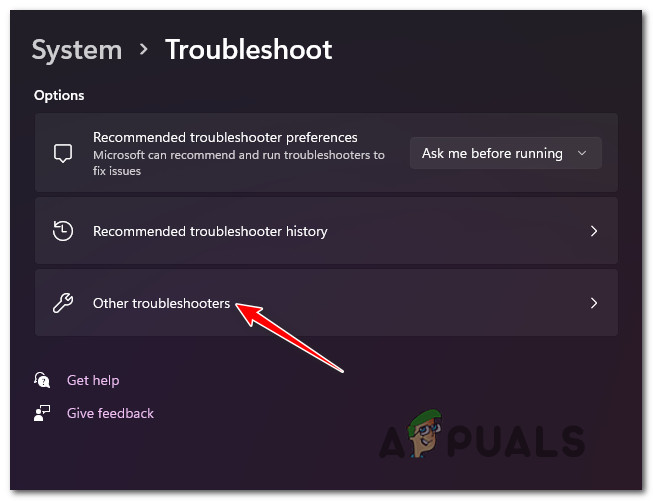
Open the Troubleshoot menu - To access it, click on Other Troubleshooters (under Options) in the top-right corner of the Troubleshoot page.
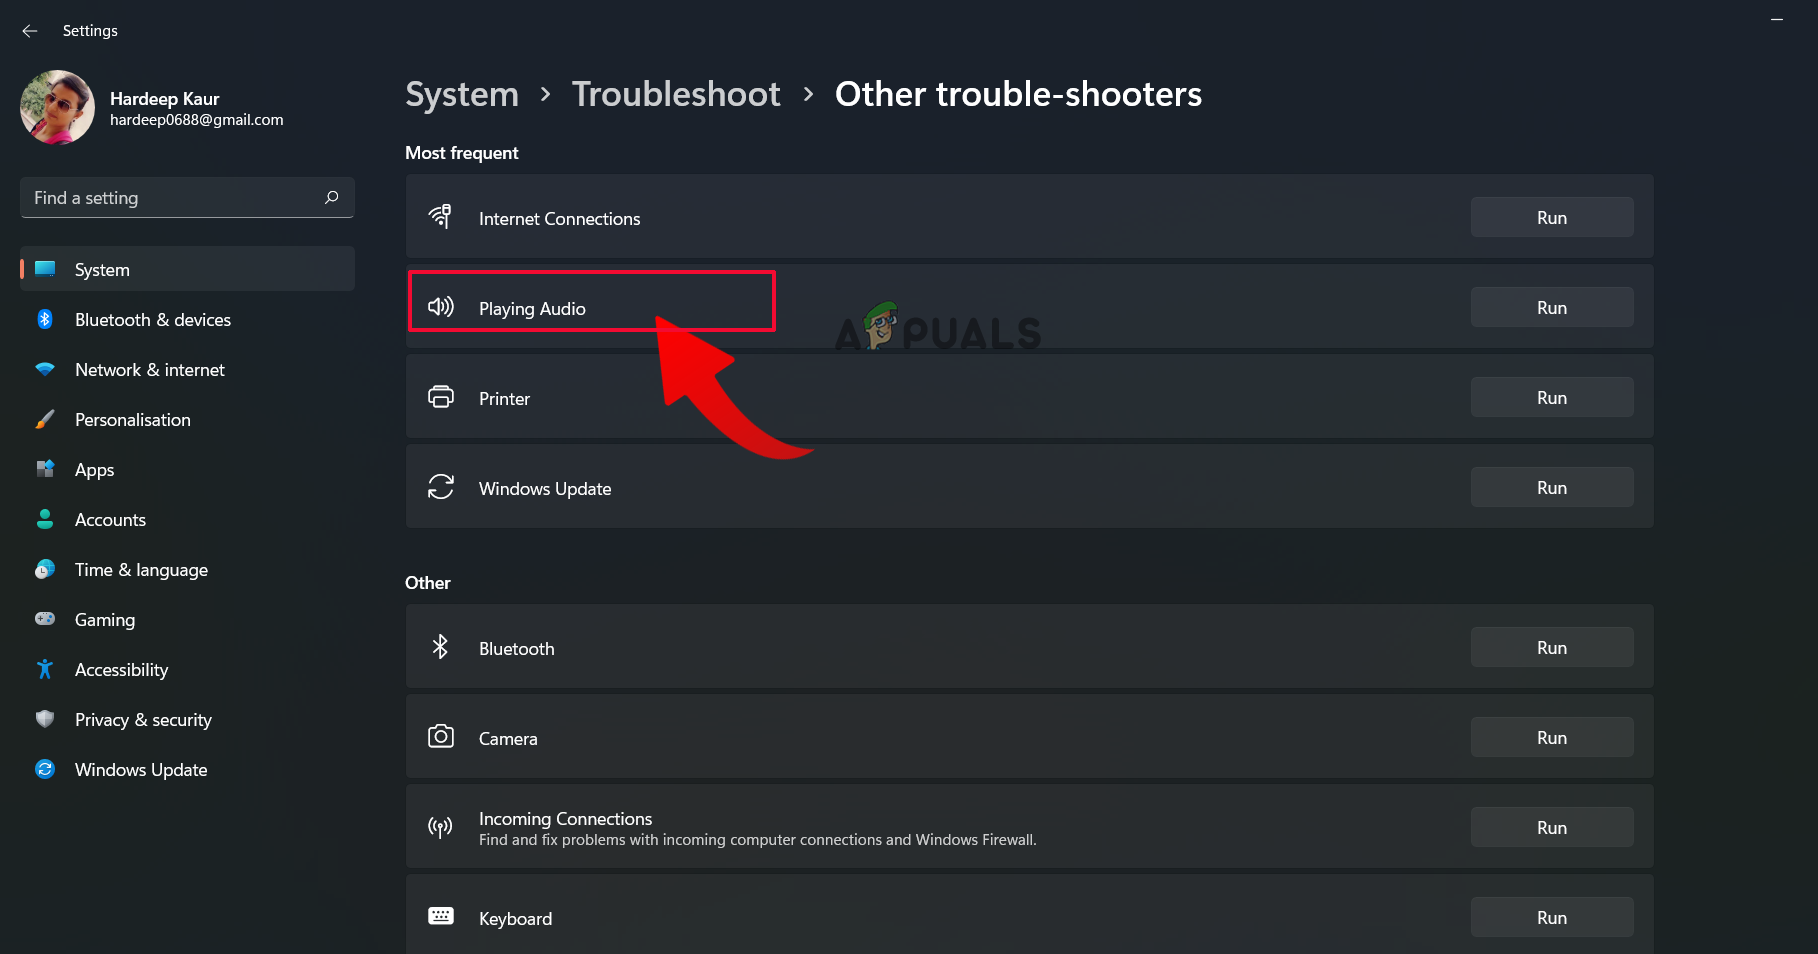
Open the Other Troubleshooters - Scroll down and you should discover the Most Frequent section. Go there and click the Run button associated with Playing Audio.
Access the Playing audio troubleshooter - Be patient and wait till the initial inquiry is complete after starting this troubleshooter.
- The sixth step is choosing the default audio device. Make sure you choose the gadget you’re now using.
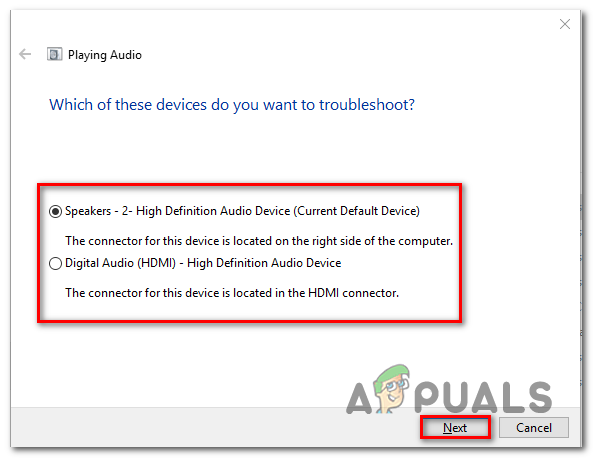
Selecting the audio device - After deploying this scan, wait till the program has completed checking your Audio device for problems.
- You will be provided suggestions on how to solve any problems that are discovered. When asked by the on-screen prompts, select “Yes, Apply fix” or “Yes, Open *menu” to apply the proposed patch.
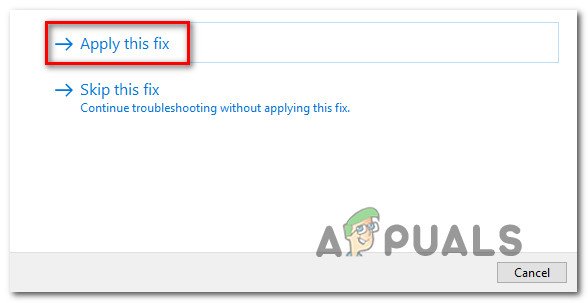
Apply the recommended fix - Restart your computer when the subsequent startup is complete to see if the issue has been fixed.
If the sound setting related to spatial sound is still changing with every startup, move down to the next method below.
7. Update Sound drivers
If the procedure doesn’t work in your situation, the next obvious step is to ensure that the audio driver is updated to the most recent version.
If all goes as planned, Windows Update should automatically maintain and update this driver. However, there are situations when you are powerless due to an outdated audio driver that is incompatible with your current OS version.
Several Windows 11 users had claimed that the problem was eventually fixed when they used Device Manager to force their OS to upgrade the driver. Some people have claimed that after doing this, the spatial sound setting stayed the same whether they selected Dolby Atmos or DTS.
Here’s what you need to do:
- To open the Run dialog box, press the Windows key + R. Press Enter after typing “devmgmt.msc” to start Device Manager.
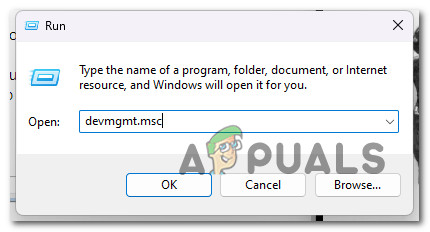
Open up Device Manager - Click Yes if the User Account Control box asks you to grant admin access.
- Expand the Sound, Video, and Game Controllers drop-down menu in Device Manager by scrolling down the list of installed programs at the bottom of the window.
- Right-click the Sound, Video, and Game Controllers menu to choose your high-definition audio driver.
- Select Properties from the context menu that has just been displayed.
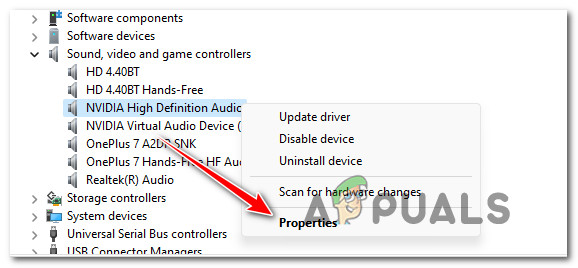
Accessing the Properties screen - Select Driver from the Properties screen using the top menu, then click Update Driver.
- On the following page, click Search automatically for drivers.
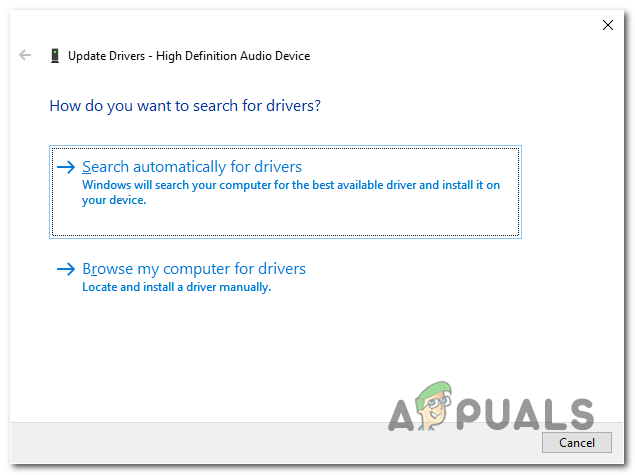
Update the audio driver - Wait and see whether a new audio driver version is discovered. If a new version is discovered, follow the on-screen instructions to continue with the installation of the new driver version.
Note: Go to Windows Update and search for updated drivers if Device Manager cannot locate a new driver version. This method occasionally yields better results than a simple Device Manager driver search. - Whether a new audio driver has been installed or the current one has been updated, change the spatial sound technology and reboot your PC to determine if the problem is now fixed.
If the same issue is still occurring, move to the final method below.
8. Modify Default Spatial Sound via Registry Editor (if applicable)
If you got this far without a permanent fix that allows you to restart your computer or put it in hibernation mode without it defaulting to Sonic Spatial sound, one fix that will likely force this to remain permanent is to use Registry Editor to mount Dolby Atmos spatial sound forcibly.
Note: This method is only confirmed to work with Dolby Atmos. If you want to establish DTS, this fix will likely not work for you.
But before you start following the instructions below, our recommendation is to take the time to back up your registry data in advance. In this case, if something goes wrong, you can safely revert back to a registry state where this problem was not occurring.
If you are determined to modify the default spacial sound via the Registry Editor, follow the steps below:
- Press the Windows key + R to open up a Run dialogue box.
- Next, type ‘regedit’ inside the text box, then press Ctrl + Shift + Enter to open up Registry Editor with admin access.
Access the Regedit menu - Click Yes to grant admin access at the User Account Control (UAC).
- Once you’re inside the Registry Editor, navigate to the following location:
Computer\HKEY_CLASSES_ROOT\Local Settings\MrtCache\C:%5CWINDOWS%5CSystemResources%5CWindows.UI.SettingsAppThreshold%5CWindows.UI.SettingsAppThreshold.pri\1d7b5d22d14df5e\ec2e2645
Note: You can either navigate to this location directly or paste the full location above directly into the nav bar at the top of the Registry Editor window and press Enter to get there instantly.
- Next, move to the right-hand section and double-click on the string you find there.
- Change the Value Data to Dolby Atmos, set the value to Hexadecimal and click Ok to save the changes.
- Restart your PC and see if the spacial sound setting preserves its value.
If the problem is still not fixed or you don’t want to follow this registry hack, move down to the final method below.
9. Perform a clean install or repair install
One more solution would be available if none of the preceding solutions in this article helped you with your problem with the spatial sound setting. You should consider the likelihood that specific corrupted sound requirements are to blame for your inability to maintain a selected spatial sound technology (this is way more likely if the 3rd party sound technology doesn’t work correctly when you mount it).
The best course of action at this point is to simply replace every system file with a counterpart that you know is healthy and free of corruption because many system files in this circumstance meet the description of the offender.
You have two potential approaches when doing this:
- Clean install – Try this if you need an immediate remedy. The major disadvantage of a clean installation of Windows is that, unless you make a backup of your data beforehand, it will wipe all of your personal files and apps that are now kept on the same disk as your operating system. This is because a fresh installation of Windows will let you change every system file without using installation CDs.
- Repair install – If you have spare time, we advise employing an in-place repair rather than a repair install. The main benefit of this method is that, although taking a bit longer and requiring the proper Windows 11 installation DVDs, all of your personal data, games, and programs are preserved.