How to Shrink and Extend the Volume in Hyper-V 2019
In the previous article, we talked about adding a virtual disk to the virtual machine. In this article, we will walk you through the process of shrinking and extending the volume based on your needs.
In order to do so, we will create a scenario. We are running Windows Server 2019 on the virtual machine. It has two disks, the system disk that has 40 GB and a second disk that has 50 GB. In the first part of this article, we will shrink the disk to 50 % and then extended it by 100 %.
Shrink Volume on the Virtual Machine
- Open the Hyper-V Manager
- Select the host and connect to the Windows virtual machine
- Login in the Windows Server 2019 or Windows client machine
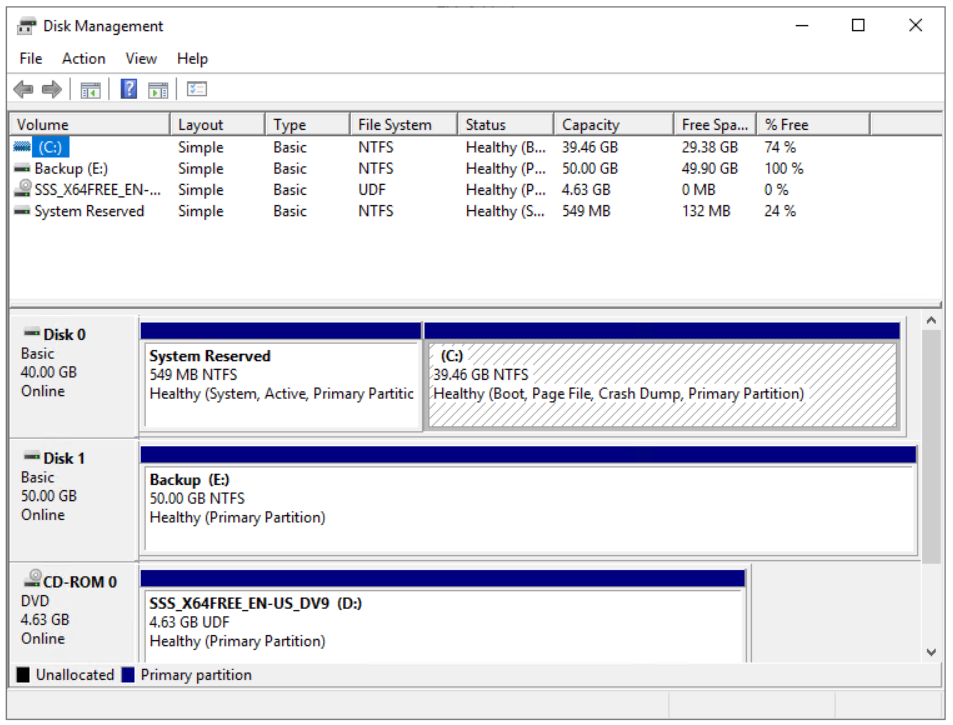
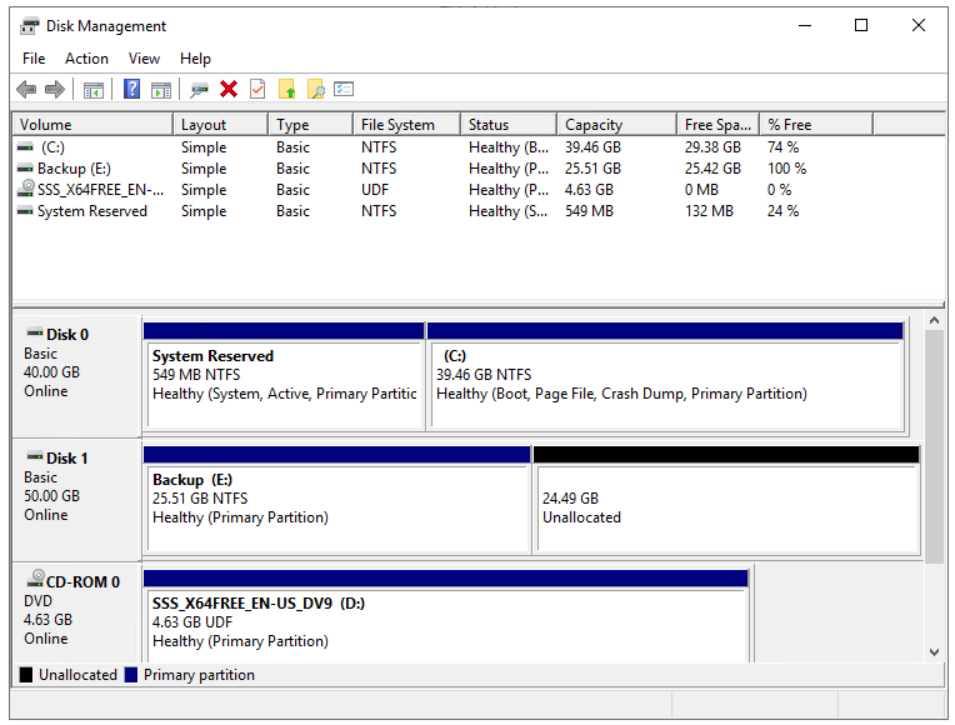
- Right click on the Start menu and click on Disk Management
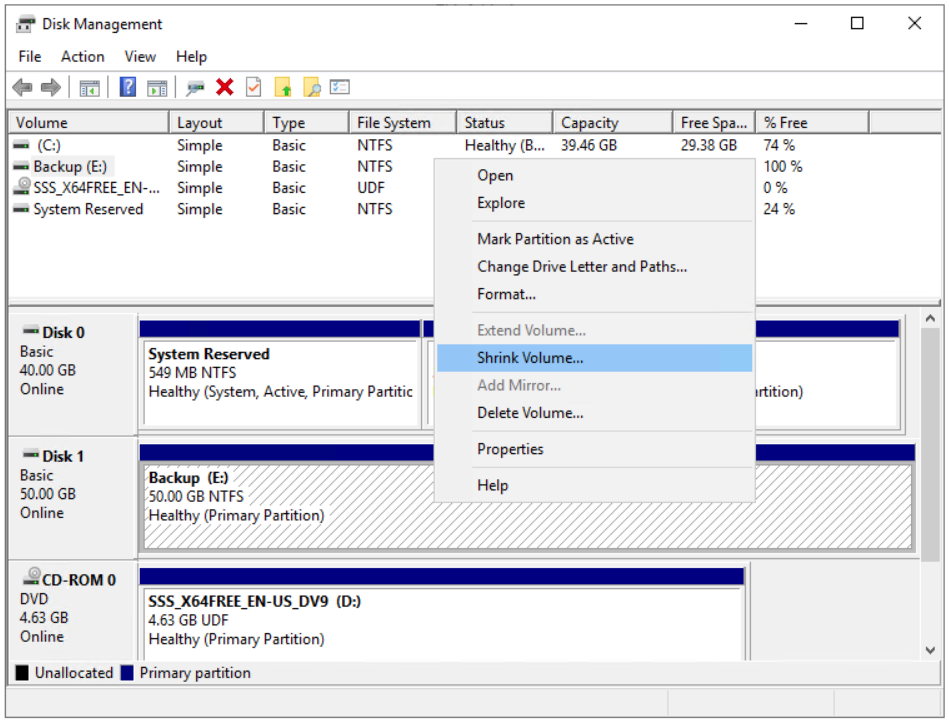
- Right click on the Disk 1 (50.00 GB) and then click Shrink Volume…
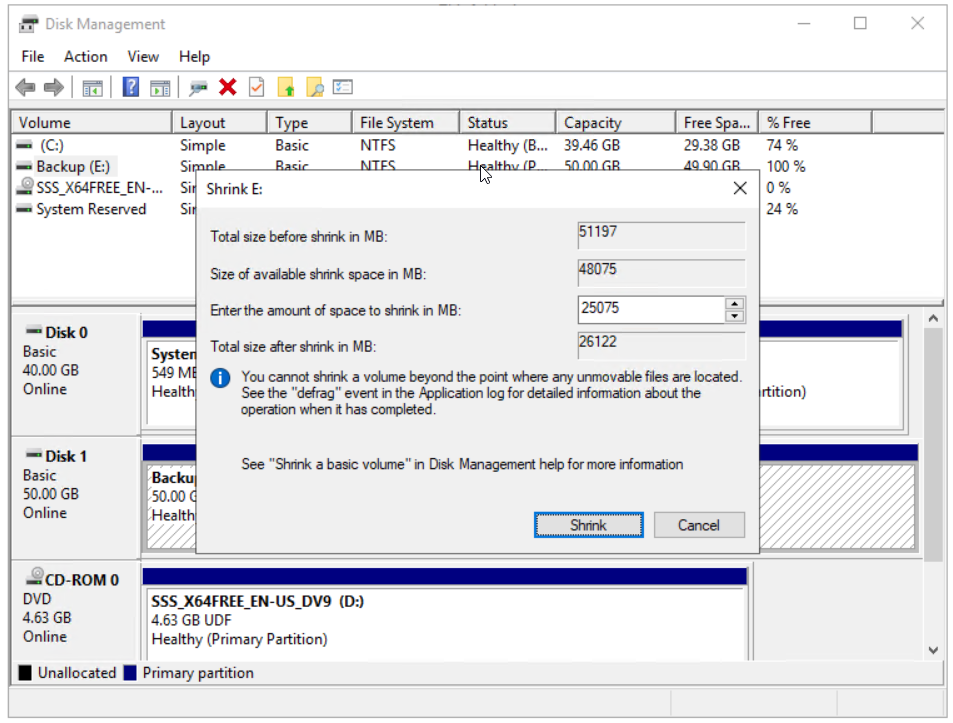
- Enter the amount of space to shrink in MB and then Shrink. In our case, we will shrink the volume to 25 GB. Please note that you cannot shrink a volume beyond the point where any unmovable files are located.
- Congratulations. You have successfully shrink your volume.
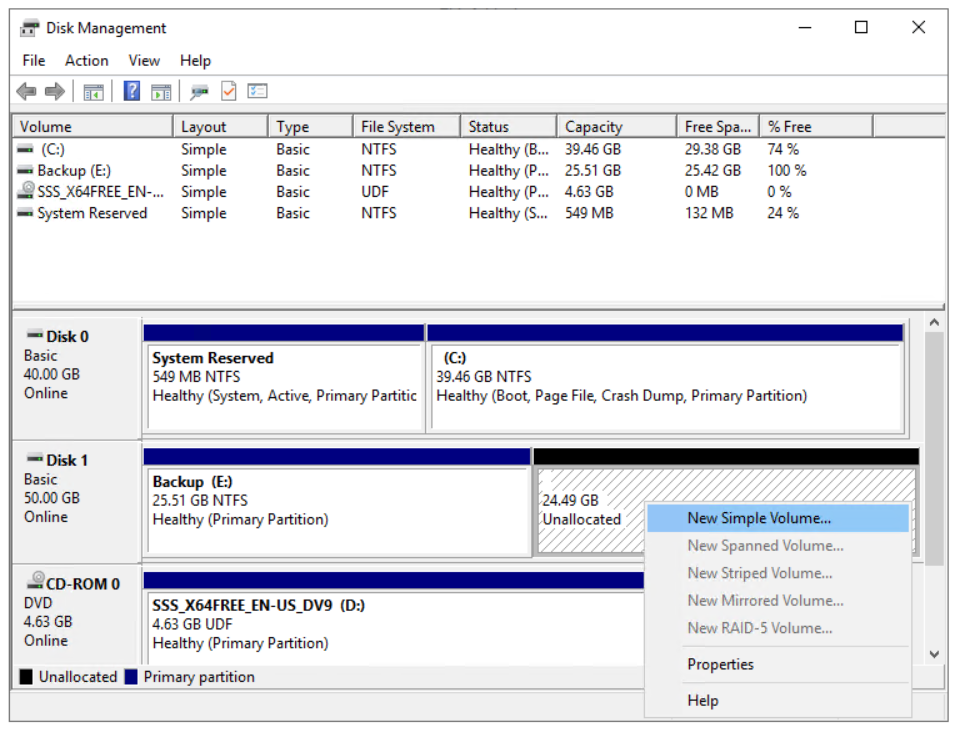
- Right click ok the unallocated volume and then click New Simple Volume…In our case, we will initialize and format 24.49 GB that is previously shrunk
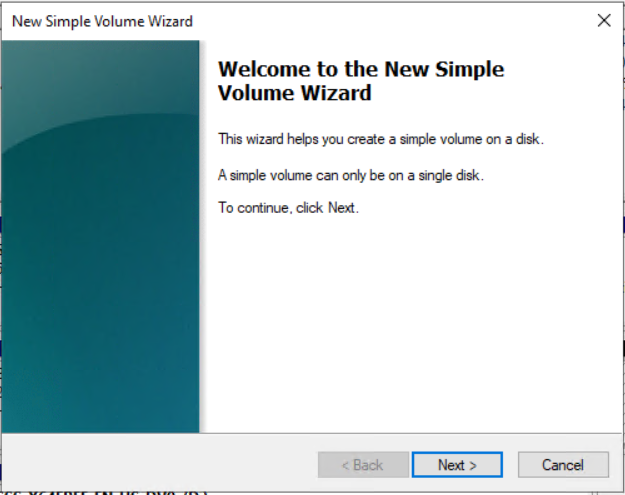
- Under the Welcome to the New Simple Volume Wizard click Next
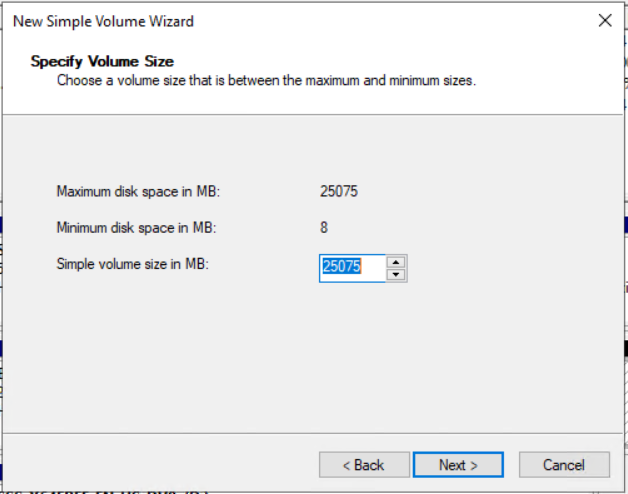
- Under Specify Volume Size click Next
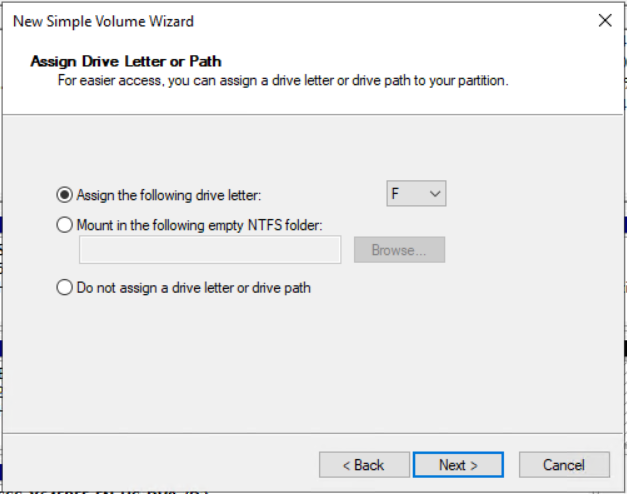
- Assign the following drive letter and click Next. In our case it is F:
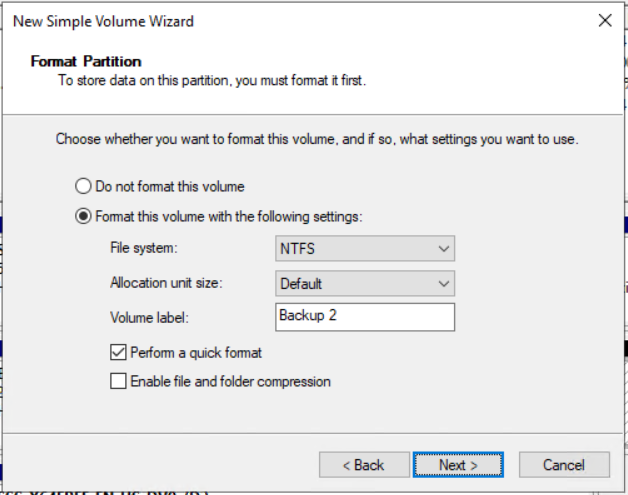
- Under Format Partition keep the default settings for File system and Allocation unit size and change the Volume label and then click Next. In our case, it is Backup 2.
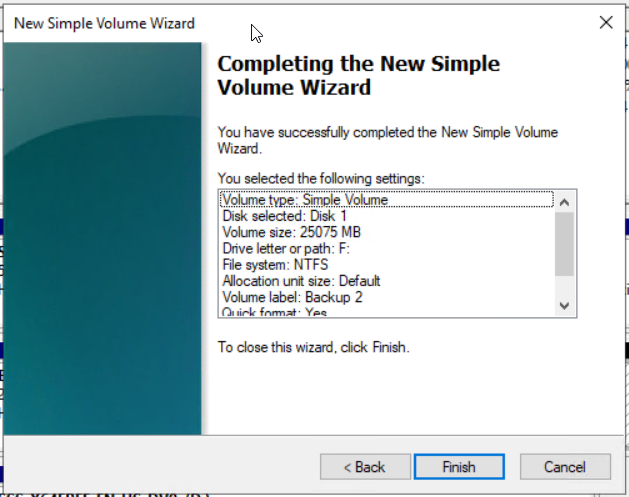
- Under Completing the New Simple Volume Wizard check the configured settings and then click Finish
- Congratulations. You have successfully created a disk.
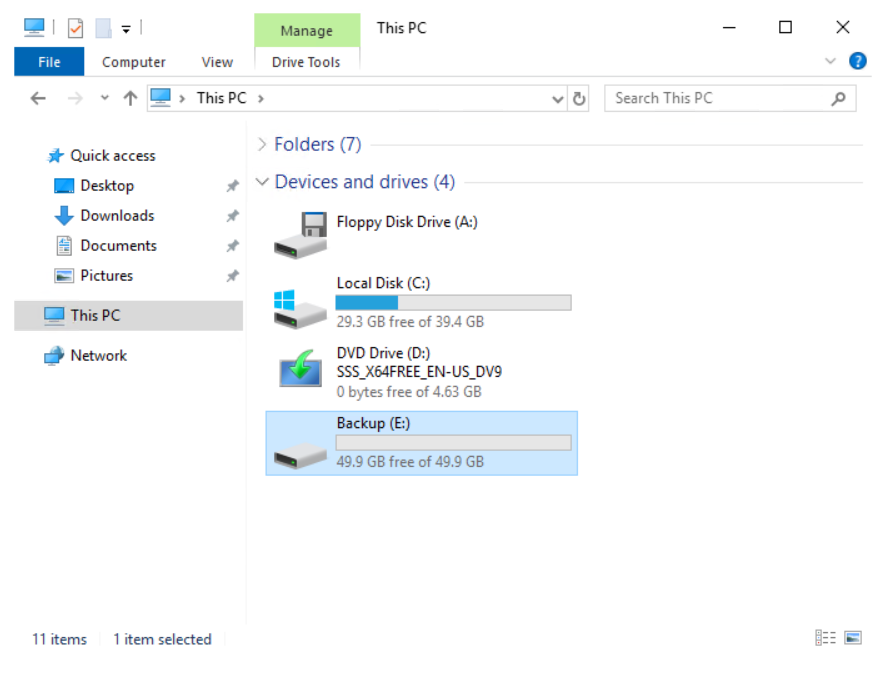
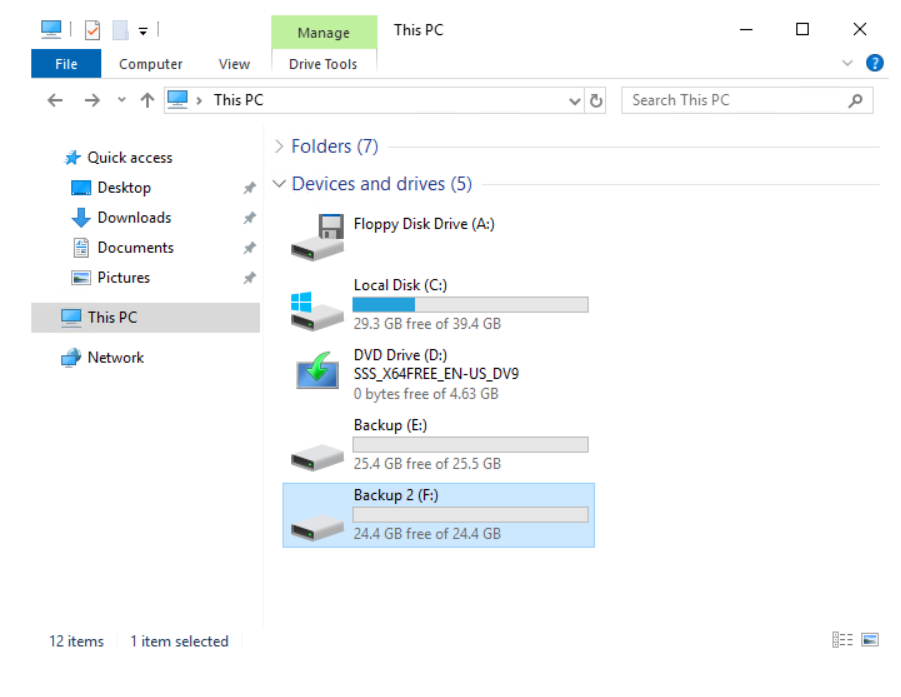
- Open the File Explorer (Hold Windows logo and press E)
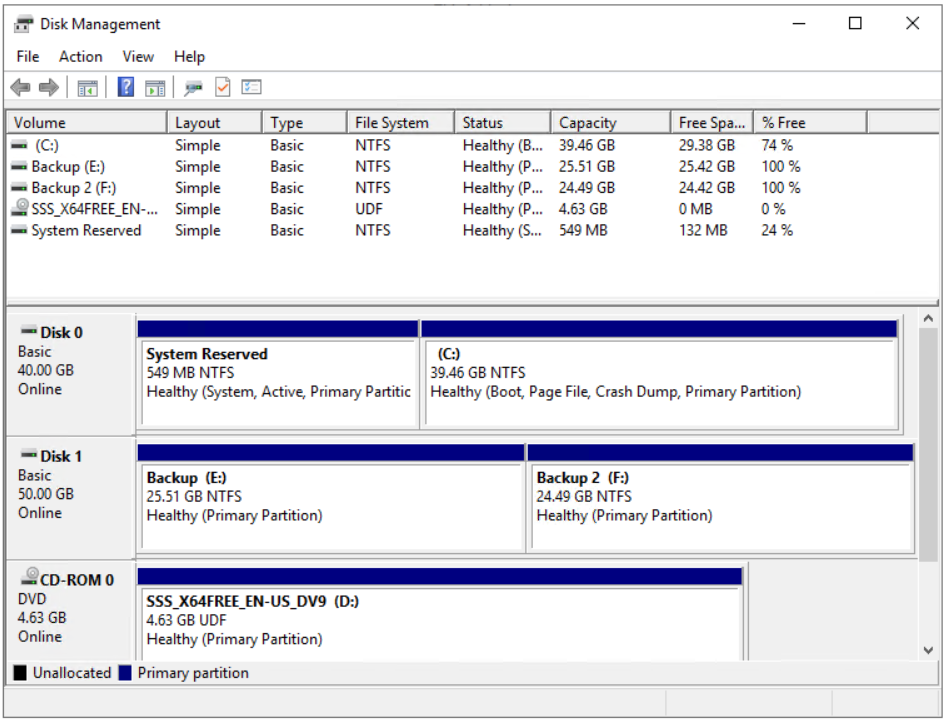
- Verify if the disk is properly shrunk and ready to use.
Extend the Volume on the Virtual Machine
- If you have closed the Disk Management, please open it again
- Right-click on the Backup 2 partition that we have previously and then click Delete Volume.

- Under Delete simple volume click Yes to delete the volume
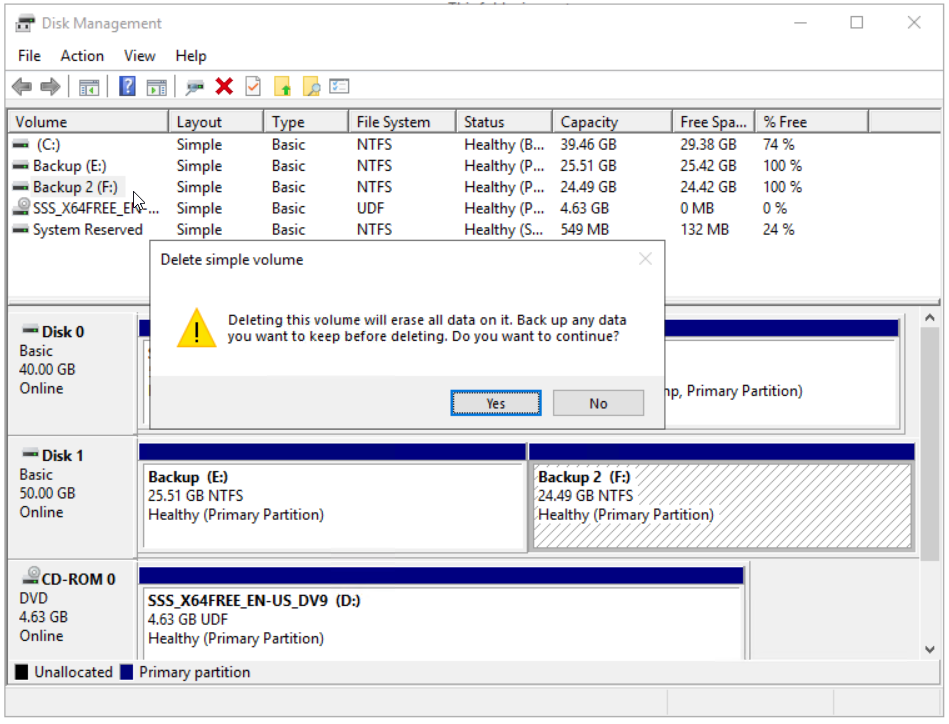
- Congratulations. You have successfully deleted the volume.

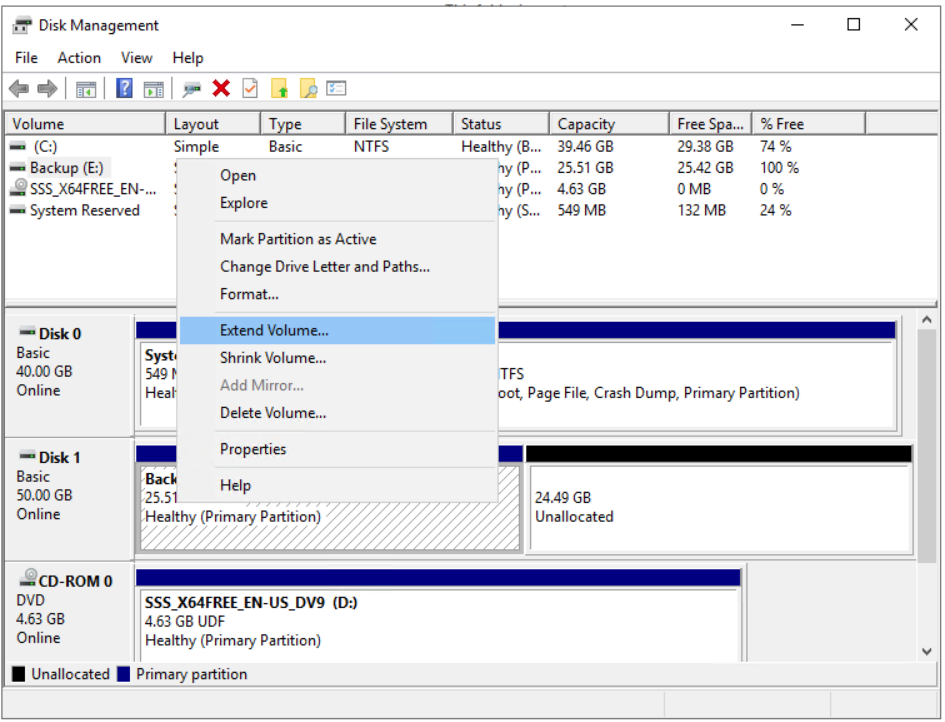
- Right click on the Backup 1 and then click Extend Volume…
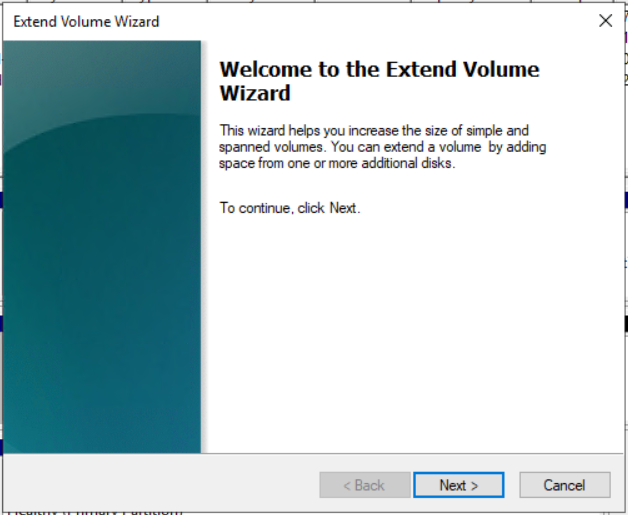
- Under the Welcome to the Extend Volume Wizard click Next
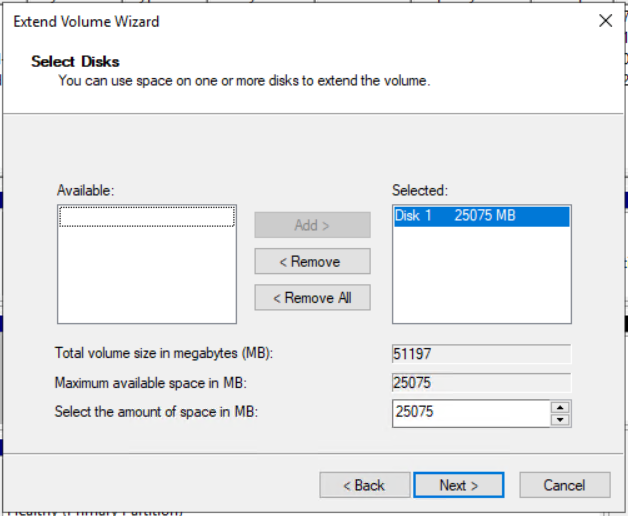
- Under Select Disks, select the volume and then click Next. In our case, the selected disk is Disk 1 25075 MB.
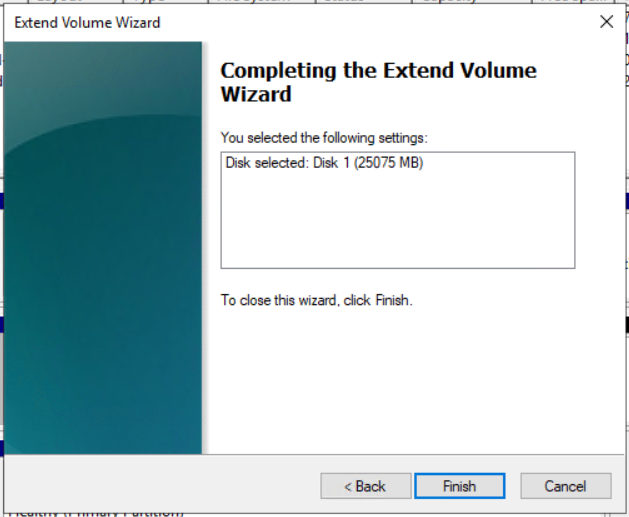
- Under Completing the Extend Volume Wizard check the settings and then click Finish
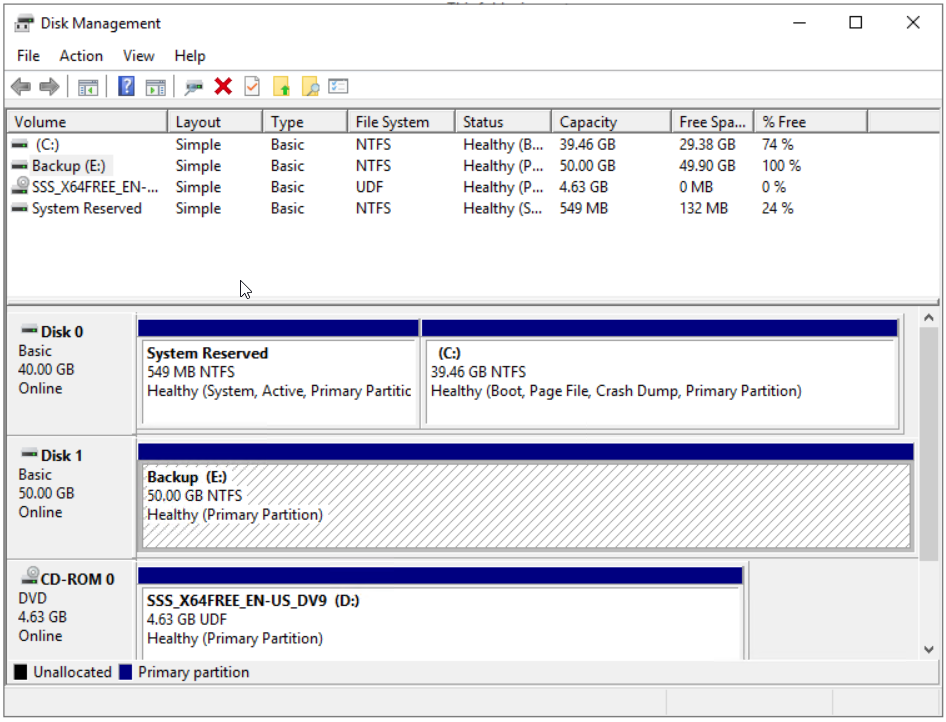
- Congratulations. You have successfully extended your volume. In our case, we extended hard disk from 25 GB to 50 GB as shown in the screenshot.
- Open the File Explorer (hold Windows logo and press E)
- Verify if the disk is properly extended and ready to use.