How to Fix Screen Flickering Issues on Windows 11
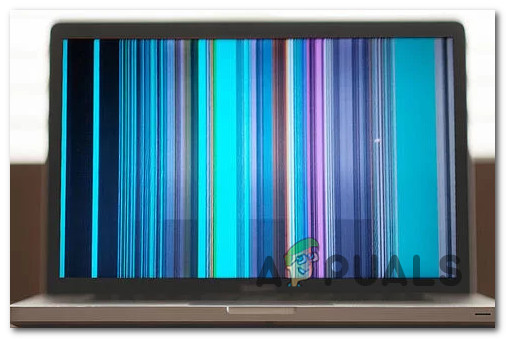
Screen flickering is back on Windows 11. Most affected users are reporting it when gaming or when performing a different resource-intensive task that requires a lot of hardware power.
After looking into this issue, we realized that this problem can be rooted in several different components of Windows 11. Here’s a list of culprits that you should investigate if you’re dealing with this error:
- Incompatible or Corrupted Display Driver – As it turns out, more often than not, this problem is related to some kind of incompatibility or corruption associated with the graphics display drive. In this case, you can fix this issue by forcing the graphics driver to update (either from Device Manager or via the proprietary software released by Nvidia or AMD)
- Incompatible app – There’s a growing list of apps that can cause screen flickering on Windows 11. Most of these are actually native Windows 8 and Windows 10 apps that are partially incompatible with the newest operating system. To identify a conflicting app that causes screen flickering, you’ll need to perform a clean boot procedure and then follow a series of steps that will help you identify the problematic app.
- Glitched display driver – If you have multiple screens connected to your display, this particular issue can also be caused when the display driver is stuck in a glitched state. This problem is can be rectified by performing a screen refresh.
- Faulty monitor or cables – A loose connection, a non-congruent cable or a monitor that is beginning to fail are all potential causes of screen flickering on Windows 11. To pinpoint if there’s indeed a hardware issue, you’ll need to perform a series of troubleshooting steps.
- The monitor is not equipped to handle the current refresh rate – A high refresh rate on a low-end monitor might also cause screen flickering on Windows 11. This typically happens with monitors from lower-rated brands that oversell their specs in regards to the supported refresh rate. If this scenario is applicable, reducing the refresh rate should take care of the issue in your case.
- Buggy animation effects – Early Windows 11 builds are plagued by several bugs in regards to the animations that you can toggle on or off from the Accessibility tab. If you have any custom animations enabled, you might be able to resolve your screen flickering issues by disabling them from the Accessibility tab.
- HDR is only partially supported – If you only experience this issue while HDR is enabled, chances are your display is not really equipped to handle HDR (even if the manufacturer claims that it does). In this case, the safest choice would be to disable HDR completely from the Windows settings.
Now that we went over every potential culprit, let’s get to the actual fixing part.
But instead of following every fix featured below, there’s a way to pinpoint the problem by utilizing Task Manager.
Investigating the source of the screen flickering issues on Windows 11
According to Microsoft, the best way to uncover which software or hardware component is causing the issue is to use Task Manager.
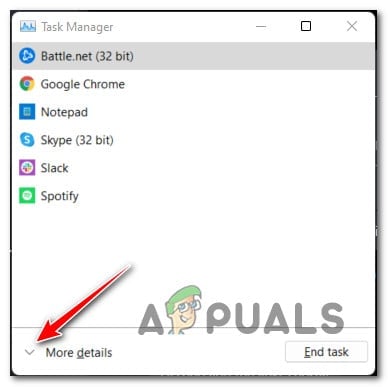
Start by pressing Ctrl + Shift + Enter to open up Task Manager.
Note: If the simple interface of Task Manager opens by default, click on Show More details to expand to the Expert interface.
Once you’re inside the Expert interface of Task manager, look for the following behaviors:
- If Task Manager is flickering along with everything else on the screen, the display driver that you’re actively using is most likely responsible for this issue. To fix this problem, you will need to update or reinstall your display driver.
- If Task Manager doesn’t flicker while the rest of your screen is, most likely an incompatible app is causing the problem. In this case, you should be able to sort the issue out by updating or uninstalling the incompatible app that’s responsible for the issue.
Note: This troubleshooting will not cover every potential scenario, but it will allow you to focus on the most common causes for this weird Windows 11 behavior. If the first scenario is applicable, follow the first method below to update or reinstall your graphics driver.
1. Update or Reinstall the Graphics Driver
A partially corrupted display driver or an old display driver version (not fully compatible) that was migrated from Windows 11 are two of the main reasons why users experience screen flickering on the newest operating system from Microsoft.
Several users that we’re also dealing with this problem have confirmed that the issue finally went away after they manually uninstalled the graphics driver (and every associated dependency) and reinstalled the latest version using the official channels.
If you’re not certain how to do this, follow the instructions below:
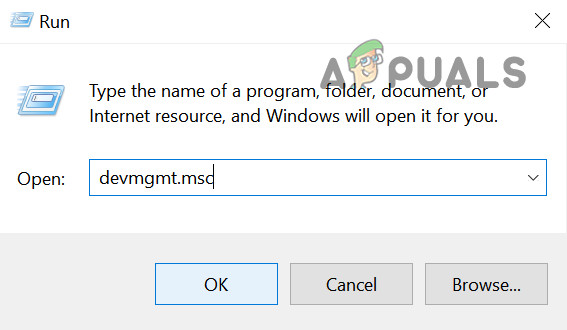
- Start by pressing Windows key + R to open up a Run dialog box. Next, type ‘devmgmt.msc’ and press Enter to open up Device Manager. If you are prompted by the UAC, click on Yes to grant admin access.
Open Device Manager - Inside Device Manager, expand the drop-down menu associated with Display adapters, then go ahead and uninstall every graphics driver by right-clicking on them and clicking on Uninstall. It’s important to do this for every entry inside Device Adapters.
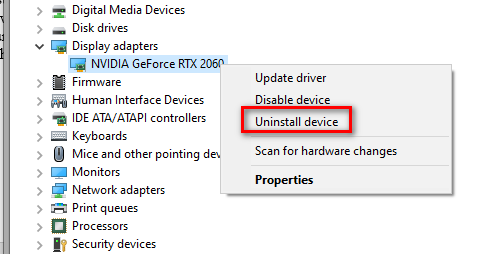
Uninstall every GPU driver Note: If you have both an integrated and a dedicated GPU, uninstall both types of drivers.
- After every GPU driver has been uninstalled from Device Manager, go ahead and close the Device Manager utility.
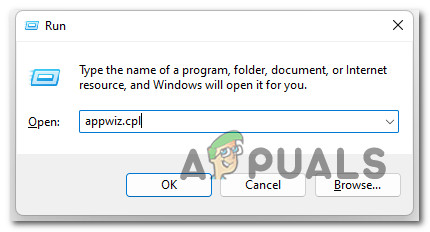
- Open another Run dialog box by pressing Windows key + R once again. Type ‘appwiz.cpl’ and press Enter to open up the Programs and Features screen.
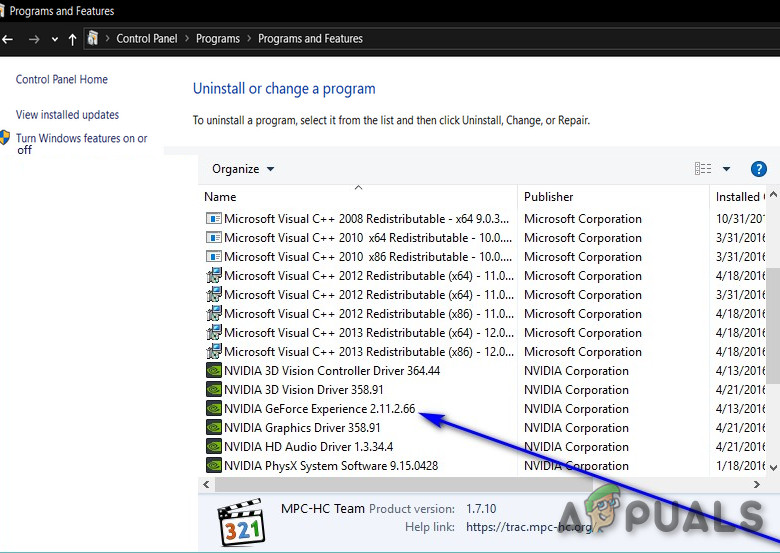
Open up Programs and Features - Inside the Programs and Features menu, scroll down through the list of installed applications and start uninstalling anything related to your GPU manufacturer (Nvidia AMD or Intel).
Note: Ensure that you’re not leaving anything behind by clicking the Publisher column in order to order them one after the other. - Next, right-click on every GPU-related tool or driver and then click Uninstall from the context menu.
Uninstall every supporting GPU driver - Next, follow the on-screen instructions to complete the uninstallation process. Once every relevant driver is uninstalled, reboot your PC.
- Once your PC boots back up, visit the download page associated with your GPU manufacturer and download the latest driver version that’s available for your particular GPU model:
Nvidia’s Download Page
AMD’s Download Page
Intel Graphics Download Page - Download and install the recommended drivers based on your graphics card model and Windows version, then reboot your computer and see if the screen flickering issues are fixed.
If the problem is still not fixed, move down to the next potential fix below.
2. Clean Boot your PC & identify the conflicting app
As it turns out, a 3rd party conflict might also be responsible for causing the screen flickering issues. In most cases, this problem is caused by some type of app that uses some GPU software dependencies.
In this case, you should be able to fix the issue by booting in clean boot mode and taking a series of steps to investigate for a software conflict and isolate the service or process that’s causing the problem.
Note: In order to achieve a clean boot state, your computer will boot without any 3rd party services, processes, and startup items that might contribute to the apparition of this error.
Here is the step by step instructions that will help you achieve this clean boot state:
- Start by pressing Windows key + R to open up a Run dialog box. Next, type ‘msconfig’ inside the text box and press Enter to open up the System Configuration window.
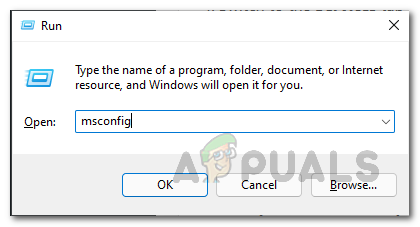
Opening MSconfig Note: If you are prompted by the User Account Control (UAC) window, click Yes to grant admin access.
- Inside the System Configuration menu, click on the Services tab from the ribbon bar at the top, then check on the box associated with Hide all Microsoft services.
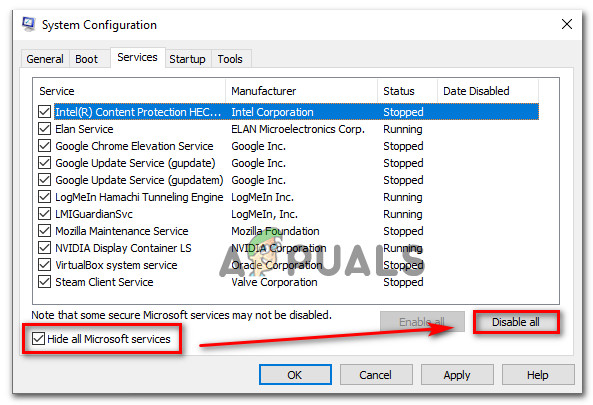
Disabling the required startup services Note: This operation will ensure that you don’t end up disabling any Microsoft service essential to your OS.
- After you exclude every essential service from the list, go ahead and click on the Disable all button – This will ensure that your next system startup is completed without any 3rd party service.
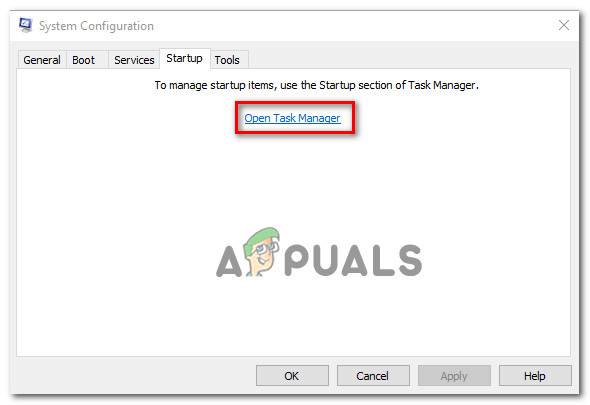
- Next, click on the Startup tab, then click on Open Task manager from the next menu.
Opening Task Manager - That previous action will take you directly into the Startup tab of Task Manager. Once inside, start to systematically select every 3rd party startup service and click on the Disable button at the bottom of the screen to exclude them from being started at the next system startup.
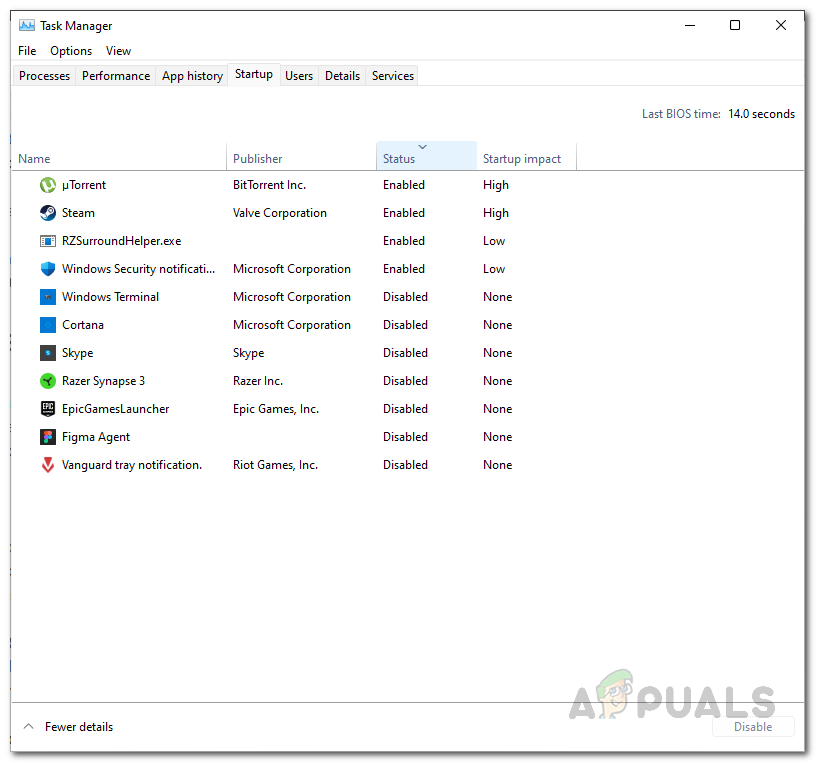
Disabling 3rd party services Note: Do this consistently until you’re left with no startup service that is allowed to run at the next startup.
- If you get this far, you are ready to perform a clean boot. All that’s left to do now is restart your computer and check if the screen flickering issue has now stopped.
- At the next startup, your computer will boot with just the essential services required by your operating system. Once the process is complete, utilize your PC normally and see if the screen flickering returns.
- Systematically re-enable every previously disabled process and startup item until you see the issue returning. This way you can easily pinpoint the culprit that’s responsible for the screen flickering.
- Regardless of the outcome, reverse engineer the instructions above to ensure that your next computer startup is normal and 3rd party services, processes, and startup items are permitted to run.
If this method didn’t allow you to fix the issue, move down to the next potential fix below.
3. Refresh the screen (temporary fix)
If the two methods above were not effective in your case, one way that might allow you to fix the issue fast( albeit only temporary) is to perform a screen refresh.
This should not be confused with a desktop refresh (where you right-click a free space on your desktop and click on Refresh).
Screen refreshing will effectively restart your video driver and every associated dependency.
You can initiate a screen refresh by pressing Windows key + Ctrl + Shift + B.
Note: On a Windows tablet, you can do this by pressing the volume down + volume up buttons two times within a 2 second time window.
After you press all of these keys at once, you will hear a short beep after which your screen (or screens) will go black for a couple of seconds (as the video driver is restarting).
Once the screen refresh is complete, see if the screen flickering issues have been resolved.
Note: Most users that tried this fix have reported that in their case the resolve was only temporary as the issue returned after a couple of minutes.
If you’re looking for a different fix that will take care of the screen flickering issues on Windows 11, follow the next method below.
4. Check your monitor & cables
If none of the methods above have made a difference in your case, you should also turn your attention towards your monitor itself or the cables that it uses.
If you have a different monitor to test, unplug your PC from the monitor that’s displaying screen flickering and see if the problem disappears.
If you’re experiencing the screen flickering on a laptop, plug it into an external monitor and see if the issue stop. If the flickering stops while you have your laptop display on an external monitor, chances are you’re dealing with a failing display.
If this investigation has revealed that your monitor is not to blame, the next step is to check your monitor cables (if you’re on a PC or a modular laptop).
If you have spare cables for your monitor, replace both the input and the power cable and see if the problem is resolved. Additionally, try changing the port that your monitor is connected to.
5. Reduce your monitor’s refresh rate
As it turns out, one fairly common scenario that might cause this problem is a monitor that’s having trouble keeping up with the display refresh rate that is enforced at a Windows level.
This is typically an issue that occurs with low-end monitors from manufacturers that oversell the actual specs of the display hardware.
If the screen flickering that you’re experiencing on Windows 11 is related to a refresh rate issue, you should be able to fix it by accessing the Advanced display settings inside the Settings app and reducing the refresh rate to a lower value.
Follow the instructions below for the complete steps of how to fix the screen flickering issues by reducing the display refresh rate:
- Press Windows key + R to open up a Run dialog box. Next, type ‘ms-settings:easeofaccess-display’ and press Enter to open up the Display tab of the Settings menu.
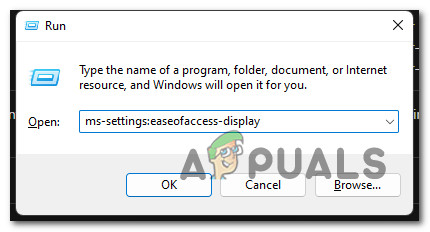
Open the Display menu - Once you’re inside the Display menu, scroll down to the left-hand side menu, then scroll down and click on Display (under Related settings).
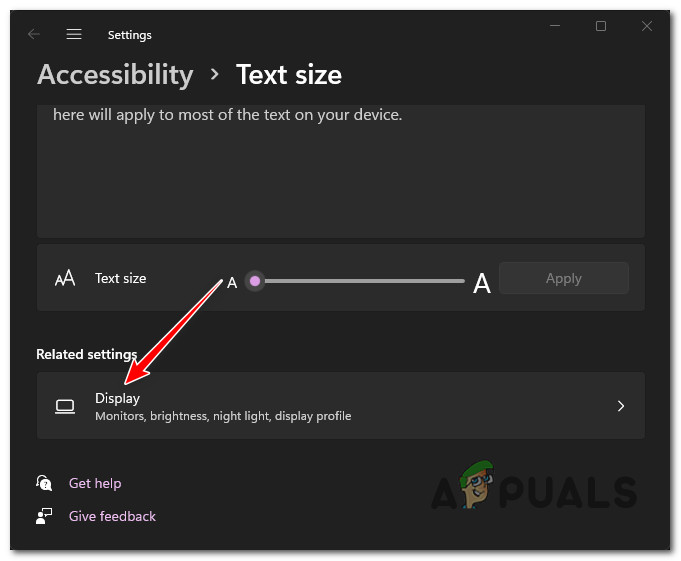
Open the Display menu - Once you’re inside the Display menu, scroll down to the Related settings section, then click on Advanced display.

Open up the Advanced Display menu - Once you’re inside the Advanced display menu, scroll down under Display information and modify the drop-down menu associated with Choose a refresh rate to a lower value.
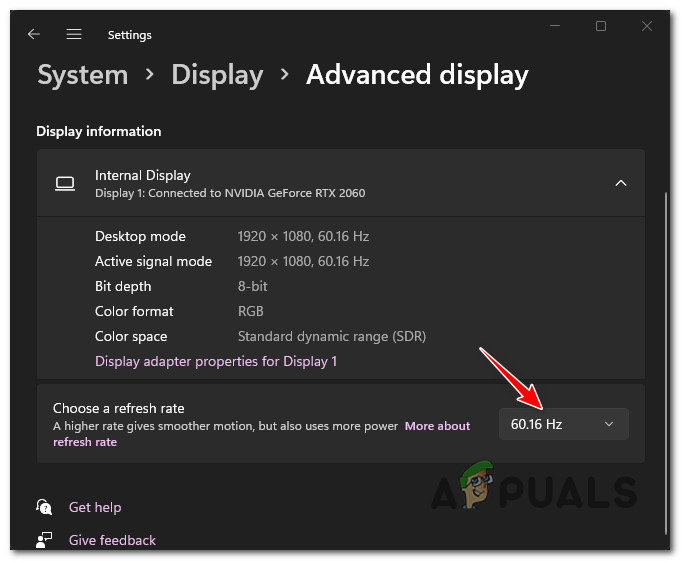
Lowering the refresh rate - Once the refresh rate has been modified, reboot your PC and see if the screen flickering issues have since been fixed.
If this problem is still occurring or the refresh rate of your display was already set to the lower value available, move down to the next potential fix below.
6. Disable Animation effects under Accessibility (if applicable)
If you previously enabled some custom animation from the Accessibility tab, keep in mind that these have the potential of causing screen flickering issues (several users have confirmed this).
This type of issue is typically reported to occur with early insider builds of Windows 11 when the operating system is connected to a low-end display. This potential cause is even more likely if you’re using a low-end GPU.
If this scenario is applicable, you should be able to fix the problem by accessing the Accessibility tab inside the Settings app and disabling every custom animation that you previously toggled ON.
Here’s how to do this:
- Press Windows key + R to open up a Run dialog box. Next, type ‘ms-settings’ inside the text box, then press Enter to open up the Settings menu.
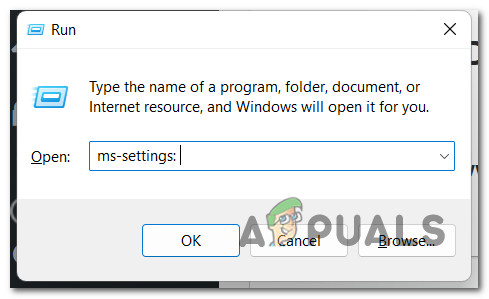
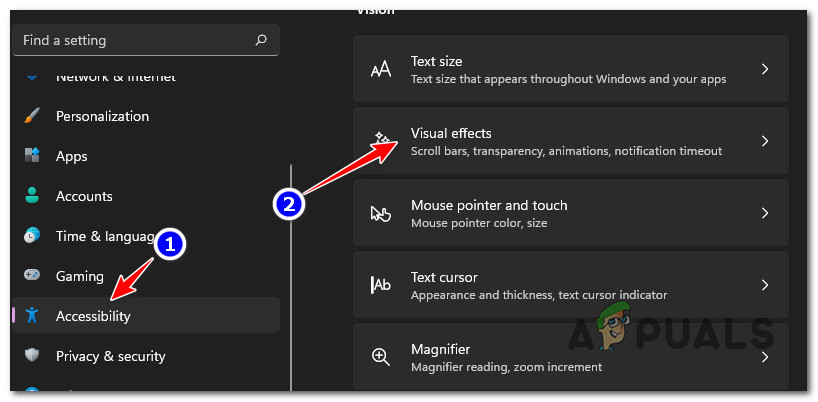
Open the Settings menu on Windows 11 - Once you’re inside the Settings menu, use the left-hand tab to click on Accessibility.
Note: If the left-hand side menu is not visible by default, click on the action button at the top-left corner to bring it forward. - From the Accessibility tab, move over to the right-hand section and click on Visual Effects.
Accessing the Visual Effects tab - Next, go over to the right-hand section under Visual effects, then toggle the toggle associated with Animation effects to Off.
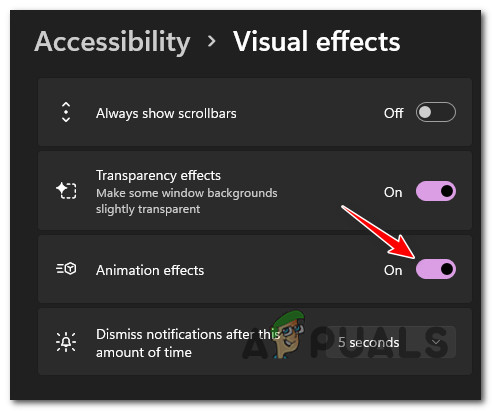
Disable animation effects - Restart your PC to allow these changes to take effect and see if the screen flickering issues have been fixed.
If the same problem is still occurring, move down to the next potential fix.
7. Disable HDR
If none of the methods above have proven to be effective in your case, you should also look into HDR as a potential culprit that’s causing these screen flickering issues. If you’re using a low-end display, chances are HDR is only partially supported, which might end up causing this behavior.
Several users that were also dealing with this issue have reported that the screen flickering issues finally stopped after they disabled HDR completely from the Settings menu.
If this scenario is applicable and you have HDR enabled, follow the instructions below to disable this feature and check if the screen flickering issue stops:
- Start by pressing the Windows key to open up the Start menu.
- Inside the Start menu, click on Settings from the list of available options.
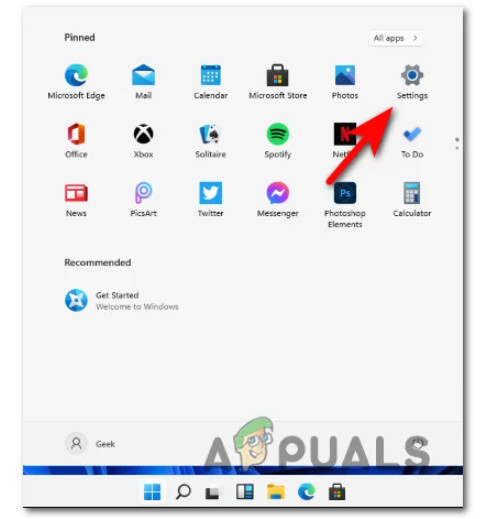
Open up the Settings menu - Once you’re inside the Settings menu, click on System from the side menu on the left.
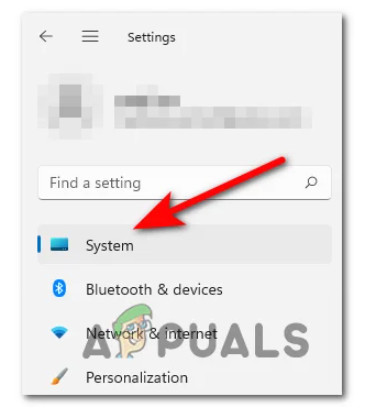
Open up the System tab - From the System menu, click on Display from the menu on the left-hand side of the screen.
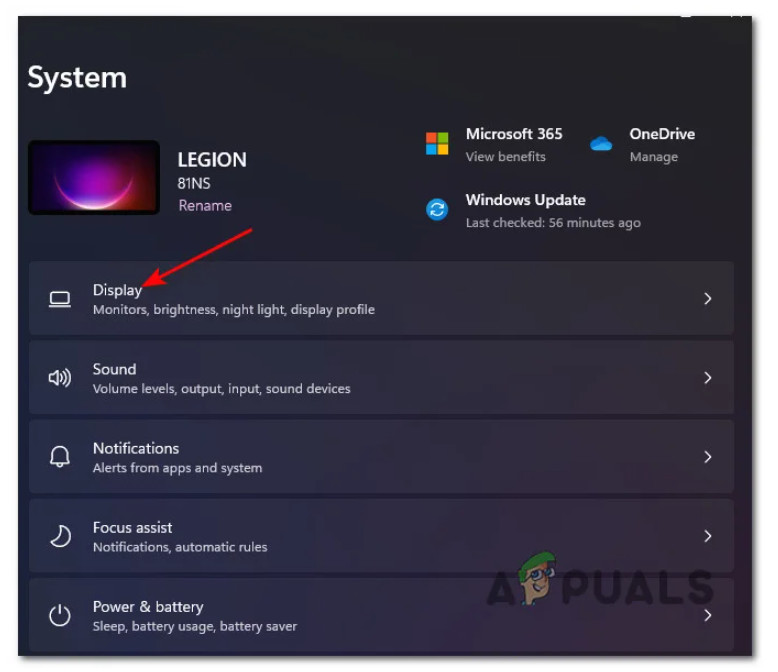
Open up the Display tab from Windows 11 Settings - Once you’re inside the Display menu, move over to the right-hand side, then scroll down to the bottom of the screen and click on HDR.
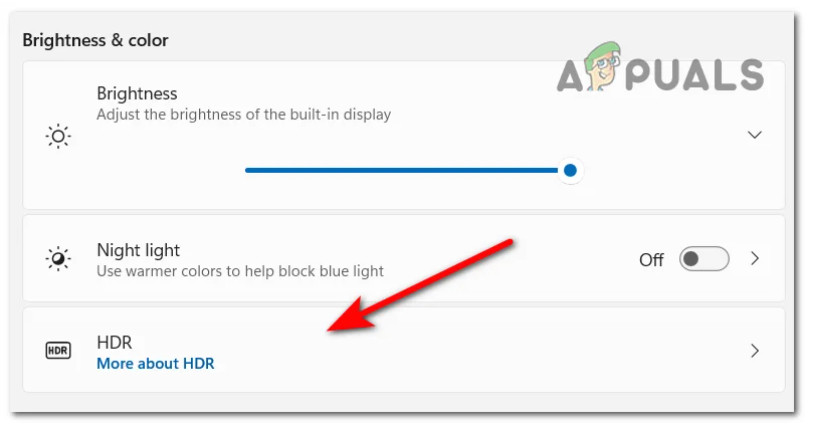
Open the HDR menu - Once you’re inside the HDR menu, flick to OFF and save the changes.
- After the modifications are done, close the Settings menu, reboot your PC and see if the screen flickering issues have been fixed once the next startup is complete.


