How to Switch Between Displays (dGPU, GPU, Intel and Nvidia)
When users face the problem of switching between displays (dGPU, GPU, Intel, and NVIDIA), they usually find that their system defaults to the integrated GPU, even when they prefer the dedicated GPU. This can lead to lower performance, especially when gaming or doing tasks that need a lot of resources..
The main reason is often software conflicts, such as outdated or wrong drivers, or power settings that make the system use the integrated GPU to save power. Additional issues may come from BIOS settings or default power-saving modes that prioritize battery life over performance.
Reasons why your NVIDIA dGPU is always on
If you have set your preferred GPU processor to automatically switch, a few factors might still keep your NVIDIA dGPU active. Outdated or incompatible GPU drivers can cause the dedicated GPU to remain active even for minor tasks. This often occurs in computers designed for earlier Windows versions but later upgraded.
Audio can also engage your GPU, especially when using an HDMI connection. Bugs in audio drivers can keep the dedicated GPU running. Nahimic audio software V2.3.7 on an MSI PC has a known bug in later Windows operating systems. This software offers high-definition sound and voice enhancement, linking it to the GPU.
1. Update your Integrated GPU (main GPU) and your NVIDIA GPU drivers
Updating your GPU drivers can fix display switching problems. Outdated drivers for integrated (Intel) and dedicated (NVIDIA) GPUs may lead to performance issues or incorrect GPU usage. New drivers improve compatibility and solve software issues, ensuring smooth switching based on system needs.
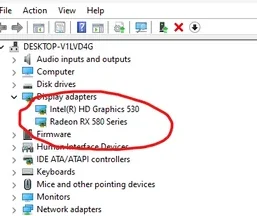
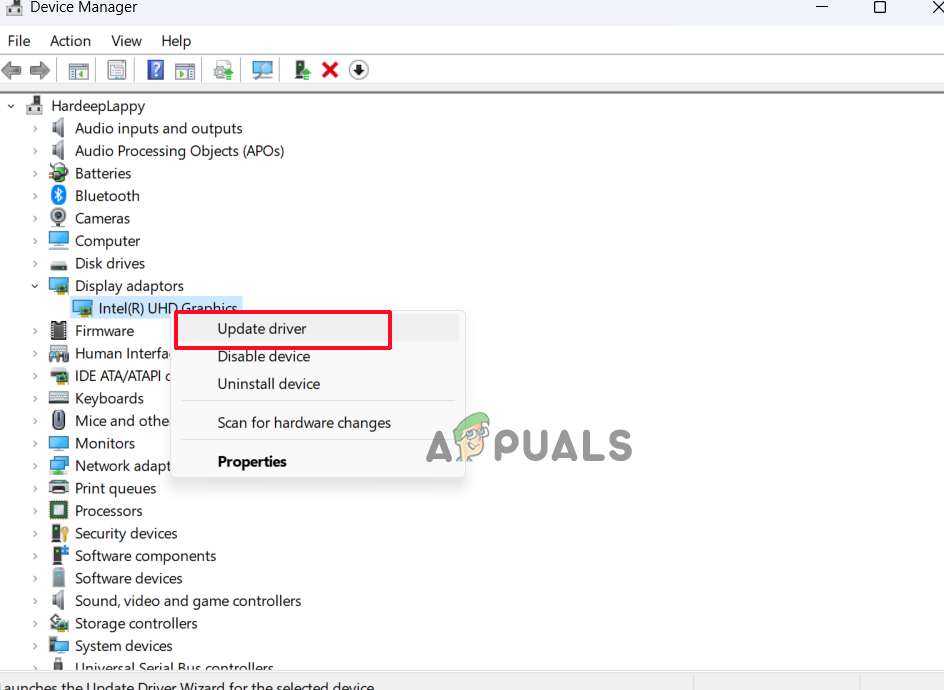
- Press Windows Key + R, type devmgmt.msc, and hit Enter to open Device Manager.

- Expand Display adapters and right-click each GPU (e.g., Intel HD Graphics and NVIDIA) to select ‘Update driver software’.
- Click “Search automatically for updated driver software” for both.
- After updating both, restart your PC.
You can also go online and download your GPU drivers from Intel or NVIDIA and install them manually.
2. Update Audio Drivers
Updating audio drivers, though seemingly unrelated, can affect GPU switching. Outdated drivers can cause system conflicts. Keeping all drivers updated helps prevent issues with GPU switching between Intel and NVIDIA displays.
- Press Windows + R, type devmgmt and hit Enter.
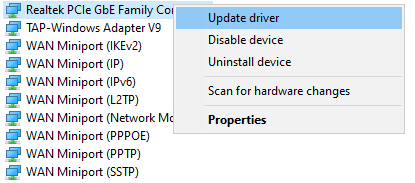
- Click on audio device and hit the Update button.
Click on Update Driver option - Follow the on-screen steps.
3. Change the Preferred GPU (for Nvidia Users only)
To address GPU switching issues, manually set the dedicated GPU as default. This encourages the system to use the dGPU for demanding applications, preventing it from switching to the iGPU. Make the change in the NVIDIA Control Panel to help stabilize performance and avoid potential lag or crashes.
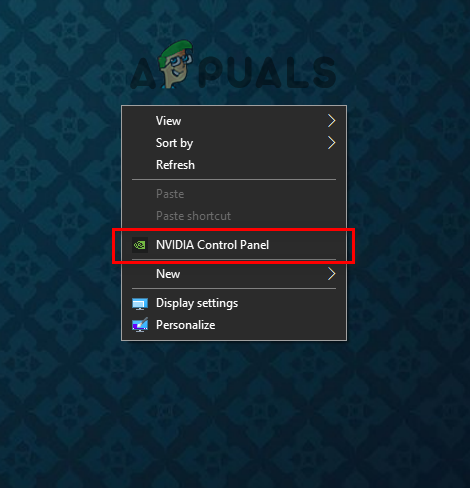
- Right-click on the desktop and select the NVIDIA Control Panel.
- Navigate to Manage 3D Settings.
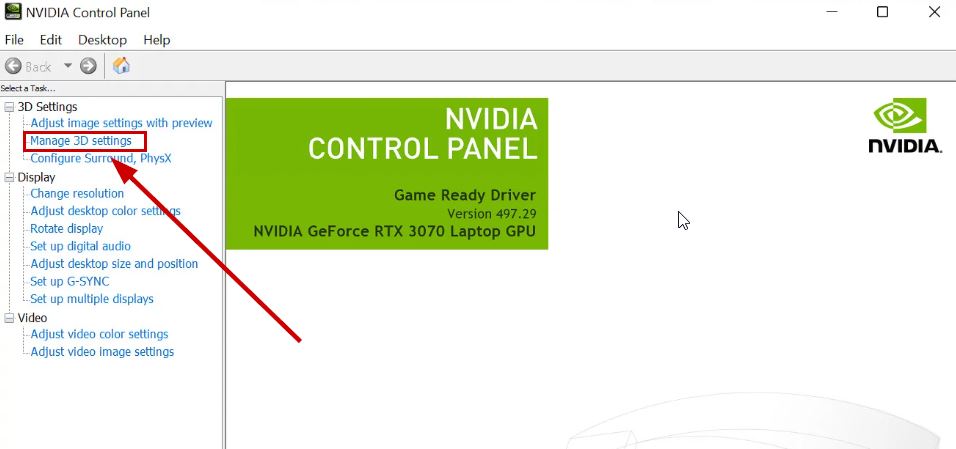
- Select “Auto-select” under Preferred graphics processor.
- Close the panel to apply the changes.
Can this be done with desktops?