How to Add/Remove Startup Programs on Windows 10
If you already know how to control startup programs by enabling and disabling them, there are also ways to add startup programs and completely removing them as well. You can choose whether to do it for a single user or for all users too. We do not usually get to see where the storage place for startup items is. You can access it either through the unique folder for startup programs or through the system Registry.
In Windows 10 it is quite easy to add or remove Startup Apps directly from the Startup folder.
Option 1: Directly adding and removing apps to the Startup Folder
Here is how to do it from the Startup folder:
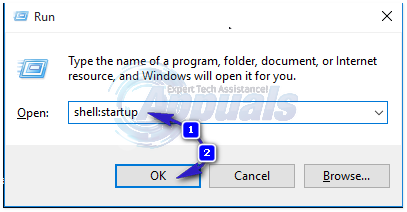
Go to “Run”. You do this by pressing Windows + R on your keyboard. There are several other methods to access the Run utility as well; but this is the quickest and most popular.
On the resulting window, type “shell: Startup”. This is a designated command that will directly take you to the Startup folder. If interested you can note down the directory (C:\Users\Your user name\AppData\Roaming\Microsoft\Windows\Start Menu\Programs\Startup).
Now that you have located the startup folder, it is time to deploy the programs that you need to be among startup items. There are two ways to do this. Copy and paste the shortcut of the program that you want to be added onto the Startup folder. The shortcuts are usually on your desktop so this is very simple. In case you do not want to go back to the desktop every time to check for the program shortcuts, right click on an empty space in the Startup folder. On the resulting menu, navigate downwards and click on “New” and then select “Shortcut”. A window will immediately appear. If you know the directory for the program you need, type its location in the text box. Otherwise, just click on browse.
Locate the program file for the desired startup program or app and double click on it. Press NEXT. When asked to rename the shortcut you can opt to give it a preferred name or just go on with the preset name. When you boot your PC next time, the programs and apps loaded in the Startup folder will be deployed automatically.
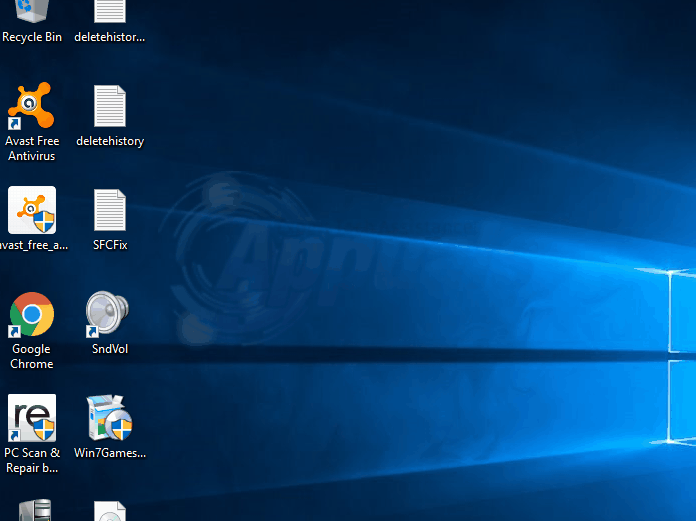
This short animation shows how i added Google Chrome to the startup items, as i need it to open automatically when the computer starts up.
Removing the applications from Startup in Windows 10 is equally simple. Just navigate to the Startup folder as described above and delete the shortcuts of the programs you want to remove.
Option 2: Adding and removing programs to Startup folder via Registry (Advanced Users)
NOTE: Going to the registry is a bit technical. If you are not very familiar with the workings of the system registry it is advisable not to use this method. At the very least edit system registry settings under the supervision of proficient computer users or administrators.
Here is how toad and remove programs to the Startup folder via the registry:
Like in Option 1, go to “Run”. Use any method that you prefer.
Type “regedit” in the Run window and press ENTER. On the window that appears, navigate to this key: HKEY_CURRENT_USER\Software\Microsoft\Windows\CurrentVersion\Run. You can easily identify these entries on the left hand side of the registry editor. Just keep unfolding on each entry/subfolder until you reach “Run”.
All startup programs will be listed on the right hand side of the Registry editor.
To remove an item from Startup, just right – click on the corresponding identity and then click DELETE.
To add a startup entry, all you need to do is make a new string value and you can name it anything you want. Once more, navigate to “Run” in the registry just like in the previous step. Right click on an empty space on the right hand side of the registry editor and select New String. Under VALUE NAME, write a preferred name and then under VALUE DATA; type the path to the application launcher of the program you want to start up with.
Note here that all the above methods add startup applications for a single user. However you can add and remove startup programs for all users. You will follow all the above steps except a few things. Via direct addition and removal, you should type the command “shell:Common Startup” (notice the difference here, the word COMMON has been added). This command opens the directory “C:\ProgramData\Microsoft\Windows\Start Menu\Programs\Startup”. This is the folder to which you will add all your intended startup items (via pasting shortcuts). Now for all users the programs you selected will start at boot time. In the registry editor, the process is the same but the VALUE DATA has to be specific up to the executable launcher file.
There you have it. You now have full control over your startup applications.