How to Access the Startup Folder on Windows 11/10
The Windows operating system has featured a Startup folder since Windows 95, enabling users to configure specific applications and processes to launch automatically at system startup. While Windows 10 and Windows 11 provide excellent management tools—such as the Startup tab in Task Manager (learn more here)—there are still important scenarios where directly accessing the Startup folder is necessary.

In every modern Windows version (including Windows 10 and 11), there are two types of Startup folders:
- User Startup Folder: Launches items only for the currently logged-in user.
- All Users Startup Folder: Launches items for every account on the computer.
The methods for accessing these folders differ, as outlined below.
How to Open the Startup Folder for a Specific User
You can access the user-specific Startup folder using either File Explorer or the Run Command box.
1. Access via File Explorer
Follow these steps to open the Startup folder for your user profile:
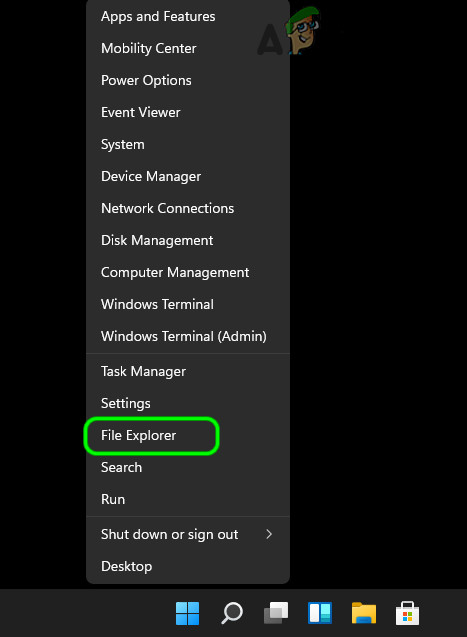
- Right-click the Windows icon and select File Explorer.
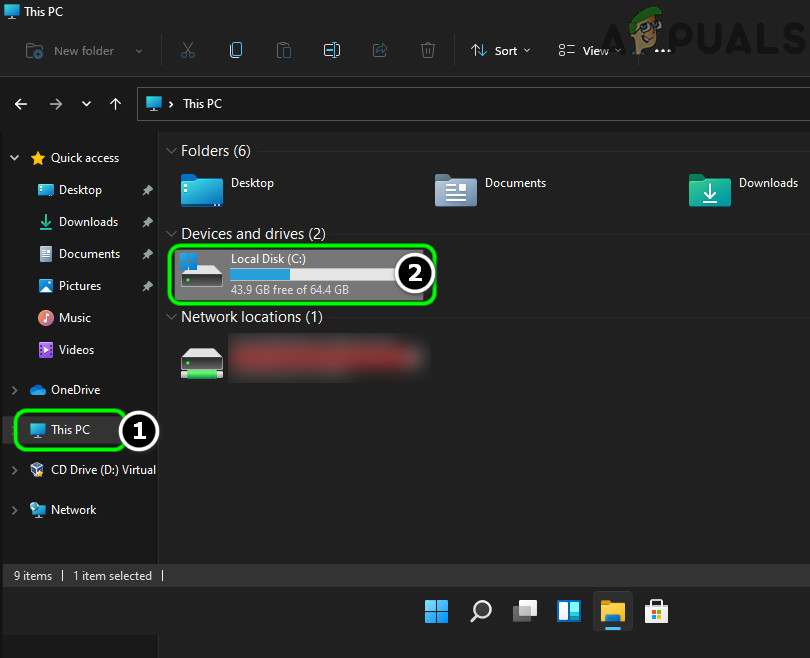
Open File Explorer from the Quick Access Menu in Windows 11 - In the navigation pane, select This PC, then double-click your system drive (usually the C: drive).
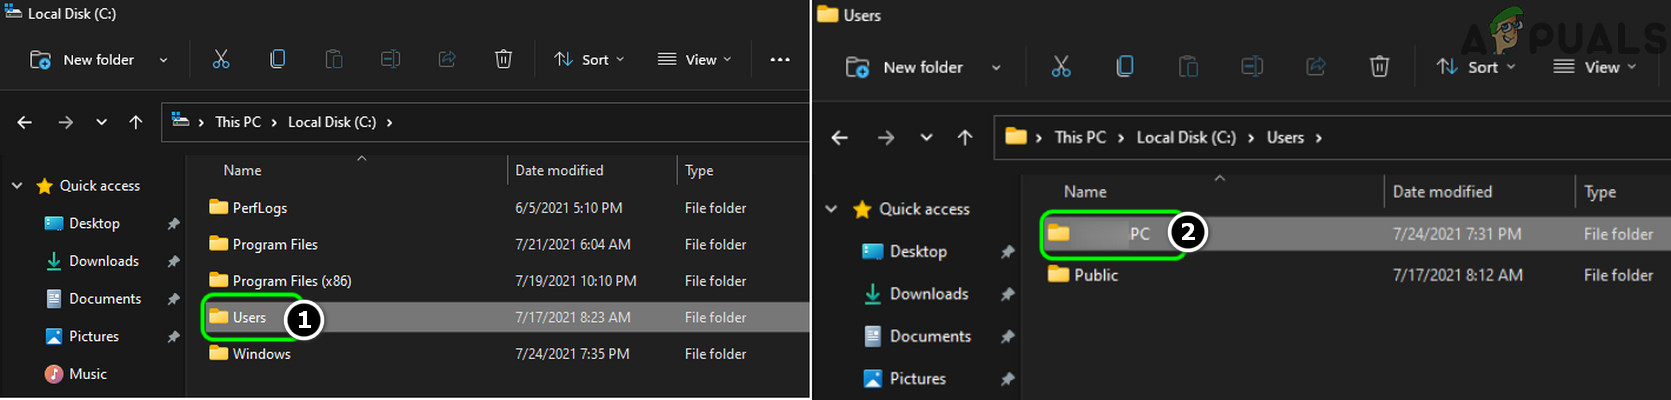
Open the System Drive of Windows 11 - Open the Users folder, then select the folder that matches your username.
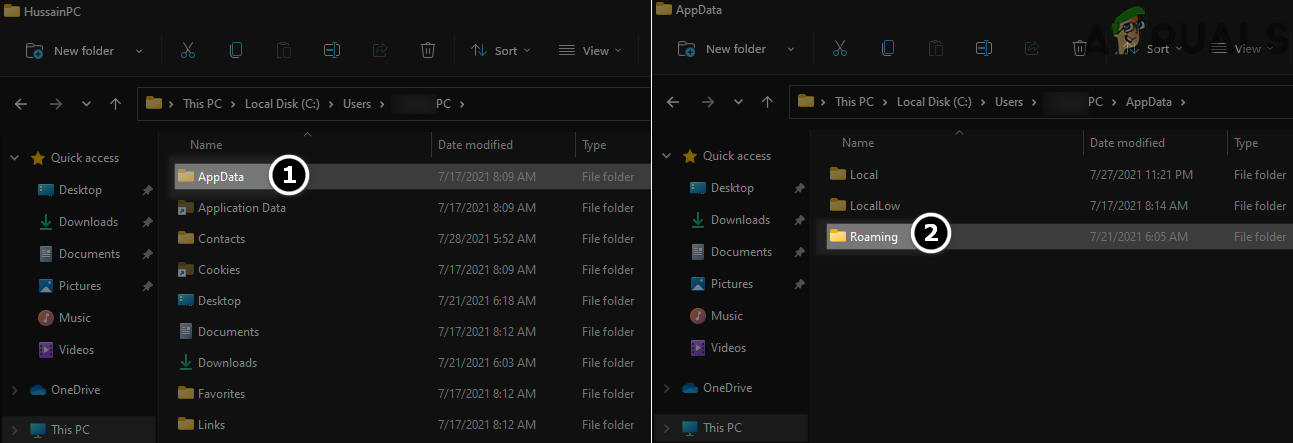
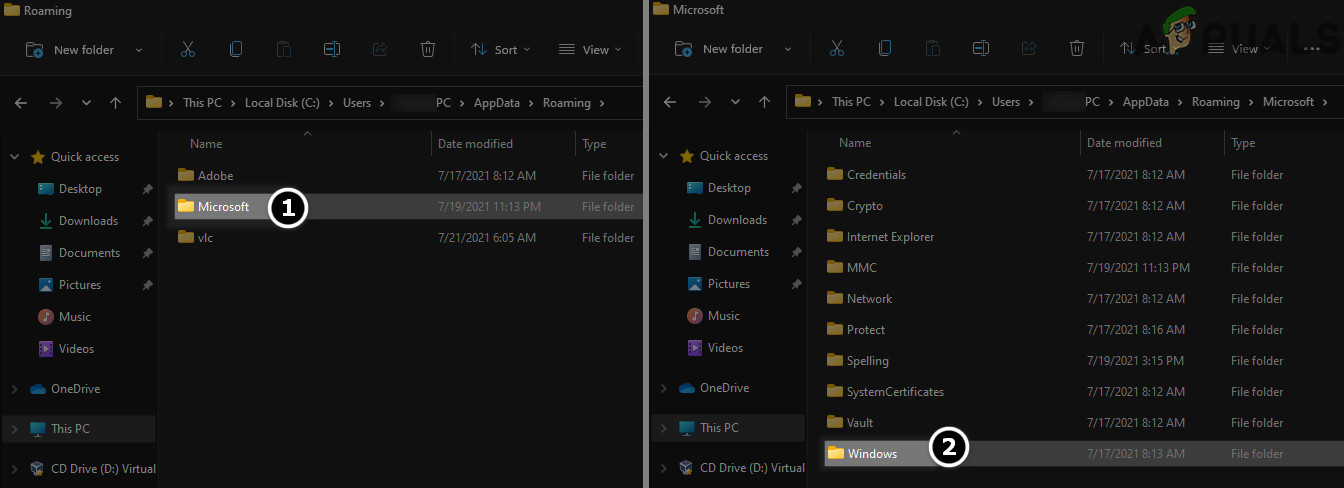
Open Your User Folder in the Users Directory - Locate and open the AppData folder. (If you do not see this folder, you may need to enable hidden files.) Next, open the Roaming directory.
Open the Roaming Folder in the AppData Directory - In Roaming, open the Microsoft directory, followed by the Windows folder.
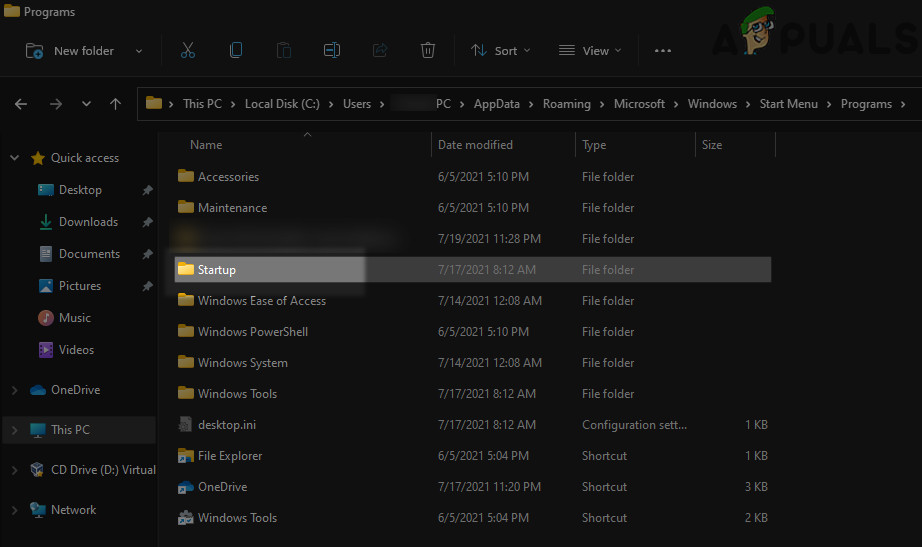
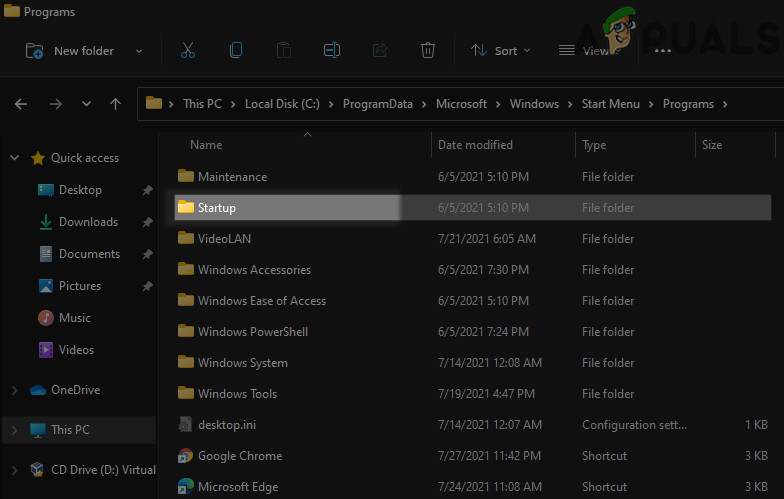
Open the Windows Directory in the Microsoft Folder - Continue by opening the Start Menu folder, and then the Programs folder.

Open the Programs Folder in the AppData Directory - Finally, open the Startup folder. You have now accessed the Startup folder for your user account.
Open the User Startup Folder in Windows
The full path to the user Startup folder is as follows:
C:\Users\<yourusername>\AppData\Roaming\Microsoft\Windows\Start Menu\Programs\Startup
2. Access via Run Command Box
While File Explorer gets the job done, using the Run command box is significantly faster and more efficient.
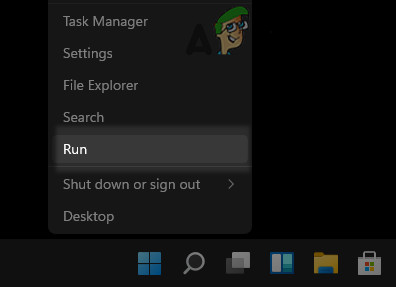
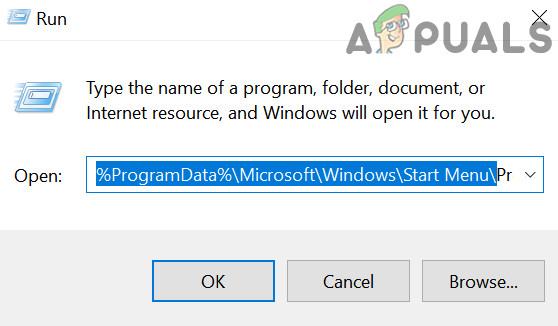
- Right-click the Windows icon and choose Run.
Open the Run Command Box from the Quick Access Menu - Type or paste the following command and press Enter:
%appdata%\Microsoft\Windows\Start Menu\Programs\Startup
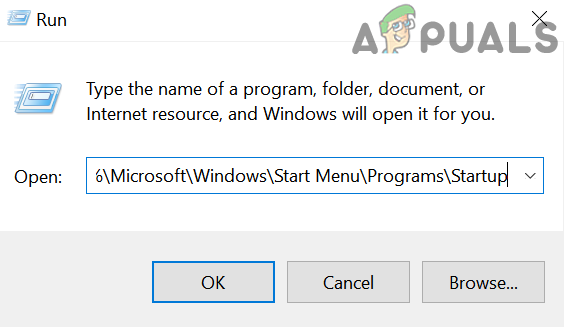
Open Startup Folder - The Startup folder for your user profile will open.
- Alternatively, use this command for the same outcome:
\users\%username%\AppData\Roaming\Microsoft\Windows\Start Menu\Programs\Startup
How to Open the Startup Folder for All Users
To open the Startup folder shared across all user accounts, use either File Explorer or the Run command box as described below.
1. Access via File Explorer
- Right-click the Windows icon and open File Explorer.
- Select This PC and open your system drive (usually C:).
- Open the ProgramData folder. (If you don’t see this folder, make sure hidden and system files are visible.) Then, open the Microsoft directory.
- Navigate to the Windows directory and open Start Menu.
- Proceed to the Programs directory, then double-click the Startup folder.
Open the Startup Folder for All Users in Windows - You have now accessed the Startup folder for all users.
The full path to the All Users Startup folder is:
C:\ProgramData\Microsoft\Windows\Start Menu\Programs\StartUp
2. Access via Run Command Box
The Run dialog offers a swift way to open the Startup folder for all users:
- Right-click the Windows icon and select Run.
- Type or paste this command and press Enter:
%ProgramData%\Microsoft\Windows\Start Menu\Programs\StartUp
Open the Startup Folder of All Users Through the Run Command Box - The Startup folder for all users will open instantly.
How to Add an Item to the Startup Folder
Adding a program to the Startup folder allows it to launch automatically at every system startup. Here’s a concise, step-by-step guide:
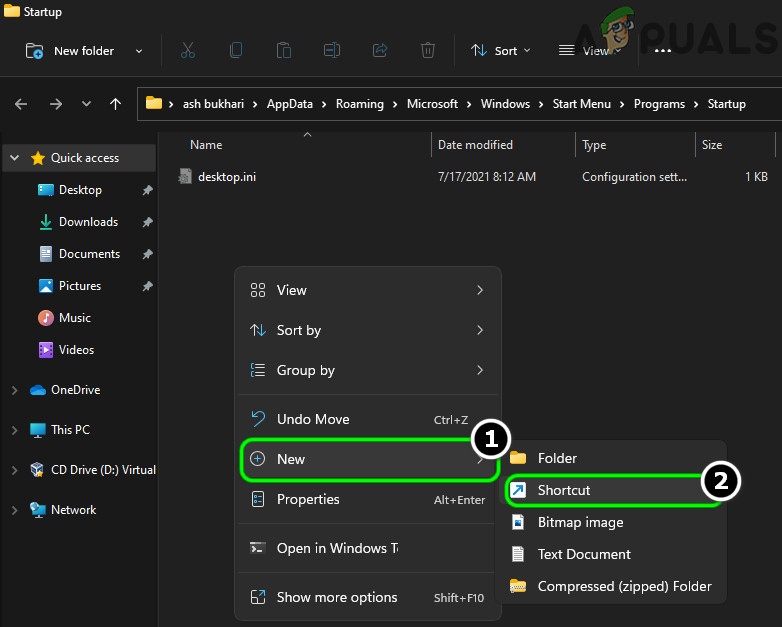
- First, open the Startup folder (user-specific or all users, as required). Then right-click on any blank area inside the folder.
- Hover over New and select Shortcut.
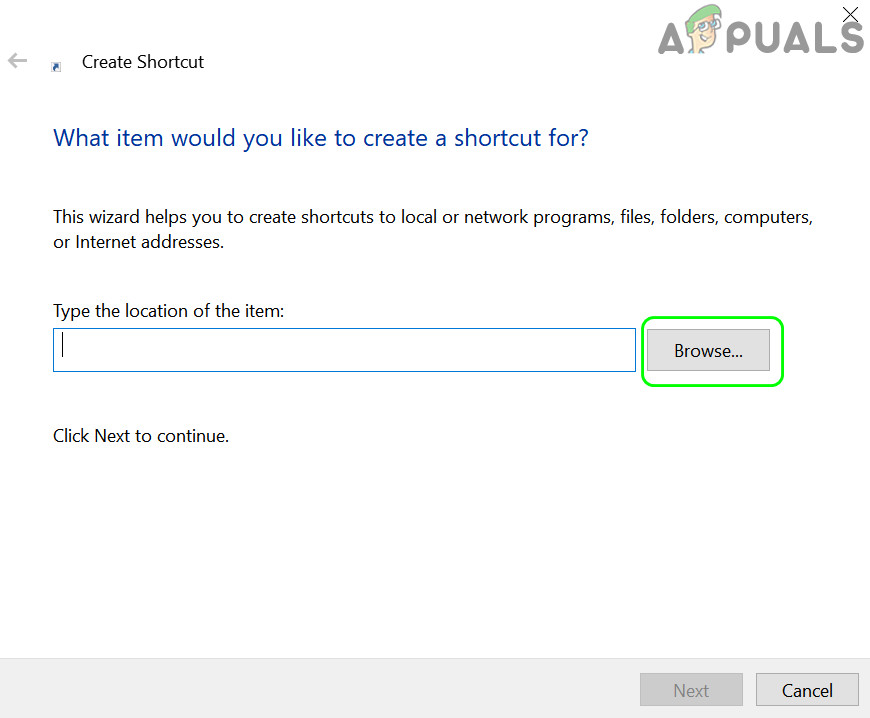
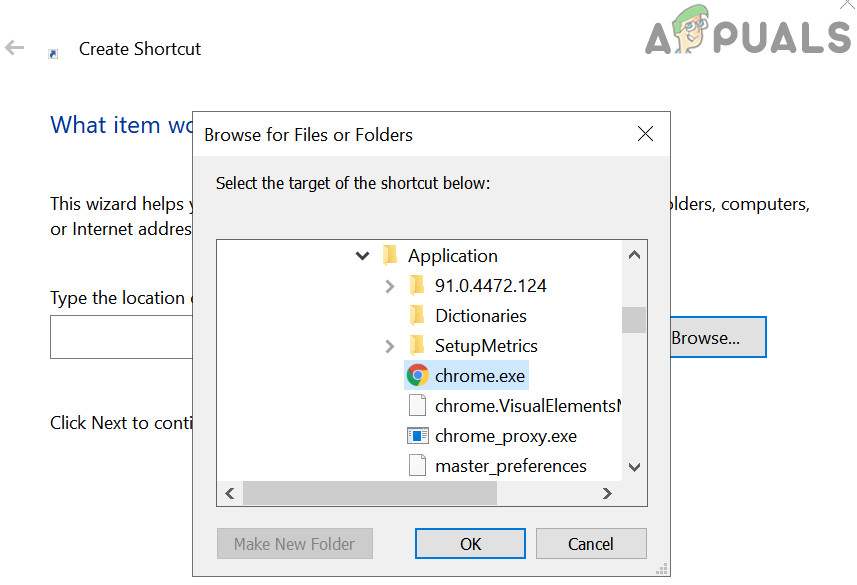
Create a New Shortcut in the User Startup Folder - Click the Browse button and navigate to the executable file of the application or process you want to add. For example, to add Google Chrome, go to:
This PC >> C: >> Program Files (x86) >> Google >> Chrome >> Application >>
Browse for the Application to be added in the Startup Folder in the Shortcut Window - Click OK, then select Next on the following screen.
Add Chrome’s Shortcut to the Startup Folder - Enter a name for the shortcut (for example, “Google Chrome”), and click Finish.


