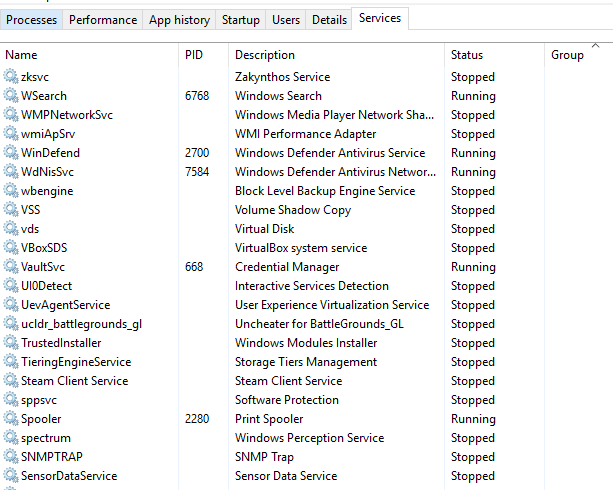
Missing Windows Services: How to Find and Restore Them
Missing Windows Services is one of the most common occurrences that is mainly caused by corruption in your System files. However, these services are not completely removed from your system as, most of the time, they are simply hidden and can be manually brought back onto your system. This guide will show explain how to determine if these services are hidden or removed and if removed how to bring them back in your Windows.
1. Run the System File Checker
Windows services may be deleted or missing from your system due to corrupt or incorrect files on your computer. Use the SFC command, It will through each file and registry on your system to see which file was causing the error and repair them to solve the issue.
Follow the steps below to learn how to perform a System File Checker on your computer:
- Search for the Command Prompt on the Windows Search bar by typing “cmd.”
- Right-click on the Command Prompt and run it as an administrator.
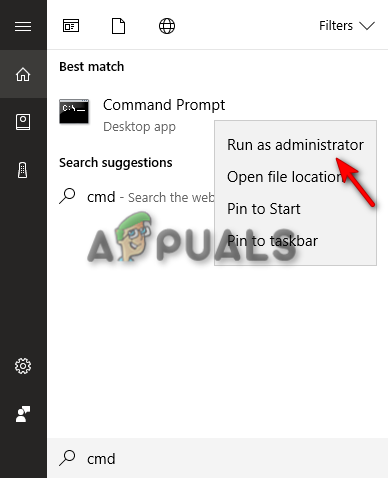
Running the Command Prompt as an administrator. - Type the following command in the Command Prompt while giving a space between “sfc” and “/.”
sfc /scannow
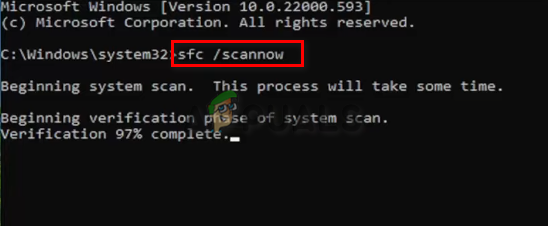
Running system file checker on the command prompt. - If any file is corrupted, The system file checker will automatically repair the error.
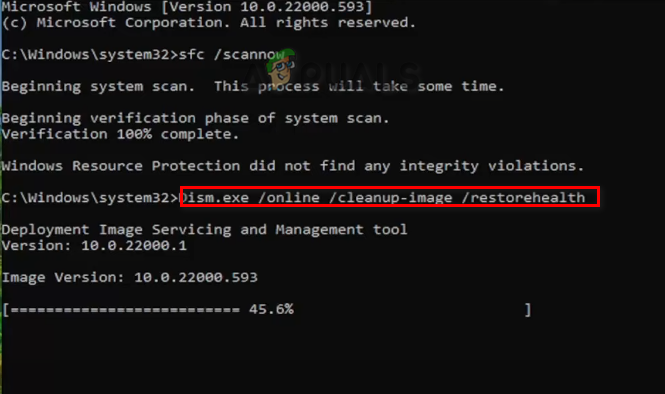
Note: Furthermore, you can use the DISM command and scan the files on your system that have been the reason for file corruption which may have removed Windows services from your system. Paste the following command into the command prompt after performing the system file checker. Lastly, restart your computer to see if this fixed the error:
Dism.exe /online /cleanup-image /restorehealth
2. Manually Restore the Missing Windows Services
You can restore the missing Windows Services manually by tinkering in Registry Editor . To learn how to manually restore missing or deleted windows services on your computer, follow the instructions given below:
Note: Please make sure to backup registry files before following the method mentioned below.
- Open the Run Dialog Box by pressing the Win + R keys together.
- Open the Registry Editor by typing “regedit” in the search box and pressing Enter.
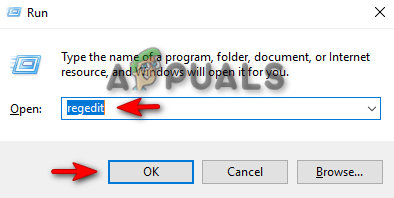
Opening the Registry Editor - Now, you must navigate to HKEY_LOCAL_MACHINE > SYSTEM > CurrentControlSet > Services
- On the left side of the panel, under the Services folder, search for the missing/deleted service folder on your system.
- Export the missing service folder to the desktop by right-clicking on it and clicking “Export.”

Exporting missing service folder to the desktop - Double-click on the newly exported service folder on the Desktop, click “Yes” on the User Account Control prompt, and manually restore the missing Windows Service on your computer.
3. Perform a System Restore
System Restore helps you revert the state of your Windows to a particular time. This feature is often used to recover malfunctions and other errors. Using the system restore feature, you can pinpoint when the Windows Services were not missing or potentially deleted from your computer, which may resolve this issue. You can follow the steps below to see how to perform a system restore:
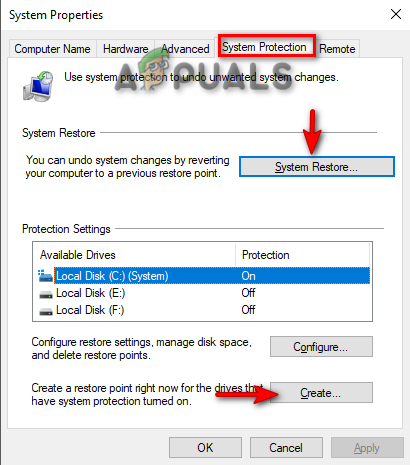
- Press the Win key, type “Restore Point” in the Windows Search box, and click on the “Create a Restore Point” option.

Opening System Restore - Under Protection Settings, click on the Create option
- Type the restore point of your choice (for example, restore 12/15/2022) and click Create.
- Now, click on the System Restore Option.
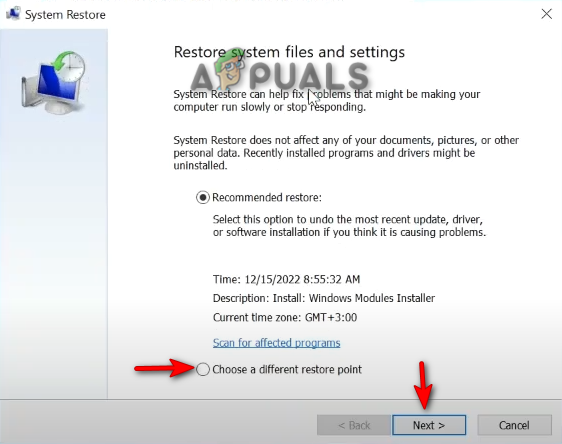
Creating a Restore Point - Select “choose a different restore point” and click Next if you want to change the recommended restore point.
Choosing a different restore point - Select a restore point and click on Next to restore your system.
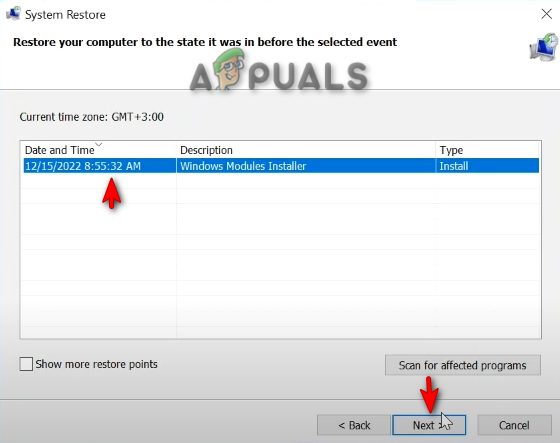
Restoring System to custom time
5. Perform a PC Reset and Clean Installation
If you are still facing the missing/deleted Windows Services on your system, then as a last resort, you must perform a Windows Reset, which helps you do a Clean Installation with most of your data still intact. Below, we have given the steps to perform a Windows Reset:
Disclaimer: Before performing a Clean Installation, ensure you have saved your data elsewhere in case your data gets formatted. Follow this method if you agree to perform a Windows Reset and a Clean Installation.
- Open the Windows Settings by pressing the Win + I keys together.
- Now, navigate to Update and Security > Recovery.
- Reset your computer by clicking on the “Get Started” option under “Reset this PC.”
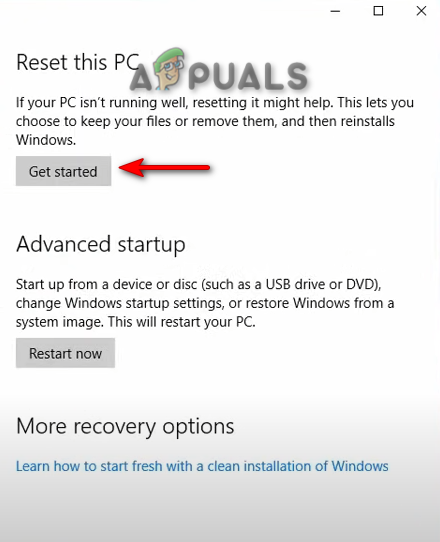
Resetting Computer - On the choose options page, select the options of your choice.
- Restart your computer by pressing the Win key and clicking the restart option on the power button.

Restarting PC - After resetting the PC, you can perform a Clean Installation for your Windows.


