How to Fix ‘PowerShell.exe is not a Microsoft-Verified App’ on Windows 10
If you are continuously encountering the error message of ‘PowerShell.exe is not a Microsoft-verified app‘, then this error can be caused by another application on your system (like Asus System Analysis) as that application might be trying to execute the shell in the background.
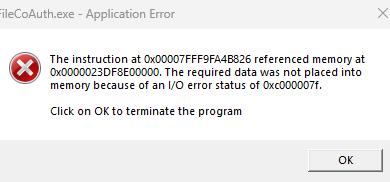
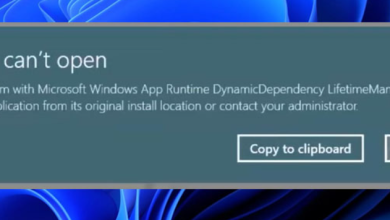
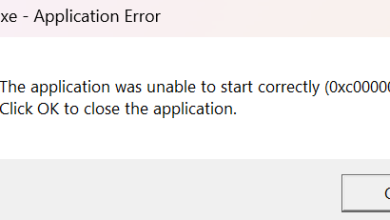
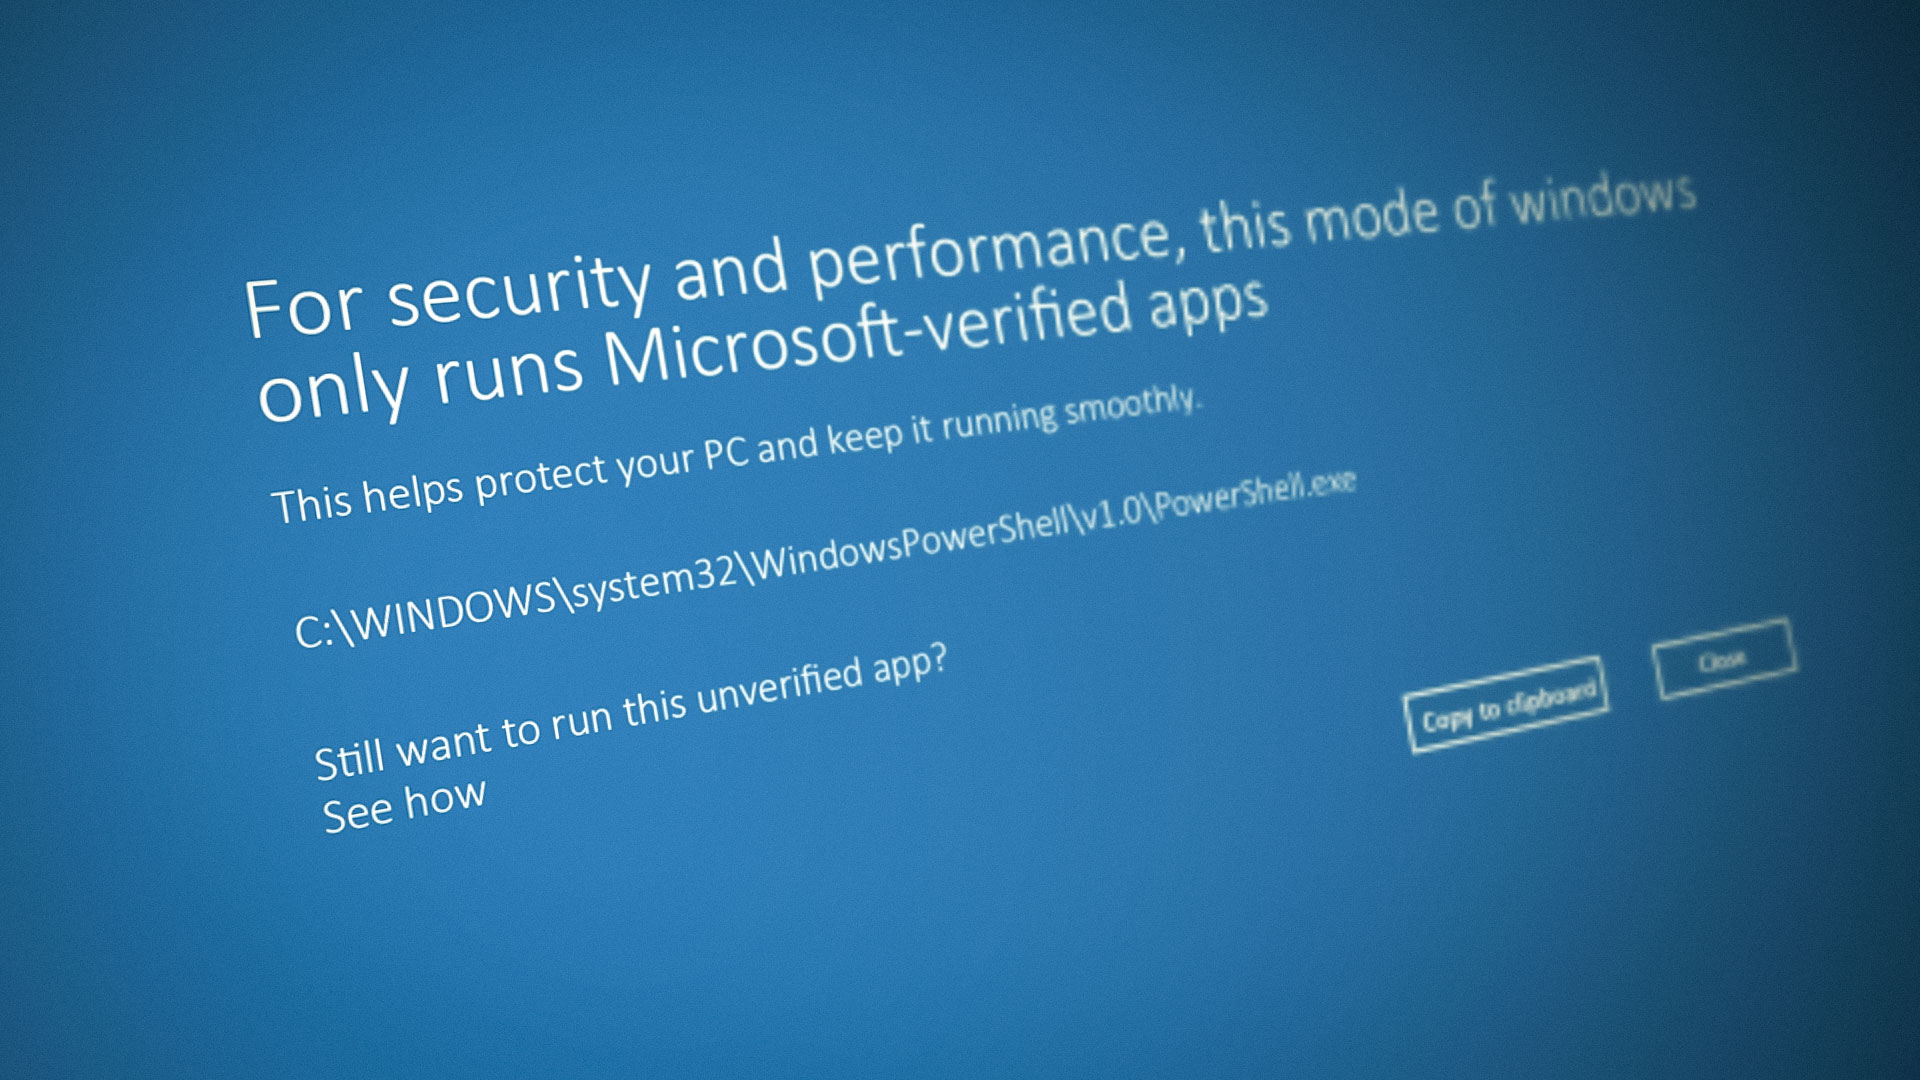
Usually, the error message is shown when a user logs in to his system and encounters the following annoying message, which will keep popping up again and again even after closing the message box:
The PowerShell issue can be caused by many factors but is mainly triggered by a background application:
- Conflicting Applications: Many OEM applications (like Asus System Analysis) perform different background operations on your system and during this process, these applications (sometimes) try to execute a PowerShell script or command, which can cause the issue at hand.
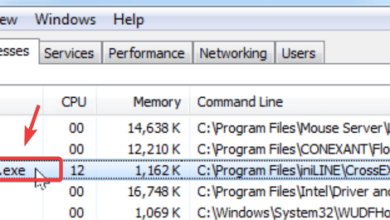
Before moving on to fix the issue, check if logging out, logging back in, and ending the non-essential tasks (like Asus System Analysis) in the Task Manager temporarily solves the issue.
Clean Boot Your PC and Disable the Problematic Application
You may encounter the Microsoft Verified app error message for the PowerShell.exe if another application is triggering the PowerShell to execute a script or command. In this context, clean booting your PC to stop the problematic application (like Asus System Analysis) from executing at the system startup may solve the PowerShell problem.
- Click Windows, key in System Configuration, open it, and navigate to its Services tab.
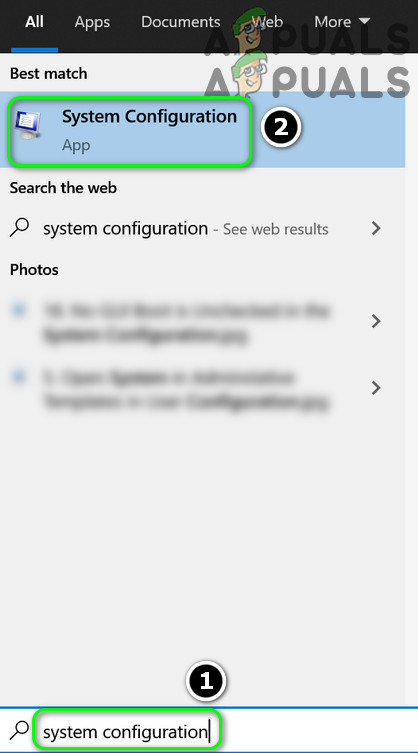
Open the System Configuration from the Start Menu - Now select the checkbox of Hide All Microsoft Services and click on the Disable All button. If you don’t want to disable all the services, then disable the service that you think is creating the issue.
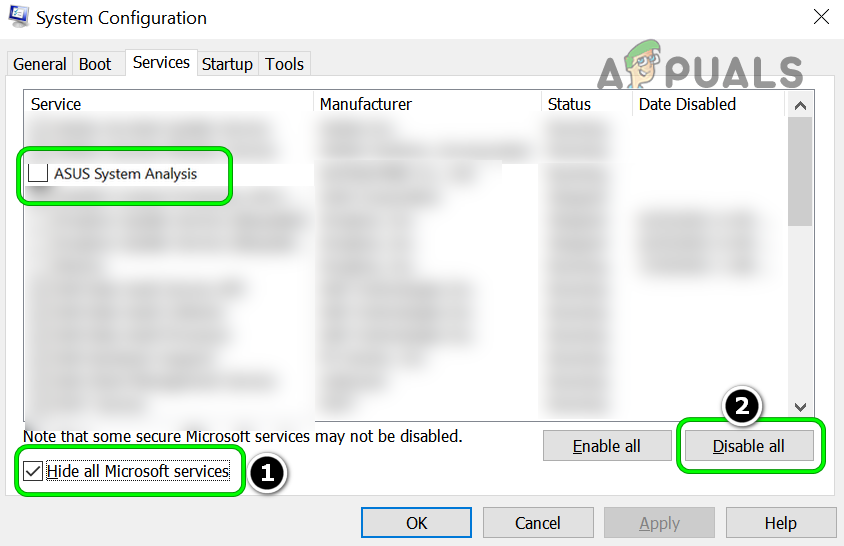
Hide All Microsoft Services and Disable All Other Services in the System Configuration Utility - Then head to the Startup tab and click the Open Task Manager link.
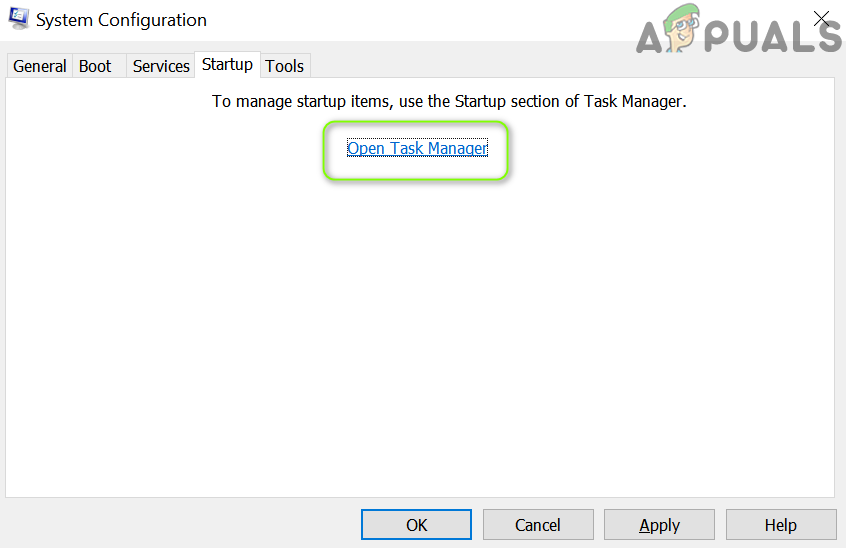
Click on Open Task Manager in the System Configuration - Now, in the Task Manager’s Startup tab, one by one disable all the entries and apply your changes (in Task Manager and System Configuration).
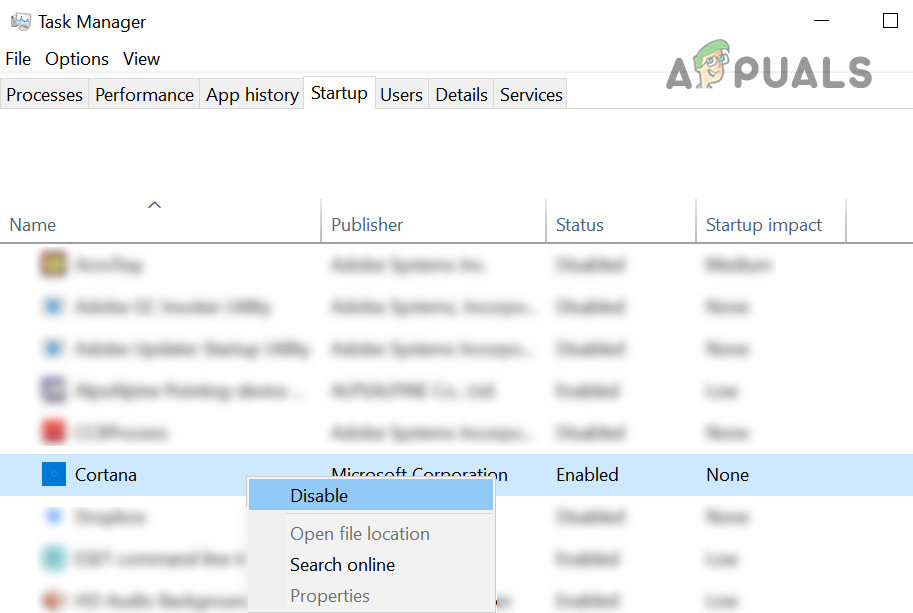
Disable All Startup Entries in the Startup tab of the Task Manager - Then restart your PC and upon restart, check if the system is cleared of the Microsoft Verified app message.
If so, enable back the services/process one by one (as discussed above) to find the problematic application/process/service. Once found, either keep it disabled at the system startup or uninstall it.
Disable PowerShell in the Windows Features
If PowerShell is not essential for you to operate the system, then you can disable it in the Windows Features to get rid of the Microsoft verified app issue.
- Click Windows, key in Windows Features, and open Turn Windows Features on or off.
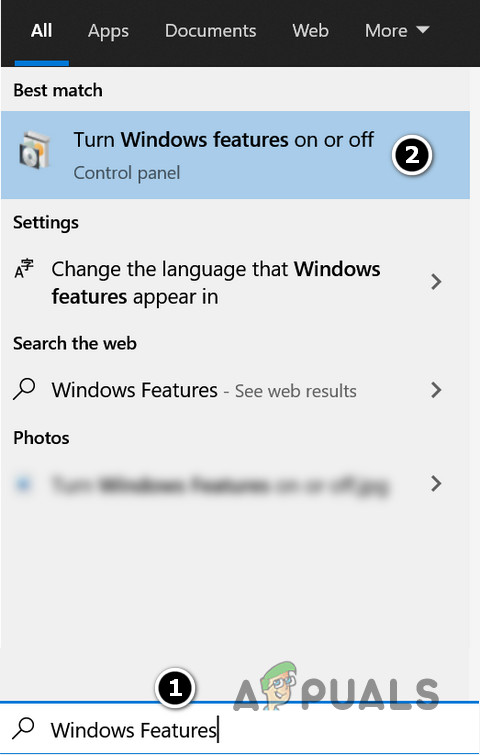
Open ‘Turn Windows Features on or off - Now scroll down till you find the option of Windows PowerShell 2.0 and then uncheck its checkbox.

Disable Windows PowerShell in Windows Features - Then confirm to disable the PowerShell feature and reboot your PC to check if the system is clear of the PowerShell.exe is not a Microsoft-verified app message.
Disable the S Mode of Windows
If the above two methods did not work for you, then you may have to reinstall Windows to solve the Microsoft Verified app issue, otherwise, you may opt out of the S Mode of Windows (if security is not your primary concern). But keep in mind disabling the S Mode of Windows may make your system less secure. Also, do note that, if ever you want to revert to the S Mode, then you may have to reinstall the Windows.
- Firstly, back up the essential files of the system. Then right-click Windows and select Apps & Features.
- Now, in the section of Choose Where to Get Apps, select Anywhere (in the dropdown). Then check if the PowerShell issue is resolved.
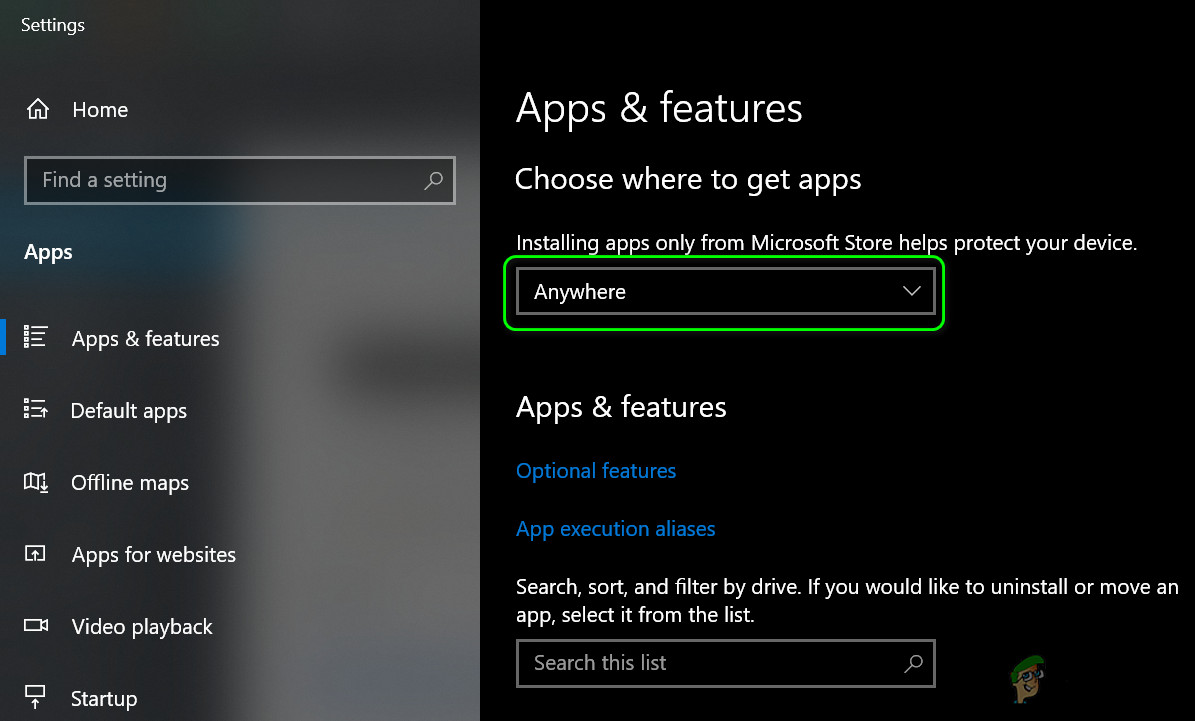
Change the Setting of Choose Where to Get Apps to Anywhere - If the issue is not resolved or the option is not present, disabled, or not working, click Windows and type About Your PC.
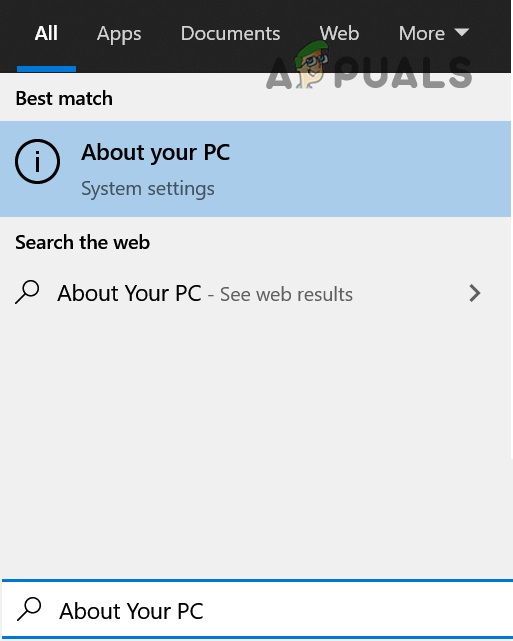
Open About Your PC - Now select About Your PC and check your Windows version in the Windows Specification section.
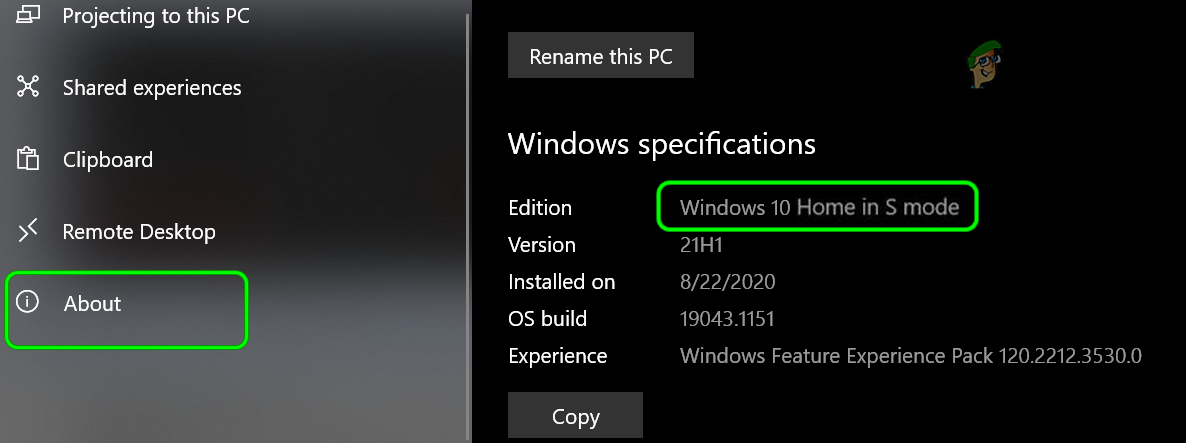
Windows 10 Home in S Mode - If the Windows version is S Mode, right-click Windows and open Settings.
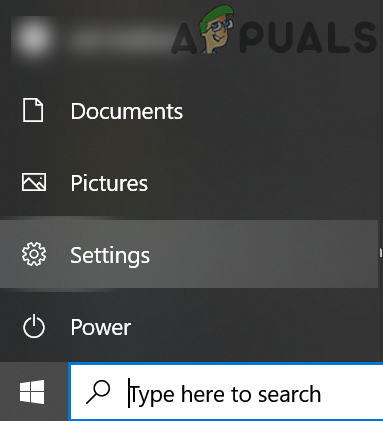
Open the Windows Settings - Now open Update & Security and in the left pane, head to the Activation tab.
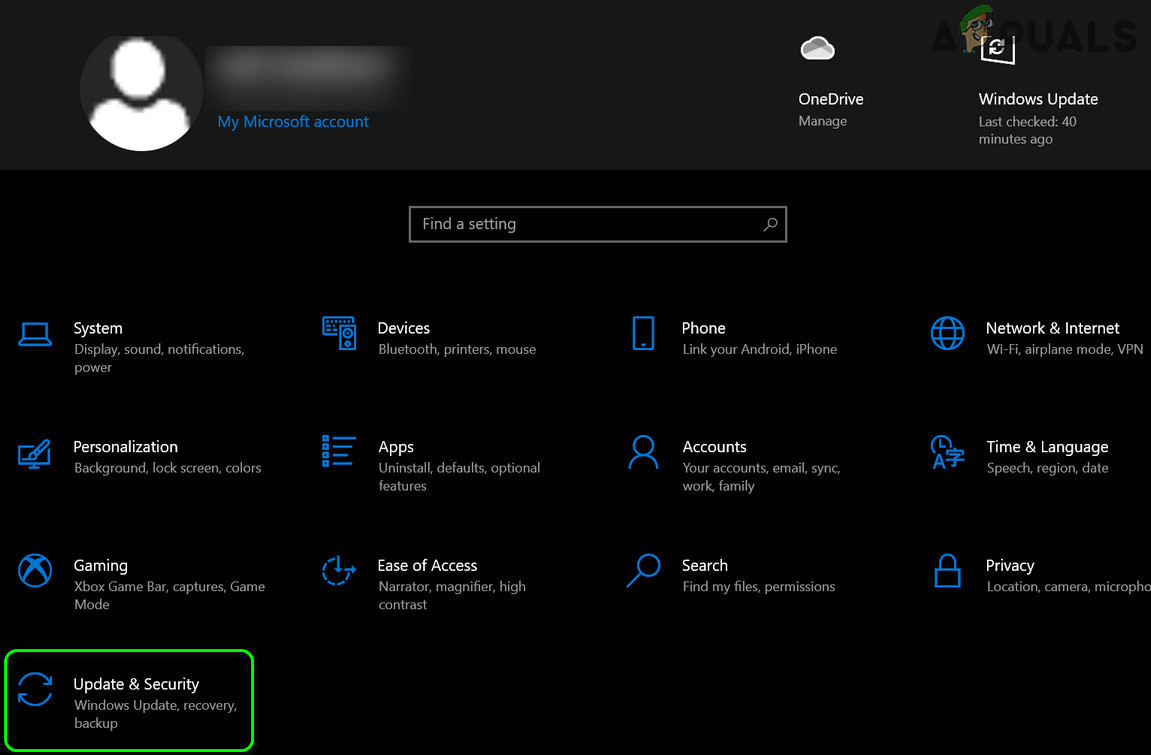
Open Update & Security - Then, in the Switch to Windows 10 Home section, click on the Go to Store link.
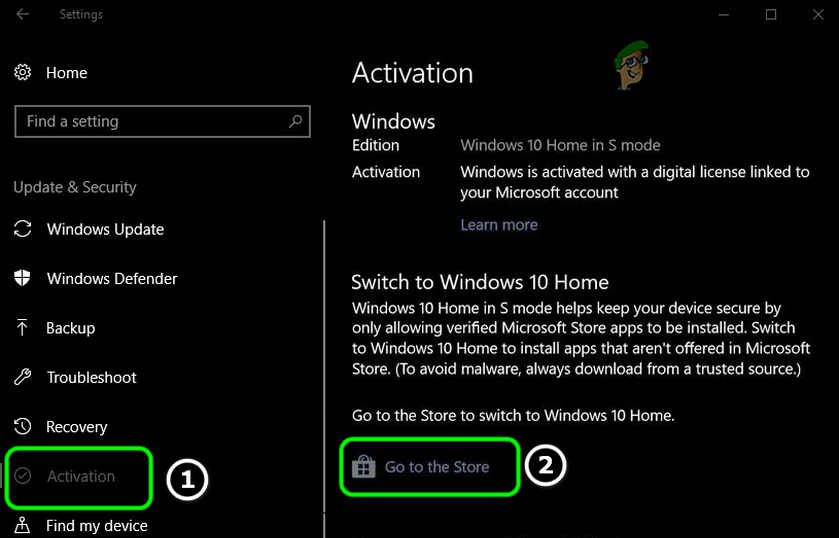
Go to Store to Switch to Windows 10 Home - Now, on the Microsoft Store page shown, click on the Get button and then click on the Install button.
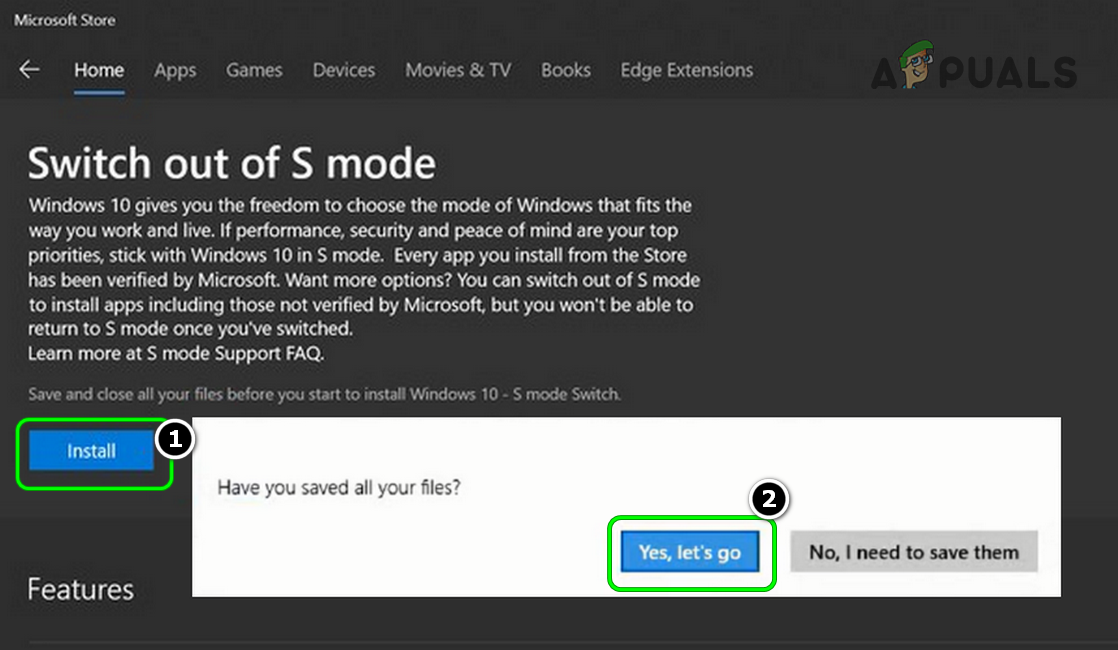
Switch Out of S Mode - Then click on Yes, Let’s Go, and wait till the process is complete.
- Now again check your Windows version in the About Your PC section to confirm if the S Mode of Windows is disabled.
- Then change your Choose Where to Get Apps to Anywhere (if required) and reboot your PC.
- Upon reboot, hopefully, your PC would be clear of the PowrShell.exe issue.