Resolve High CPU Usage caused by Windows PowerShell on Windows 10
Windows PowerShell process may cause high CPU usage in Windows 10 if the Windows of your system is outdated. Moreover, different conflicting applications (like NativeDesktopMediaService) may also cause the issue at hand.
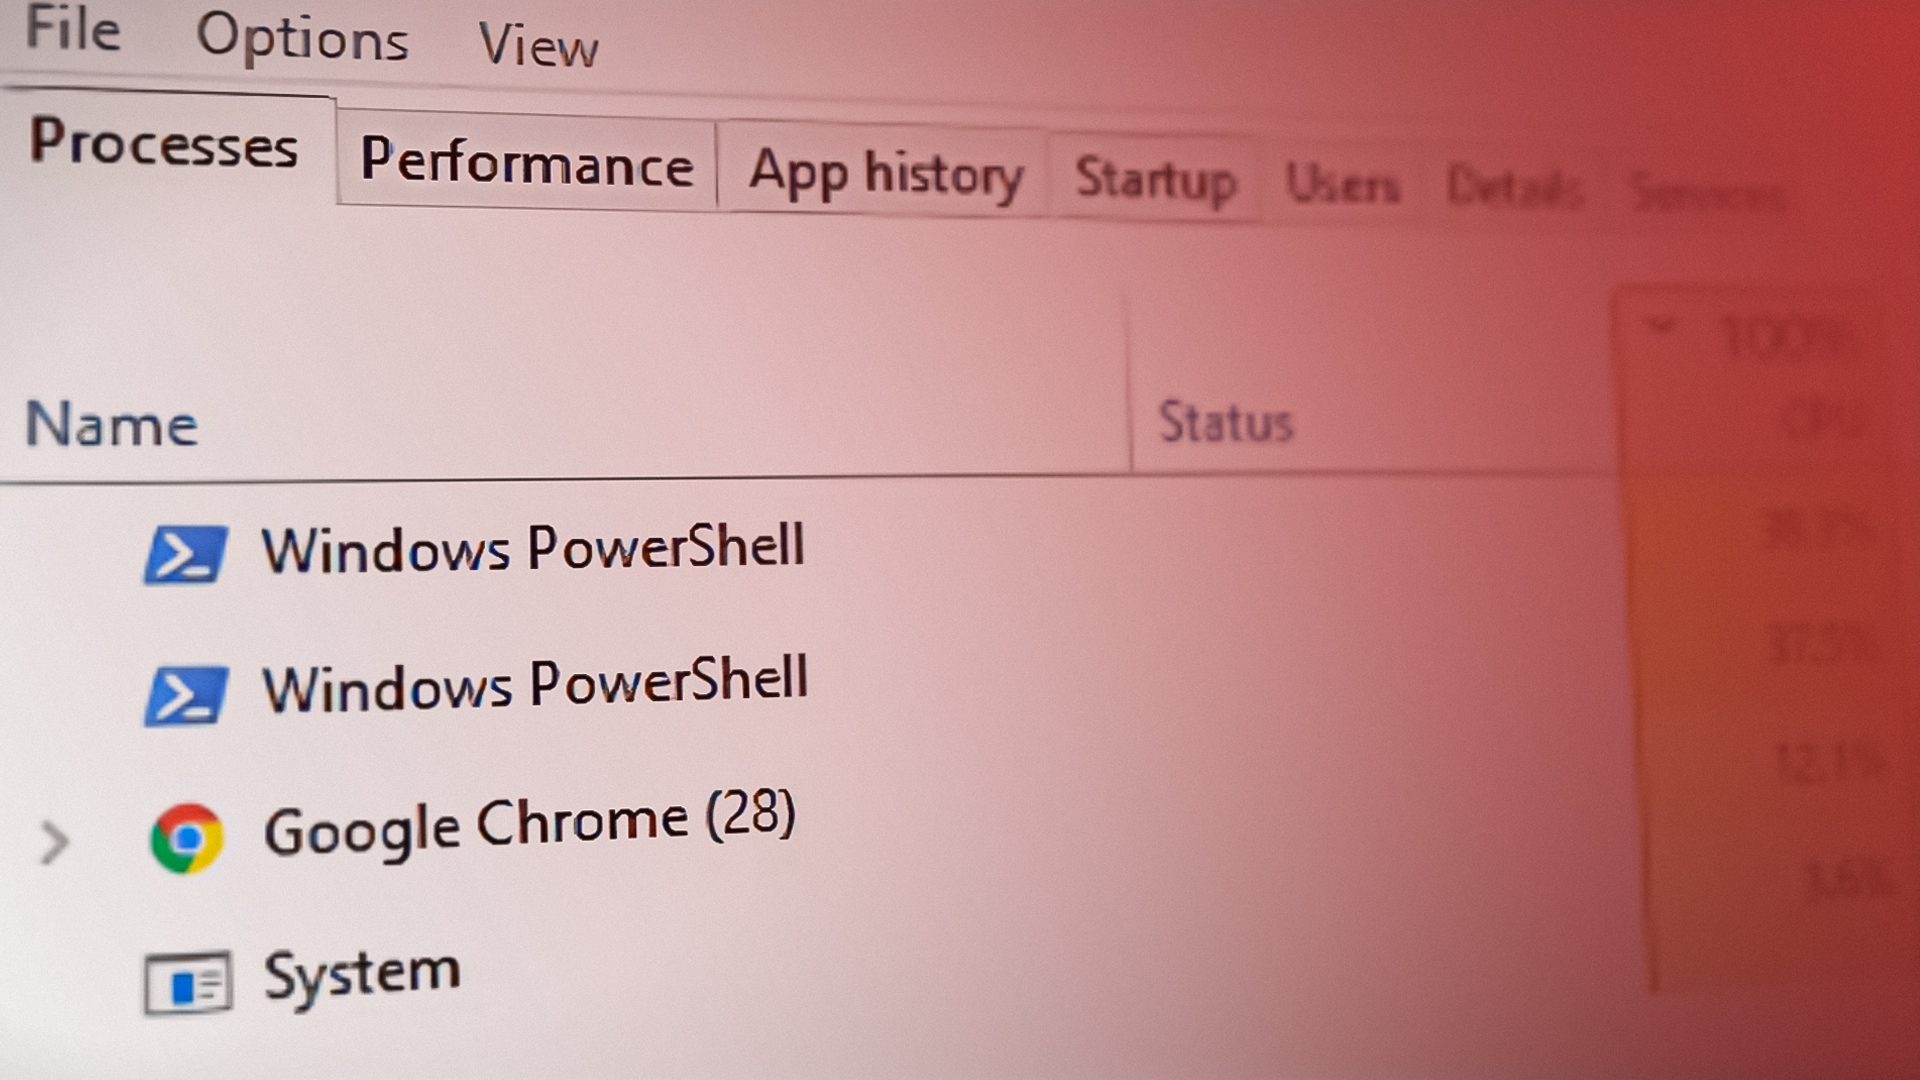
The user notices the issue when his PC starts behaving sluggish and upon opening the Task Manager, he notices a high CPU usage by PowerShell (in some cases, multiple PowerShell processes keep appearing and disappearing in the Task Manager).
Before proceeding, check if ending the PowerShell process through the Task Manager solves the problem (if due to a temporary glitch).
Update the Windows of Your System to the Latest Release
You may encounter high CPU usage by the PowerShell if the Windows of your system is outdated (as it may cause the incompatibility between the OS modules). In this case, updating the Windows of your system to the latest release may solve the high CPU usage issue.
- Manually update the PC’s Windows and reboot your PC.

Check for Windows Updates - Upon reboot, check if the issue is resolved.
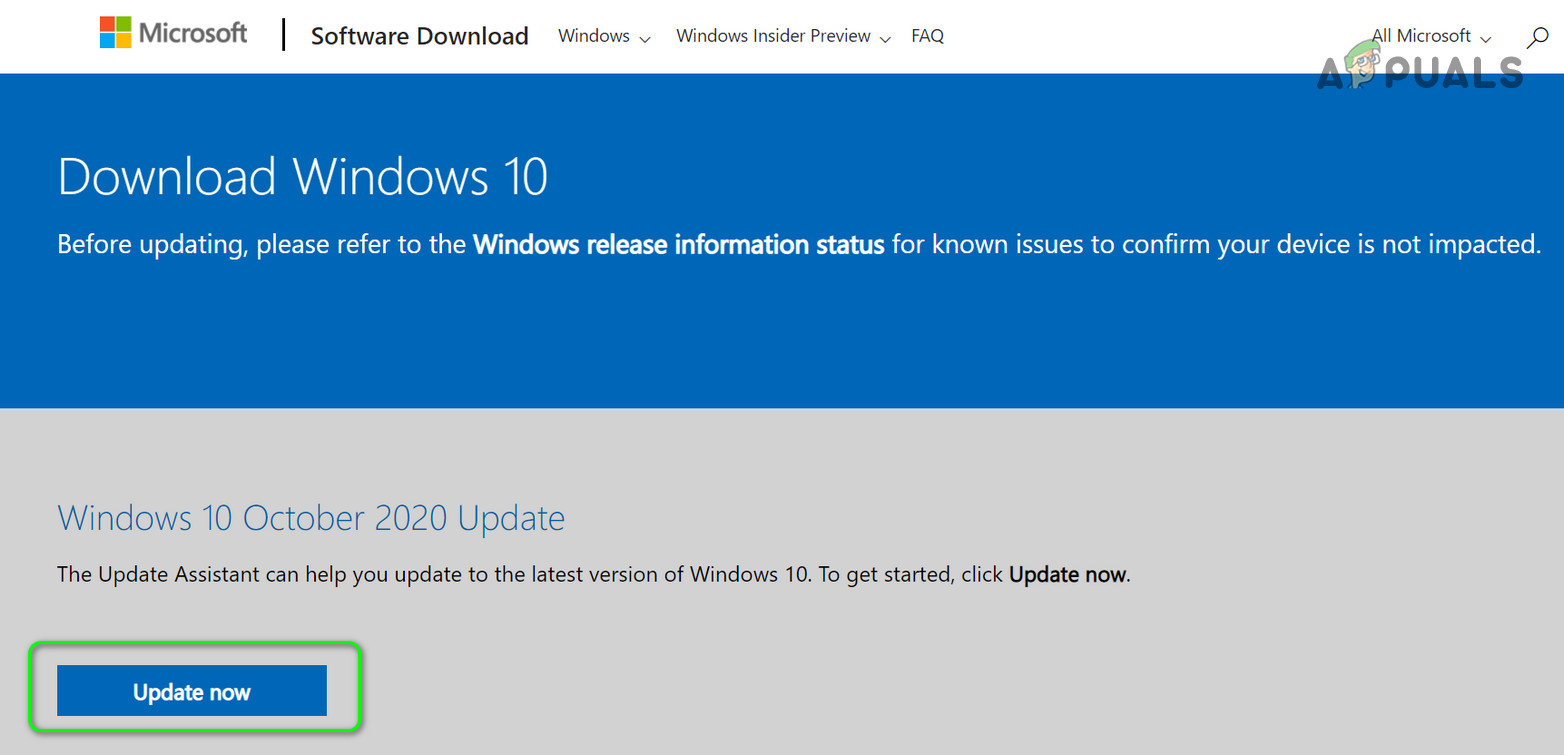
If the issue persists (or you are using an obsolete version of Windows), then you may download the Update Assistant (currently, Windows 10 October 2020 Update) from the Windows 10 download page. Then use that assistant (make sure you launch it as administrator) to update the system and check if that solves the PowerShell issue.
Clean Boot Your PC and Disable/Uninstall the Problematic Applications
The Windows PowerShell process may cause high CPU usage if an application on your system is triggering the PowerShell process. In this context, clean booting the system and disabling/removing the application (causing the issue) may solve the problem.
- Clean boot your PC (you may also try Autoruns, Process Explorer, or WBEMTEST) and check if the high CPU usage by the Windows PowerShell has disappeared.
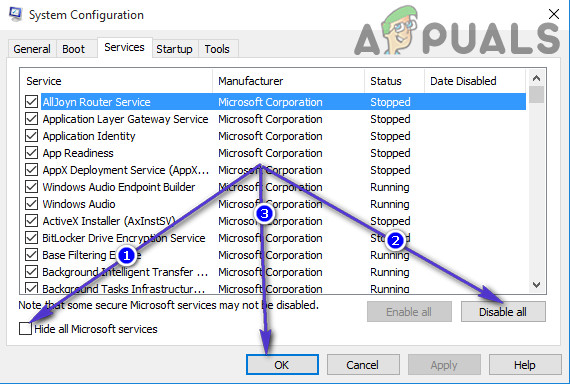
Clean Boot the Windows 10 PC - If so, then you may enable the applications/services/processes (do not forget to check the browser’s extensions) disabled during the clean boot process one by one till a problematic one is found.
- Once found, then you may disable or remove the problematic one. Usually, the pre-installed driver update utility by the OEM or NativeDesktopMediaService applications are reported to trigger the PowerShell issue.

Uninstall NativeDesktopMediaService
Perform a Repair Upgrade of the PC’s Windows
If none of the solutions solved the high CPU usage issue so far, then you performing a repair upgrade of the PC’s Windows may solve the problem.
- Launch a web browser and steer to the Windows 10 download page.
- Now scroll down and click on Download Tool Now (under Create Windows 10 Installation Media).

Download Media Creation Tool Now - Then let the download complete and afterward, right-click on the downloaded file.
- Now choose Run as Administrator and Accept the License Terms.
- Then, in the “What Do You Want to Do” window, choose Upgrade This PC Now and click on Next.
- Now let the tool download the OS files and follow the prompts to complete the process but during the process, when asked to, choose the option of Keep Windows Settings, Personal Files, and Apps.

Keep Windows Settings, Personal Files, and Apps - Then click on the Install button and let the upgrade process complete (this may take some time to complete, so, make sure you do not turn off the PC during the process).
- Upon completion of the process, reboot your PC and check if the high CPU usage by PowerShell is back to normal.
Remove Malware
The PowerShell process may cause high CPU usage if malware (crypto miner processes or EternalBlue are reported to cause the issue) is triggering the execution of the PowerShell process. In this context, removing the malware may solve the problem. Before proceeding, make sure your antivirus product and its definitions are updated to the latest built.
- Firstly, download and install a malware removal application (like Malwarebytes).
- Then right-click Windows and open PowerShell (Admin).
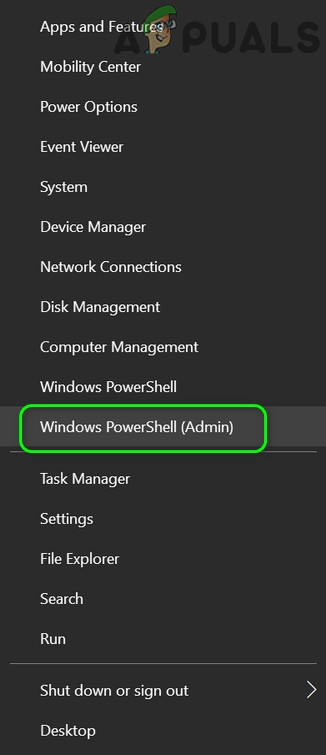
Open Windows PowerShell Admin - Now execute the following to stop all other PowerShell processes:
while ($true) {Get-Process PowerShell | Where-Object {$_.ID -notcontains $PID} | Stop-Process -Force} - Then use the Windows Search to find *.ps1 files and delete the files that are not essential (make sure you do not delete an essential system file).
- Now click Windows, type: Task Scheduler, and right-click on it. Then select Run as Administrator.

Run Task Scheduler as Administrator - Then check if any of the running or scheduled task is triggering the issue (you may enable viewing of Hidden Tasks in the View menu of the Task Scheduler). If the issue is caused by Blue Eternal, then you may find the Funs task or (GatherNetworkInfo task) in the Task Scheduler.

Show Hidden Tasks in the Task Scheduler - If so, then remove or disable the problematic tasks.
- Now use the tool (installed at step 1) to remove the malware like Malwarebytes to remove the malware (or contact your antivirus vendor to give a tool to find and remove the malware).
- Then use an online antivirus scanner (like ESET Online Scanner or Kaspersky Virus Removal Tool) to scan for the malware and afterward, check if the PowerShell high CPU usage issue is resolved.
If that is too technical for you, then you may backup the essential data (but make sure to delete the data that is not essential) and reinstall the Windows (after formatting the storage drive). After reinstalling the OS, make sure to scan the data with at least two security products (i.e., antivirus and antimalware). Then you may copy back the data to the system. If that is not easy for you, then you may contact an I.T. security expert.


