How to Play Roblox on Oculus Quest 2 without PC?
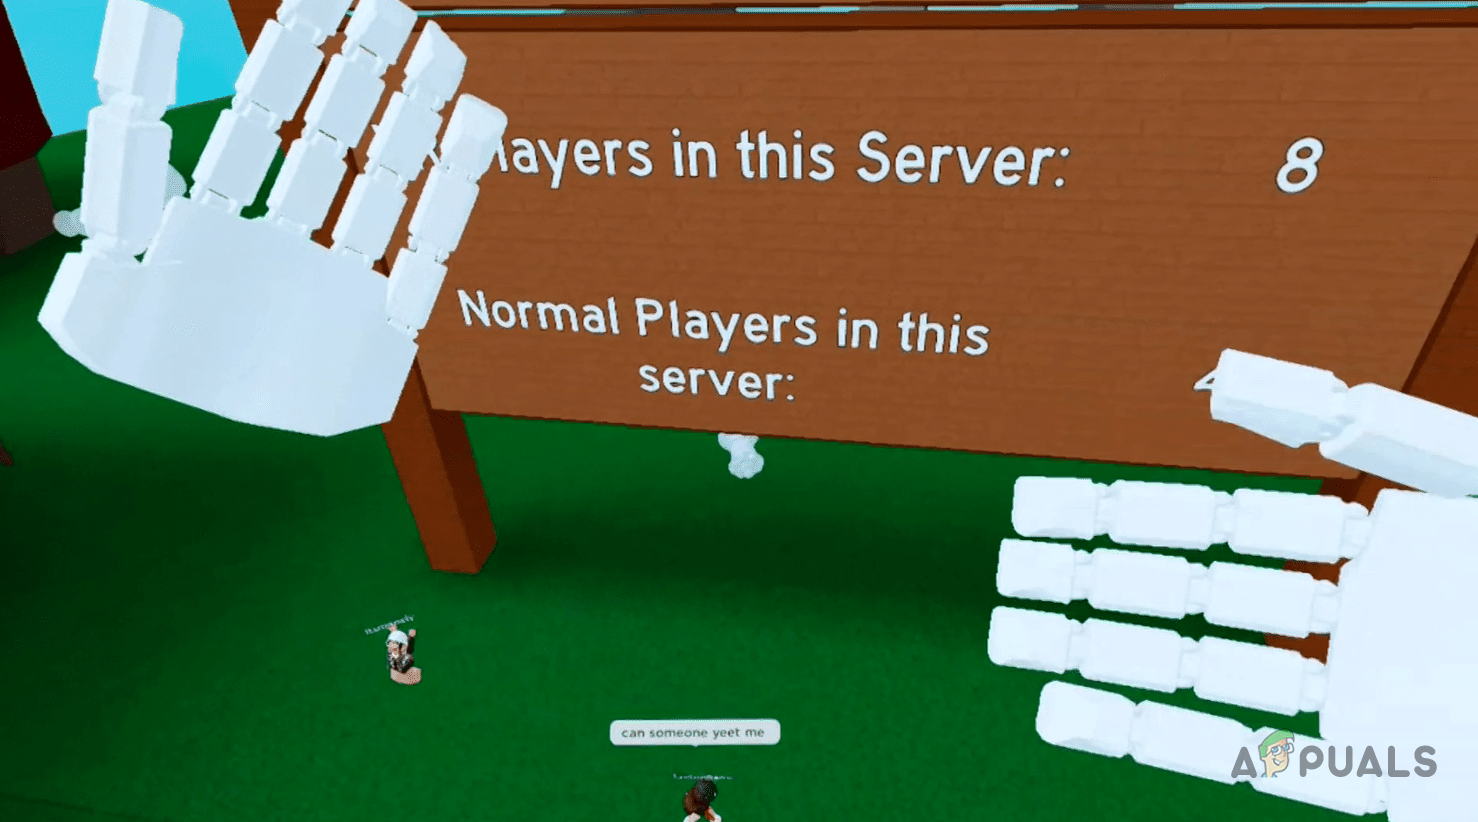
Roblox does not have a native app for the Oculus Quest 2 VR Headset, but there are still ways to play Roblox on the Oculus Quest VR Headset without using your PC. By default, Roblox is set up to launch the game when it detects a VR headset connected to a computer, but there are methods to bypass this restriction.
One method is to use a cloud service like PlutoSphere. However, please note that this method is not free, as you need to purchase PlutoSphere tokens, and you also require a stable internet connection for it to work smoothly. These tokens can be used to play any VR game, not just Roblox, using the cloud gaming service.
Step 1. Using a Cloud Gaming Service
PlutoSphere is an online cloud gaming service that offers virtual machines for the tokens you purchase. You can connect to these virtual machines and use them to play Roblox on your Oculus Quest 2 headset without needing PC interaction.
To do this, you will need to set up a PlutoSphere account, purchase tokens for your account, and install an application called Virtual Desktop. Follow the instructions below to run Roblox on your Oculus Quest 2 headset.
- Launch the web browser on your Oculus Quest 2 and go to the PlutoSphere website.
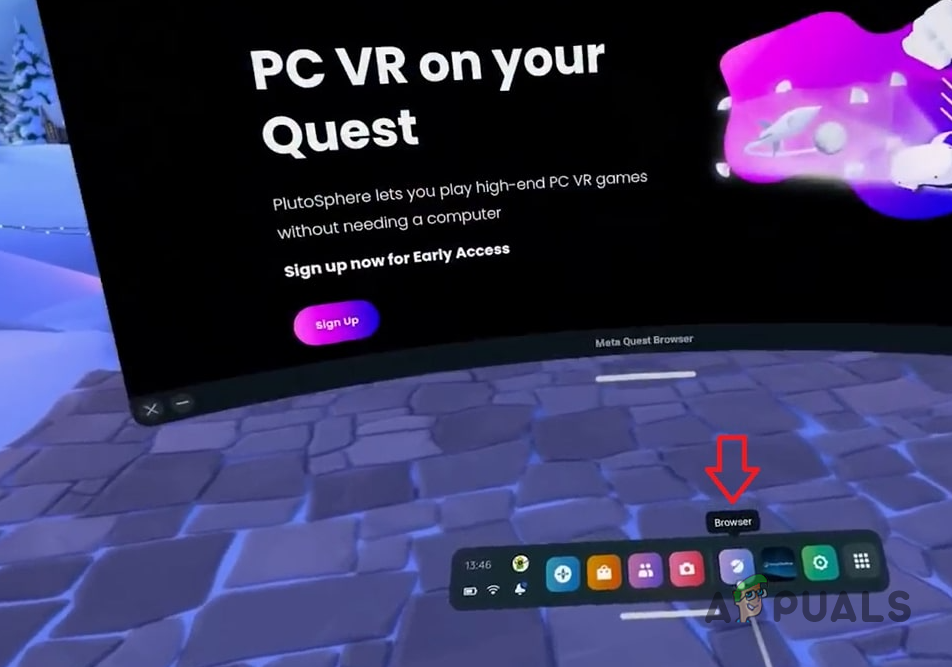
Open Oculus Quest 2 Browser - Create an account on the PlutoSphere website.
- Login to your PlutoSphere account.
- After that, navigate to the Dashboard tab and click the Buy Tokens option. Buy the cheapest option available, which costs around 1.99 USD and provides 1 hour of usage.
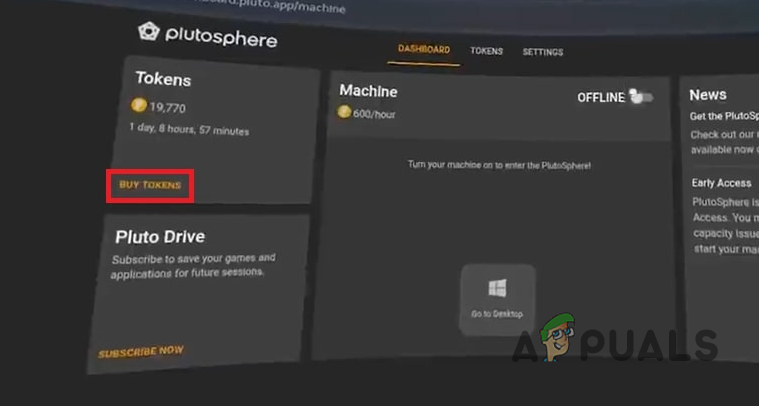
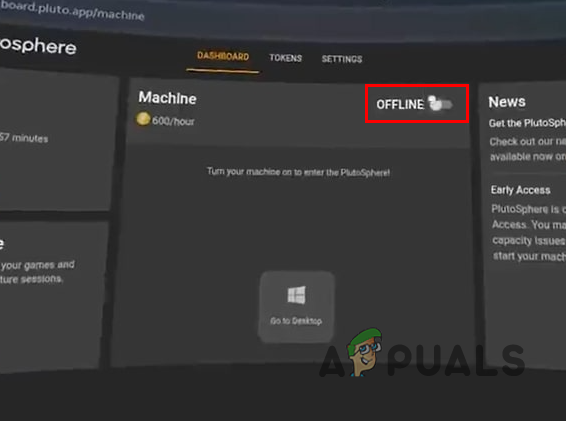
Navigating to the Buy Tokens Page - Once you buy the tokens, you will have to turn on the cloud machine.
- Do that by using the toggle on the Machine tab.
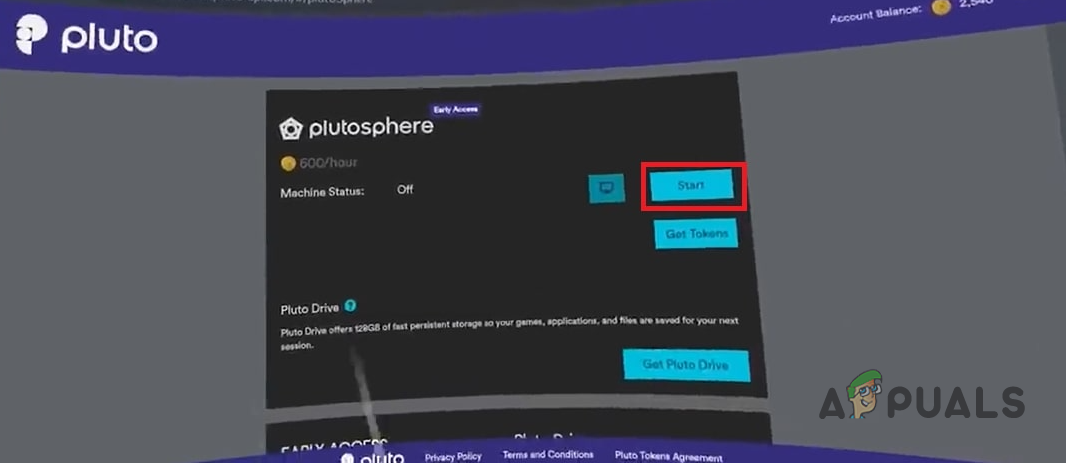
Enabling PlutoSphere Machine - Legacy accounts have a different dashboard and you will need to click the Start button instead.
Starting PlutoSphere Virtual Machine - After your machine boots up, click on the icon that says Go to Desktop.
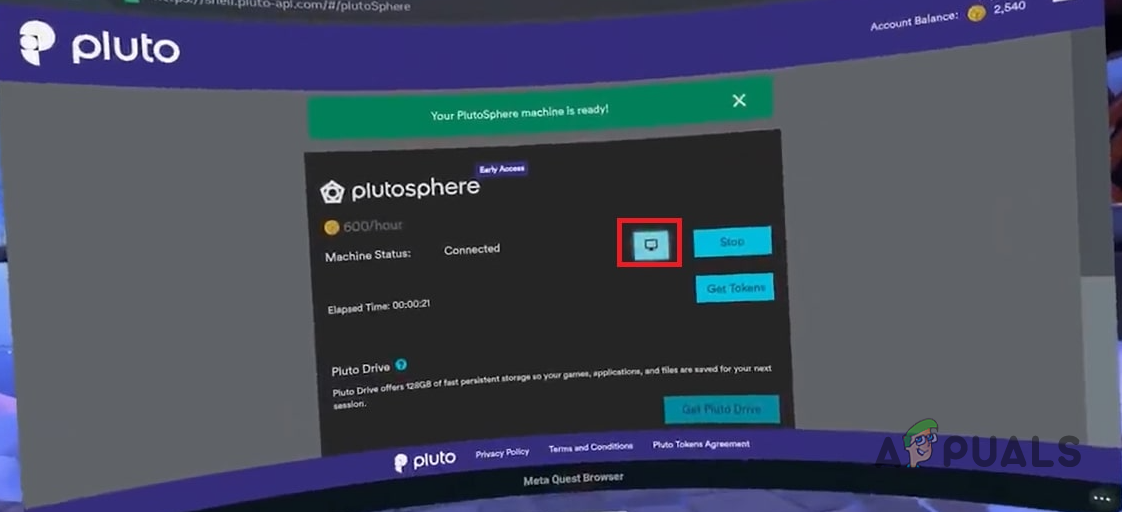
Navigating to PlutoSphere Virtual Machine - You will now be redirected to the desktop vision site and by this point, you essentially have a working desktop on your Oculus Quest 2 similar to what you will have on a real computer. Click the Continue button.
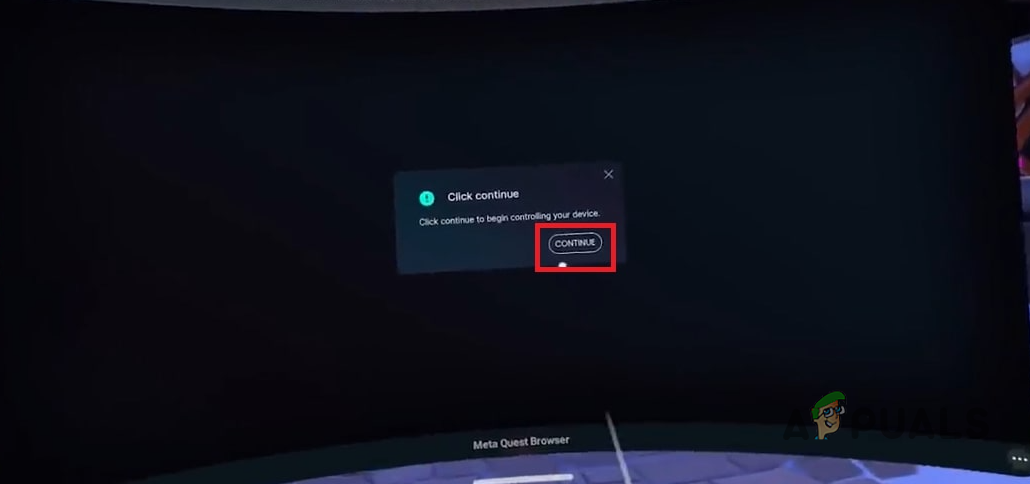
PlutoSphere Virtual Machine - Now, open a web browser on your Oculus Quest 2 and search for Virtual Desktop Streamer on it.
- Download the Virtual Desktop Streamer for Windows. Follow the installation wizard to install it on your Oculus Quest 2.
- Doing this will allow you to close the desktop vision app of PlutoSphere and use the Virtual Desktop app instead to connect to your virtual machine of PlutoSphere.
- Launch the Virtual Desktop app on your Oculus Quest 2 and sign in to your account.
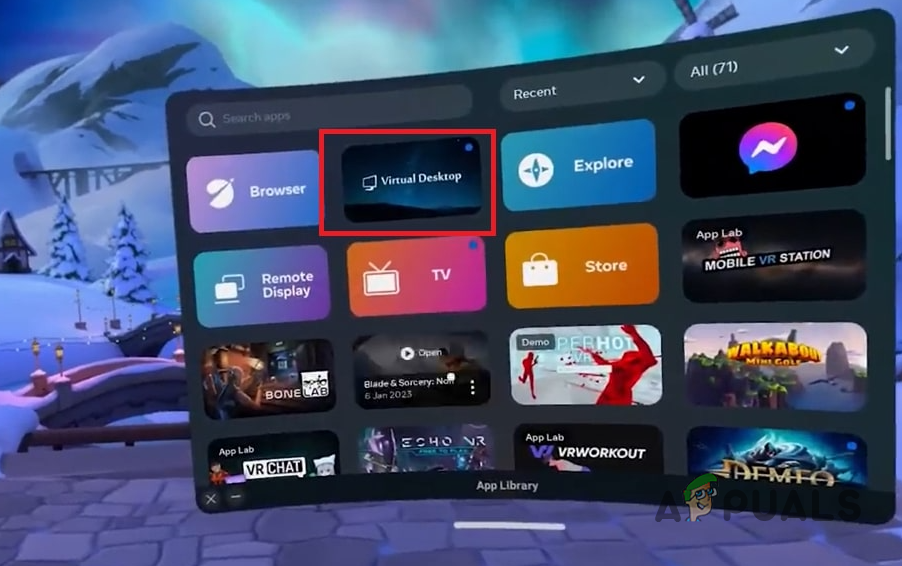
Launching Virtual Desktop
Step 2. Install Roblox Launcher on PlutoSphere Virtual Machine
Now that you have created a PlutoSphere account and installed Virtual Desktop, you can connect to the virtual machine through the Virtual Desktop app. Once you have done that, you will need to download the Roblox launcher on the virtual machine and play any Roblox game you want on your Oculus Quest 2.
Follow the instructions below to do this:
- Connect to your PlutoSphere virtual machine using its IP address on the Virtual Desktop app on your Oculus Quest 2.
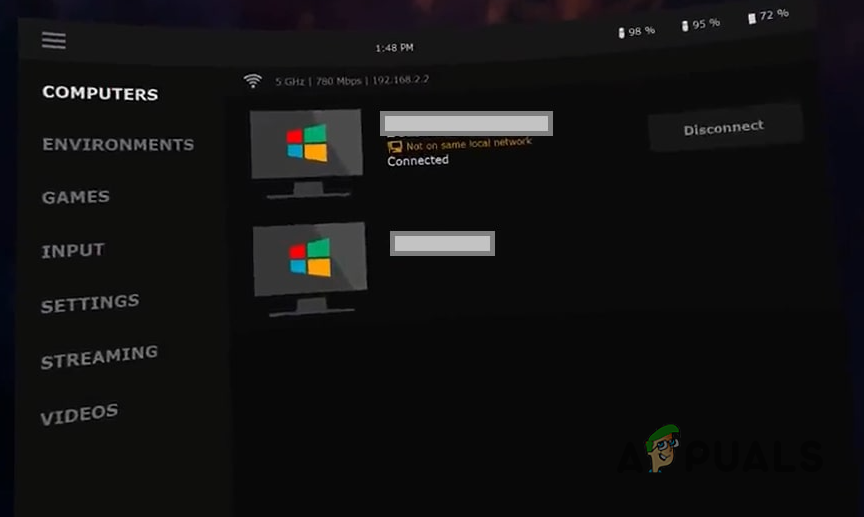
Connecting to PlutoSphere Virtual Machine - Launch Steam on the virtual machine and sign in to your account.
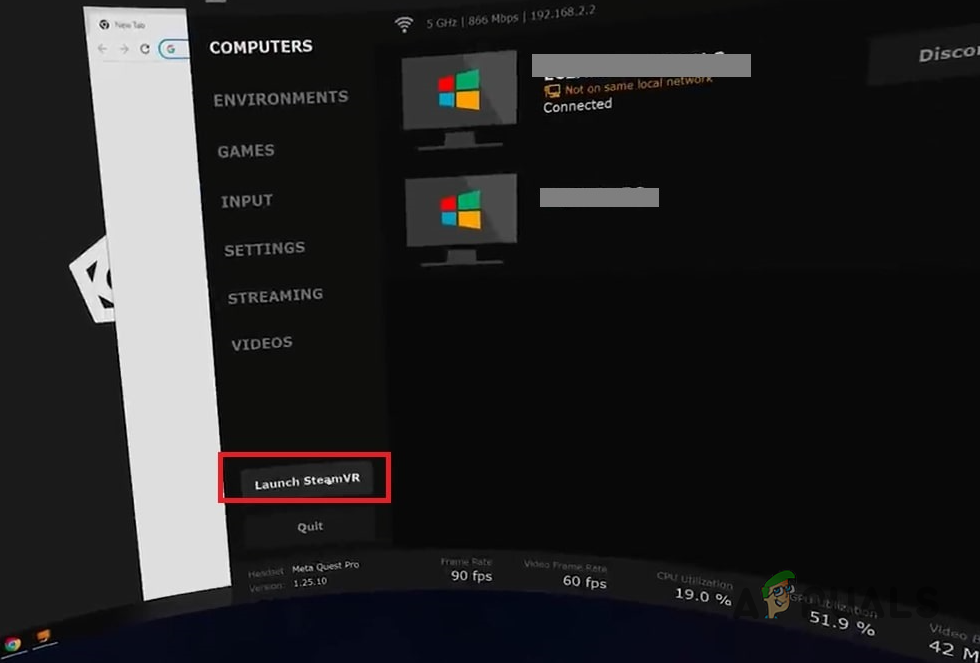
Launching SteamVR - If you see an error message related to VR, click on the Settings button and select Exit SteamVR. Then, launch the SteamVR again in the same way.
- After you do that, open a browser and go to the Roblox website.
- Choose the game that you want to play and click the Download and Install Roblox button.
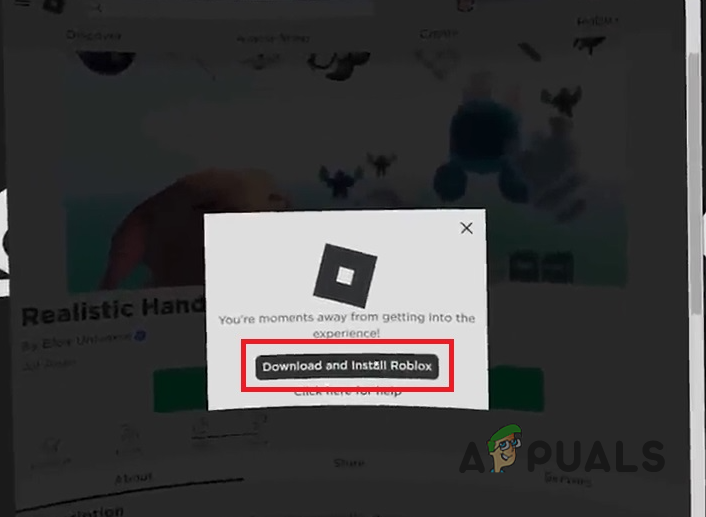
Downloading and Installing Roblox on Virtual Machine - Install the Roblox launcher on your PlutoSphere virtual machine.
- Open the Roblox launcher and click on the Play button.
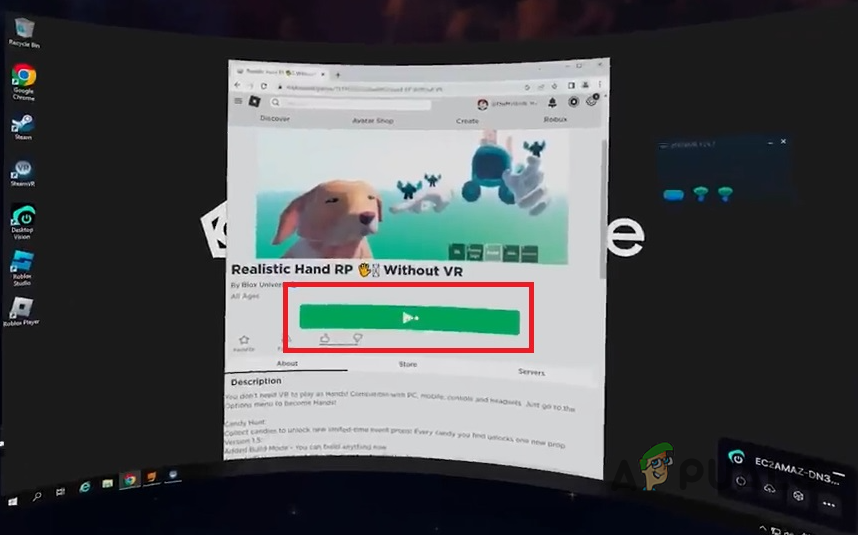
Playing Roblox Game - Finally, click the Switch to VR button in the virtual desktop app and your game will now be running on your Oculus Quest 2 in virtual reality mode if it supports it.


