8 Methods to Fix “The Nvidia OpenGL Driver..” Error Code 3
OpenGL is an Application Programming Interface (API) that comes preinstalled for all platforms and is used to render 3D and 2D Graphics. It works with the GPU to process 3D and 2D vectors. Nvidia supports OpenGL, which allows users to see real-time images. When the Nvidia OpenGL driver detected a problem Error Code 3 occurs, it means Nvidia OpenGL cannot render graphics with your GPU driver.

The issue mainly occurs when the application or game runs on an integrated GPU instead of a dedicated one, much slower than the dedicated graphics card.
For instance, when you run the application, OpenGL will give commands to a dedicated graphics card. However, if the application is running on an iGPU, the process won’t be completed, and the application will be closed immediately with this error message.
Before moving down to the methods, ensure that you have minimum system requirements to run the application/game showing you this error message.
| Issue | Nvidia OpenGL Driver Detected a Problem Error Code 3 |
| Causes | Using an Integrated GPU Don't have Graphics Card Disabled OpenGL from the Video Settings Don't have hardware that supports OpenGL Corrupted Graphics Driver Not having Microsoft Visual C++ Having Corrupted Application Files |
| Solutions | Enable OpenGL from Video Settings Use Dedicated GPU Roll back Your graphics driver Check if your Graphics Card supports OpenGL Reinstall Graphics Driver |
| Targeted Hardware | GPU |
1. Enable OpenGL from Video Settings (if applicable)
Some applications and games allow users to enable or disable OpenGL. If you are getting this error on an application that allows users to enable OpenGL, make sure to do that because it will help fix the error.
- To enable OpenGL, launch the application, and go to Settings and Video.
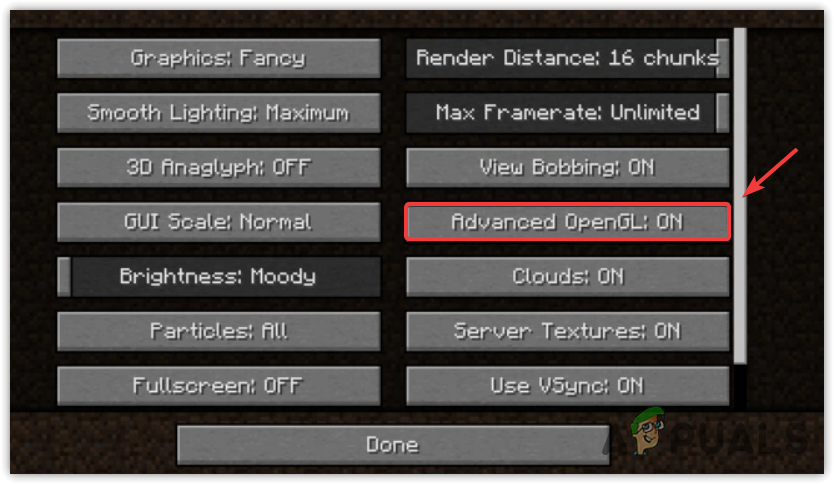
Enabling OpenGL feature - Here find the OpenGL to enable it. If you cannot find the OpenGL option, it is enabled by default.
2. Customize the application to use a Dedicated GPU driver
Integrated GPUs cannot provide a better performance as compared to dedicated GPUs. If the causing application is running on an integrated GPU, it will give a much lower performance than the CPU, which can result in this error message. Hence, to fix this, customize your application to run with a dedicated GPU. Follow the steps:
- Hold the Shift key, right-click on your desktop, and select Nvidia Control Panel.
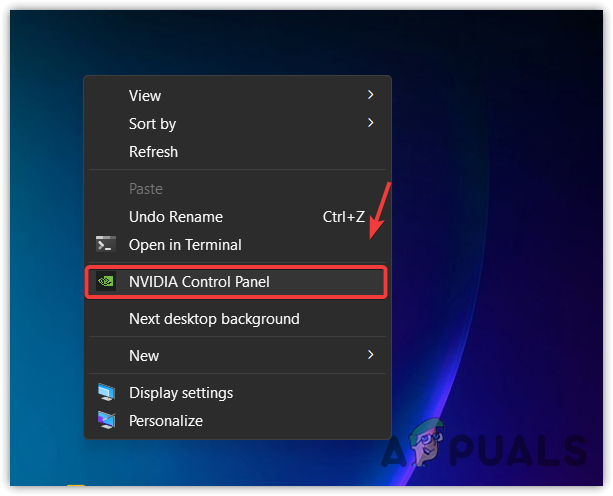
Opening Nvidia Control Panel If you cannot find the Nvidia Control Panel icon, then it is missing from your right-click context menu. Please refer to this How to Fix Nvidia Control Panel Missing on Windows?[/box] - Once the control panel is opened, go to Manage 3D settings from the left pane.
- Click Program Settings next to Global Settings.
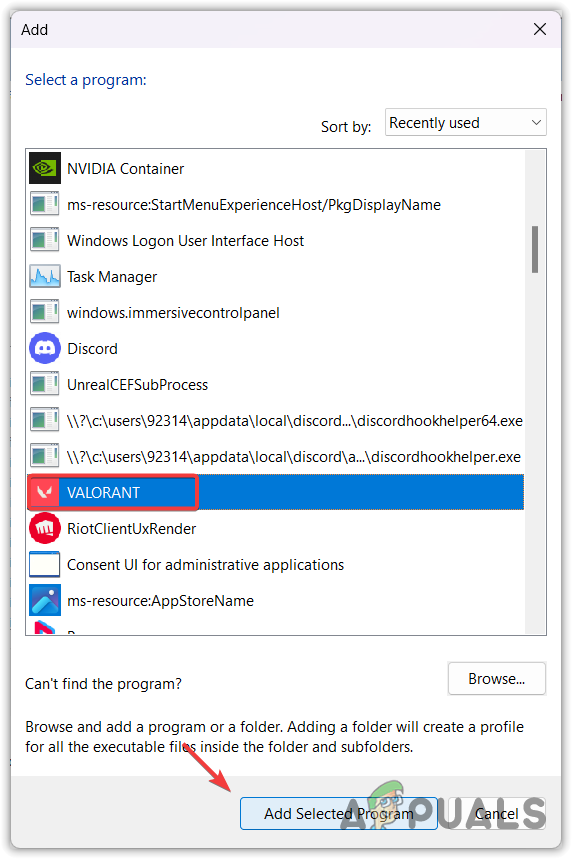
- Click Add and select the application in which you are getting the error.

Proceeding to add an application for customizing in Nvidia Control Panel - Then, click Add Selected Program.
Adding a causing application into Nvidia customizing settings - Once done, now change the Power Management Mode to Prefer Maximum Performance.

Changing Prefer Maximum Performance settings - Once done, click Apply, and launch the application to see if that helps or not.
3. Roll back your graphics driver
Before we move on to reinstalling the graphics driver, it is recommended to see if you can roll back the graphics driver or not. Since this error occurs after updating to the latest graphics driver, roll-backing the graphics drivers to the older version can fix this error.
To roll back the graphics driver:
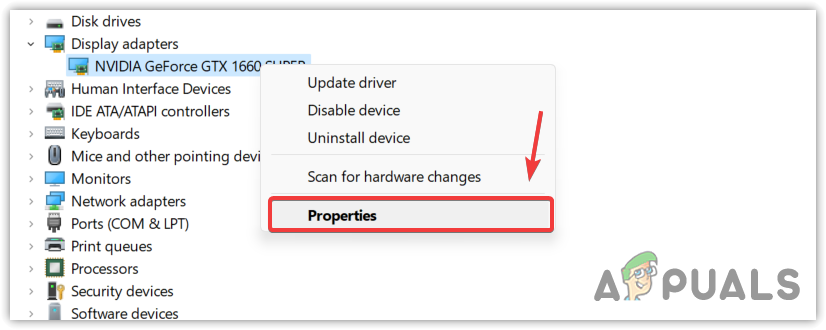
- Press the Windows key and type Device Manager.
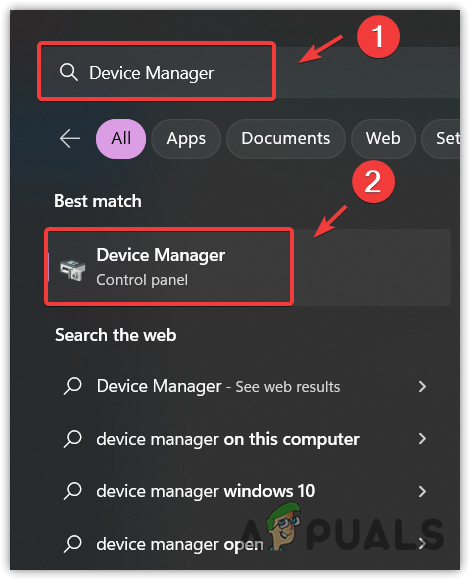
Opening Device Manager - Open the device manager and expand the Display Adapters.
- Right-click on your graphics driver and go to Properties.
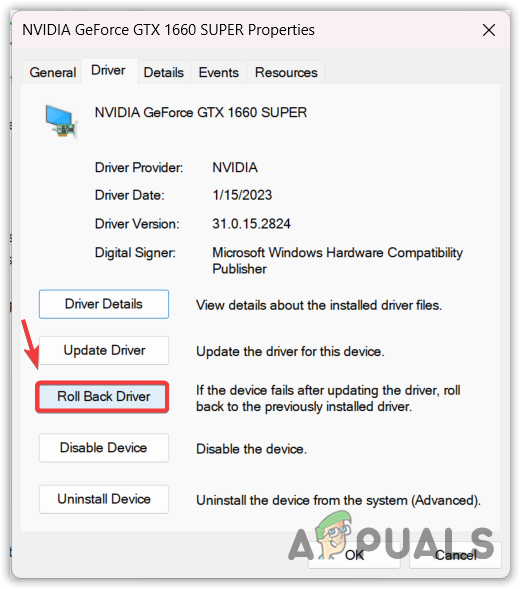
Opening Graphics Driver Properties - If the Roll Back Driver option is available, click on it.
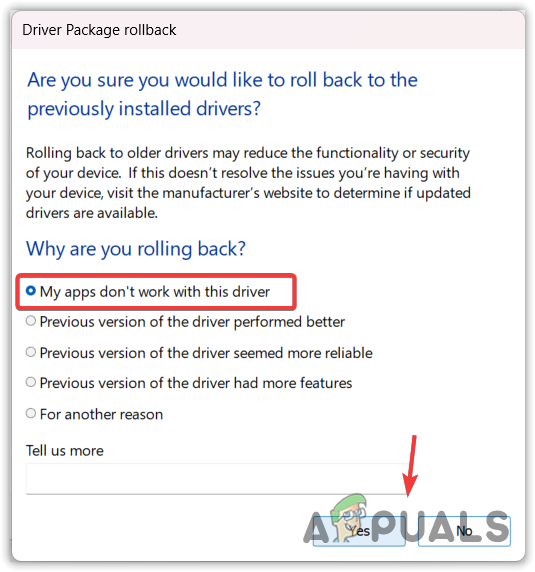
Roll backing the Graphics Driver to the previous version - Select any reason and click Yes to install the previous version of the driver.
Installing Graphics Driver to the previous version - Once done, launch the causing application to see if the Nvidia OpenGL driver error is resolved or not.
4. Check if your Graphics Card supports OpenGL
This error is mainly seen on computers that either doesn’t have a discrete GPU or have a very old graphics card. If one of the situations is applied to your case, then you need to make sure that OpenGL supports your dedicated graphics card. If you don’t have a graphics card, it will be hard for you to avoid this error. In this case, we recommend you consider buying the latest GPU, which should support OpenGL.
To check the OpenGL version, follow the steps:
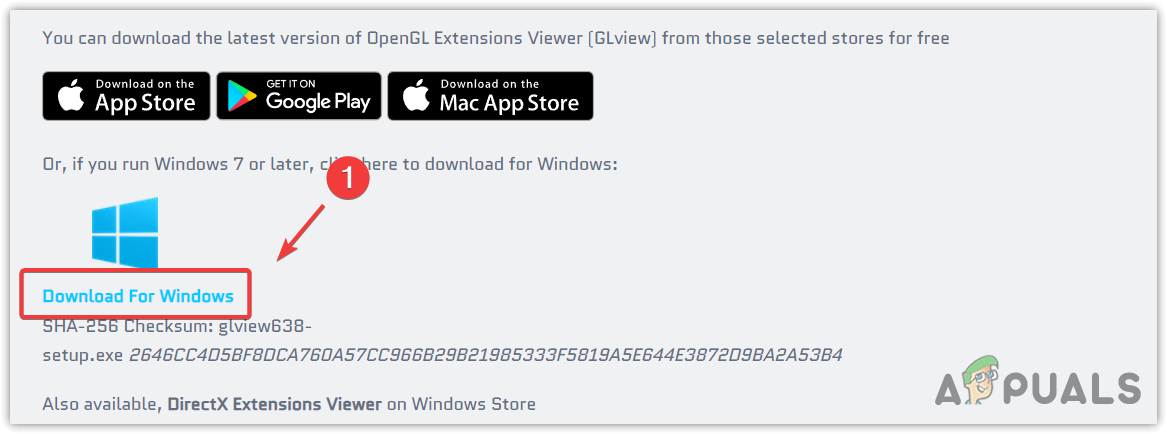
- Download OpenGL Extensions Viewer.
- Once the downloading is finished, run the installer and follow the on-screen instructions to install.
Downloading OpenGL Extensions Viewer 6 - Once done, launch the application and wait for the specifications to load.
- If you see the OpenGL version, that simply means your Graphics Card supports it. If you don’t see anything related to OpenGL, it means your graphics card does not support it. In this case, you cannot do any except purchase the latest graphics card.
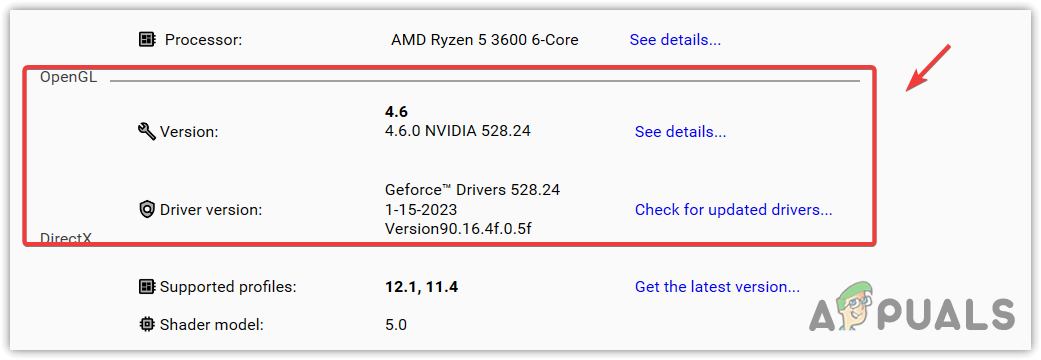
Checking the OpenGL version
5. Clean Install the Graphics Driver with DDU
According to the error message, there is a problem with the display driver. Hence, we can start by reinstalling the driver. In the error message, a problem with the display driver refers to the corrupted, faulty, and outdated graphics driver.
Corrupted drivers can be caused by malware, while the faulty driver can be installed through the official or not official website. If your drivers are affected by any of these problems, OpenGL can detect it on the driver, which causes applications to close instantly. Therefore, it is necessary to reinstall the graphics driver from the official website.
To reinstall the driver, we prefer to use DDU, known as Display Driver Uninstaller, an application to uninstall the driver, along with clearing its registry files. To reinstall the driver:
- Download Display Driver Uninstaller from the official link.
- Once done, right-click the ZIP folder, hover WinRAR, and select Extract to “DDU [Guru3D.com]-DDU\”.
Note: You will need an archive software utility to extract the DDU Zip folder. We recommend WinRAR.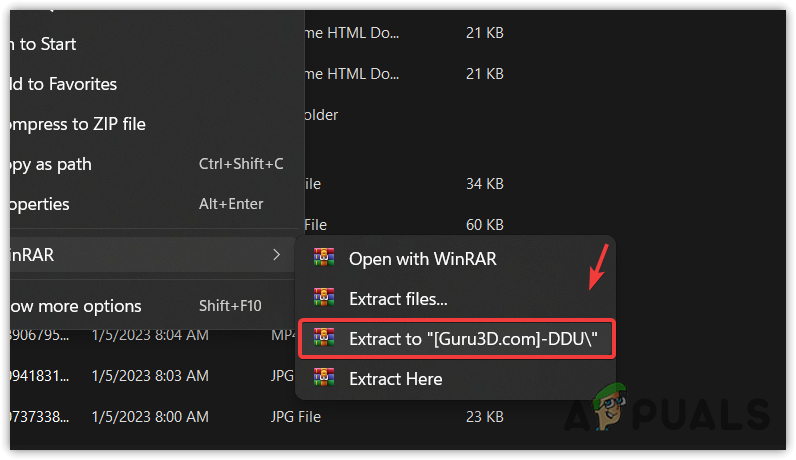
Extracting DDU ZIP folder using WinRar - Wait for it to extract the folder, then open the extracted folder.
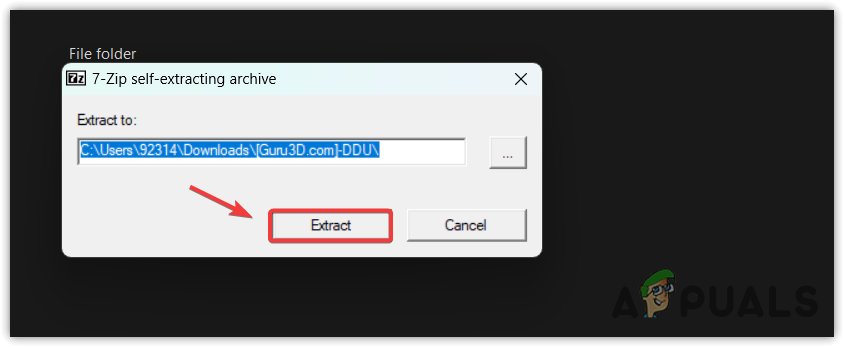
- Run the DDU installer.
- Click Extract and navigate to the extracted folder.
Extracting DDU installer - Run the DDU application and select GPU and its vendor from the right.
- Once done, click Clean and restart. This will remove the graphics driver and its registry files.
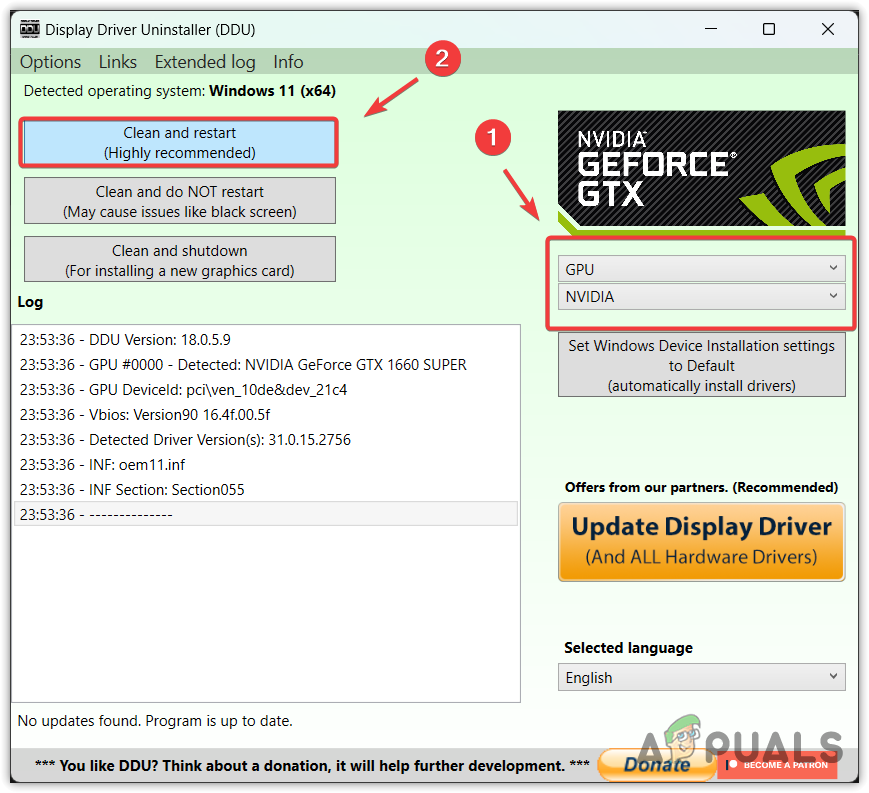
Uninstalling Graphics Driver using DDU - The next step is to download the graphics card driver. If you have a laptop, then go to your laptop manufacturer’s site and search for your laptop with your model number and download the graphics driver from there. Otherwise, just simply go to the graphics card manufacturer’s site.
- Search for your graphics driver and download it.
Downloading the graphics driver - Once done, install it on your computer.
- Once done, restart your computer and launch the application to see if the error is fixed.
6. Clean install of Microsoft Visual C++
Microsoft Visual C++ is a compiler that helps C++ applications to run properly. OpenGL uses Microsoft Visual C++ to operate. Therefore, it is possible that this error can be the result of not having Microsoft Visual C++ Redistributable. Hence, try installing by following the steps:
- First, uninstall all the versions of Microsoft Visual C++. To do so, press Windows + R on your keyboard.
- Type appwiz.CPL and click OK.
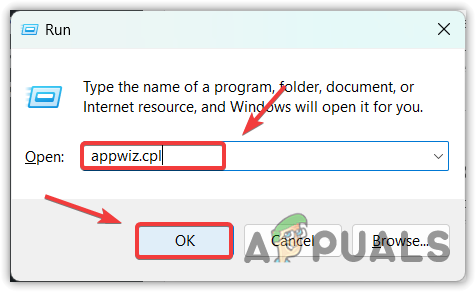
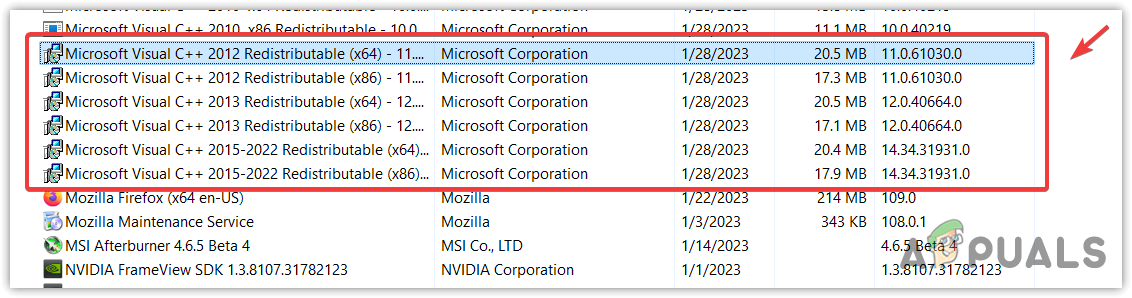
Navigating to programs and features Control Panel - Here uninstall all the Microsoft Visual C++ components.
Uninstalling Microsoft Visual C++ Components - Once done, go to this website and download the Zip folder, which contains all the versions of Microsoft Visual C++.
- Once done, hold shift and right-click the zip folder.
- Hover WinRar and select Extract to “Visual-C-Runtimes-All-in-One-Nov-2022”
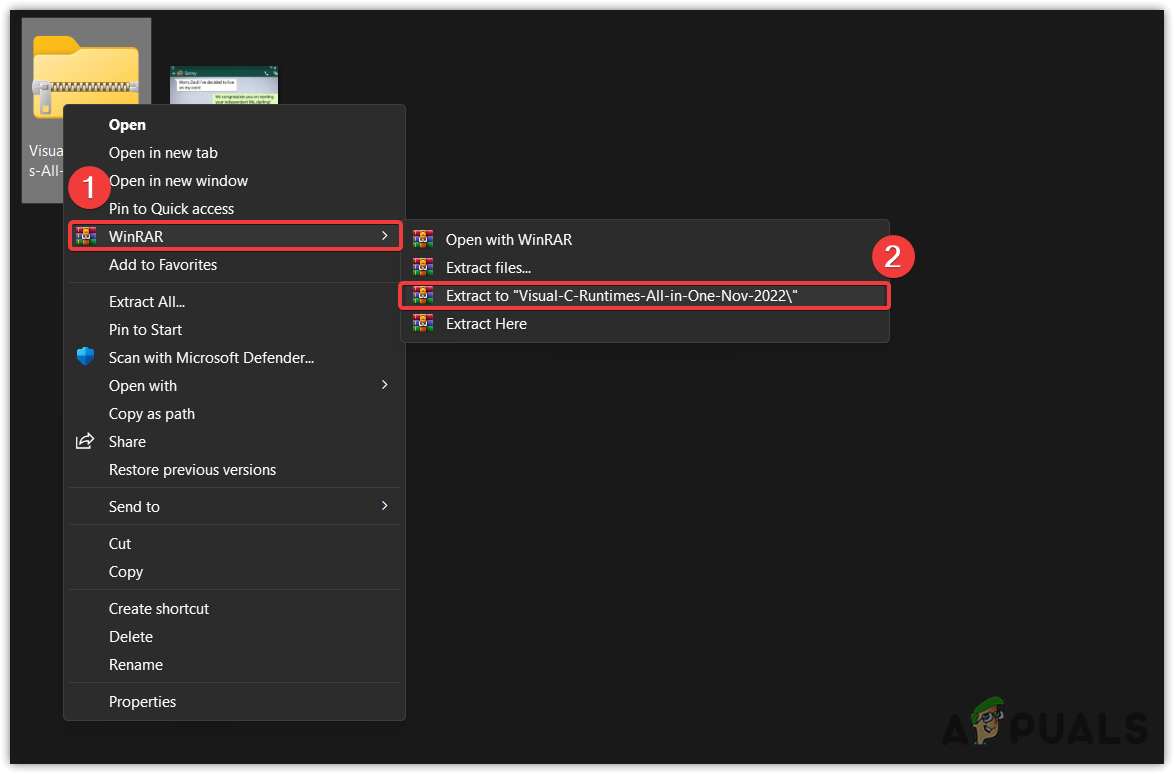
Extracting DDU Zip Folder - Once the extraction is finished, navigate to the folder and just run the Install_all to install all the versions at a time.
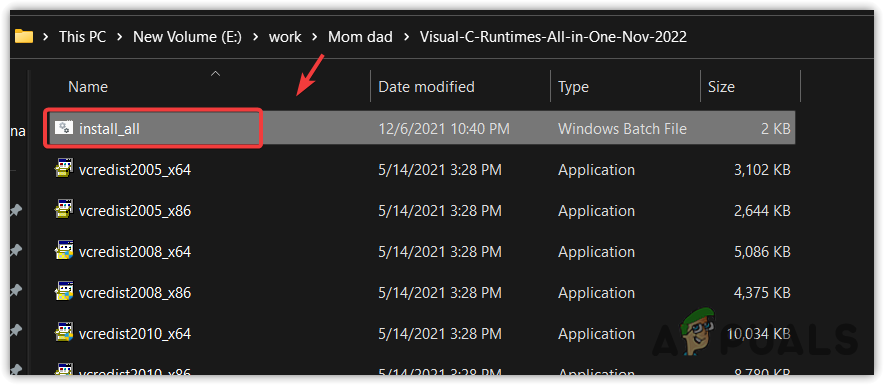
Installing all the versions of Microsoft Visual C++ - Once done, restart your computer and run the causing application or game to see if that helps or not.
7. Reinstall the app/game causing the issue
If the error is not fixed, the problem must be in your application showing you this error message for no reason. It can be due to the corrupted OpenGL DLL files, which can be replaced by reinstalling the application.
To reinstall the application:
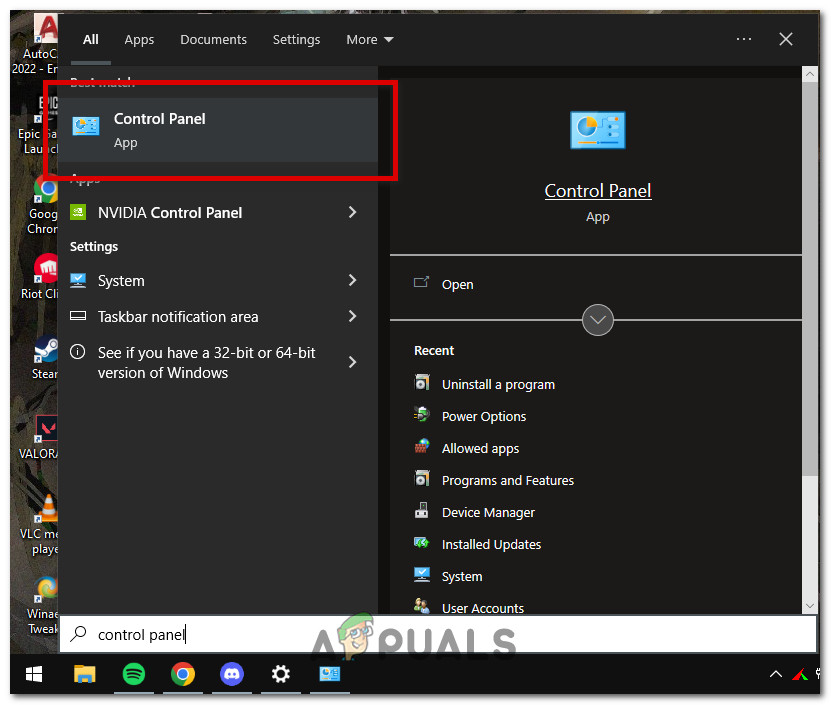
- Press the Windows key and type Control Panel.
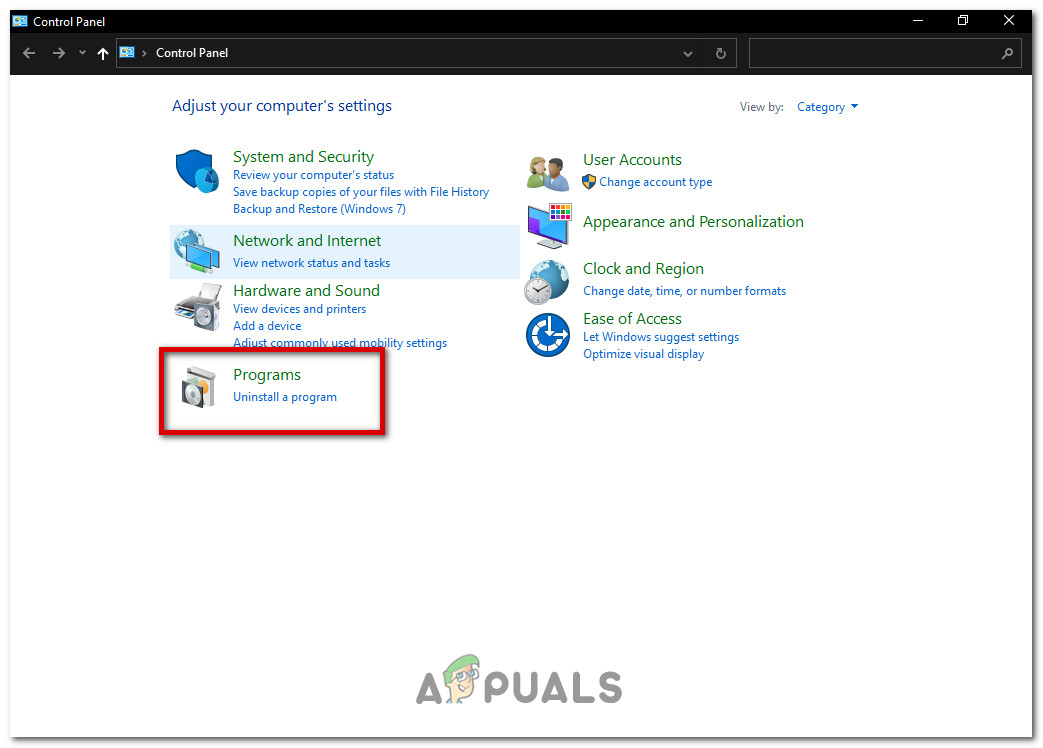
Launching Control Panel from search - Open the Control Panel and navigate to Programs > Programs & Features.
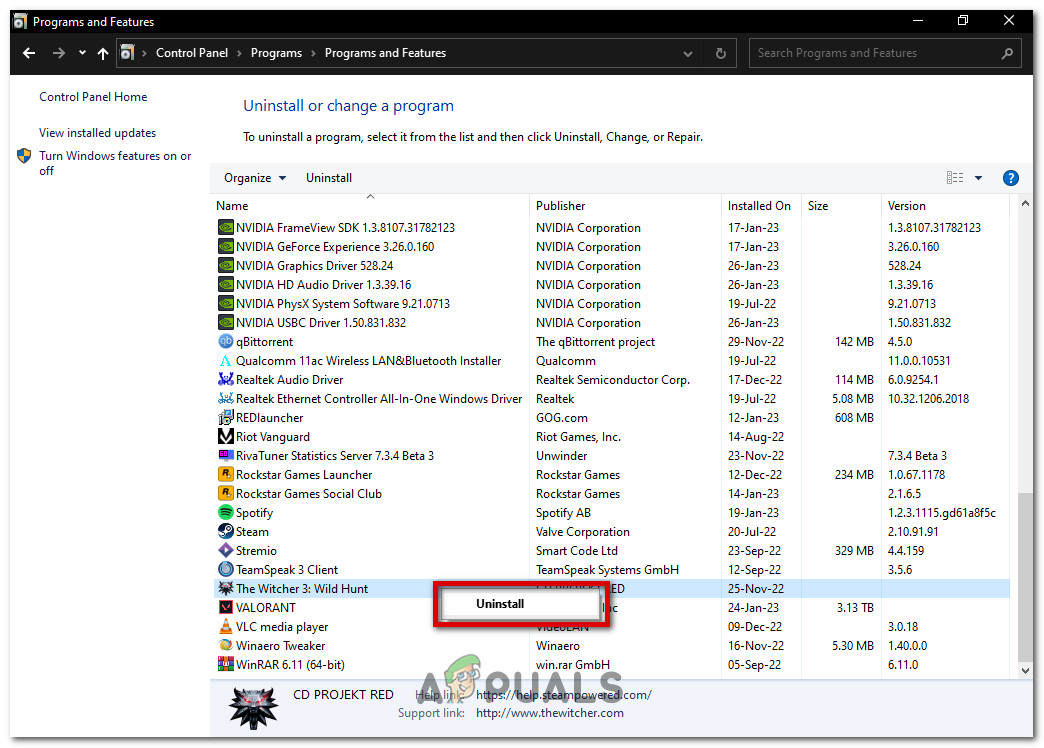
Navigating to Programs - Right-click the program you want to install.
- Click Uninstall.
Uninstalling conflicting application - Once done, install the causing application or game but make to install it from the official source.
- Once done, launch the application and check if the Nvidia OpenGL driver error is resolved or not.
8. Do a Clean installation of Windows
If the error persists, the final solution is to reinstall your Windows. You can also try resetting or restoring your Windows to a previous state if you have created a restore point before encountering this error.
To clean install Windows, visit How to Install Windows.
Nvidia OpenGL Error Code 3- FAQs
This error occurs because the running application is using an integrated GPU instead of a dedicated one. If that’s not the case, enabling OpenGL from the video setting will fix this error.
This error occurs when OpenGL cannot render the application graphics because the giving commands are for the dedicated graphics card. But they are giving to integrated GPU, which is not powerful enough to meet the application requirements.
To fix this, you need to customize the application to run with a dedicated graphics card or enable OpenGL from video settings. However, if you don’t have a dedicated graphics card, upgrading to a dedicated graphics card will fix this error


