[FIXED] Minecraft Using CPU Graphics Instead of GPU
It is common for Minecraft game players to add an external Graphics Processing Unit (GPU) for a better Minecraft experience instead of using the native integrated Graphics unit that comes built-in with the processor but the users have to enable the external GPU configuration in order to use it while playing Minecraft. Some users often have difficulty setting their external GPU as the default graphics processor and when they run Minecraft it defaults back to the native GPU.
This problem also occurs when you have a dual graphics card laptop or PC which means that it comes built-in with an integrated Graphics Unit and a dedicated Graphics Unit which can be Nvidia, AMD, Intel, or any other. This is a common scenario nowadays; with advanced gaming laptops available, it is normal to have an integrated and Dedicated GPU built into the system. Many users are unfamiliar with the configuration of the GPUs and different settings that need to be enabled to switch from integrated to dedicated GPU for better Graphics output.
Add Minecraft as a Custom Program in GPU Settings
Graphics Cards provides an interface to the users where they can control the settings related to the card and add external or third-party applications that require a dedicated GPU to run smoothly. In this method, we will add Minecraft to the list of programs in the GPU interface.
- In the Windows search box type in your Graphics Card name and open the related settings; in this example it is Nvidia
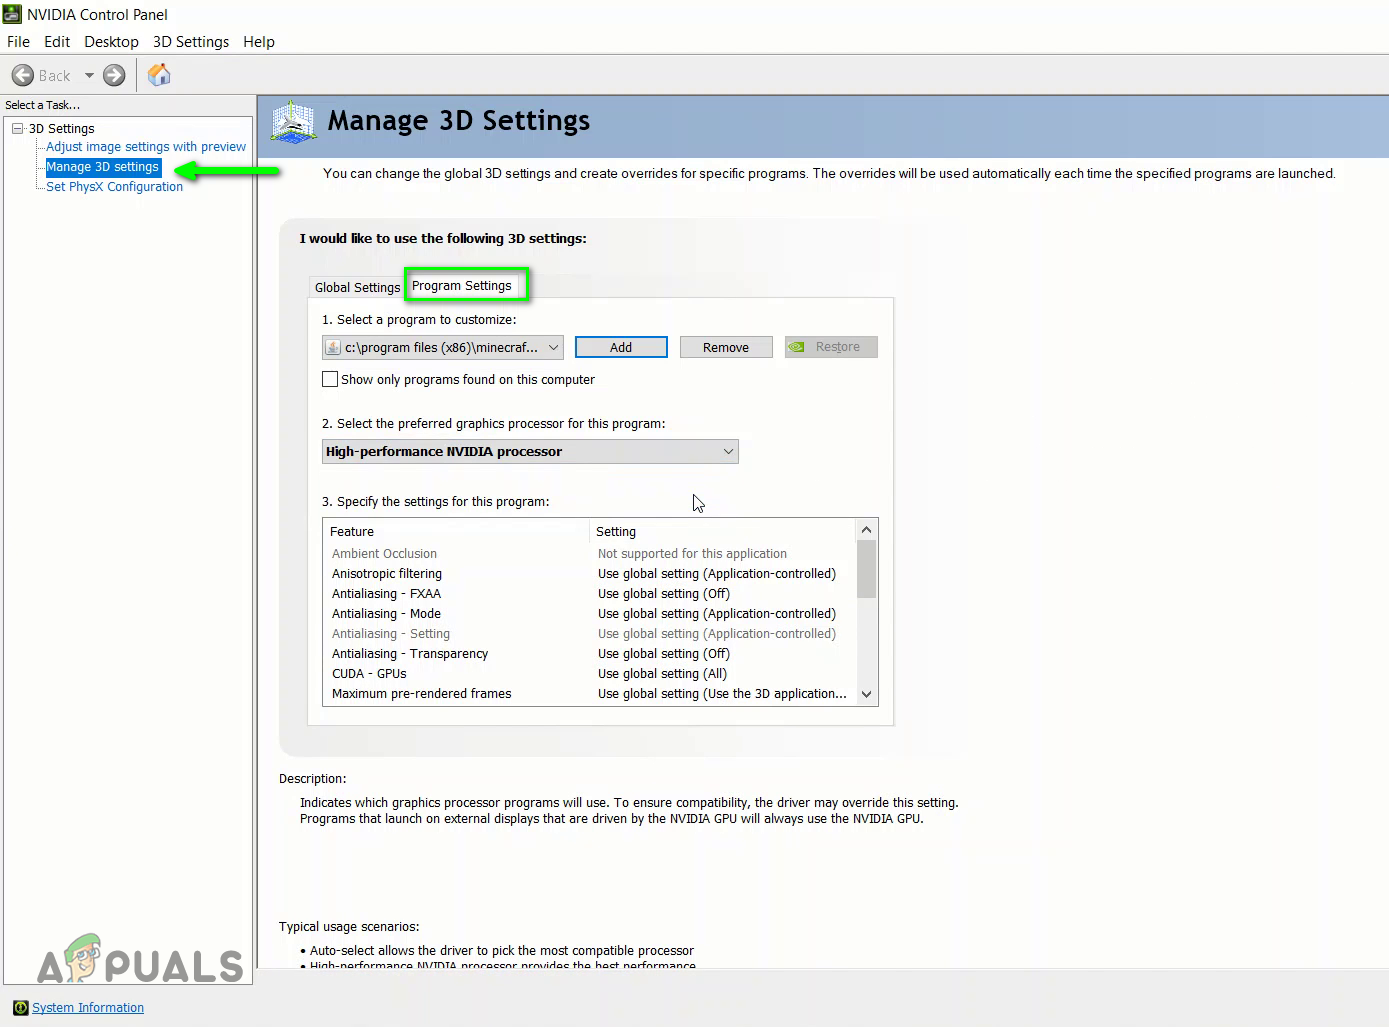
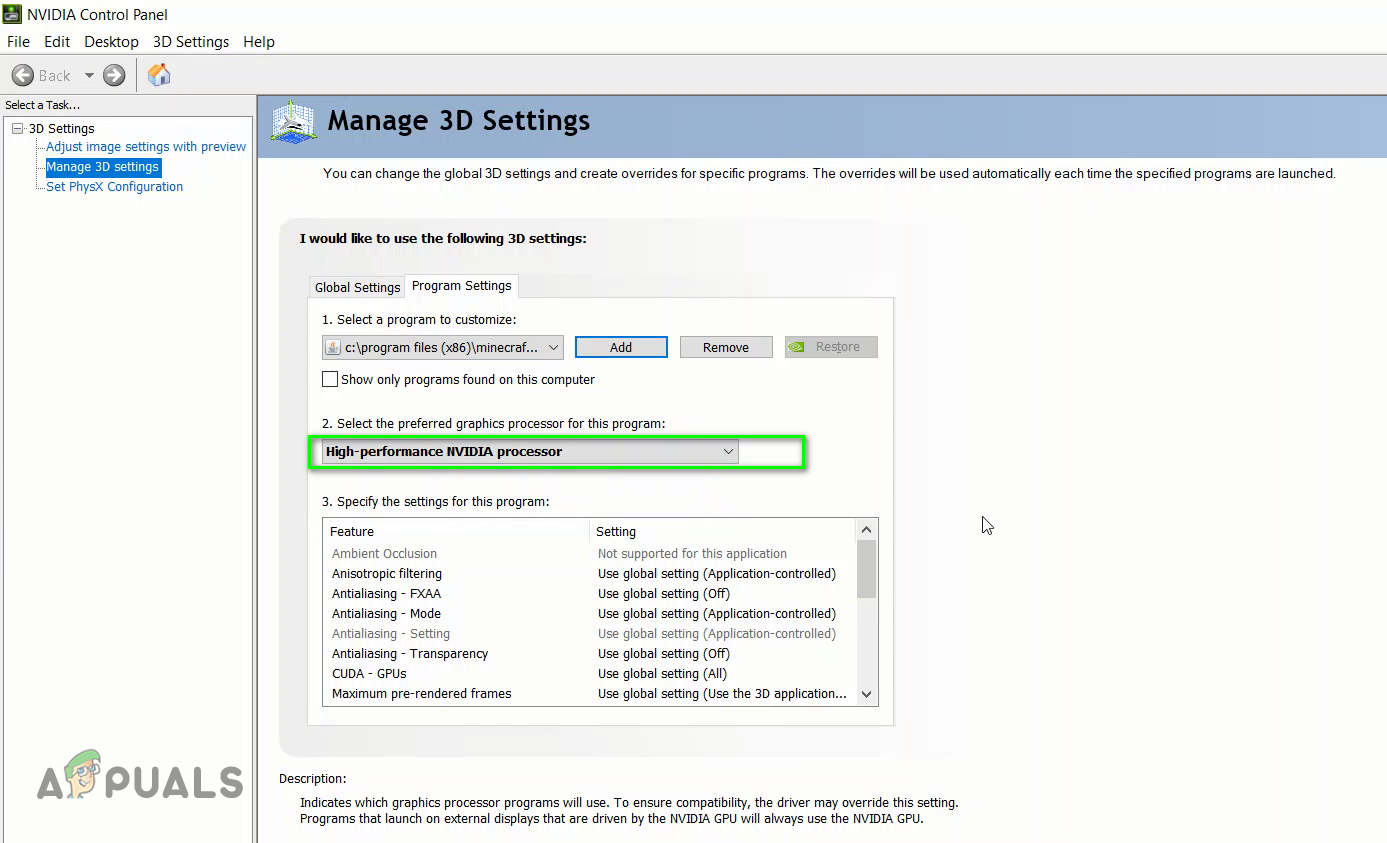
- Go to the tab 3D Settings and click on the tab that says Program Settings
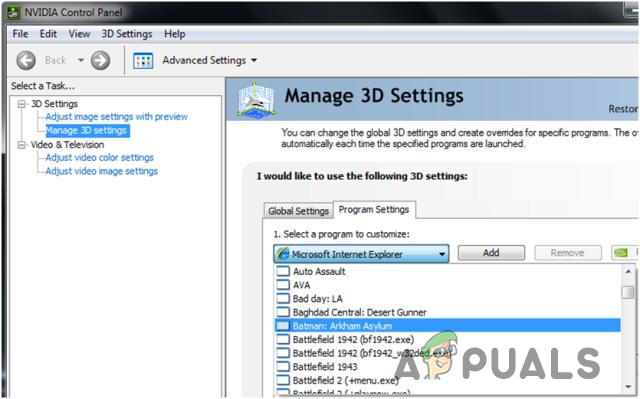
Go to Nivida 3D setting - Click on the Option that says Select a program to customize
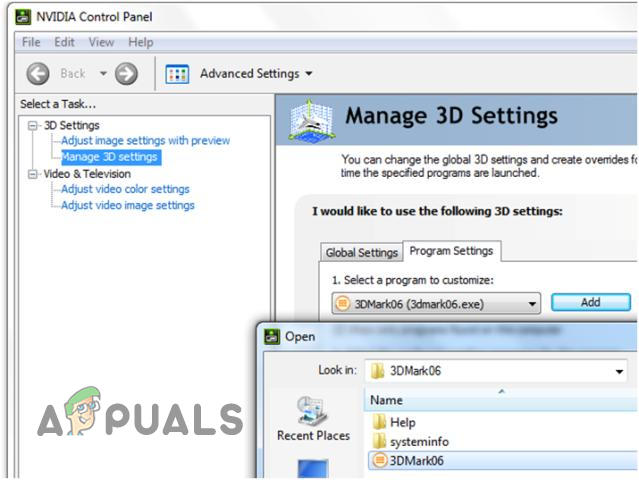
Go to Program settings in GPU - Search for the Minecraft executable file and add it to the list
- Now under the option Select the preferred graphics processor for this program select the High-performance NVIDIA processor option
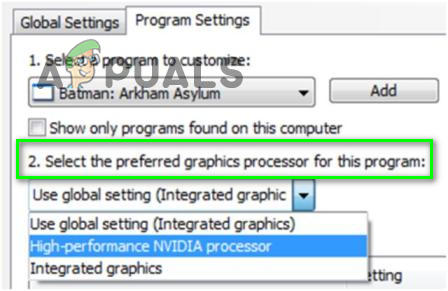
Use Select the Preferred Graphics Type
Add Minecraft Java application to GPU Settings
If you are using the Java version of Minecraft you will need to also add the java application to the GPU 3D Programs list to force the system to use the integrated GPU instead of the dedicated Graphics Unit. We will first find out the path of the Java application being used by Minecraft and then add the Java application based on that location.
- Create a new game profile and set the option that says Keep the Launcher open and save the profile.
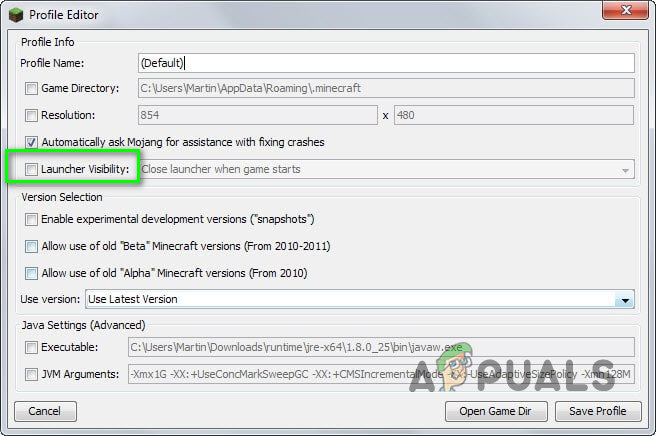
select the option that says Keep the Launcher open and save the profile - Now switch to this newly created game profile and start the game.
- Now press Alt+Tab to switch out of the game.
- In the Minecraft Launcher, there should be different options like Update Notes, Launcher Log, Profile Editor, etc. Click on the Launcher Log tab.
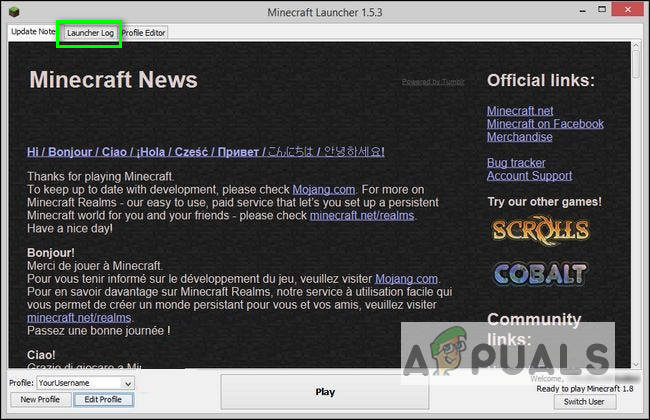
Access Minecraft Launcher Logs - The line starting with the Half Command: will show you the executable java file required to launch the application.
- In the Windows Search Menu type in your Graphics Card name and open the related settings; in this example it is Nvidia.
- Go to the tab option 3D Settings and click on the tab that says Program Settings
Go to the tab option 3D Settings and click on the tab that says Program Settings - Click on the Option that says Select a program to customize
- Search for the java file and add it to the list
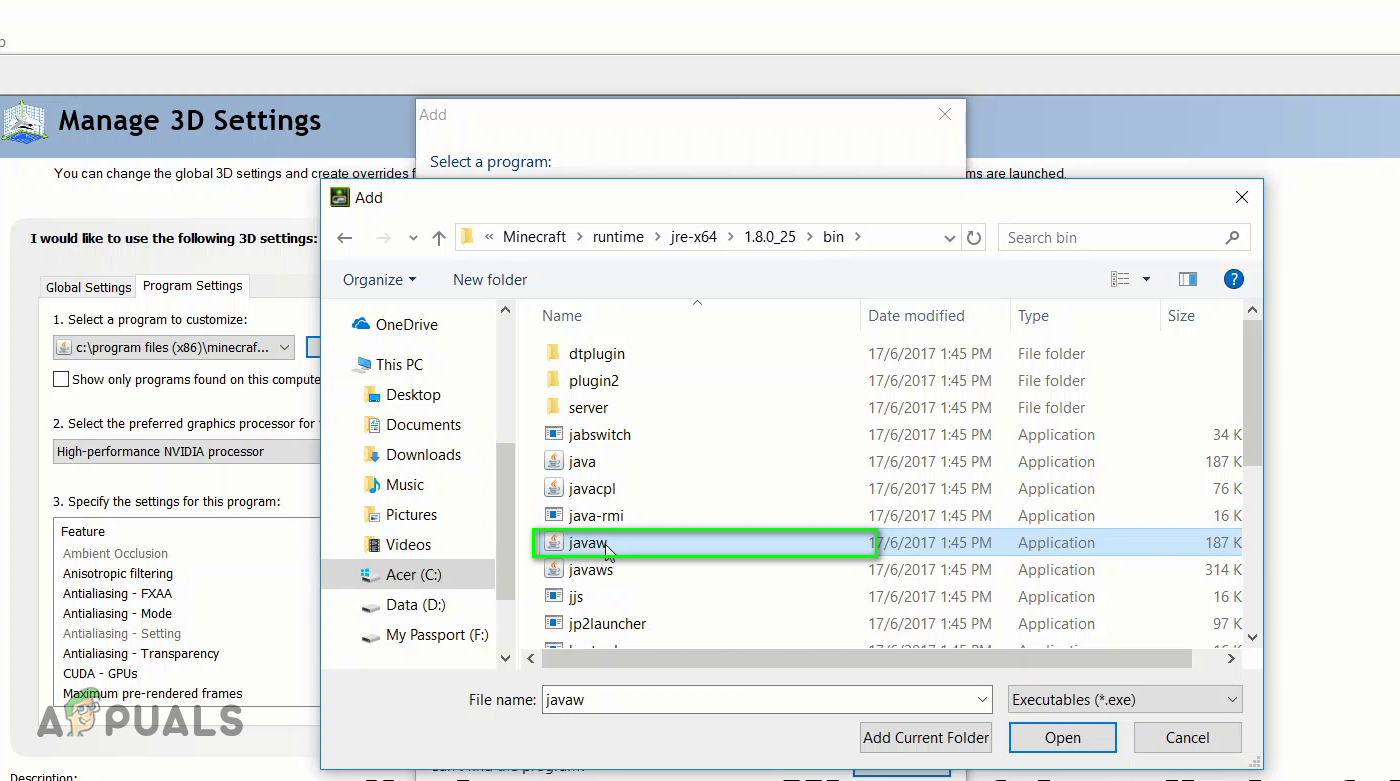
Search for the java file and add it to the list - Now under the option Select the preferred graphics processor for this program select the High-performance NVIDIA processor option
Use High-performance NVIDIA processor option
Use Windows Graphic Settings
In this method, we will use the Windows Graphic settings to include Minecraft in the Windows Graphics Settings which allows customizing the graphics performance preferences for selected applications. This can be applied to both the Java version as well as the bedrock version of Minecraft.
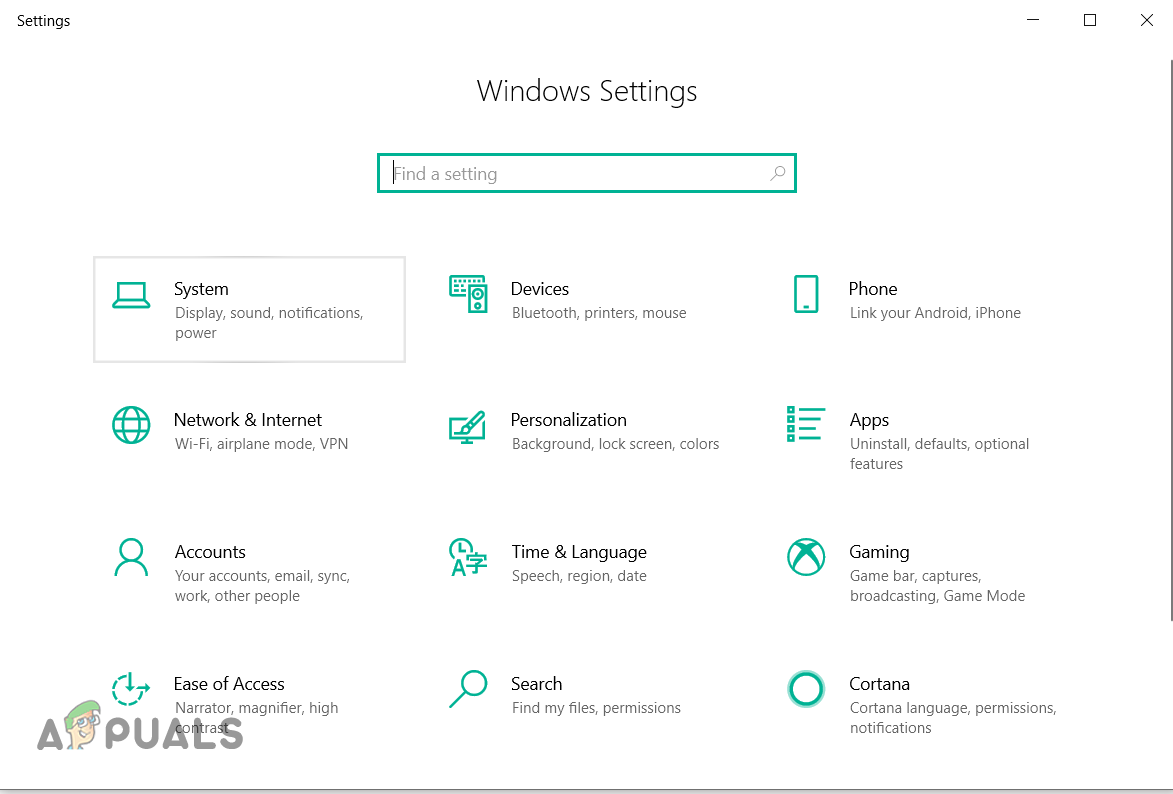
- Go to your Windows Settings and click on the System
Go to your windows settings and select the system option - On the left sidebar click on the Display option and scroll down at the bottom and click on the Graphics settings
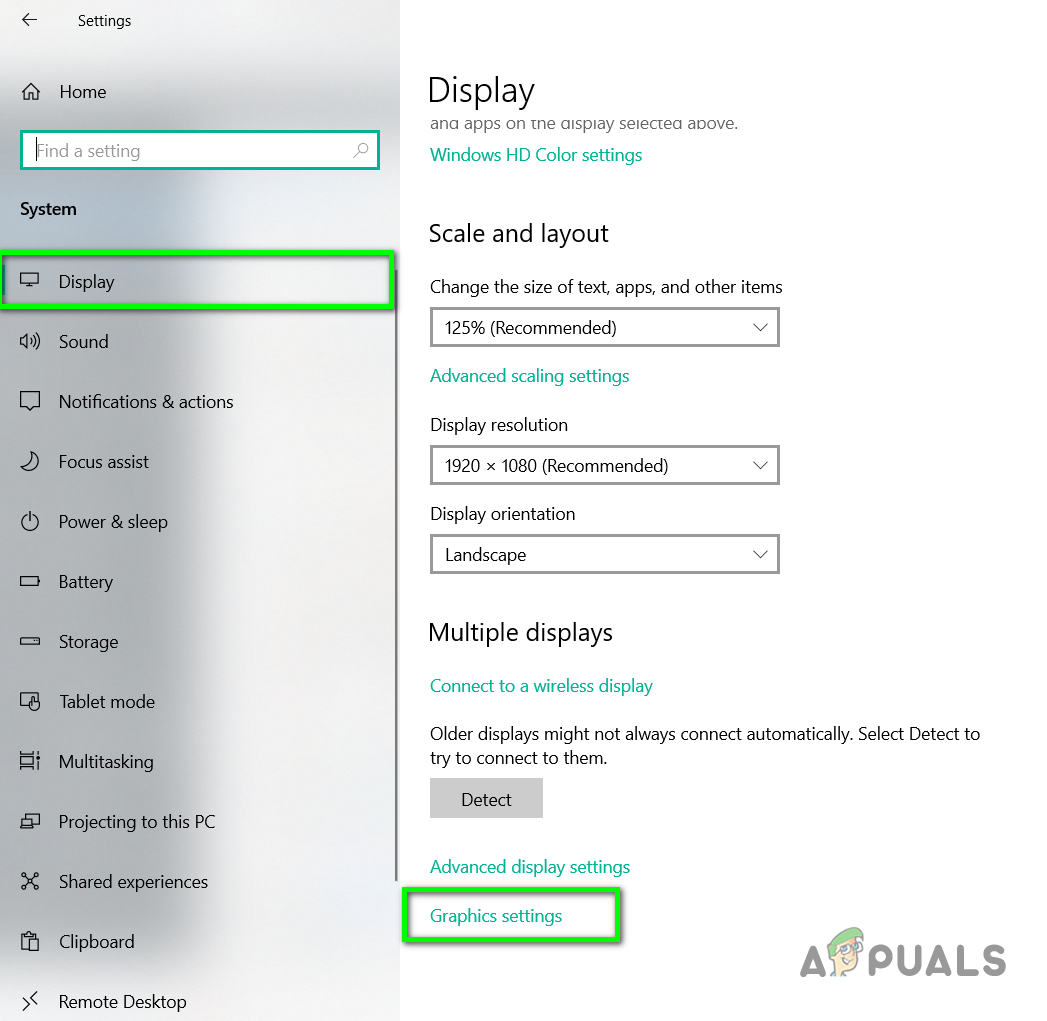
Click on the Graphics settings option from the Display section - Open the dropdown where it says Choose an app to set preference

Open the dropdown where it says Choose an app to set preference - It will have two options first is Desktop App and the other is Microsoft App, for the Java version of Minecraft select the Desktop App option and for the Bedrock version, click the Microsoft App option.
- Under the second dropdown, click Add and select the Minecraft App
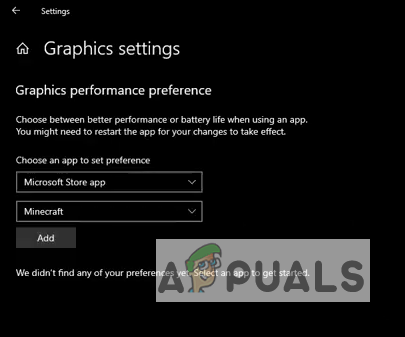
Under the second dropdown, click Add and select the Minecraft App - Now click under the Minecraft and Click the Options button and you will see the Graphics Preference dialog box
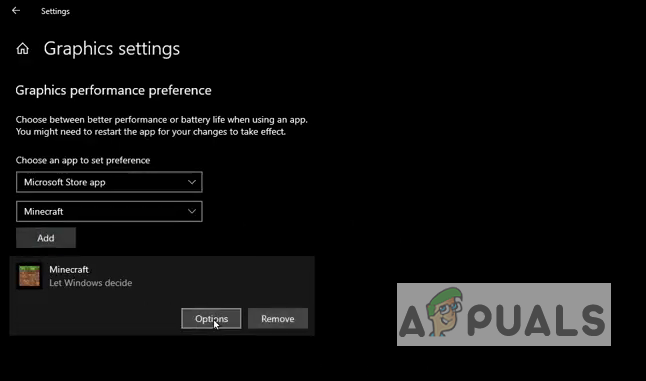
Now click under the Minecraft and Click the Options - Select the high-performance option and click Save
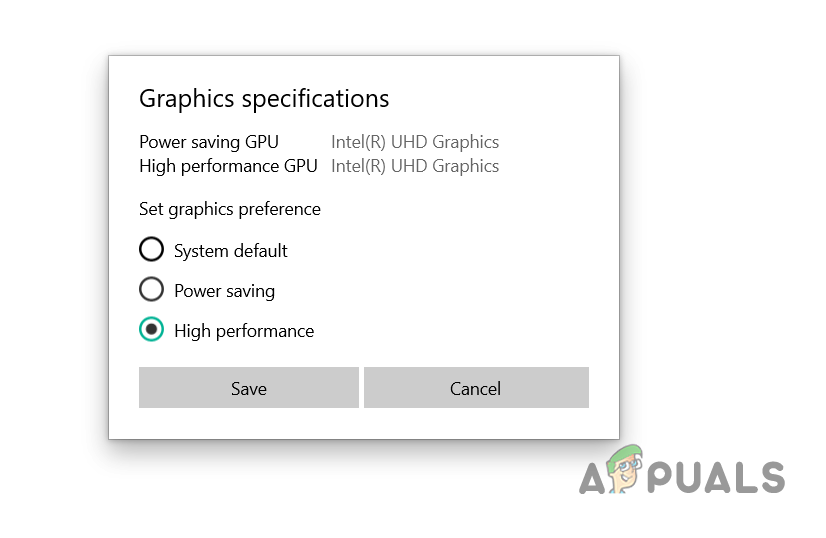
Set Graphics specifications High performance - Now launch the Minecraft game and see if that works
- You can also switch out of Minecraft and open the Task Manager and Under the processes, you can verify if Minecraft is using the integrated GPU or dedicated Graphics memory.
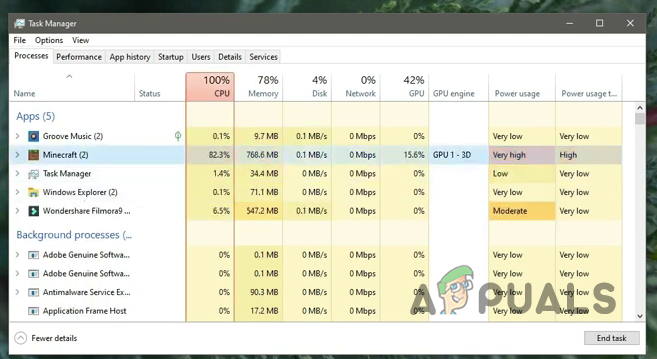
Verify if Minecraft is using the integrated GPU or dedicated Graphics memory
Add Java SE Binary to Windows Graphic Settings
If the above settings did not work for you, then you can try to include the Java Application in the Windows settings as well. This has been reported to have worked for many users but this will only work for the Java version of Minecraft. We will first out the file location of the Java application that comes with Minecraft and then includes it in the list of programs in the Windows Graphics Settings.
- Open your Minecraft game and minimize the windows.
- Now go to the Task Manager and search for the java application under the Details tab.
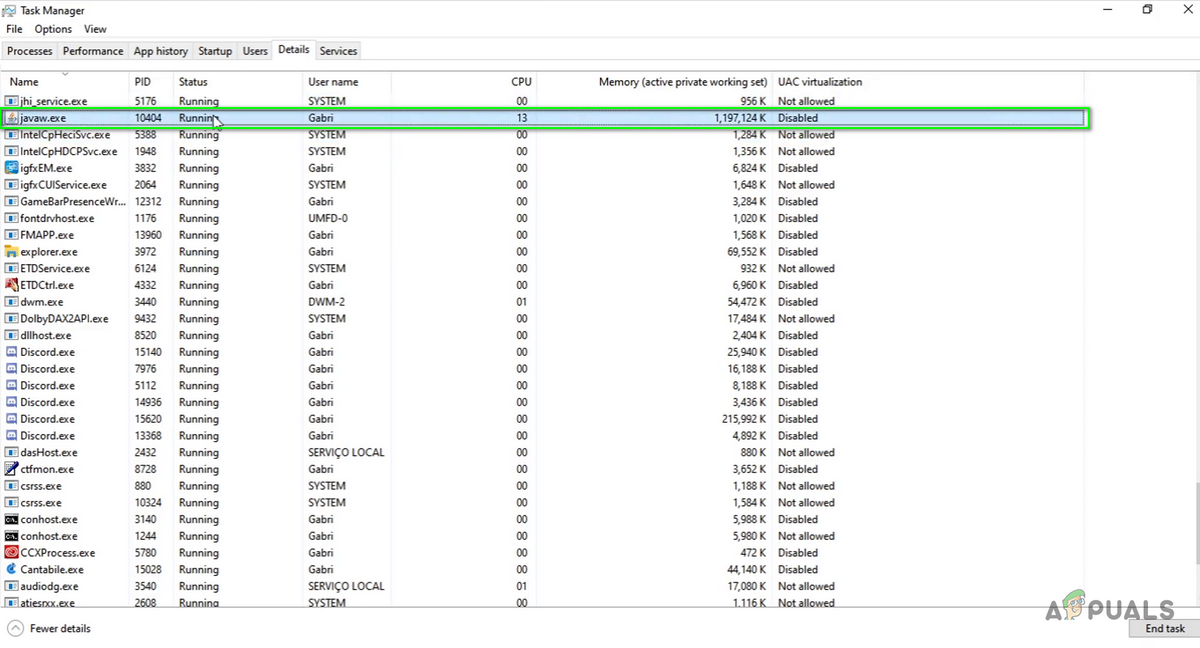
search for the java application under the Details tab in Task Manger - If you have more than one application by the name of javaw select the one which is consuming more memory.
- Right-click and select Open file location.
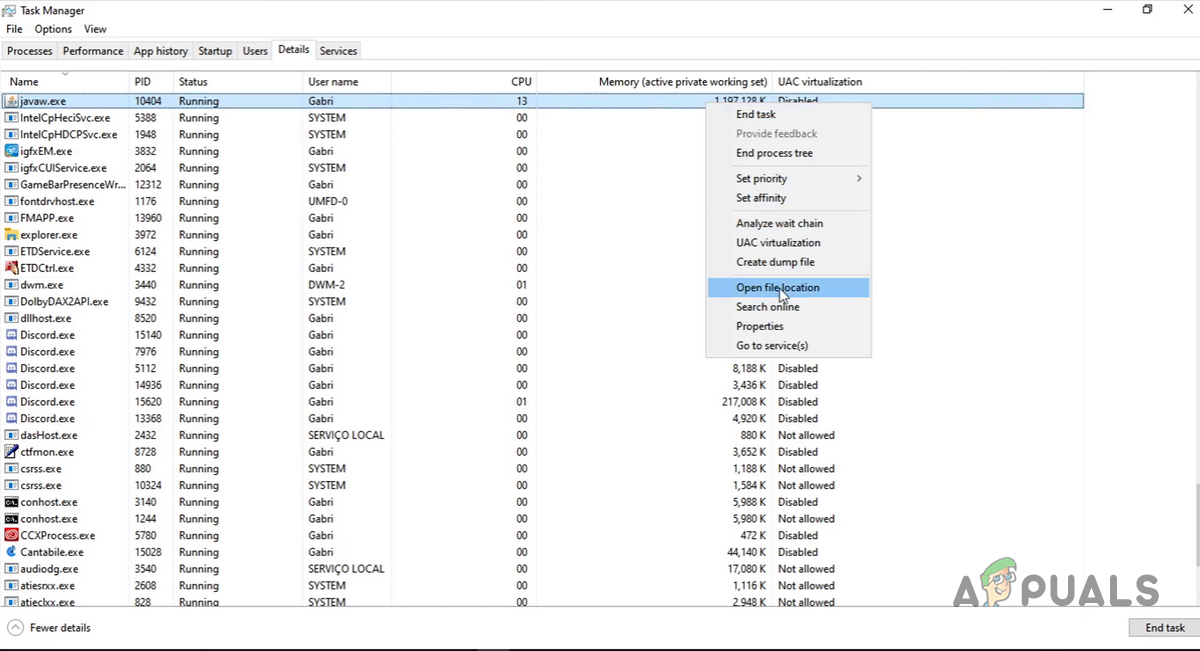
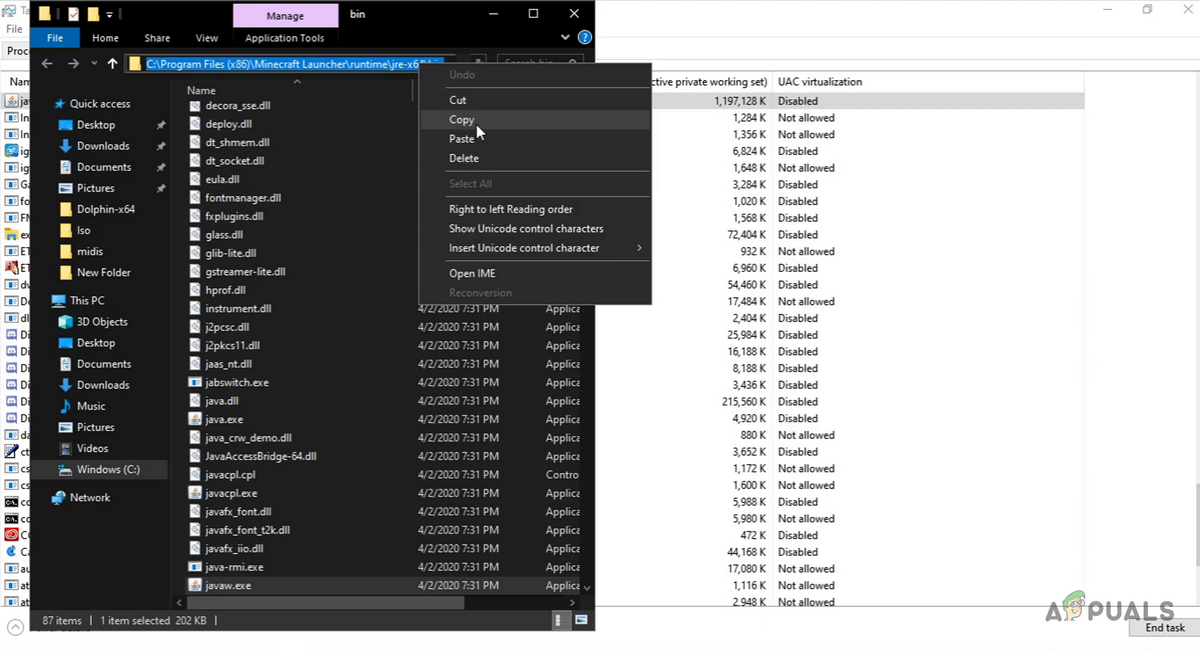
Right-click and select Open file location - Copy the path of this location and after that close the Minecraft game.
Copy the path of this location\ - Now go to the Windows Settings and select the System option.
Go to your windows settings and select the system option - On the left sidebar click on the Display option and scroll down at the bottom and click on the Graphics settings.
Click on the Graphics settings option from the Display section - If you already have the Java application added to the list, delete it from there.
- Now Click on Browse and paste the path of the Java application copied earlier and select the java application that was consuming more memory.
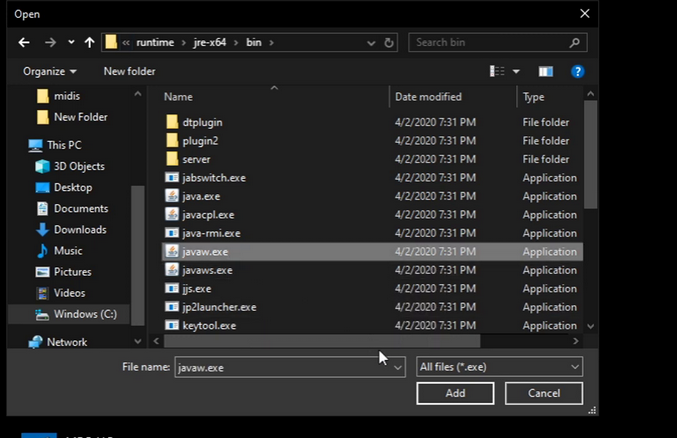
Paste the path of the Java application copied earlier and select the java application - Once added, click the Java application and click Options

Click the Java application and click Options - In the Graphics Preference dialog box select High Performance and click Save.
Set Graphics specifications High performance


Thank you! Nothing else worked at all, but the last option did. Went from 1 FPS to over 20 while using shaders.