How to Zip & Unzip Files on Windows 10
Zipping your files on the computer is a great way of saving a lot of space. Zipping and Unzipping of files is pretty common these days and almost everyone does it on regular basis. Zipping, if you aren’t familiar with term, is the process of compressing your files. You kind of “Zip” them in a small bag that keeps their size small. Usually, zipping multiple files will transfer them to a single file which is easy to send as well. The Unzipping is the opposite of Zipping. You basically extract all the files out of a zipped file.
The main advantage of zipping files is the size advantage. When you zip a file or multiple files, you are basically compressing them. The percentage of compressions depends on a lot of things including the program that you are using to compress/zip and the type of the files e.g. you don’t want to compress an image too much as it will degrade the quality.
Seeing that there are a lot of people who Zips and Unzips their files on daily basis, Microsoft have included a built-in Zipping program in Windows 10. The previous version of Windows don’t have a built-in zipping/compression program, you would have to download a third party tool like WinZip or WinRAR. So, with Windows 10, you don’t have to download any third party tool. You can compress your files within a few clicks.
How to Zip/Compress Files
There are 2 ways to compress/zip your files on Windows 10 both of which will be explained below. So, follow the steps given below to Zip your files on Windows 10
Using the Send to Menu
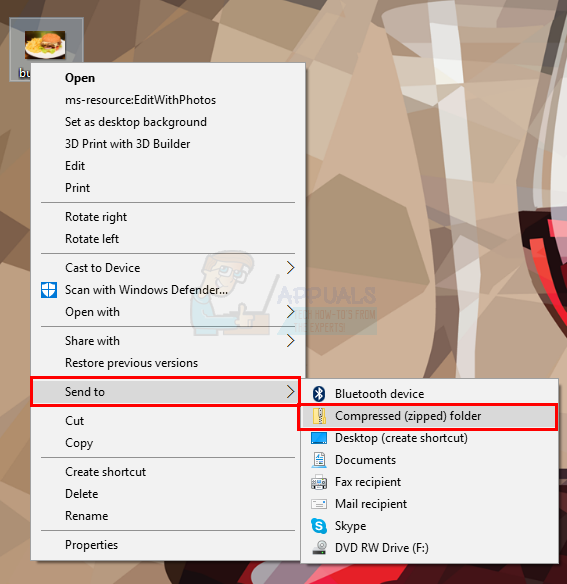
- Locate and right click the file that you want to Zip/Compress. If you want to Zip/Compress multiple files then hold CTRL, click on each file one by one and right click on any one of the files
- Select Send To
- Select Compressed (zipped) Folder and press Enter
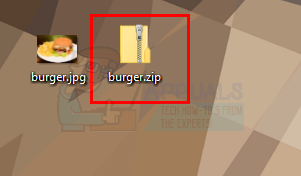
- There should be a new file created within that folder. The computer will automatically give it a name same as the name of the last file you selected. If you want to change name of the file then just right click the file and select Rename. Now, type whatever name you want to give to the file and press Enter.
- You can double click the zipped/compressed file and you will be able to see the files in it. You can double click the files within the zipped/compressed file’s window to open them.
Using the Ribbon Menu
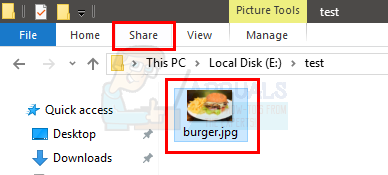
You can use the ribbon menu to zip your files on Windows 10. The ribbon menu is the menu at the top of your Windows Explorer.
Note: This method will not work if your file isn’t in the file explorer or is on the Desktop
- Go to your files location and select it
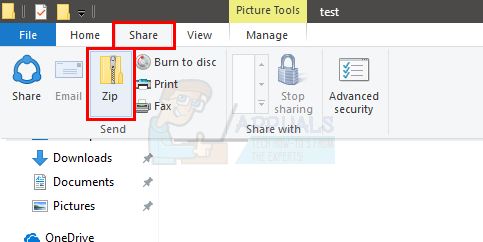
- Click Share from the Ribbon Menu
- Click Zip and press Enter (to confirm the name)
- There should be a new file created within that folder. The computer will automatically give it a name same as the name of the last file you selected. If you want to change name of the file then just right click the file and select Rename. Now, type whatever name you want to give to the file and press Enter.
Adding additional files to Zip file
You can add additional files to your already created Zip file as well. Yes, you don’t have to make a new zip file if you missed a few files while creating the first zip file.
Note: You should have the zip file and the additional files (the files that you want to add to the zip file) in the same folder to make it easy to perform the steps given below.
- Select the file or files that you want to add to the already created zip file. If you want to select multiple files then hold CTRL, click on each file one by one.
- Click (and hold) the files that you want to add to the zip file, drag those files on the zip file and release the mouse key.
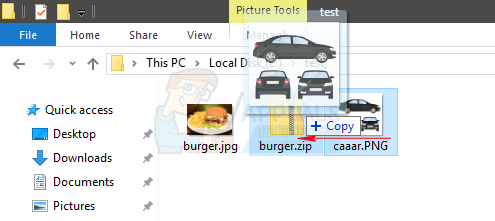
That’s it, simple as that. You should be able to see the files in the zip file.
How to Unzip/Decompress Files
You can Unzip/ Decompress files pretty easily as well. Although you can easily view the files from the zip file by just double clicking it but you won’t be able to edit and save them while they are in the zip file. You would want to extract them in order to edit those files. So, that’s why it is important to know how to unzip the zipped files.
Follow the steps given below to unzip your files.
Extract/Unzip All Files
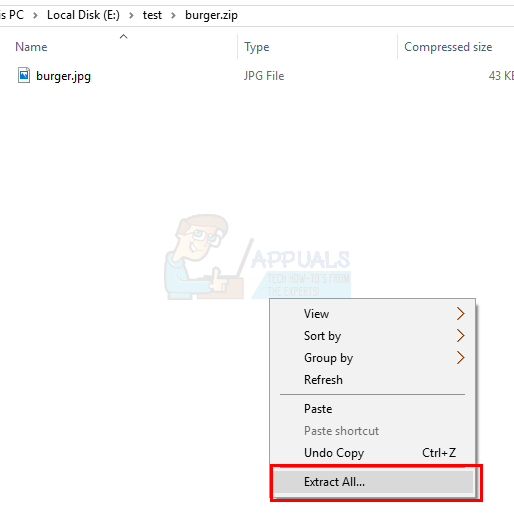
- Locate and right click the zip file whose contents you want to extract/unzip.
- Select Extract All… from the context menu

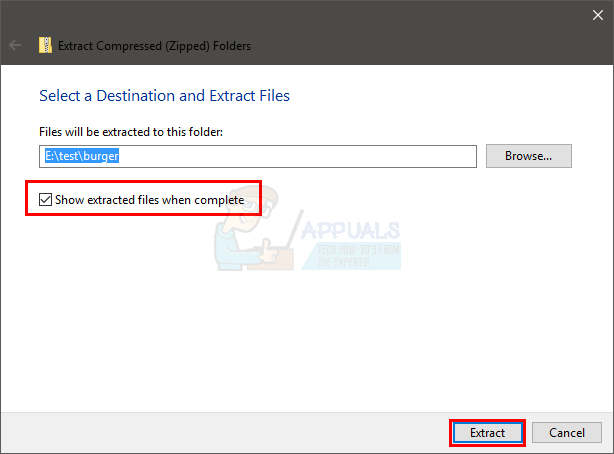
- Select the location where you want to extract the files. By default, the location of the zip file will be select but you can click the Browse button to select a custom location.
- Check the option that says Show extracted files when complete. It is optional so you can skip it if you want to see the files when the extraction is complete.
- Click Extract

OR
- Double click the zip file that you want to unzip
- Right click on an empty space inside the zip file window and select Extract All…
- Select the location where you want to extract the files. By default, the location of the zip file will be select but you can click the Browse button to select a custom location.
- Check the option that says Show extracted files when complete. It is optional so you can skip it if you want to see the files when the extraction is complete.
- Click Extract
OR
- Select the zip file that you want to unzip by clicking it once
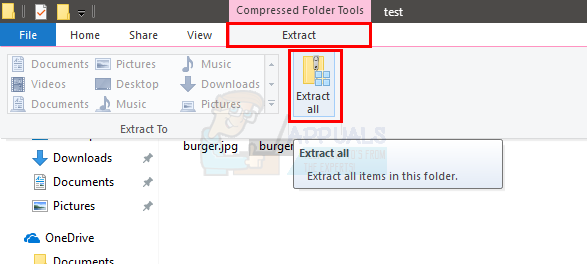
- Select the Extract tab from the Ribbon Menu
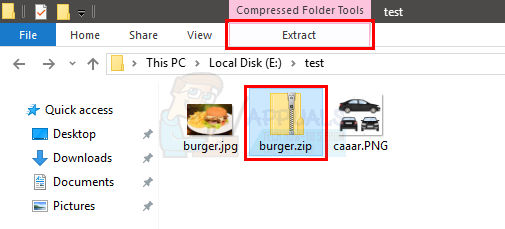
- Click Extract All
- Select the location where you want to extract the files. By default, the location of the zip file will be select but you can click the Browse button to select a custom location.
- Check the option that says Show extracted files when complete. It is optional so you can skip it if you want to see the files when the extraction is complete.
- Click Extract

Unzip selective files
You don’t always have to extract all the files from a zip file. You have the option to extract just one or a few files depending on your requirement.
- Double click the zip file whose contents you want to unzip
- Select the file or files that you want to add to the already created zip file. If you want to select multiple files then hold CTRL, click on each file one by one.
- Click the Extract tab from the Ribbon Menu
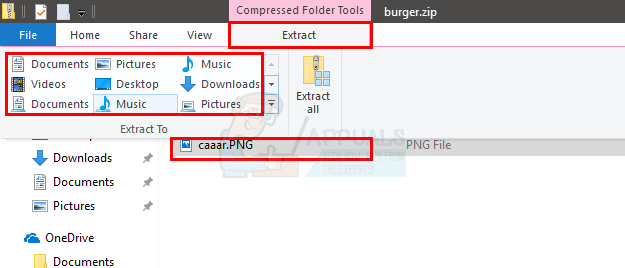
- Select any of the locations listed in the Extract to section
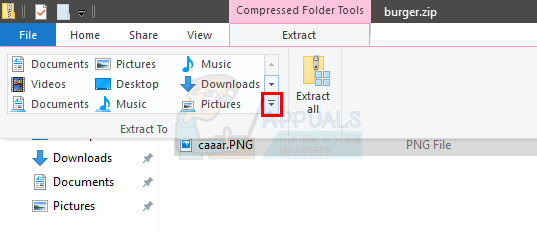
- If your required place isn’t listed in the Extract to section then click the More button (located below the down button) in the Extract to section
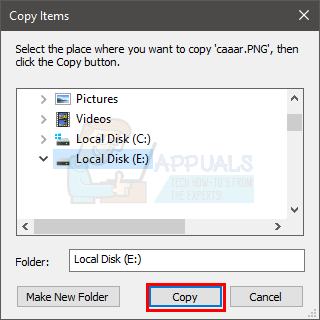
- Select Choose location…
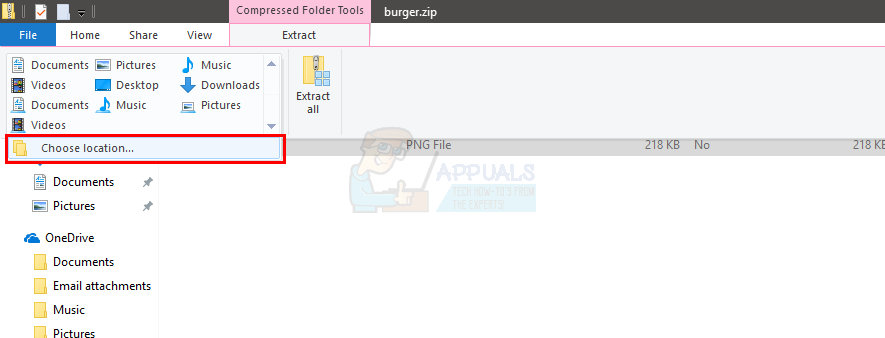
- Now, navigate to the location where you want to unzip the file and click Copy
OR
- Double click the zip file whose contents you want to unzip
- Select the file or files that you want to add to the already created zip file. If you want to select multiple files then hold CTRL, click on each file one by one.
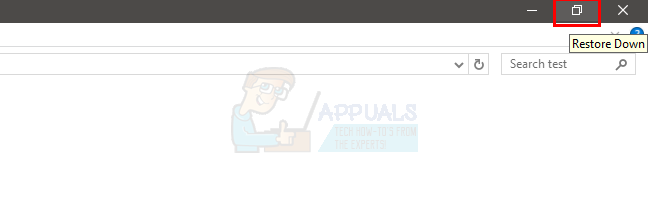
- Restore down (reduce the window size) the zip file window by click the square box on the top right corner
- Click (and Hold the mouse button) the selected files, drag them out of the zip folder and release the mouse button
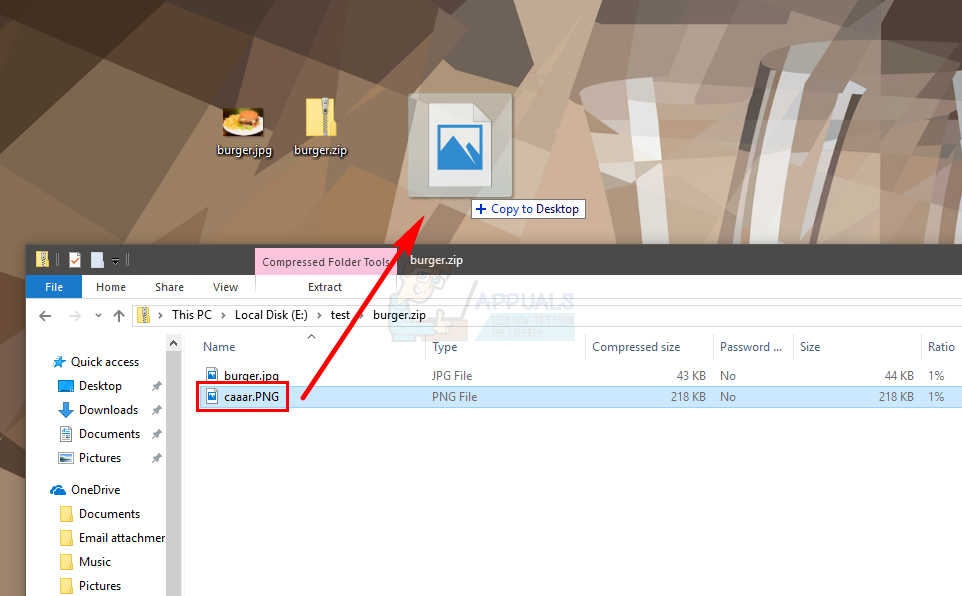
That’s it, your file (or files) should be unzipped to the selected place.
Note: The changes you make to the newly extracted files won’t reflect back to the files in the zip file.