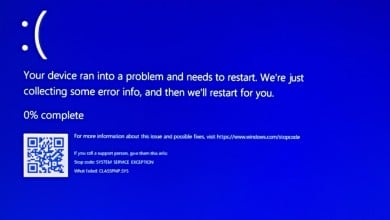
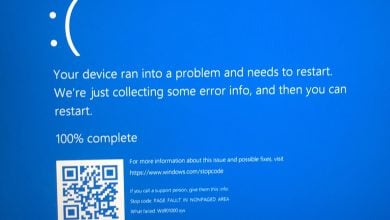
How to Fix Pshed.dll BSOD Error on Windows?
Pshed.dll is a Dynamic Link Library (DLL) file used to manage hardware error messages. This file acts as a Microsoft driver or service that helps prevent system crashes by handling hardware-related error messages and reporting them back to the operating system, which in turn takes appropriate actions to stabilize the system.

When pshed.dll is mentioned in error messages such as BSOD (Blue Screen of Death) or minidump files, it indicates that there is a hardware issue that pshed.dll has detected. However, this does not mean that pshed.dll is the cause of the problem. Contrary to what many users believe, pshed.dll is not the source of these issues. Instead, we should investigate hardware components to determine the underlying cause.
WHEA_UNCORRECTABLE_ERROR is a common error code associated with pshed.dll BSODs, pointing to a critical hardware malfunction. While the error typically suggests hardware issues, it can also arise from outdated or corrupted system drivers and BIOS firmware.
Factors such as overheating, power supply issues, faulty memory, or other hardware failures can trigger pshed.dll errors.
BSOD errors involving pshed.dll may also point to problems with other critical system files like ntoskrnl.exe and hal.dll, which play essential roles in system operations and hardware communication.
With an understanding of the function of the pshed.dll file, we can now explore the solutions to these issues.
Boot into Safe Mode (if required)
If you cannot boot Windows normally, you need to boot into Safe Mode first to follow the methods listed in this guide. Safe Mode allows users to boot Windows without drivers or third-party services. This helps troubleshoot the errors caused by drivers and even hardware failures.
- To boot Windows into safe mode, shut down your computer completely.
- Then, press the Power button to boot Windows.
- As soon as you see the Windows logo, press the Power button again to shut down your computer.
- Repeat this step three times to trigger the automatic repair system.
- Select Advanced Options > Troubleshoot > Startup Settings. This will reboot your system and show you the options to enable Safe Mode. Simply press F4 to enable safe mode.
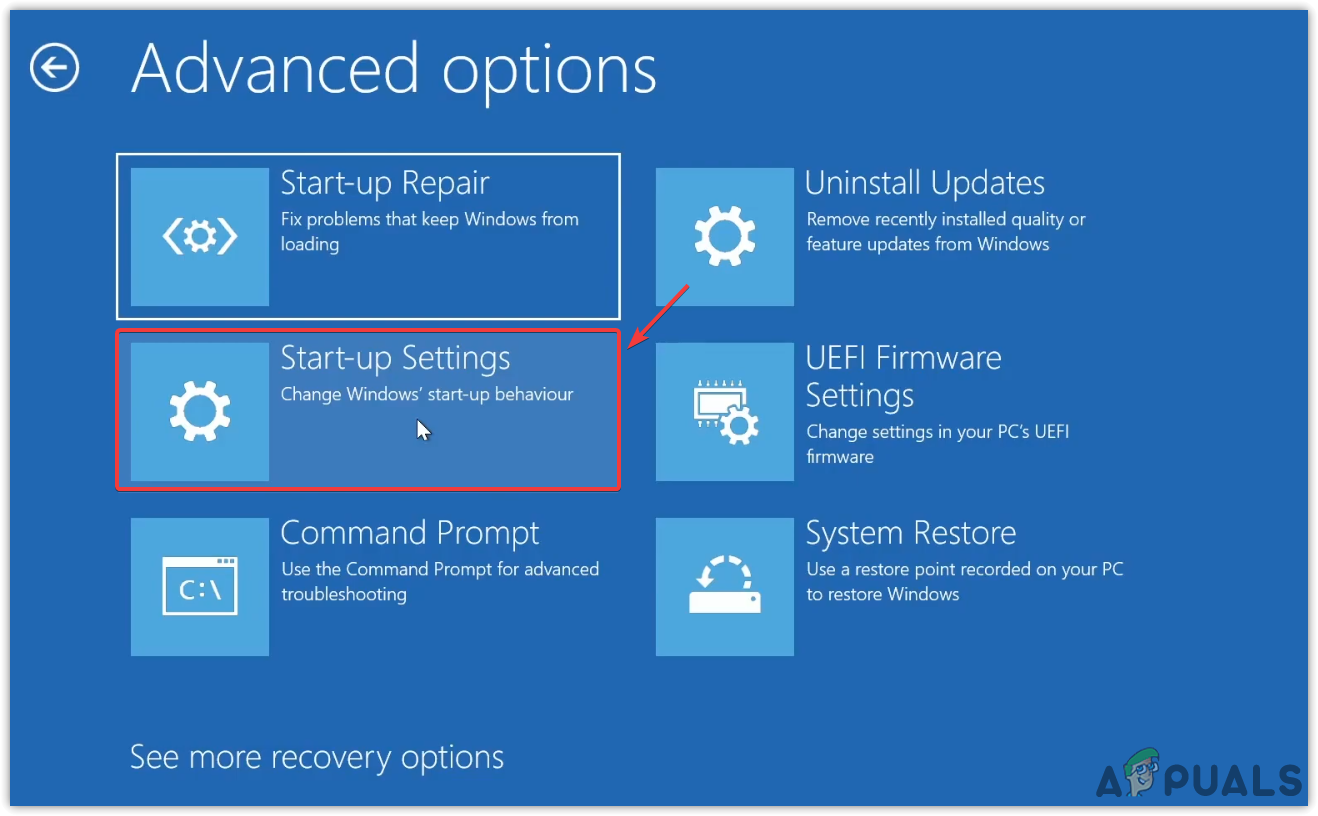
- Once done, proceed to follow the below methods.
1. Run SFC Scannow and DISM Command
Windows-specific DLL files can be restored by running the SFC scannow command. SFC (System File Checker) is a command line utility that is especially used to restore protected system files, including DLL files. If any of the essential system files become corrupted, it could cause a BSOD error.
With that, also run the CHKDSK command, which will help fix the errors found on a hard drive.
- Press the Win key and type Command Prompt in the Windows search bar.
- Right-click on it and select Run as administrator.
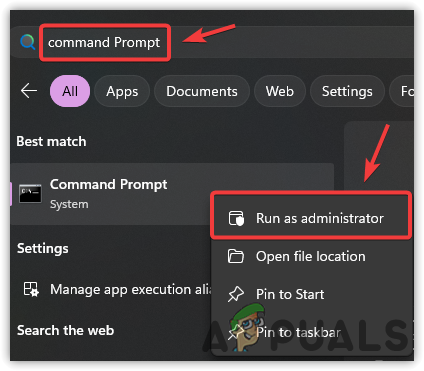
- Once it is opened, type sfc /scannow and wait for the command to be executed.
- Once done, enter the chkdsk command and hit Enter.
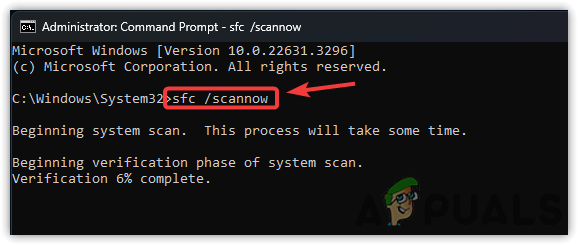
- Once done, you can restart your PC to see if the problem is resolved.
2. Disable XMP or any other overclocking
If you have overclocked any hardware components, such as RAM or the processor, it is advisable to enter your motherboard’s BIOS settings to reset these settings, particularly by turning off the XMP profile.
XMP, or Extreme Memory Profiles, allows users to overclock RAM for maximum performance. Enabling XMP means the RAM operates at the intended clock speed, which can enhance performance during memory-intensive tasks like gaming and editing.
Despite XMP being a relatively safe overclocking method, it can still lead to issues, including crashes. Therefore, if you have an XMP profile enabled, be sure to disable it temporarily.
- Completely power off your PC.
- Power it back on.
- Upon seeing the manufacturer’s logo on your screen, start pressing F2, F12, delete, or the corresponding key to access the BIOS settings. (Refer to our detailed BIOS key guide if you are stuck.)
- In the BIOS settings, navigate to the Overclock settings and select the XMP option.
- Choose Disable to turn off the XMP profile.
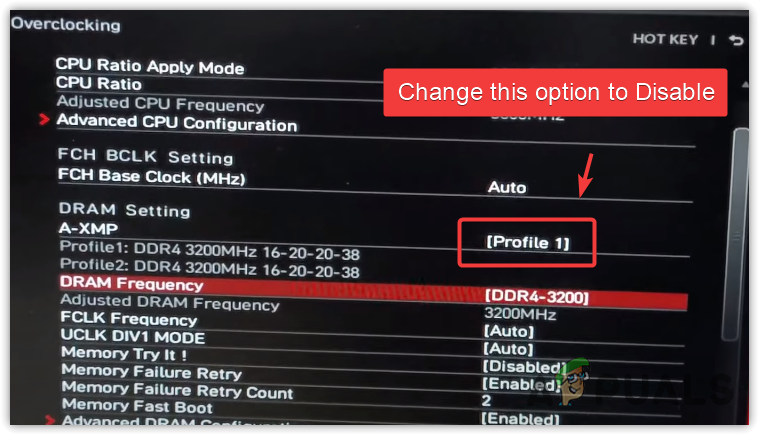
- After disabling XMP, reboot your computer and check if the issue has been resolved
3. Test your RAM
A hardware problem with your RAM could be causing BSOD errors. Testing your RAM is especially recommended if you have recently built your PC or are frequently facing BSOD errors.
For an effective diagnosis, use two RAM sticks so you can test your PC with one stick at a time. If the same problem occurs with both sticks individually, it is likely the issue lies elsewhere. If you have only one RAM stick, you can test your RAM with either the built-in Windows Memory Diagnostic utility or a third-party utility such as MemTest86.
4. Update the motherboard BIOS
If the problem persists, ensure that you have updated to the latest chipset drivers available from your motherboard manufacturer. It is also crucial to have the latest BIOS update installed. If the issue remains unresolved after these steps, consider taking your PC to a repair shop for further diagnosis.
If you suspect a hardware issue, you could also try to reinstall Windows or reset it without losing any data.
In the event that you have a restore point created before encountering this issue, a system restore utility can be used to revert your Windows to a previous state.


