How to Fix iTunes Error Code 17 on Windows?
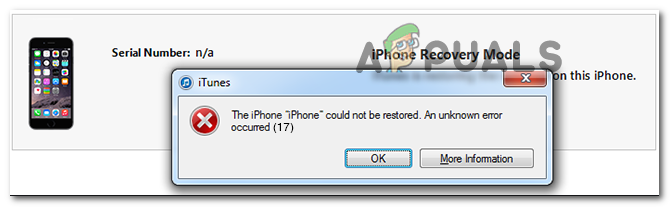
The iPhone could not be restored. An unknown error occurred (17)
Some Windows users are reporting that they are seeing the Error code 17 when attempting to restore their iPad or iPhone or when trying to update the iTunes application to the latest version. This problem occurs if your PC or Mac is unable to communicate with Apple’s software update server.
The number one cause that will end up causing this problem is an outdated iTunes version. In most cases, this is facilitated by some type of corruption affecting the auto-update component. If this scenario is applicable, you can attempt to update iTunes manually. I this doesn’t work, you should attempt to reinstall iTunes manually (desktop or UWP version).
However, as some affected users have confirmed, this problem can also be the result of an overprotective firewall solution that ends up blocking iTunes outgoing connections. In this case, the best course of action is to uninstall the firewall and look for a more lenient solution.
Method 1: Update iTunes to the latest version (Windows Only)
In case you are encountering this issue on Windows, it’s likely that you see the error code 17 due to the fact that you’re using an outdated Itunes version.
While iTunes has no problems updating automatically on macOS, there are a lot of user reports signaling that iTunes will stop updating by itself even if the auto-updating function is enabled.
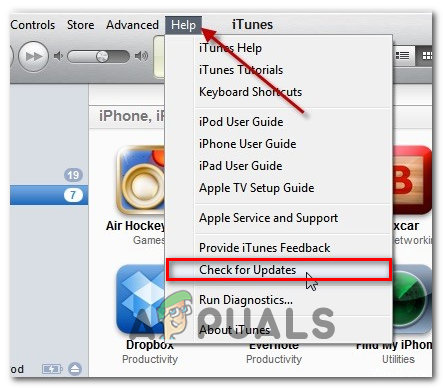
If you think this scenario is applicable, you should start by going to Help > Check for Updates and see if this scan manages to identify and install a new version.
If you get a different error or no new version is identified, follow the instructions below to uninstall iTunes and install the latest version manually. This operation will end up clearing any type of app corruption that might contribute to the apparition of the iTunes 17 Error code.
Follow one of the guides below to reinstall iTunes on your Windows computer. There are two guides – one for the desktop version and one for the UWP (Universal Windows Platform) version. Follow the guide applicable to the application that you’re using
Reinstalling the desktop version of iTunes
- Press Windows key + R to open up a Run box. Then, type ‘appwiz.cpl’ in the text box and hit Enter to access the Programs and Features menu.
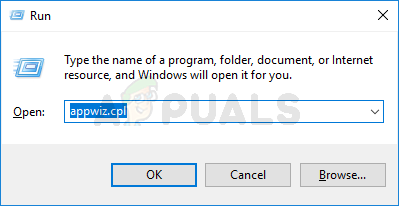
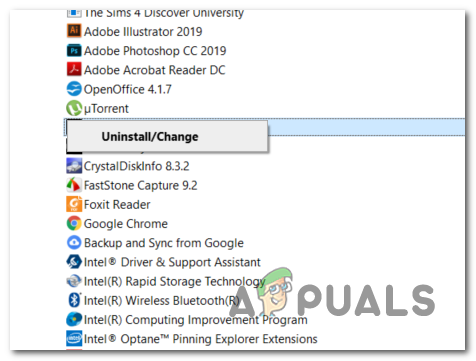
Type appwiz.cpl and Press Enter To Open Installed Programs Page - Once you’re inside the Programs and Features screen, move down through the list of installed applications and locate iTunes. Once you see it, right-click on it and choose Uninstall from the newly appeared context menu.
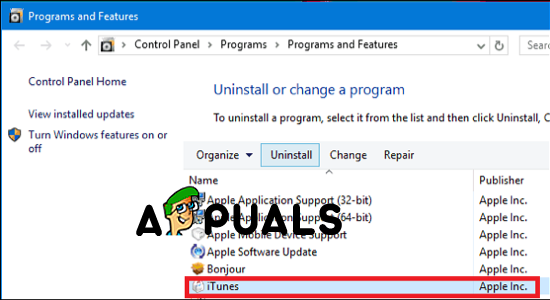
Uninstalling Itunes - Next, follow the on-screen prompts to complete the uninstallation process. After the operation is finished, click on Publisher at the top of the list to order the listings based on their publisher.
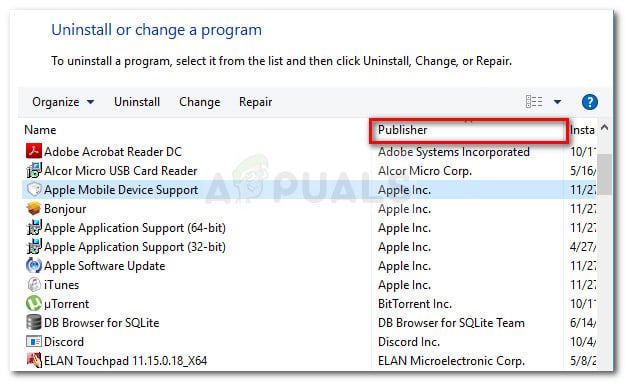
Click the Publisher column to order the app results - Next, uninstall everything that is published by Apple Inc. until every component related to Apple is completely removed.
- Once everything related is uninstalled, reboot your machine and wait for the next startup to complete.
- After the next booting sequence is finished, visit this link (here), scroll to the Looking for other versions section, and click on Windows to download the iTunes version compatible with your ecosystem.
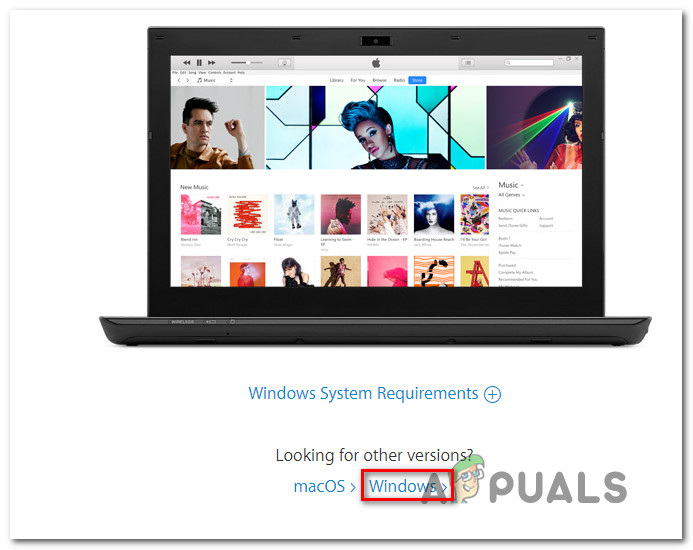
Downloading the desktop version of iTunes - Once the download is complete, double-click on the installation executable and follow the on-screen prompts to complete the installation.
- Reboot your computer once again and see if you’re still encountering the same error code 17 in iTunes.
Reinstalling the UWP version of iTunes
- Open up a Run dialog box by pressing Windows key + R. Next, type ”ms-settings:appsfeatures” and press Enter to open up the Apps & Features tab of the Settings tab.
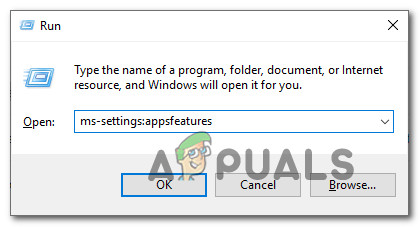
Accessing the Apps & Features menu of the Settings app - Once you’re inside the Apps & Features menu, use the search function to search for ‘iTunes‘. Next, from the list of results, click on iTunes, then scroll down and click on it’s associated Advanced options hyperlink.
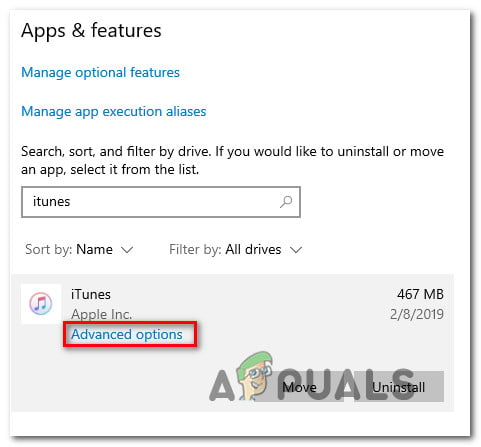
Accessing the Advanced Options menu of iTunes - Once you’re inside the Advanced Options menu, scroll down to the Reset section and click on the Reset button.
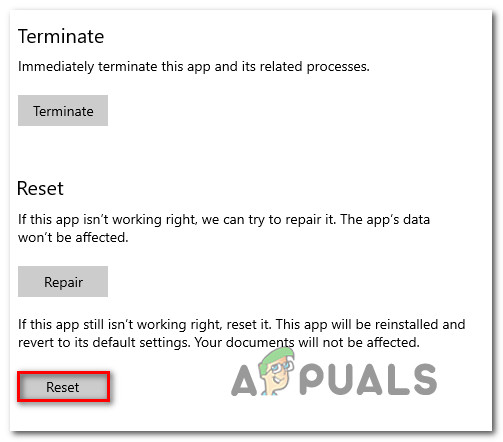
Resetting the iTunes app - When you are asked to confirm, click Reset once again and wait for the operation to complete.
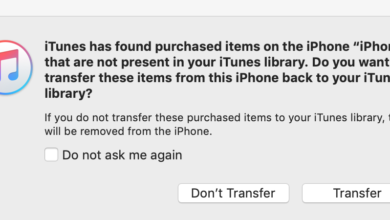
Note: This operation will revert your iTunes state back to the default version, reinstalling every involved component while leaving your personal iTunes media unaffected by this operation. - Once the application gets reinstalled, launch iTunes and repeat the action that was previously causing the error code 17 to see if the issue is now resolved.
In case the problem is still occurring, move down to the next potential fix below.
Method 2: Uninstall 3rd party firewall (if applicable)
As Apple themselves acknowledge, iTunes connections are susceptible to being flagged by a lot of 3rd party firewalls due to a false positive. The issue is well documented, and a lot of affected users have discovered that there are several overprotective suites that might prevent iTunes from establishing the connections required to update the application or sync files of the connected device.
Unfortunately, disabling the real-time protection of your security suite will not fix the issue, since the same security rules will remain in place. In order to fix this issue, you will need to uninstall the 3rd party firewall in order to allow iTunes to connect normally.
In case this scenario applies to you, follow the instructions below to complete the operation:
- Open up a Run dialog box by pressing Windows key + R. Next, type ‘appwiz.cpl’ and press Enter to open the Programs and Features menu.

Type appwiz.cpl and Press Enter to Open Installed Programs List - Once you are inside the Programs and Files menu, scroll down through the list of installed applications and locate the entry associated with your 3rd party firewall.
- After you manage to locate it, right-click on it and choose Uninstall from the context menu.
Uninstalling Avast Firewall - Follow the on-screen prompts to complete the uninstallation, then restart your computer and see if iTunes is working normally now that the 3rd party firewall has been uninstalled.