Fix: Windows Update Keeps Turning Off
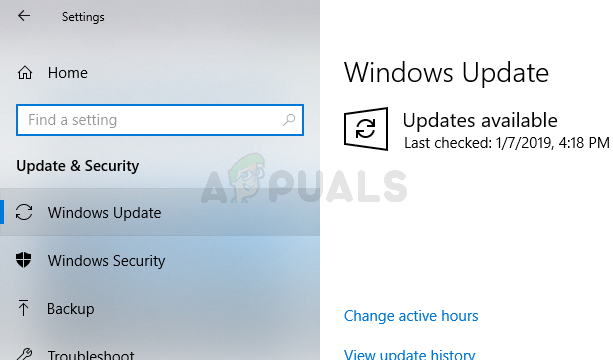
Windows Updates are a great way of keeping your system up to date. These updates provide important security and various other fixes for the system. However, some users are experiencing an issue where the Windows Updates are automatically turning off. This will happen automatically and randomly. Users are seeing the notification pop up about the Windows Updates being turned off. Keep in mind that there isn’t an issue with the Update itself. Lots of users turned on the Windows Update and the system updated properly. The only problem is that the Windows Update are turned off on their own.
What causes your Windows Updates to turn off?
The most likely cause for this problem is:
- Antivirus: Antivirus applications are known to cause issues with other programs and Windows Update components are no exception. This can happen because of false positives or weird compatibility issues. There are certain antivirus applications that are well known for causing issues like these and the solution is to simply disable the antivirus application.
- Windows Update: Your Windows Update service can cause this issue as well. This included update service not getting started properly or a corrupted file in the Windows update folder. Any of these causes can easily be resolved by simply restarting the Windows Update components and making some changes in the registry to add a registry key to set updates to auto.
Method 1: Disable Antivirus
Since your antivirus is most likely to cause this issue, disabling the application is a good starting point. Applications like Bitdefender are a common cause for this issue. Ideally, you would want to get rid of a problematic antivirus but first disable the application to see if the problem goes away or not. You can then decide whether to keep the antivirus or uninstall it after looking at the results. We will show the steps for disabling Avast antivirus but the steps should generally be the same for all antivirus applications. Almost every antivirus application comes with a disable option.
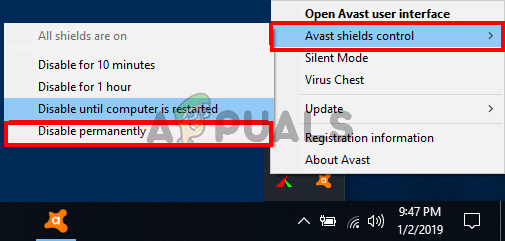
- Right click on your antivirus icon from the system tray
- Select Avast Shield control (this option will vary depending on your antivirus)
- Select the appropriate time option for disabling the antivirus. We will advise you to select the Disable Permanently option because Windows Updates usually gets turned off on a reboot. Don’t worry, you can enable the antivirus later on.
- Once done, check for updates and turn on your Windows Update. If everything works fine then perform a reboot of the system and give it some time to see whether the Windows Updates turn off or not.
If everything starts working fine after disabling the antivirus application then the problem is with your antivirus. You can either uninstall the antivirus or add your launcher to its whitelist. Both of these options will work.
Method 2: Registry Changes
Making some changes in the registry of your system has also been useful in fixing this problem. Follow the steps given below to make changes to the registry.
- Press Windows key once
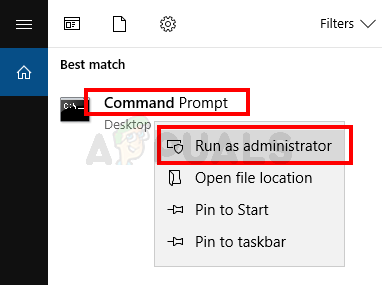
- Type command prompt in the Start Search
- Right-click Command Prompt from the search results and select Run as administrator

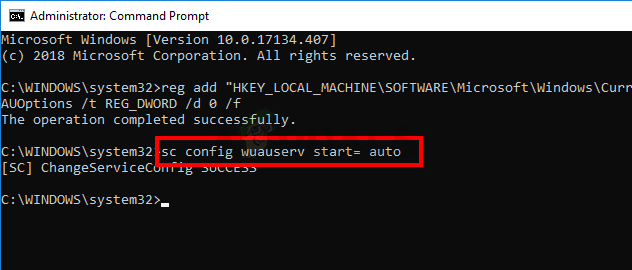
- Type the following command in the command prompt and press Enter
reg add "HKEY_LOCAL_MACHINE\SOFTWARE\Microsoft\Windows\CurrentVersion\WindowsUpdate\Auto Update" /v AUOptions /t REG_DWORD /d 0 /f

- Now type the command given below and press Enter
sc config wuauserv start= auto
You should be good to go.
Method 3: Reset Windows Components
Sometimes a simple reset fixes the issue. This might be the case for you and simply resetting the Windows Update components might solve the issue. So, follow the steps given below to reset Windows components
- Press Windows key once
- Type command prompt in the Start Search
- Right-click Command Prompt from the search results and select Run as administrator
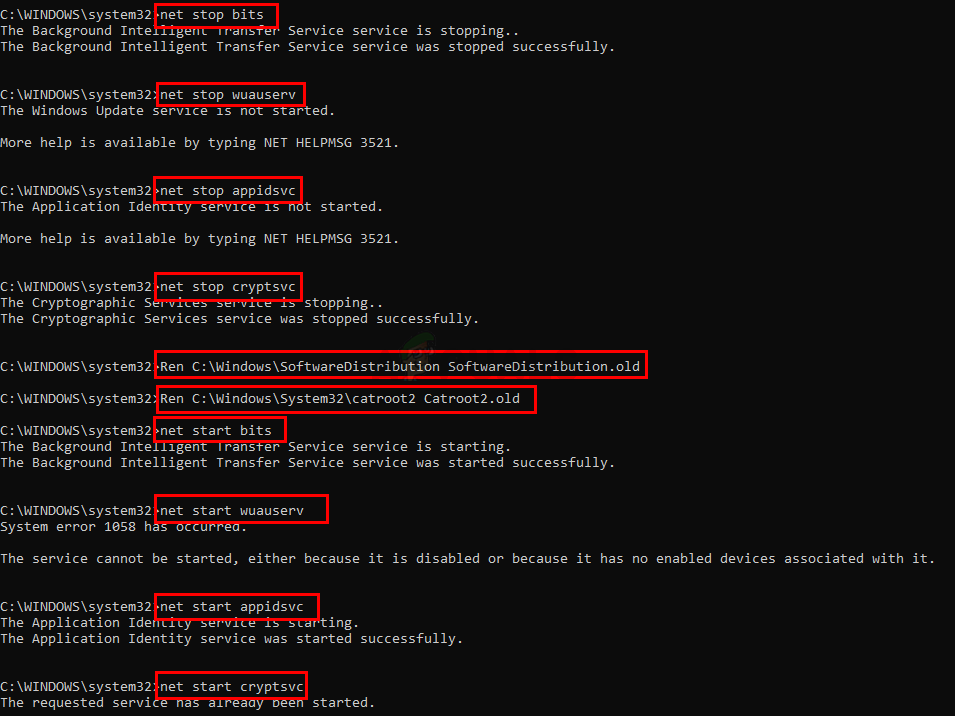
- Type the following commands in the command prompt and press Enter after each one
net stop bits

net stop wuauserv

net stop appidsvc

net stop cryptsvc

Ren C:\Windows\SoftwareDistribution SoftwareDistribution.old

Ren C:\Windows\System32\catroot2 Catroot2.old

net start bits

net start wuauserv

net start appidsvc

net start cryptsvc
Now check if the problem is solved or not.


Its still not working, I’ve tried everything written in this article