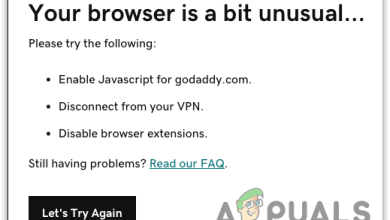
Fix: ‘Your IP Has Been Temporarily Blocked’ When Visiting Sites
Each electronic device connected to a network is provided with an IP address and a digital identification number. The exchange of packets through your device will cease when a website detects that the IP address of your device is engaging in robotic or shady activities, and an error notice stating, “IP address has been blocked,” appears on your screen.
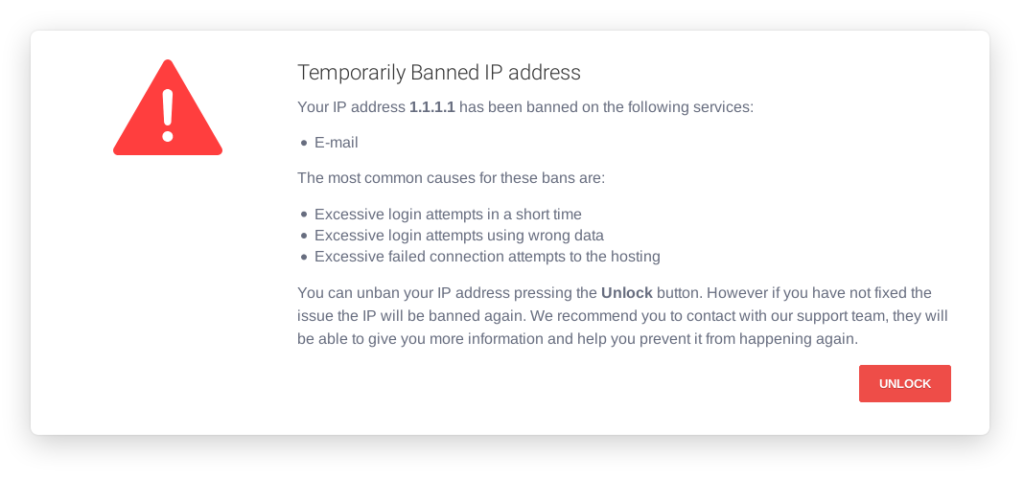
You might be seeing this error because you have exceeded the login limits for a day or entered a site that is prohibited by the host. In this case, you need to wait until it’s fixed by the service providers. Sometimes this process may take a few days or even more. Moreover, it can also happen if your internet service provider has disabled the page you’re accessing.
In this article, we have mentioned eight tried-and-tested methods that you can use to resolve this issue. Let’s dive into the details!
1. Check for malware and viruses in your device.
This error is often caused by security measures put in place by websites or servers to prevent malicious activity, such as a brute-force attack or repeated login attempts.
Malware can be one of the causes of such malicious activity, especially if it allows an attacker to gain unauthorized access to a system and perform unwanted actions.
Therefore, removing malware from your system can help in fixing the error.
- Type ‘Windows Security Settings‘ in the Start menu search bar and open it.
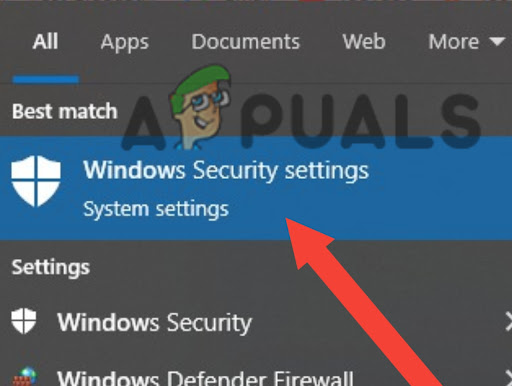
Type Windows Security Settings - Here, click on Virus and Threat Protection.
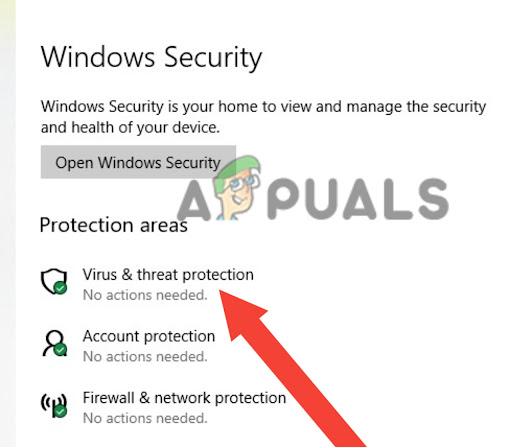
Click on virus and threat protection - Now, click on “Scan Options.
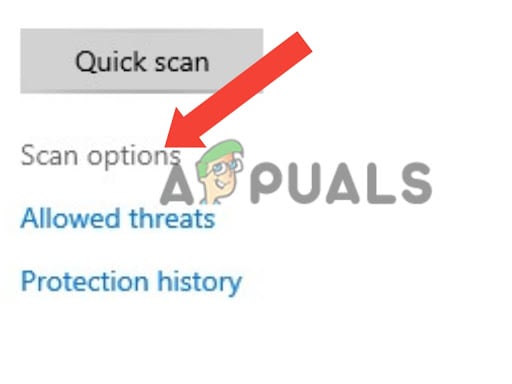
Choose scan options - Next, select Full Scan and click Scan Now.
- Wait until Windows detects the malware and removes it from your device.
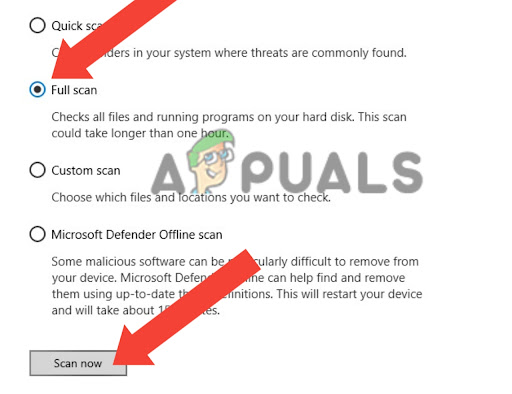
Choose “full scan”, then Click scan now
2. Disable or remove browser extensions/plug-ins.
Browser extensions can be malicious or compromised, allowing attackers to use your browser to perform unwanted actions such as sending spam or launching attacks. This can lead to your IP address being temporarily blocked by websites or servers that detect such activity.
Moreover, extensions may have bugs or compatibility issues that can cause website or server errors, including the “IP Address Has Been Temporarily Blocked” error. Therefore, removing the extensions can help fix this error.
- Click the three dots in the top right corner of your screen.
- Here, click on ‘More Tools‘ and select ‘Extensions.’
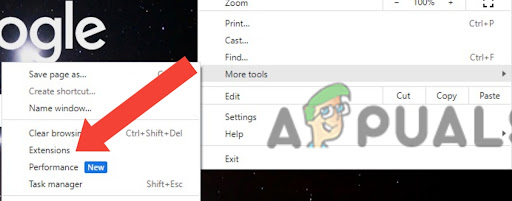
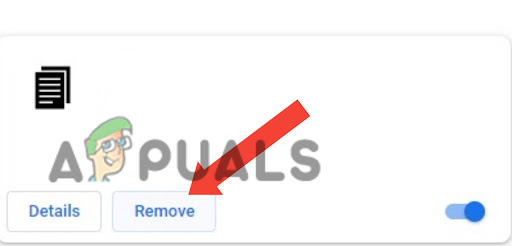
Select the extension menu - Now, you will see a list of extensions; remove all extensions one by one.
3. Clear your browser’s cookies and cached data.
Cookies and cached data can become corrupted or outdated, causing errors or conflicts with the website’s security mechanisms. For example, if the cached data contains outdated information, the server may view it as suspicious and block your IP address to prevent further access. Therefore, clearing the browsing data can help resolve these issues by forcing the browser to retrieve fresh data from the website.
- Click the three dots in the top right corner and select Settings.
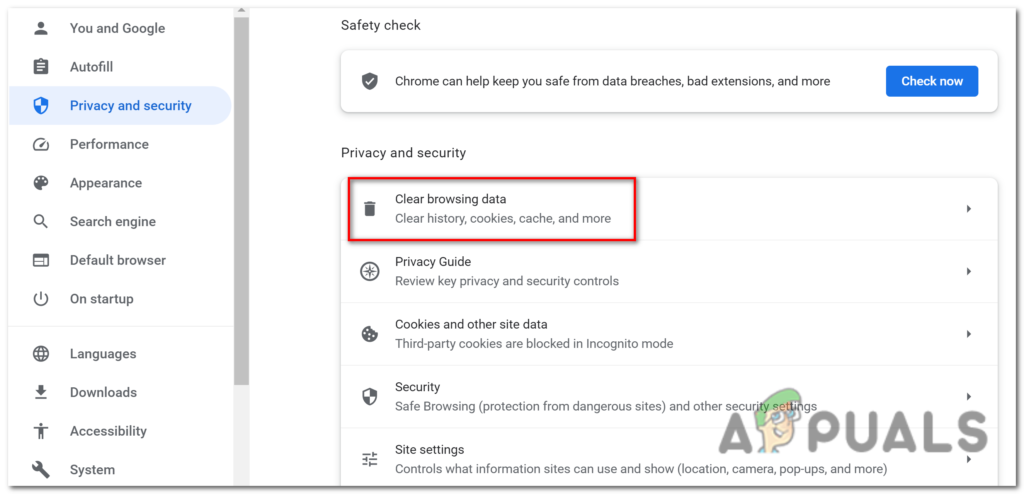
Tap on settings - Now, go to Privacy and Security in the left panel and click Clear browsing data.
Clear browsing data - Tick all the boxes and click ‘Clear Data.’
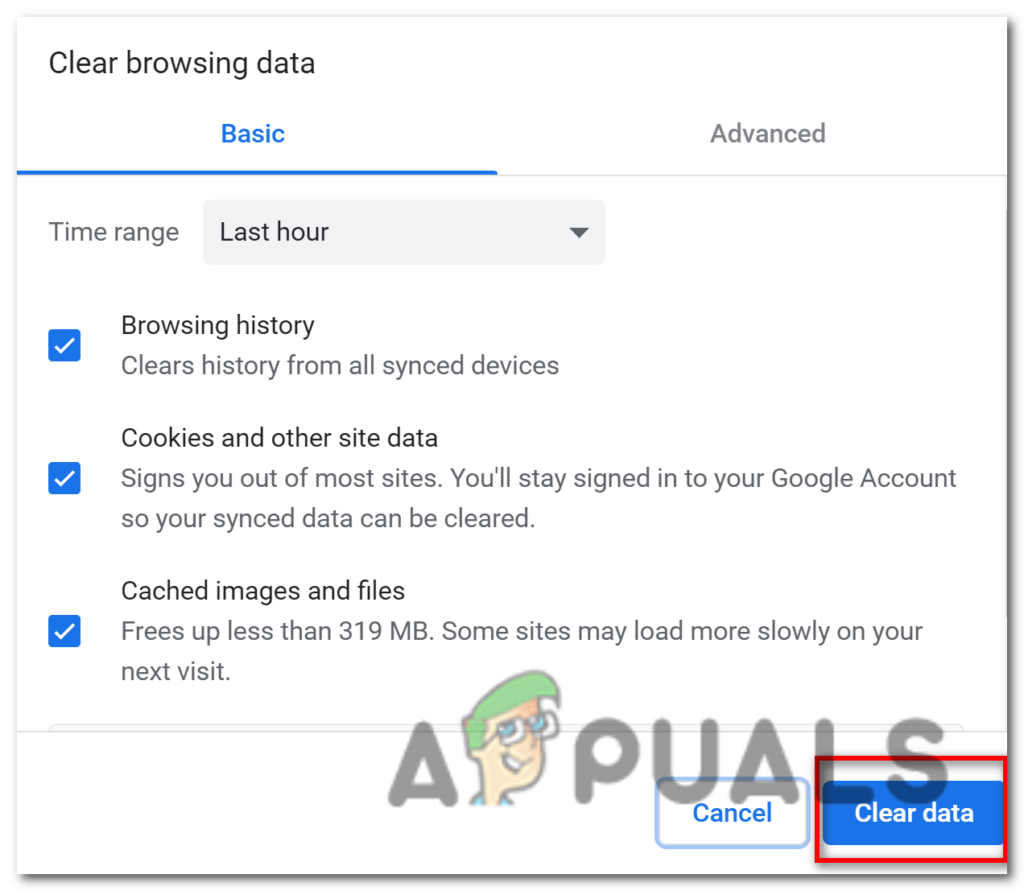
Click on Clear data
4. Change the DNS server.
Changing DNS servers can help fix the ‘IP Address Temporarily Blocked’ error by allowing you to bypass any DNS-related issues that may be causing the error. Here’s how you can change DNS servers:
- Press Win + R to display the Run dialog box.
- Enter ncpa.cpl and press Enter.
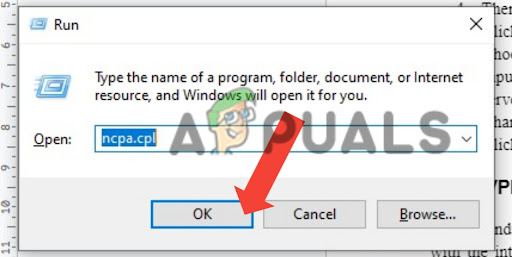
Type ncpa.cpl and press Enter - Right-click on your connection and select Properties.
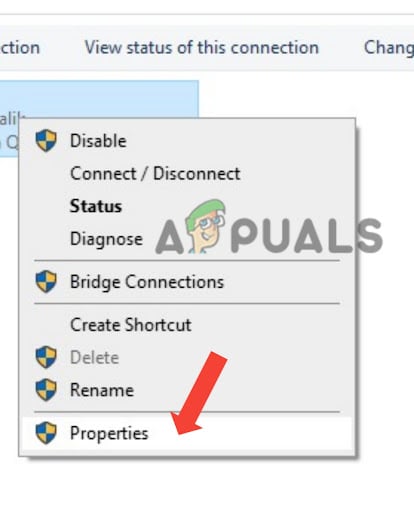
Click Properties - Double-click on protocol version 4 TCP ipv4.
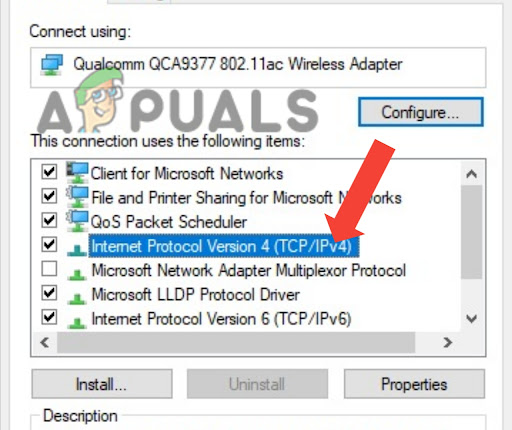
Double-click on protocol version 4 TCP ipv4 - Choose to use the next DNS network.
- Input the IP address 1.1.1.1 as the preferred DNS server, and 1.0.0.1 as the alternate DNS server.
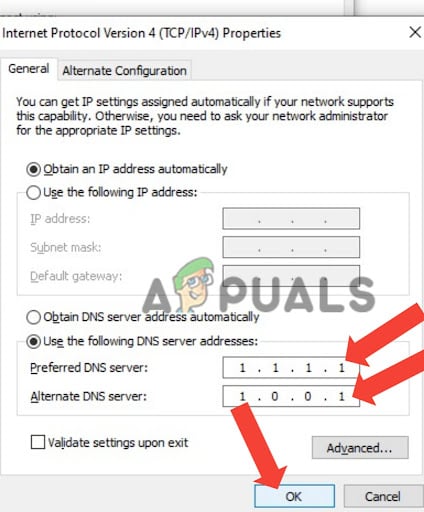
Input IP address 1.1.1.1 as the preferred DNS server and 1.0.0.1 as the alternate DNS server - Click OK and you’ll be able to browse the website.
If the issue is not resolved even after several days, then contact your ISP (Internet Service Provider). Contacting your ISP can be beneficial if your IP address has been blacklisted.
Since ISPs are in charge of allocating and managing IP addresses for their clients, they might have implemented a security mechanism to guard against malicious behavior, which is one potential explanation for an IP address ban.
Additionally, if the ISP made a mistake or misconfigured something that led to the block, they might be able to quickly correct the issue and unblock your IP address.