Fix: “Access Denied, You Don’t Have Permission to Access on This Server” Error
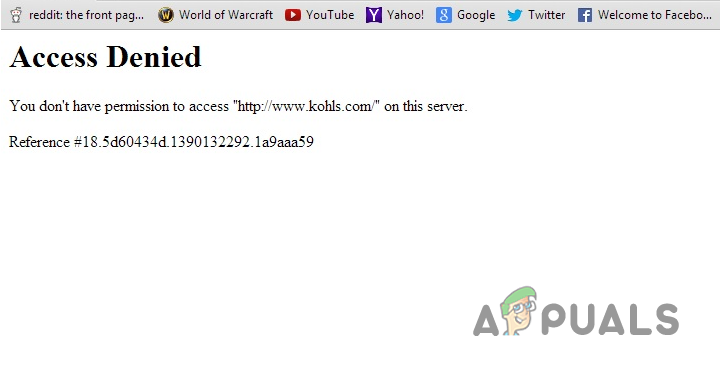
Access to some websites may suddenly be blocked, showing the error, “Access Denied. You don’t have permission to access on this server” along with a reference number. This message is called an HTTP 403 Forbidden error, which means the server understands your request but will not allow it.
The most common reason is that the website has blocked your IP address, often because of region restrictions or security settings on their server. Other causes include issues with your browser, such as mismatched browser information, old or damaged cookies, or problems caused by using a VPN or proxy service.
In this article, we will discuss different ways to solve this error.
1. Check if the Website is Down for Everyone.
When this error occurs on a specific website, your first step should be to identify whether the issue is on your end or with the website itself. This can be done by visiting a service like Downdetector and searching for the affected website.
If Downdetector shows widespread reports of outages, the problem is likely due to the website’s own technical issues, not anything on your device or network. In this case, waiting for the website administrators to resolve the outage is the only solution.
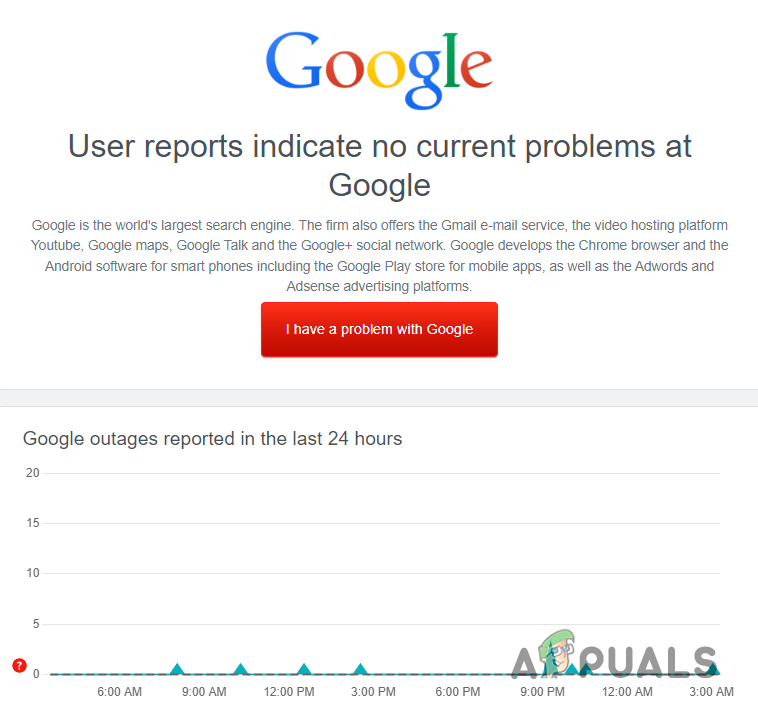
If there are no current reports of downtime, the issue likely originates from your system or connection. In that case, proceed with the troubleshooting steps below to address the error.
2. Disable LAN Proxy Server (if applicable).
An active LAN Proxy Server setting on your PC can frequently cause this error. The proxy server acts as a gateway between your computer and the internet, controlling internet traffic and adding a security layer – similar to a VPN, but with different functionality.
Sometimes, however, proxy servers block access to certain URLs or IP addresses, leading to connection errors like the one you are experiencing. Disabling the LAN proxy server often restores proper access.
- Press Windows Key + R to open the Run dialog box.
- Type inetcpl.cpl and press Enter.
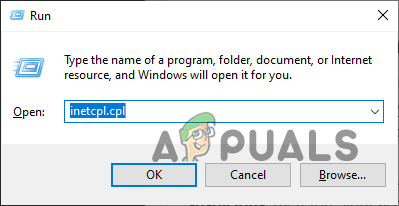
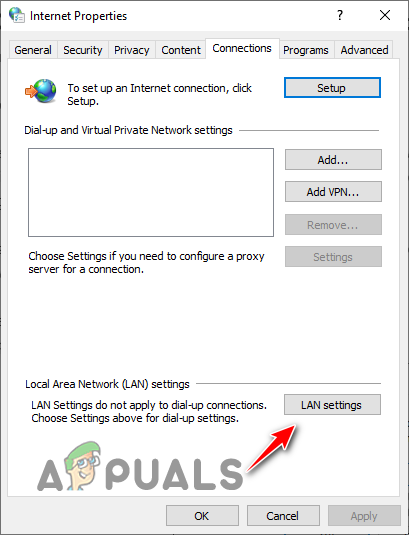
Opening Internet Properties using Run Dialog Box - Select the Connections tab.
- Click the “LAN Settings” button in the lower-right corner.
Opening LAN Settings - Uncheck the option for “Use a proxy server for your LAN.”
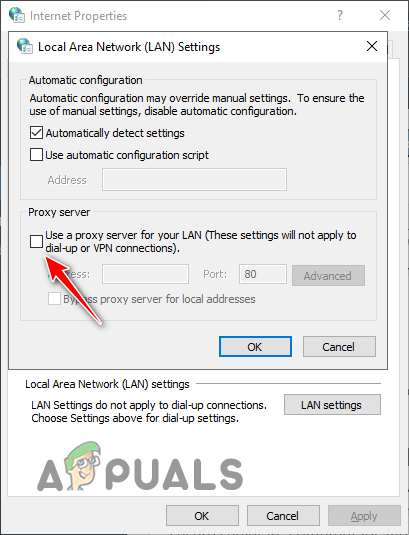
Removing Proxy Server - Click OK.
- Click Apply to save changes.
With the LAN proxy server disabled, restart your browser and attempt to access the website again.
3. Disable VPN (if applicable).
A VPN (Virtual Private Network) protects your data by encrypting your internet connection and redirecting your traffic through another location. This provides privacy and can allow access to region-blocked content by assigning you a new IP address.
Occasionally, the IP address provided by your VPN may be identified as suspicious by certain websites, resulting in blocked access.
To resolve this, temporarily disable your VPN software and check if the website becomes accessible. If disabling the VPN resolves the error, you can be confident that the VPN was the source of the problem. If the error continues, you may reactivate your VPN; it is not the cause.
4. Try a Different Browser.
Issues with your current web browser, such as a corrupted cache or conflicting extensions, may lead to website access errors. These problems can prevent you from connecting to certain sites.
To determine whether your browser is the cause, install an alternative browser and try accessing the same website. Use a fresh installation without any extensions or imported data.
If the website loads successfully, the issue resides with your original browser. You should then proceed to troubleshoot that browser by clearing the cache, disabling extensions, or resetting it, as detailed below.
5. Clear the Browser Cache.
Begin by clearing your browser cache. The cache stores temporary versions of web pages, images, and content, allowing browsers to load sites faster on repeat visits. However, if the cache is too large or becomes corrupted, it can hinder website access.
Regularly clearing your cache can resolve a wide range of connection errors. For errors affecting only one website, Google Chrome and Mozilla Firefox allow you to clear the cache and data for that specific site.
5.1. For Chrome
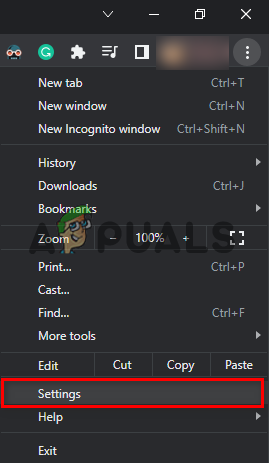
- Open Chrome and click the three dots in the top-right corner.
- Choose Settings.
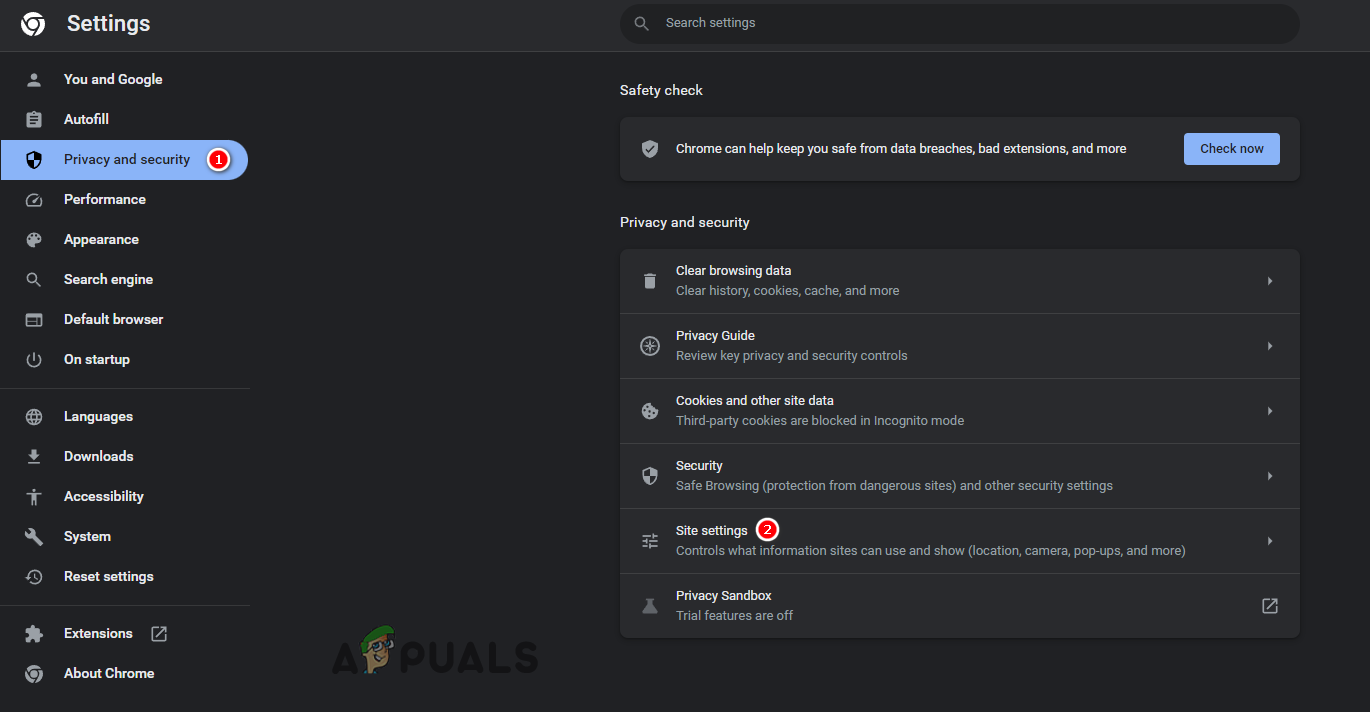
Opening Browser Settings - Go to the Privacy and Security section.
- Click “Site Settings.”
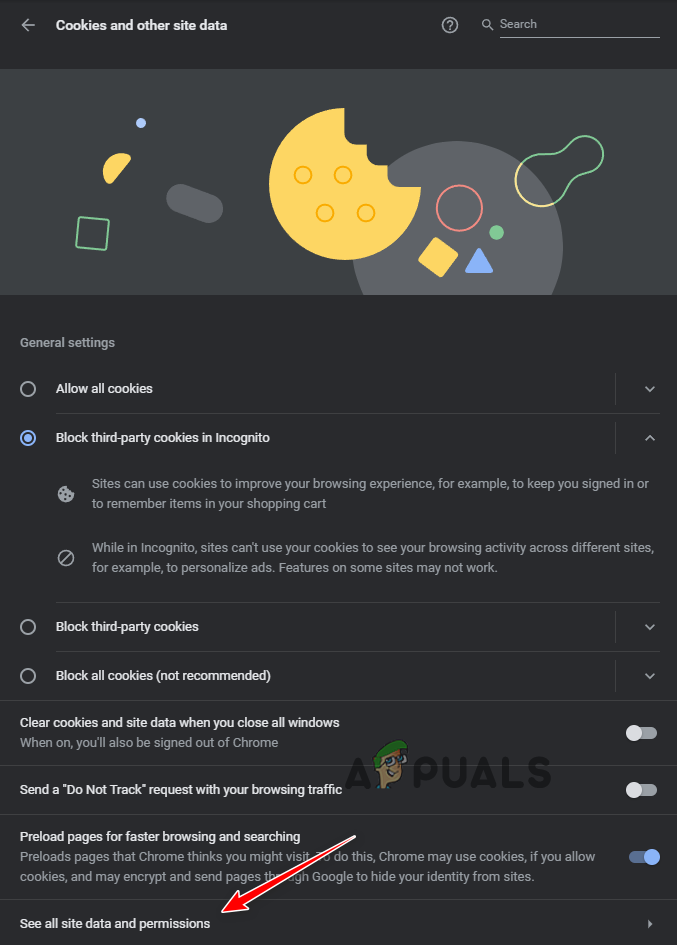
Opening Site Settings - Scroll to the Content section and click “Cookies and site data.”

Opening Cookies and Site Data Settings - Click “See all site data and permissions.”
Opening Site Data and Permissions Menu - Search for the website causing the error.
- Click the trash can icon to delete cache and cookies for that site.
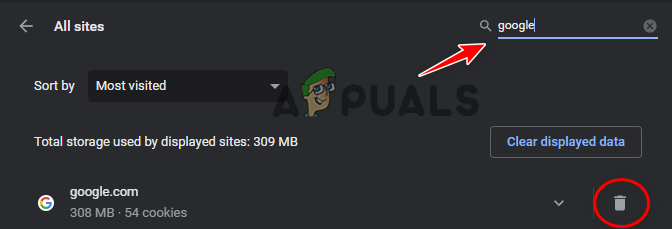
Clearing Site Data
5.2. For Mozilla Firefox:
- Open Firefox and press Ctrl + H to access History.
- Find the site using the search bar.
- Right-click the website and select “Forget About This Site” to clear its data.
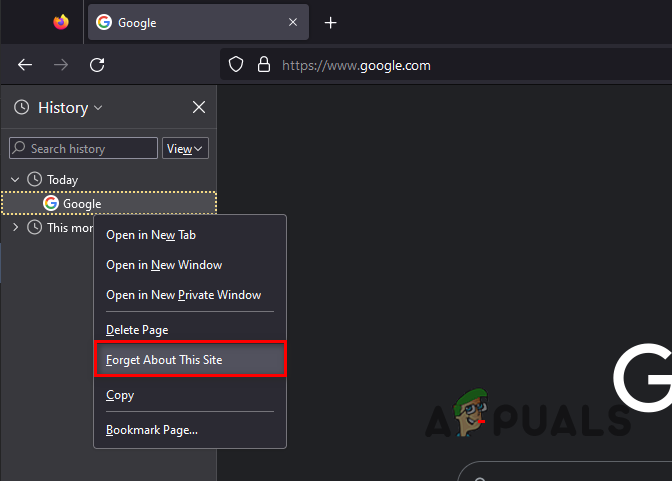
Clearing the cache of a specific site on Mozilla Firefox
6. Disable Browser Extensions.
Browser extensions can sometimes interfere with website functionality or security settings, resulting in conflicts that block legitimate access. Disabling extensions helps identify whether one of them is causing the issue.
- Open your browser’s menu (three dots in the top-right corner).
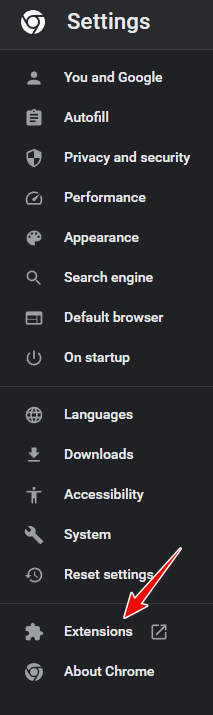
- Go to Settings.
Opening Browser Settings - Select “Extensions” from the left-hand menu.
Opening Browser Extensions Menu - Toggle off all extension switches.
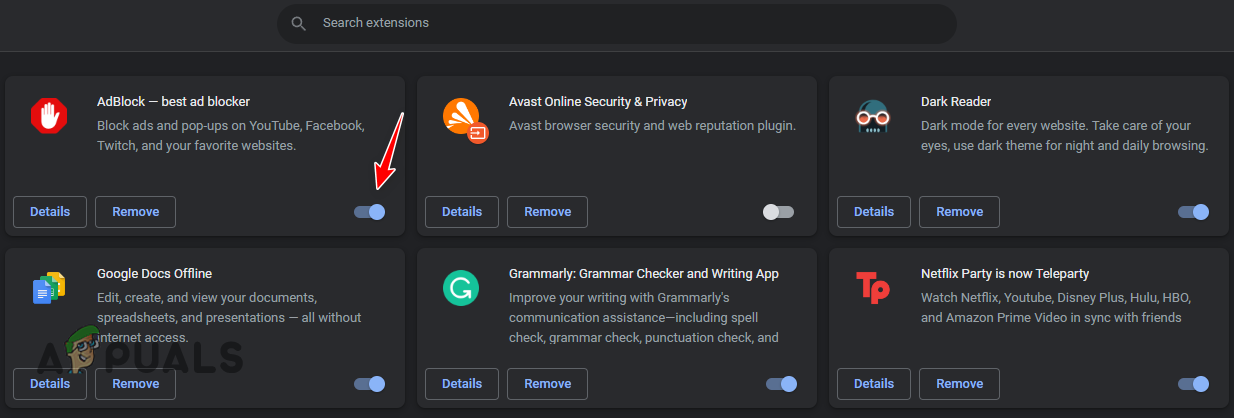
Disabling Browser Extensions
Reload the problematic website. If access is restored, you will know that an extension was responsible. You can enable extensions one at a time to identify which one is causing the error.
6. Reset Your Browser
If clearing the cache and disabling extensions do not resolve the issue, restoring your browser to its default settings can often eliminate persistent problems. This process removes any harmful settings, residual data, or problematic configurations.
It is important to note that resetting your browser will not erase everything. In Google Chrome, your saved usernames, passwords, autofill suggestions, browsing history, and bookmarks will remain. For Mozilla Firefox, bookmarks, saved passwords, cookies, autofill suggestions, personal dictionary words, and browsing & download history are kept.
6.1. Google Chrome
- Open Chrome Settings.
- Click “Reset settings” in the left sidebar.
- Select “Restore settings to their original defaults.”

Resetting Chrome - Click Reset Settings.
6.2. Mozilla Firefox
- Click the three lines in the upper-right corner.
- Select Help.
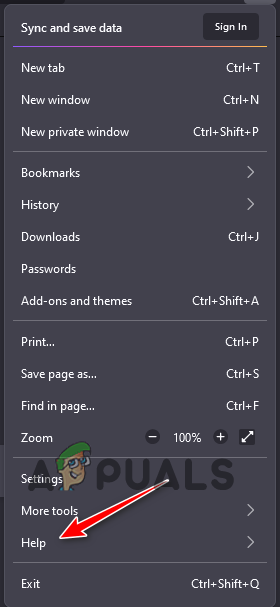
Opening Firefox Help menu - Choose More Troubleshooting Information.
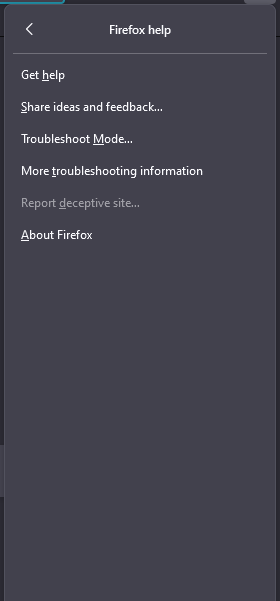
Opening Troubleshooting Information menu - Click Refresh Firefox.
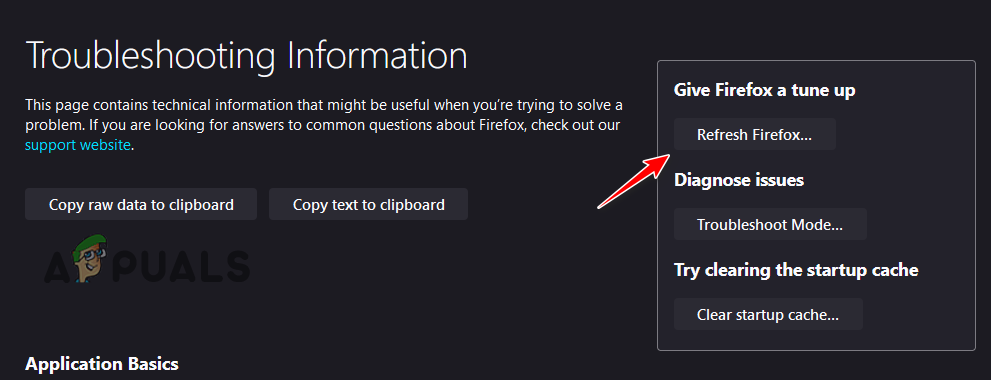
Resetting Firefox
7. Temporarily Disable your Firewall and Antivirus.
Firewalls and antivirus software protect your computer by inspecting and monitoring network traffic. Occasionally, these programs may mistakenly block legitimate websites, resulting in the “Access Denied, You don’t have permission to access this server” error.
- Press the Windows key, type Windows Security, and press Enter.
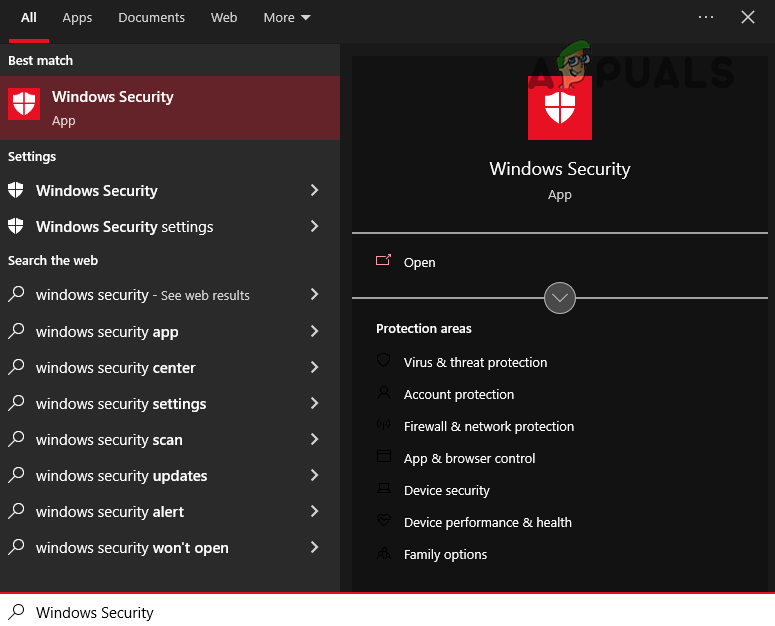
Opening Windows Security - Click Firewall & network protection.
- Select your active network and toggle Microsoft Defender Firewall off.
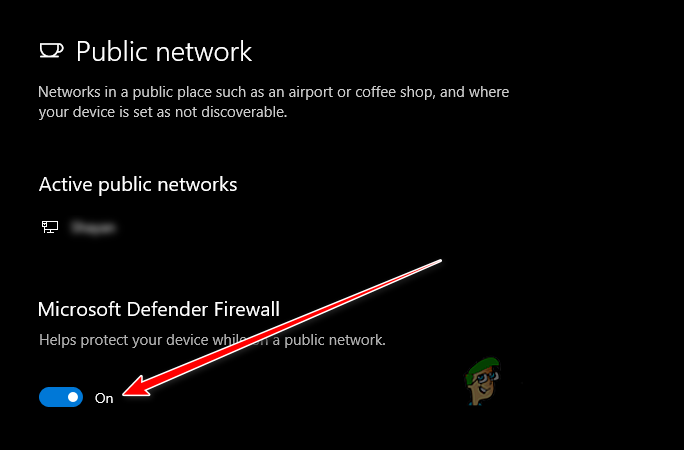
Disabling Firewall
Be sure to also disable any third-party firewall software.
To temporarily disable your antivirus:
- In the Windows Security menu, select Virus & threat protection.
- Click Open app.
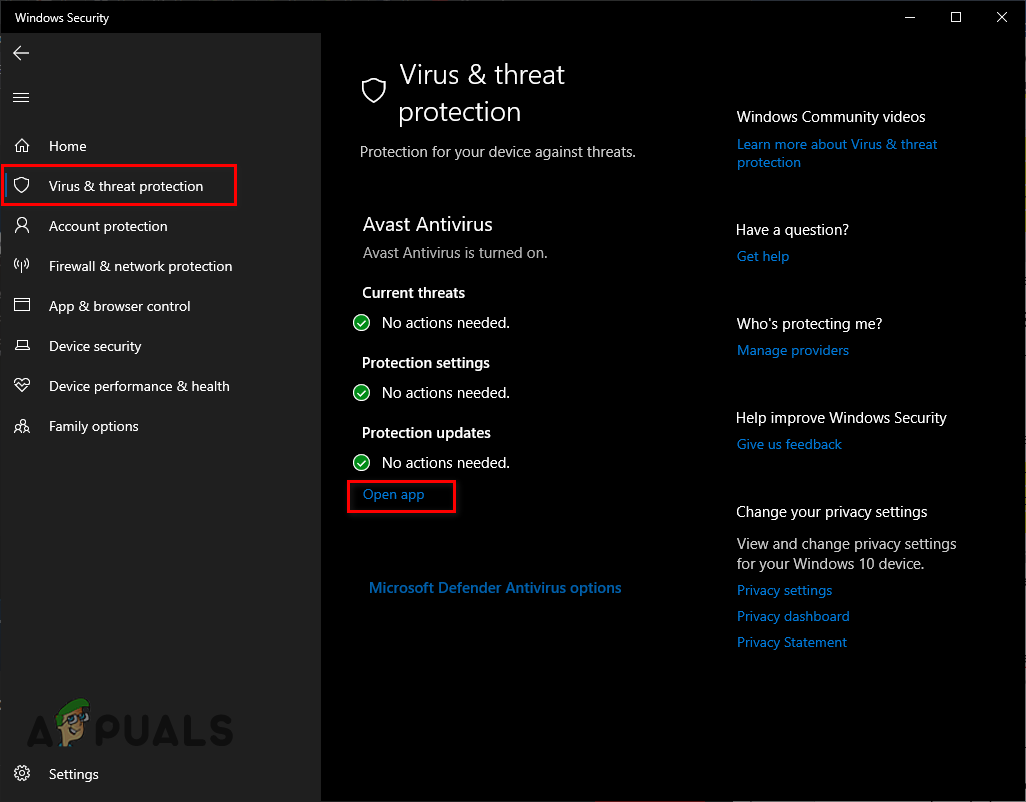
Opening Antivirus Menu
In your antivirus software interface, temporarily disable real-time protection. If you only use Microsoft Defender, click Manage Settings and turn off Real-Time Protection.
After disabling these protections, try accessing the website. If you can access it, your firewall or antivirus was the cause. Consider switching to another security solution—see our recommendations for the best antivirus programs for Windows. Remember to reactivate your firewall and antivirus immediately after testing, to keep your device secure.
8. Use a VPN
If you have attempted to access the website from multiple browsers and devices but still receive the error, the website may restrict access based on your location or network. In such cases, using a VPN (Virtual Private Network) can help you bypass these restrictions.
A VPN encrypts your internet traffic and routes it through servers in a different country, allowing you to appear as if you are accessing the website from another location. This can also help you avoid regional blocks or network-based filtering.
If you need help choosing a VPN, review our guide to the top 5 VPNs for streaming and gaming. Once installed, connect to a location known for unrestricted internet access, such as the US, Canada, or UK. Then attempt to visit the site again.
9. Contact the admin of the website.
If the error only occurs on a specific website and all previous troubleshooting steps have failed, your best option is to contact the website administrator.
The website admin can provide critical information or assistance, such as server log checks, error message interpretation, or clarification about access restrictions. When contacting the administrator, be sure to include all relevant details—including when the error began, any error codes or references, and the troubleshooting steps you have already attempted.
Keep in mind that administrators may not always be able to resolve the issue immediately, especially if it is caused by server or infrastructure problems. In those cases, they might need to coordinate with their hosting provider or technical team for further investigation.
With this structured and comprehensive approach, you can effectively address the “Access Denied” error and restore your access to important websites.