How to Investigate and Troubleshoot DNS using DNS Audit
We all know that every device on the internet has an IP address. This IP address basically serves as the identity of the device. So, whenever a different device, let’s say your computer, wants to communicate or access a certain device, all you need is the IP address and any credentials if it’s a private device. In a similar fashion, web servers on the internet are accessed. However, to make it much easier for us to access the devices on the internet, Domain Name System (DNS) was introduced which is basically a system that translates the IP addresses to domain names and vice versa. Words are easier to remember as compared to an IP address.
DNS audit is sadly one of those tasks that is highly overlooked by organizations and often you get to face consequences. However, that doesn’t happen often which is why it is often ignored. Keeping an eye on your DNS zones, records as well as IP addresses can help you avoid many issues that would have otherwise plagued your company.
System administrators need to perform DNS audits from time to time to answer various questions like why my subdomains are down and more. There are various organizations that make a common mistake. Most of them usually set up a DNS server, add some zones and records to it and then the server is forgotten completely. This can cause devastating strikes as apparent from the Mirai botnet attack. Therefore, in this guide, we will be showing you how to perform a DNS audit and troubleshoot any DNS errors in your IP range.
Download the DNS Audit Tool
To audit your DNS, you will be needing a third-party tool that can scan your IP range. In this case, we will be using a product from a very famous and prominent company in the system and network management field – none other than Solarwinds. Engineers Toolset (download here) by Solarwinds is a suite of networking tools that you can use to do your daily networking tasks with ease.
With over 60 tools packed in the software, you are sure to find some really good network tools and utilities. On top of that, all of these tools can be accessed from a single launch pad for convenience which makes the navigation even more easier.
You can easily discover your network via the various tools provided in the software such as Ping Sweep, Switch Port Mapper and many more. Other than that, if you wish to do some troubleshooting, ETS has got you covered as it comes with a list of diagnostics tools as well.
We will be using the Engineers Toolset in this guide so make sure to go ahead and download the product from the link provided. Once you have downloaded the software, install it on your system which is very simple and straightforward. You can also use a 14 day trial period in which the tool is fully functional so that you can assess it for yourself.
What is the DNS Audit Tool?
DNS Audit is a tool that comes in the Solarwinds Engineers Toolset using which you can locate any DNS errors in the database by scanning an IP range. To do this, you will have to provide a starting IP address and then an ending IP address.
This will work as a range and then the tool will start scanning for any DNS errors. The tool first resolves domain name for an IP address and then does the opposite by resolving an IP address for a domain name. This is also called reverse DNS lookup and forward DNS lookup respectively. The scan results are displayed in a tabular form which you can print if you wish to.
Troubleshooting DNS Errors in an IP Range
A DNS audit lets you spot any DNS errors in your IP range so that they can be resolved and you get to avoid any future consequence. This is pretty simple to do and does not require any special configuration or anything. Just follow the instructions provided and you should be good to go. So, without further ado, let us get into it.
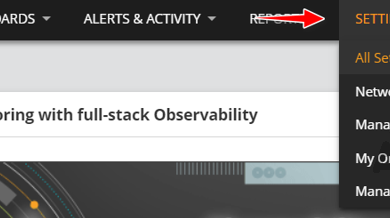
- First things first, you will have to open up the Engineer’s Toolset. To do this, open up the Start Menu and search for it or if you have recently installed it, click on the Toolset Launch Pad option under Recently Added.
- Once you have opened up the Toolset Launch Pad, go to IPAM/DNS/DHCP on the left-hand side and then click the Launch button for DNS Audit.
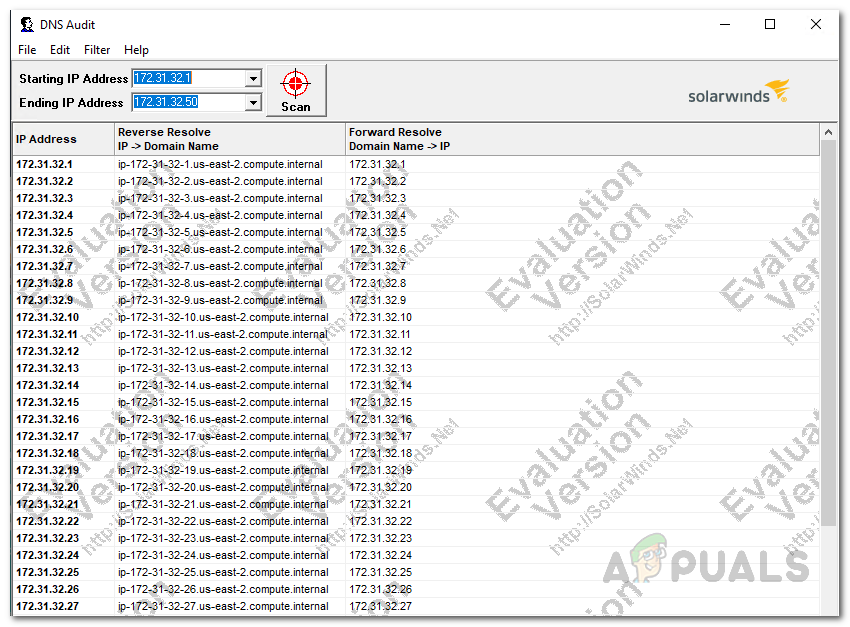
Launching DNS Audit - After the tool has launched, you will have to provide the starting and then ending IP addresses. So, go ahead and provide the IP address range that you wish to scan and then click the Scan button.
- The tool will start scanning the IP address range and show the results in a tabular form.
DNS Audit Scan Results - You can filter the result shown by going to the Filter drop-down menu. If you just wish to see DNS errors, click on the Forward DNS Errors option.
- Once completed, you can export the table data into the various formats that are provided. To do this, click on the File drop-down menu and then move your cursor to Export.
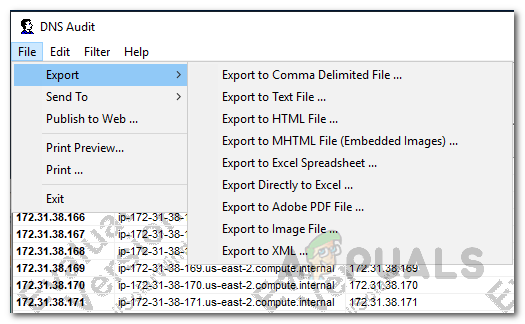
Export Formats - You can also print the table by going to File > Print.