How to Fix Incorrect Password After Installing AtlasOS?
The incorrect password issue appears when you try to login into your user account after installing AtlasOS on your computer. This can occur when the password is changed during the installation process of AtlasOS, or the user account is damaged.
In addition, the issue can also occur if you use Rufus to create a local account on your computer with the same name as an existing user account. In this article, we will guide you through several methods that can be used to resolve the login issue with AtlasOS.
1. Enter the default AtlasOS password.
The first thing you should do when troubleshooting the login issue with AtlasOS is to enter a different password. If your normal password is not allowing you to log in, it is very likely that the password has been changed by AtlasOS during the installation process.
In such a scenario, you will have to enter the default password of AtlasOS to see if that resolves the issue.
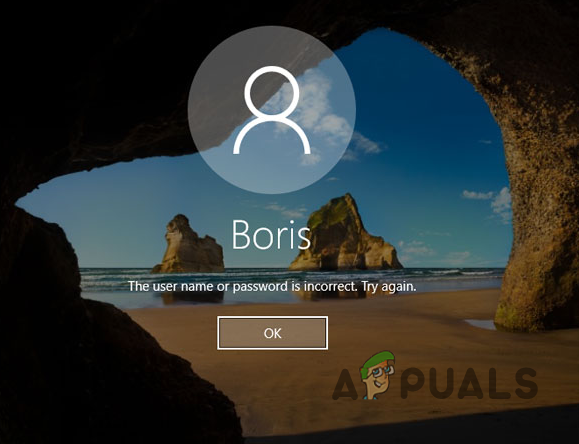
To do this, boot up your computer and wait for the login screen to appear.
On the login screen, enter ‘atlas‘ as the password and press Enter. If this does not let you in, leave the password field empty on the login screen and press the Enter key. See if that resolves the issue.
If these passwords do not allow you to log in to your user account either, proceed to the next method below.
2. Enable the Default Administrator Account.
Another way to gain access to your user account is by enabling the administrator account. Windows has a default admin account that is automatically created by the operating system, which can be used when you are locked out of your account or experiencing any other related issues.
This admin account is hidden or disabled by default, which is why you are not able to see it on the login screen. Therefore, you must enable the account first via the command prompt in order to use it. Since you are locked out of your account, you need to use the Windows Recovery Environment to enable the admin account instead of the typical means.
You can access the Windows Recovery Environment by holding down the Shift key on the login screen and navigating to the Power icon to perform a restart. If that does not allow you to access the Windows Recovery Environment, you can force multiple failed boots on your computer to compel the operating system to start in the Windows Recovery Environment.
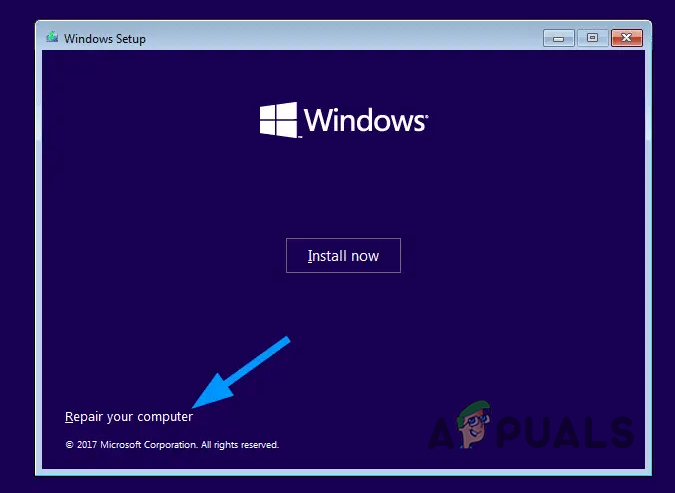
To do this, simply power off your computer while the PC is booting up at least 2-3 times. If you are unable to access the Windows Recovery Environment even after forcing failed boots, your last resort would be to use a Windows bootable flash drive. Boot into the Windows bootable USB drive and select the ‘Repair your computer‘ option on the Setup screen. This will take you to the WinRE screen.
This procedure can differ depending on how you access the Windows Recovery Environment. If you are able to access WinRE without using a bootable USB drive, you can directly enable the administrator account through the command prompt.
If you had to use a bootable USB drive to access the Windows Recovery Environment, the process and commands would differ. Follow the instructions below for your respective scenario.
Using the Windows Recovery Environment.
If you can access WinRE without a bootable USB drive, follow the instructions below to enable the administrator account:
- First of all, choose the Troubleshoot option on the Recovery options menu.
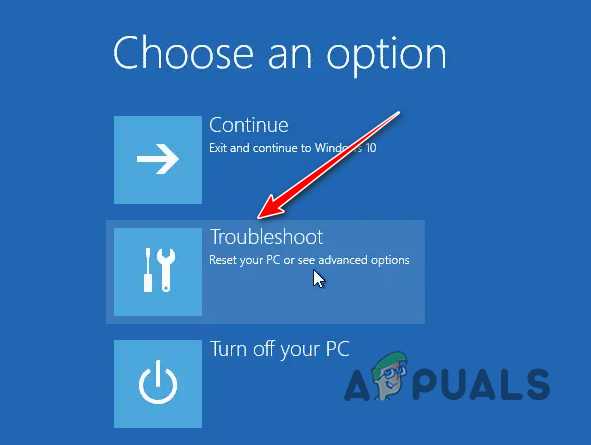
Navigating to Troubleshoot Menu - On the Troubleshoot screen, navigate to the Advanced options.
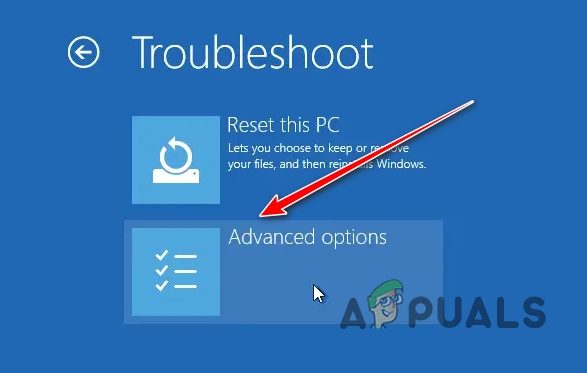
Navigating to Advanced Options Menu - After that, choose Command Prompt on the Advanced options screen.
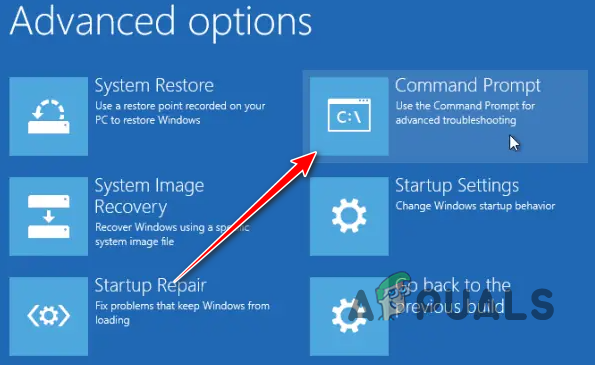
Opening Command Prompt - In the command prompt window, type the following command and press Enter:
net user Administrator /active:yes
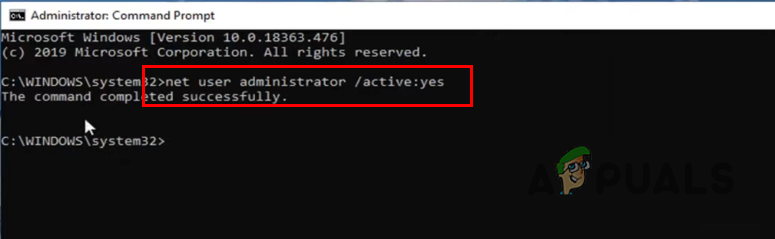
Enabling Windows Admin Account - Once you do that, restart your computer and use the Administrator account to log in. There is no password required for this account.
- After logging into the Administrator account, simply change the password of your user account through the Settings app to resolve the issue.
Using a Windows bootable USB.
In case you used a Windows bootable USB drive to access the Windows Recovery Environment via the ‘Repair your computer’ option, the process will differ slightly. This is because the Command Prompt opened in this case does not have administrator rights on your operating system, and you will need to replace the Ease of Access utilities on the login screen with a Command Prompt to enable the admin account.
Follow the instructions below to do this:
- In the Windows Setup prompt, click the “Repair your computer” option.
Navigating to Repair Your Computer Menu - After that, navigate to the Troubleshoot menu.
Navigating to Troubleshoot Menu - Then, go to Advanced Options and open a Command Prompt window.
Opening Command Prompt - In the command prompt window, type in the following commands one by one, and press Enter. If the Windows installation drive is not C: on your computer, ensure that you change the drive letter accordingly in the commands below.
copy c:\windows\system32\utilman.exe c:\
copy /y c:\windows\system32\cmd.exe c:\windows\system32\utilman.exe
wpeutil reboot
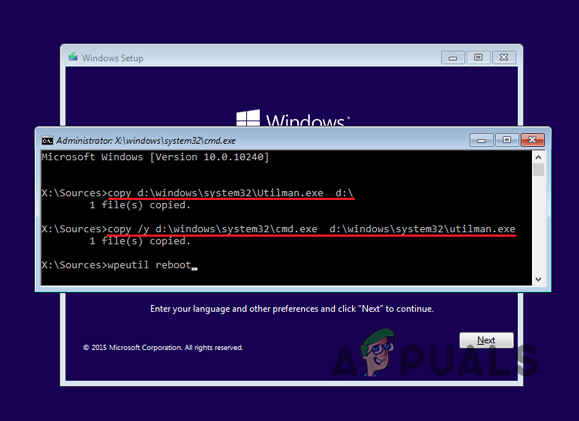
Replacing Ease of Access Utility with Command Prompt - Wait for your computer to reboot. At this point, you can remove the bootable USB drive and allow Windows to boot from your hard drive.
- After that, on the login screen, click the Ease of Access icon next to the Power button in the bottom right corner.
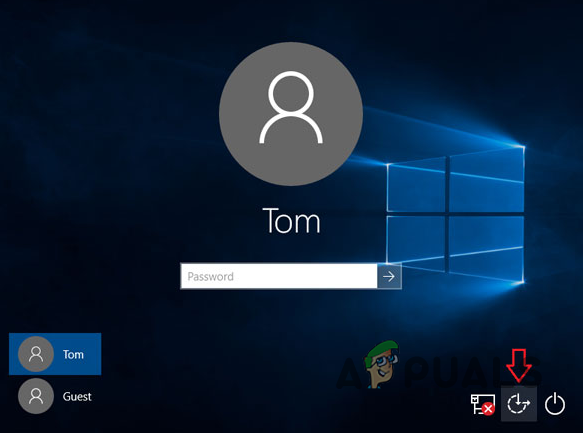
Opening Command Prompt on Login Screen - This will open a command prompt window. Type the following in the command prompt window and press Enter:
net user Administrator /active:yes
Enabling Windows Admin Account - Finally, restart your computer.
- After your PC boots, you will be able to see the Administrator account. Log in to the account and change the password for your user account.
3. Disable ‘Create Local Account’ in Rufus.
If nothing works out for you, the problem is likely due to a Rufus feature. Rufus allows you to create a local user account when you are creating a bootable USB drive. If you selected that option while creating the AtlasOS bootable drive, that might be causing the issue.
In such a scenario, you will need to deselect that option and reinstall the operating system on your computer. To do this, follow the instructions below:
- First of all, open Rufus and select the AtlasOS image file.
- When you click Start, the Windows User Experience dialog box should appear.
- There, make sure to uncheck the option that says ‘Set a local account using the same name as this user’s.’
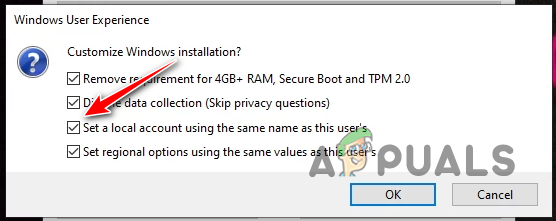
Deselecting Create Local Account Option - Click OK and proceed with creating your bootable USB drive.
- Use the new flash drive to install the operating system and see if that resolves the issue.


