How to Fix icudt62.dll Missing on Windows 10/11?
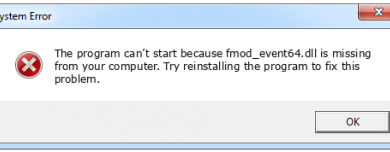
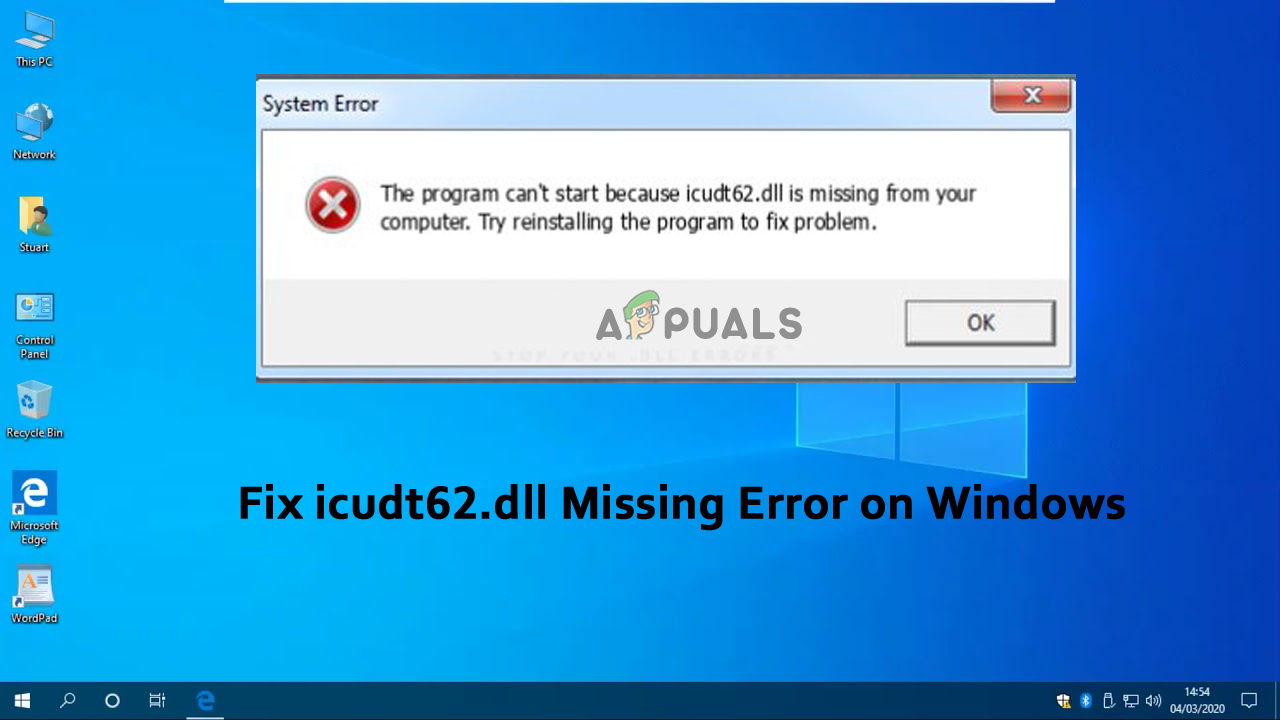
The icudt62.dll missing error appears while running any application, and the app fails to start. The error commonly occurs when some application files go missing or get corrupted on the Windows system. The icudt62.dll error is seen on both Windows 10 & Windows 11 systems.
After doing our research, we found several different reasons that directly or indirectly cause the icudt62.dll to be missing or not found error. Here has a look at the list of common culprits triggering the error.
- Outdated Windows system– The outdated Windows version is the most common reason for the icudt62.dll missing error. In this situation, installing the pending available Windows update works for you.
- Faulty or Corrupted Application: If the application you installed is not working correctly or some of the files gets corrupted during installation, it won’t run properly and may show the error on the screen. In this case, reinstalling the application may work for you.
- Corrupted Files: Some of the Windows system corrupted or missing files cause conflict with the icudt62.dll file. These corrupted files won’t support the programs and Windows installation process and cannot detect the files. To fix the problem, repairing the corrupted file by running SFC or DISM scan works for you.
- Virus or malware infection: In some cases, if your system is infected with the virus or malware infection, it may corrupt files and show errors like icudt62.dll missing. Scanning your system with a good antivirus program may work for you.
As you know, the typical culprits are causing the error; follow the fixes given one by one to solve the icudt62.dll missing or not found error on Windows operating system.
1. Repair Corrupted Files
In many cases, when we install or uninstall a specific program, the Windows files get corrupted or go missing, and this may result in causing the DLL error. In this situation, running the System File Checker (SFC) command as administrative works for you to solve the corrupted Windows system files.
Follow the instructions given to do so:
- First, press the Win+R key to launch the Run box.
- Now, type cmd and press Ctrl + Shift + Enter so that it can open the command prompt with administrative privilege.
- A prompt appears, so click on the Yes button to give permission to make changes in the command line.
- Now type the sfc/scannow command in the command prompt and press the Enter button.
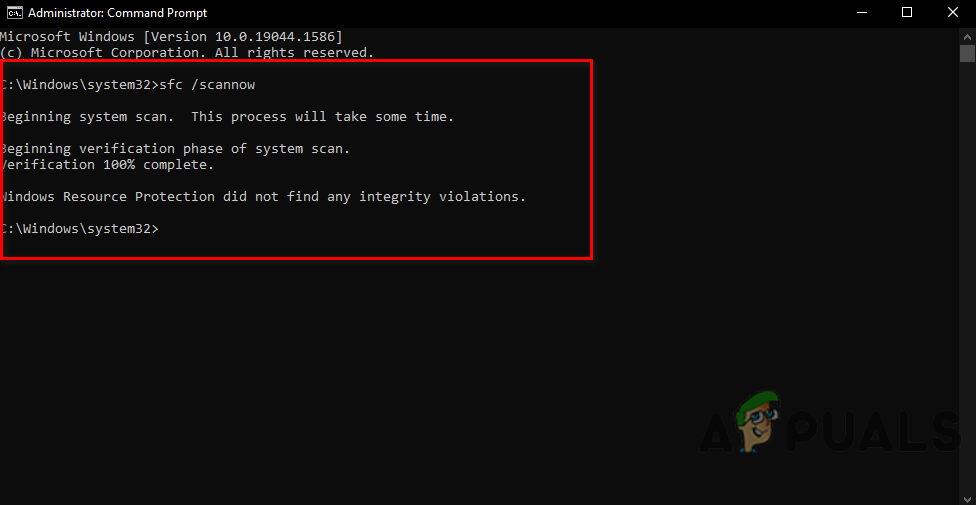
Run sfc/scannow in cmd - Wait for the scanning process to finish.
- Next, reboot your PC and check if the error is resolved. But if the problem continues, perform a DISM scan and follow the on-screen instructions to complete the scanning process.
Please Note: The DISM command scan and replace the corrupted or faulty files using the Windows update sub-component, which the SFC command fails to detect. But before these steps, ensure you have a good working internet connection.
Once the DISM scan completes the scanning process, reboot your system to check if the icudt62.dll missing problem has been fixed.
2. Update Windows Operating System
If your Windows system is missing the latest version, it can cause many issues. It is recommended to check whether the latest update is available for your Windows system and install it.
To update the Windows system, follow the steps given:
- Press the Windows + I key together to open Settings.
- Now, click on the Windows Update option.
- You will see a Windows update tab. Click the Check for update.
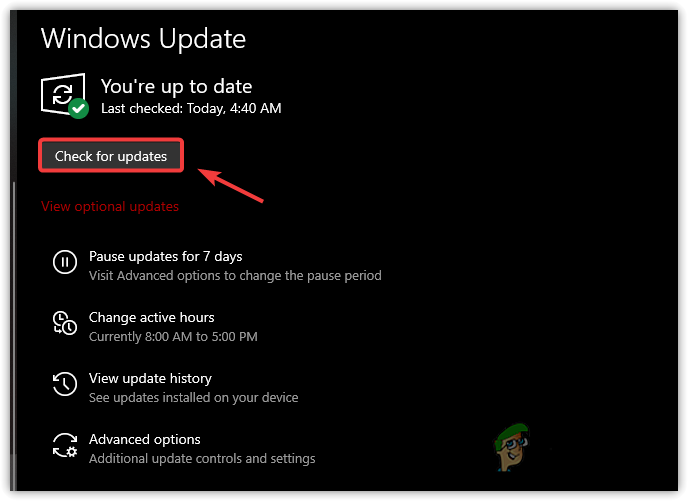
Checking for updates - If any update is available, click on the Download & install button.
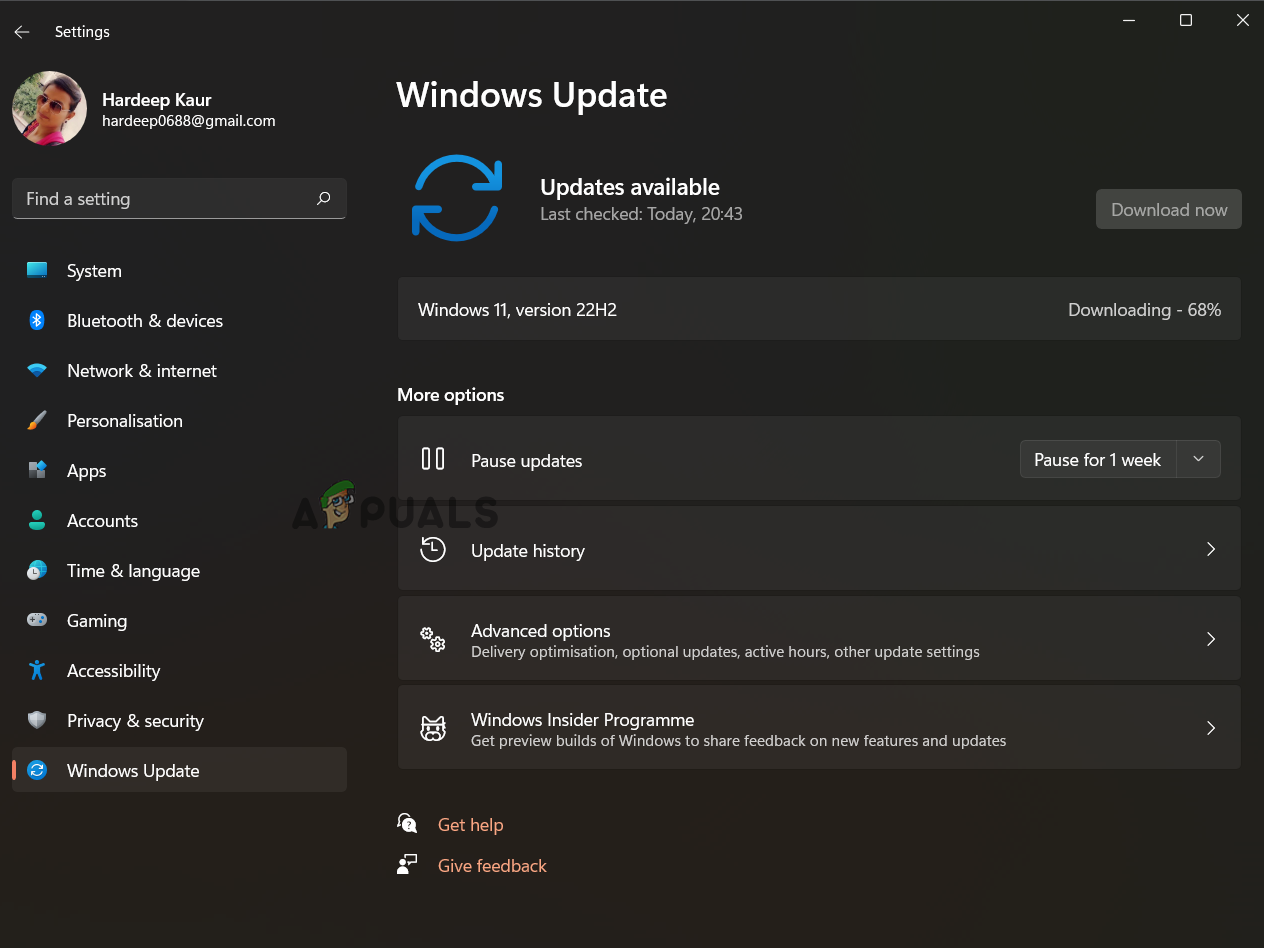
Download & install the update.
Wait for the update to get installed and restart your computer to let the changes take effect.
Now try running the particular application and see if the icudt62.dll error still appears.
3. Re-Register icudt62.dll File
If you still face the error, try re-register the icudt62.dll file on your system. This worked for several users to solve the error on your Windows system.
Follow the below-mentioned step using the command Prompt:
- Click on the Start button, and in the search box, type CMD and click Enter
- Now click CTRL + SHIFT + Enter button together to start Command Prompt as administrator.
- Then click on Yes in the popup menu.
- And in open Command Prompt, type the following code and press Enter button to execute the command
REGSVR32 icudt62.dll
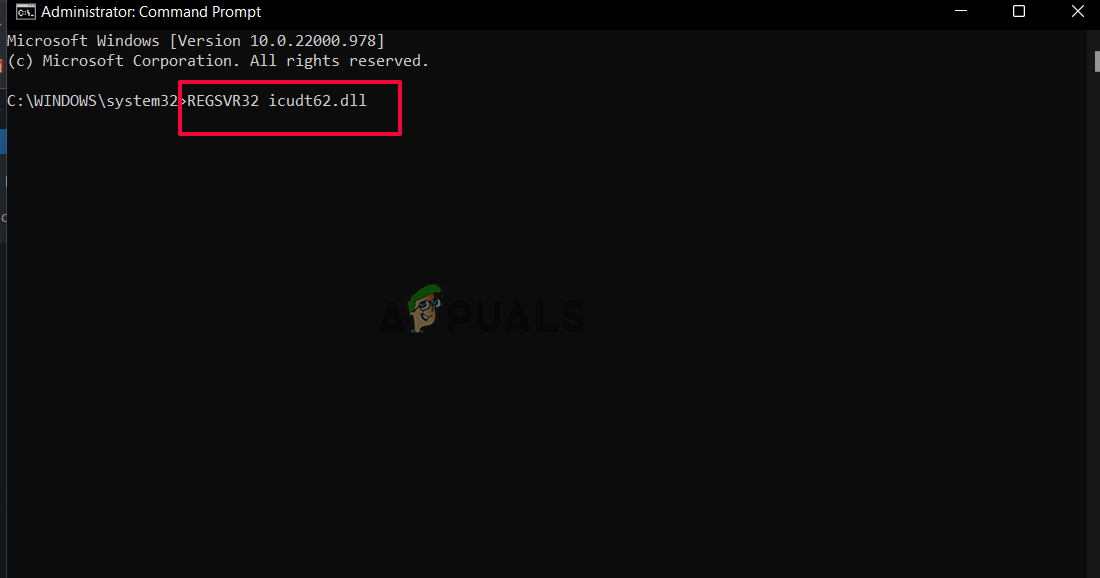
Type command REGSVR32 icudt62.dll in CMD - Once you are done with the steps, simply restart your system.
Now check if the error gets resolved or if you are still seeing it.
4. Download & Install icudt62.dll Manually
Another potential solution that is worth giving a try is to download the missing DLL files manually. This is the easiest solution to download and paste the missing DLL file to the required destination.
But before starting, it is essential to download the icudt62.dll file from a safe website and ensure it is not virus infected.
Now follow the steps given to download the DLL file:
- Launch your browser and visit the website – https://www.dll-files.com/
- As the website opens, in the search box, type icudt62.dll file.

Search for icudt62.dll file - Now from the list of results that appears, look for the icudt62.dll link.
- And click on the Download button to download the 32-bit or 64-bit version as per your Windows infrastructure.

Download icudt62.dll file - As the file gets downloaded successfully, unpack it and upload it to the directory for example, VirusTotal, to ensure it is free from viruses or malware.
- Wait for the scanning to complete and examine it to see if any underlying virus infection is present, or download another copy and scan it until you find the safe one.
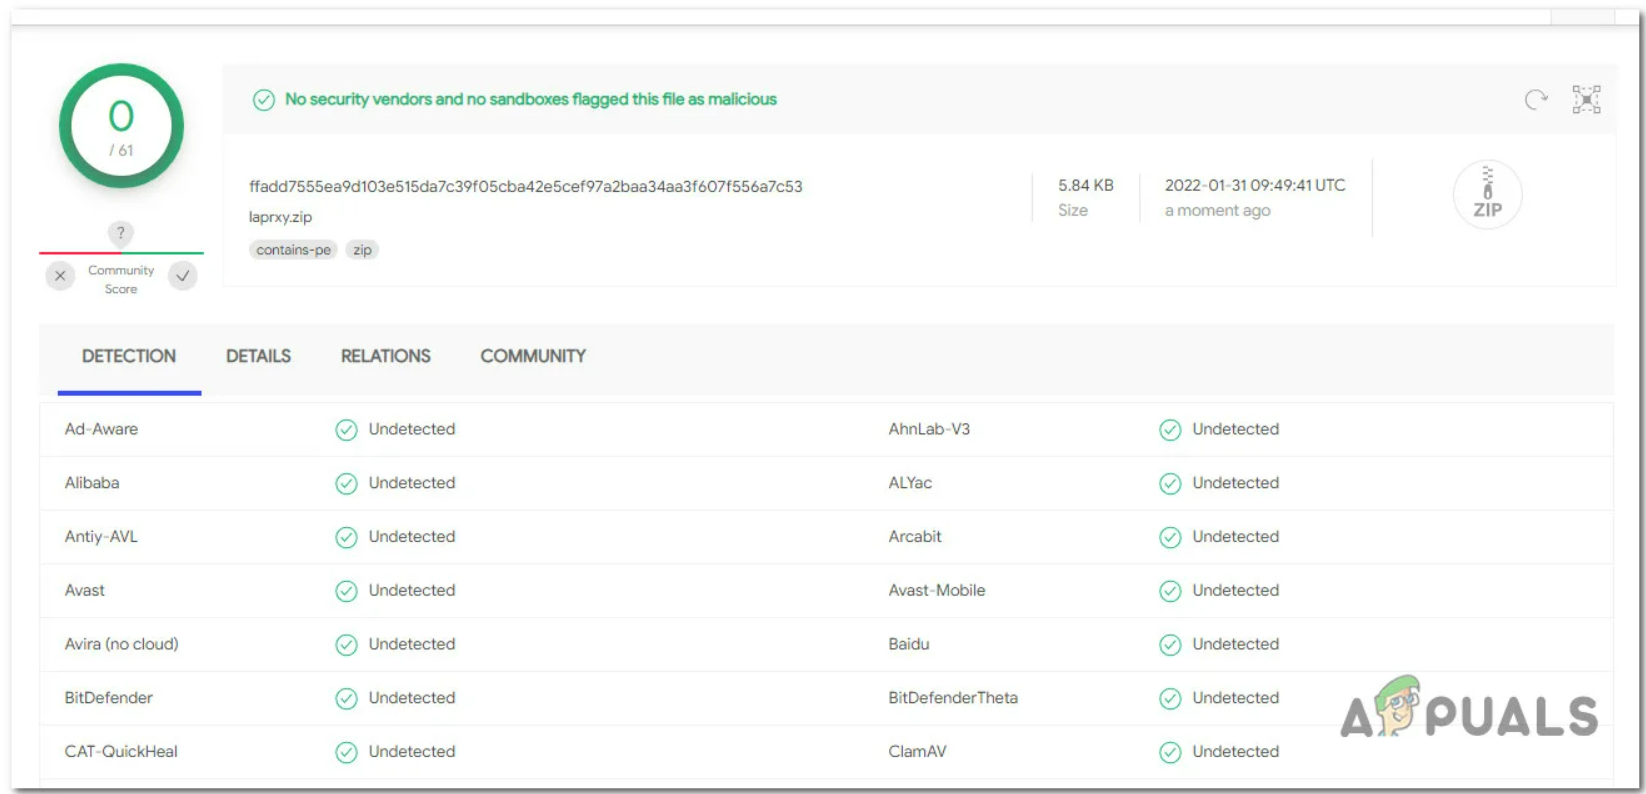
Check for virus infection - Once to get the virus-free icudt62.dll file, launch the File Explorer, visit the location C:\Windows\System32 folder, and paste the icudt62.dll file.
- You will be asked for the admin access click on Continue for grant access and restart your system to let the operation gets completed.
- As the icudt62.dll file regenerates, restart your Windows system and check if the error is fixed.
If you still see the same problem, then follow the next solution.
5. Perform a Virus Scan
Another common cause for the icudt62.dll file to go missing from your system is the malicious file presented on your system. The malware infection presents on your system corrupts the DLL files and replaces them with a malicious one. So, conducting a scanning process is suggested for removing the malware infection.
You can switch to the inbuilt Windows Defender; this will quickly scan your system and fix the problem. Follow the steps to implement the scan:
- Press the Windows + I key open Settings
- Now click on the Privacy & Security tool, and click on the Open Windows Security
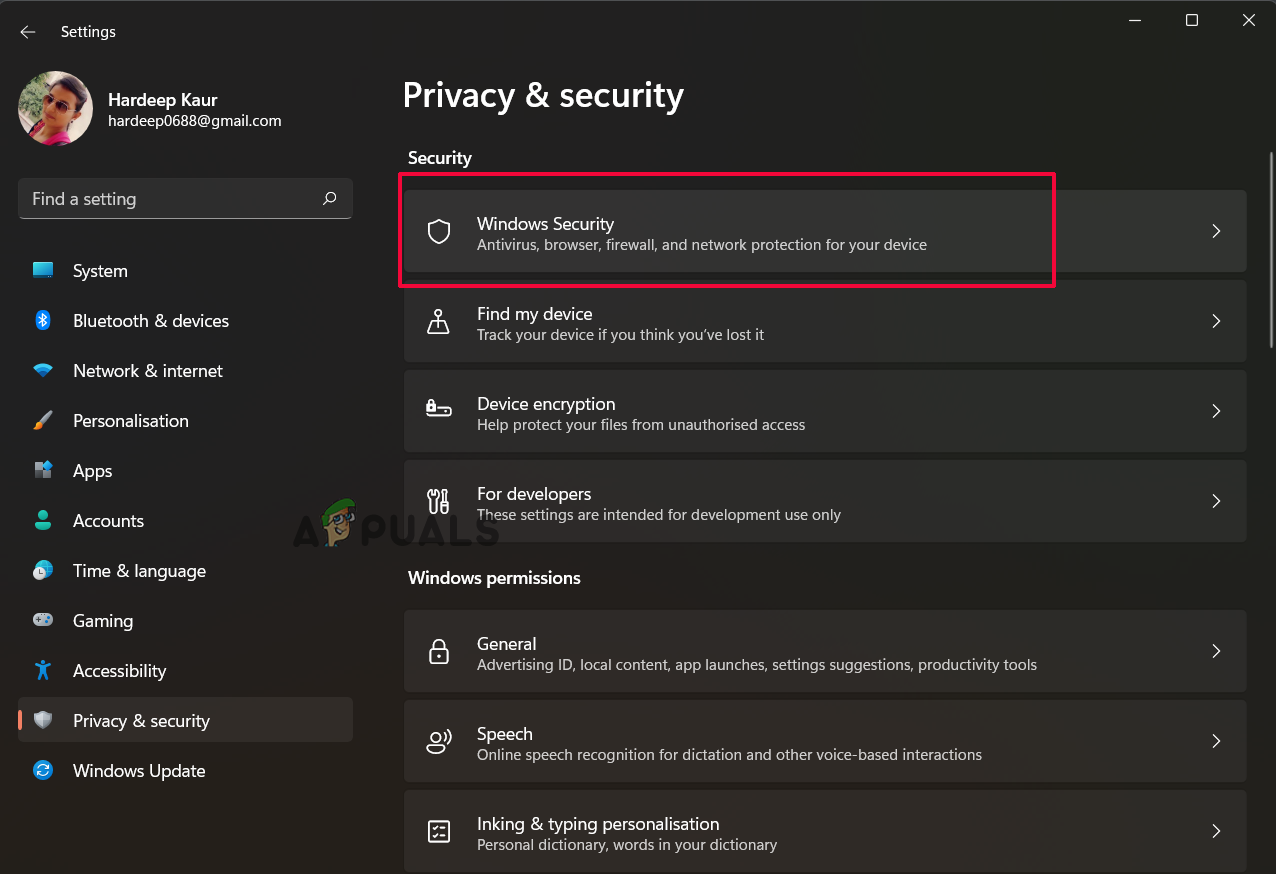
Click Windows Security - Click on the Virus & Threat Protection option, and click on the Quick Scan.
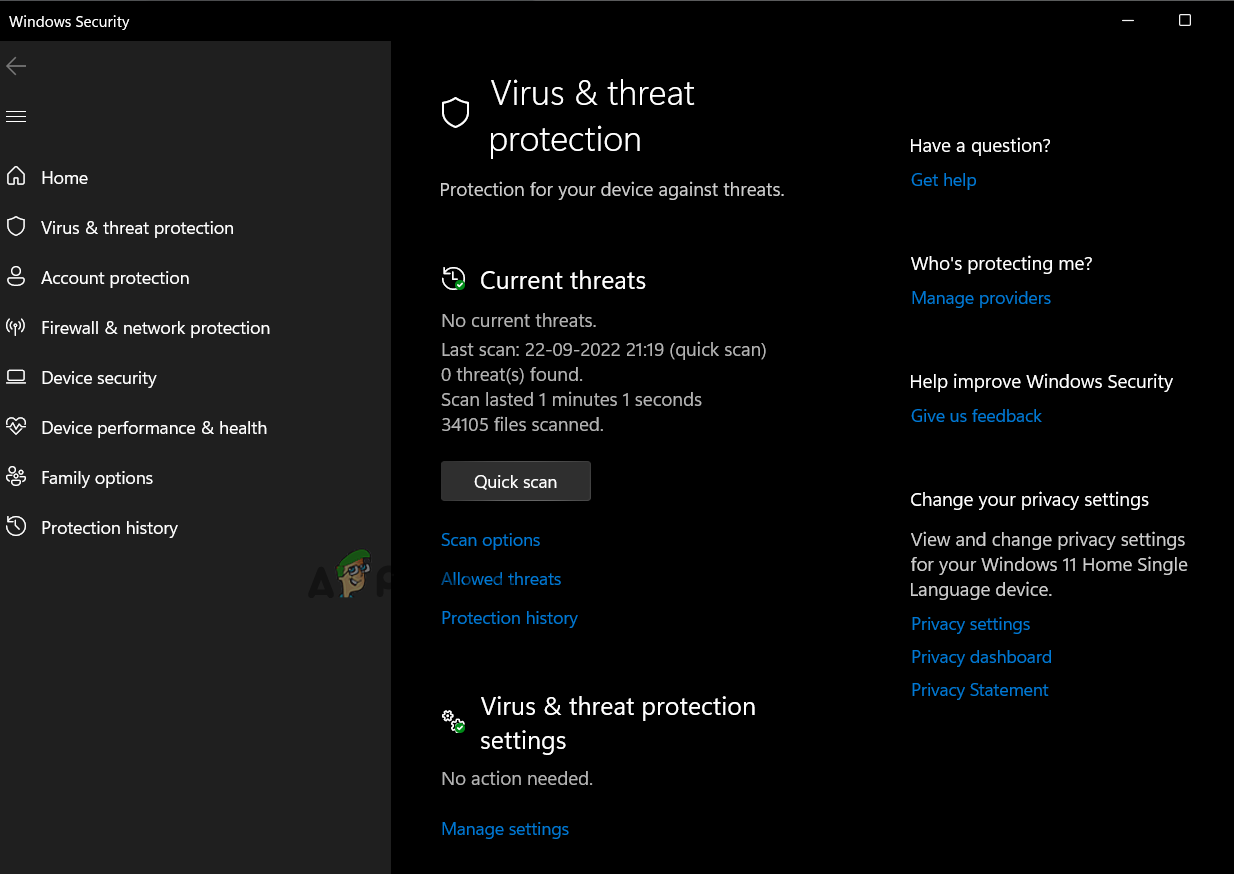
Click on Quick Scan - The system will start the scanning process and detect the malicious threats and virus infections present in the system. Once the scanning is finished, you will get notified of the malicious files. Remove those files and restart the PC.
Check if the problem gets fixed or not. The inbuilt utility often fails to detect the notorious malware infection, so it is recommended to go for a reputable anti-malware security program in this situation.
Several security programs are available online, but we recommend checking out our list of Top 5 Best Antiviruses for Windows in 2022.
6. Perform System Restore
The System Restore reverted your PC to its previous state when the icudt62.dll file was not corrupted or missing. This will cancel the changes done to the system files and restore them properly. So, follow the below-given steps to restore the Windows system.
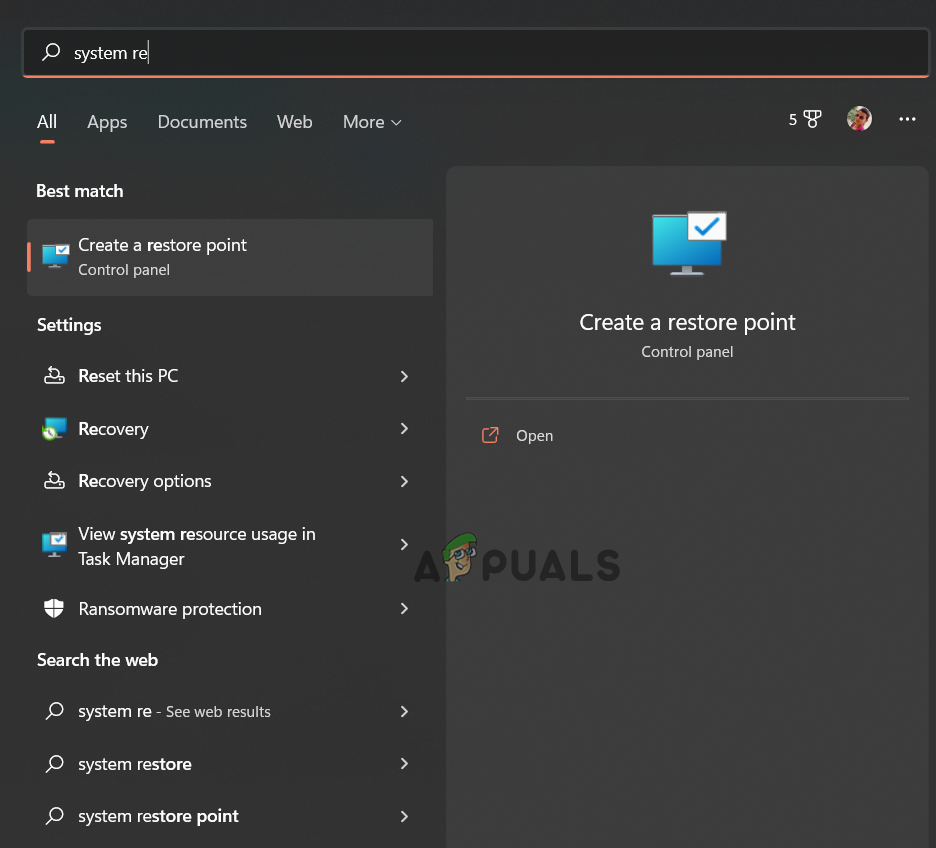
- First, click the start button from the taskbar.
- After that, in the search box, type System Restore.
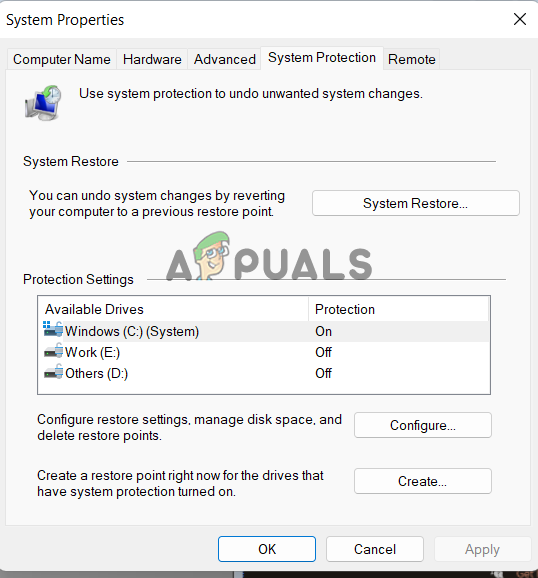
- And then click on Create a restore point.
Click on create a restore point - Now click on the System protection tab and the System Restore button.
- After that, press the next button.
Click on the System Restore button. - Choose the restore point before the error you see, and then click Next.
- After that, press the Finish.
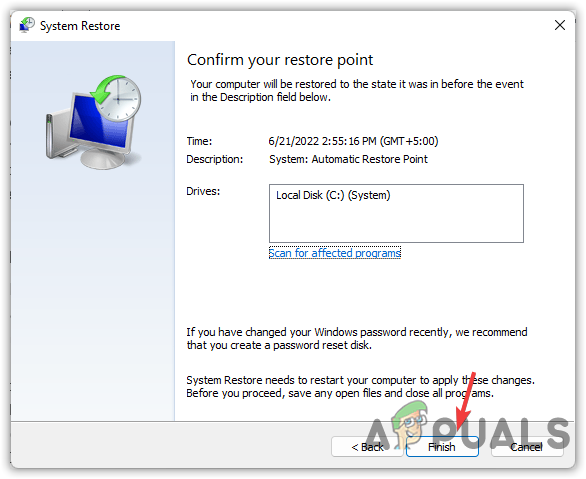
Finish to Start Restore Process - Now the restoration process is started, wait for the process to get finished successfully
- Your system will now start the restore process. It will take some time to complete. So, wait until the process gets complete.
7. Reinstall the Problematic App
If you are still receiving the error when running the application. Then there is a possibility some of its files get corrupted or crash and delete the icudt62.dll files. So here it is suggested to uninstall and reinstall the problematic program.
- First, click on the Start button, and in the search box, type Control Panel and open it
- Now click on Uninstall a Program under Programs
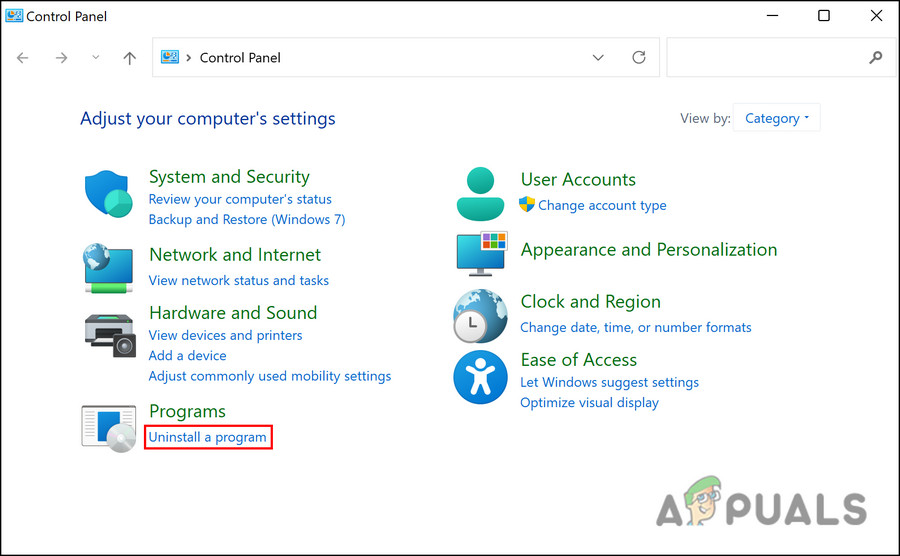
Click on Uninstall a Program - Look for the problematic Application
- Here, you have to right-click on the problematic application
- Now, click on the Uninstall option and wait until the application gets uninstalled.
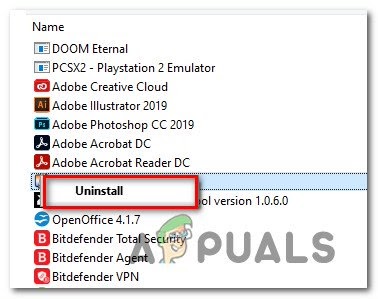
Uninstall AV program - Once it’s done, restart your PC and reinstall the application once again.
So, these are the fixes you need to implement to fix the icudt62.dll missing or not found error on Windows 10/11; try the solutions given carefully and resolve the error.