How to Map your Network using Network Topology Mapper
At this point, no one can deny the significance of computer networks and their impact on businesses. One of the reasons computer networks are being preferred is that it gives you the ability to share multiple files and assets with all the people connected to the network not to mention how cheap it is. If you use a network, you automatically save a fortune that otherwise would have been used in maintaining the servers independently. For an organization to be successful in the digital world, it has to make sure that all the servers and the network is always up so that the users have a smooth experience.

To gain this ability, you will need to have full control over your network infrastructure. How do you do that? The answer is rather quite simple — using mapping software. The concept of network mapping is rather underrated and people usually don’t contemplate the vital roles it can play while debugging an issue. If you map your network along with other monitoring, you will have full control over your network as the door of critical information shall be opened for you. Information that includes access points, hosts, firewalls, location of routers and much more. This data for any network administrator holds massive significance yet it is so easily overlooked. Nonetheless, in this article, we will be showing you how you can map your network using Network Topology Mapper developed by Solarwinds.
Installing Network Topology Mapper
To start mapping your network, you will first have to install the tool on your system. The installation process is pretty easy and straightforward. First, you need to download the tool from Solarwinds’ website. For that purpose, head to this link and provide the information required. Once you have done that, click on Proceed to Free Download where you will be given a download link to the tool. Then, follow the instructions given down below:
- Once the tool has downloaded successfully, execute it.
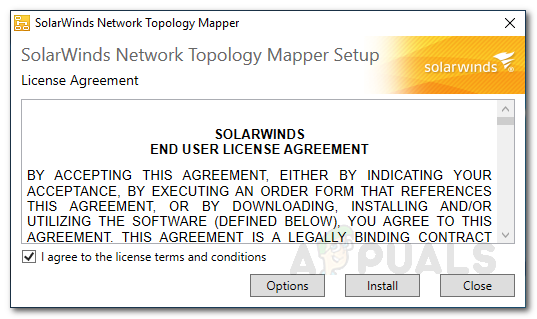
- Agree to the terms by ticking the box. You can change the installation directory of the tool by going to Options.
- To start the installation process, click Install.
NTM Installation - When prompted the UAC dialog box, click Yes.
- Now, wait for Network Topology Mapper to finish installing.
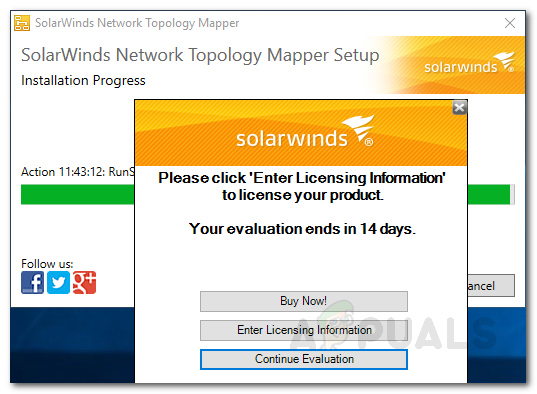
- After the installation has completed, the Licensing prompt will appear. If you have a license for the product, enter it by clicking ‘Enter Licensing Information’. If you wish to try the trial version, click Continue Evaluation.
NTM Licensing - Wait for it to start the required services, and then click Close when prompted.
Scanning your Network
With Network Topology Mapper installed on your system, you will have to scan your network to start mapping. Once you close the installation wizard, NTM will automatically open up and you will be prompted the ‘Getting Started with Network Topology Mapper’ window. Using this, you will have to scan your network. Here is how to do it:
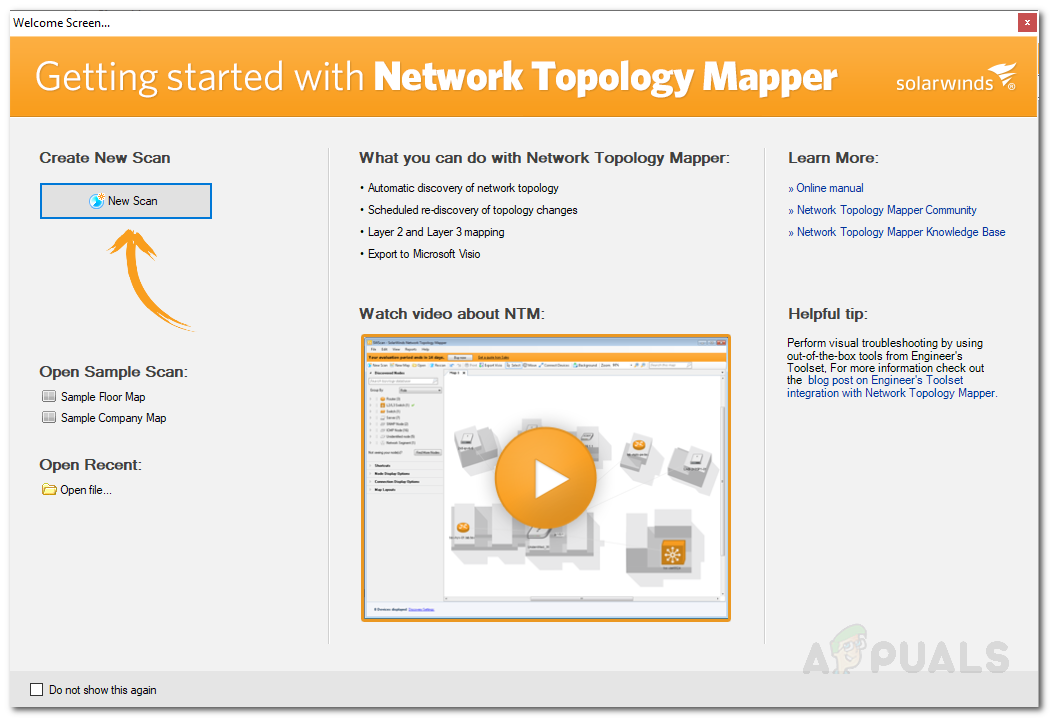
- On the Welcome Screen of NTM, click New Scan. If you are not prompted the Welcome Screen, you can initiate a scan by clicking New Scan on the toolbar.
NTM Welcome Screen - You will be asked to create a password for your maps should you choose to migrate them to a different computer. Provide a password and then click Save.
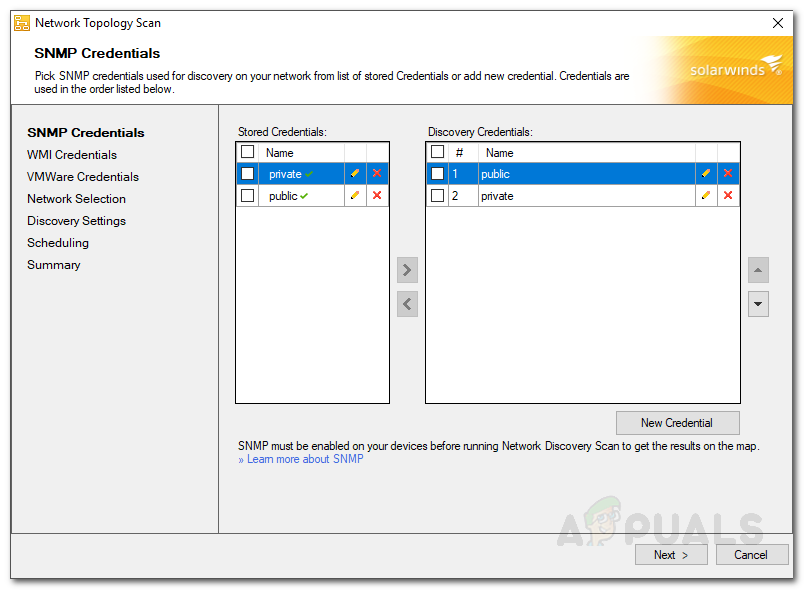
- If you are using community strings other than the default public and private strings, select public and private under Discovery Credentials one-by-one and click the X icon. Then, click on New Credential and provide the required information to add new SNMP credentials. Once done, click Next.
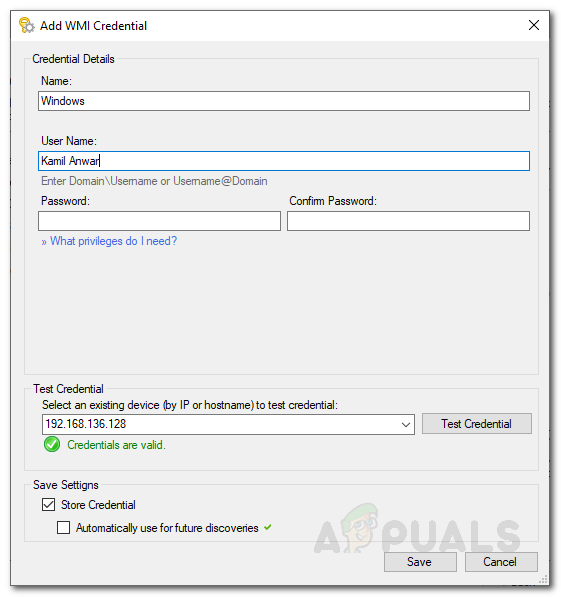
SNMP Credentials - On the Windows tab, click on New Credential and provide the required information if you are scanning for Windows devices. Validate the provided credentials by clicking Test Credential.
- If you wish to save these credentials, click Store Credentials. Click Save and then hit Next.
Adding Windows Credentials - If you are using VMware virtual machines, you can add the credentials in the VMWare Credentials tab. Once done, click Next.
- Now, on the Network Selection tab, you will either have to provide an IP range, subnets or free-form IPs to discover your network. To add a subnet, click on Add a New Subnet.
- Also, if there are any devices that you do not want to be discovered, you can simply add their IP addresses in the Do-Not-Scan List. Click Next.
- On the Discovery Settings tab, give the discovery a name. If you are discovering subnets, you can adjust the number of hops. Otherwise, leave it on 0.
- If you wish to eliminate bridge tables, click on ‘Don’t use Bridge Table information to calculate network topology’. Also if you wish to ignore nodes that only respond to ping, tick the respective box.
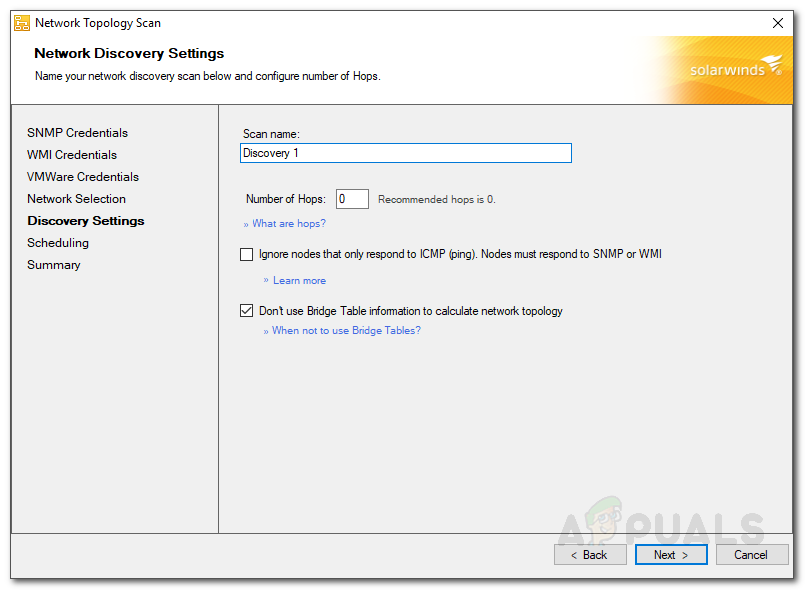
Discovery Settings - You can change the Frequency of the discovery should you wish to scan the network more than once. Click Next.
- Review the summary and then click Discover.
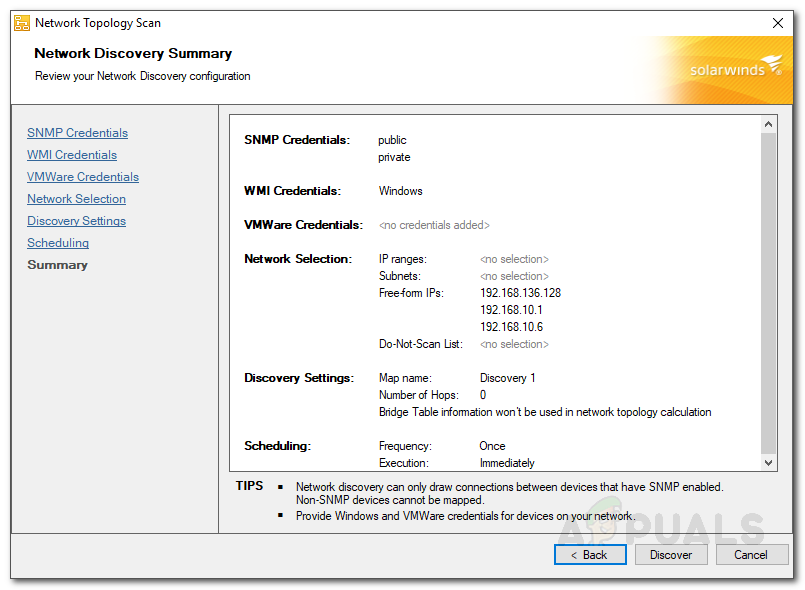
Discovery Summary - Network Topology Mapper will start scanning for networks, wait for it to complete.
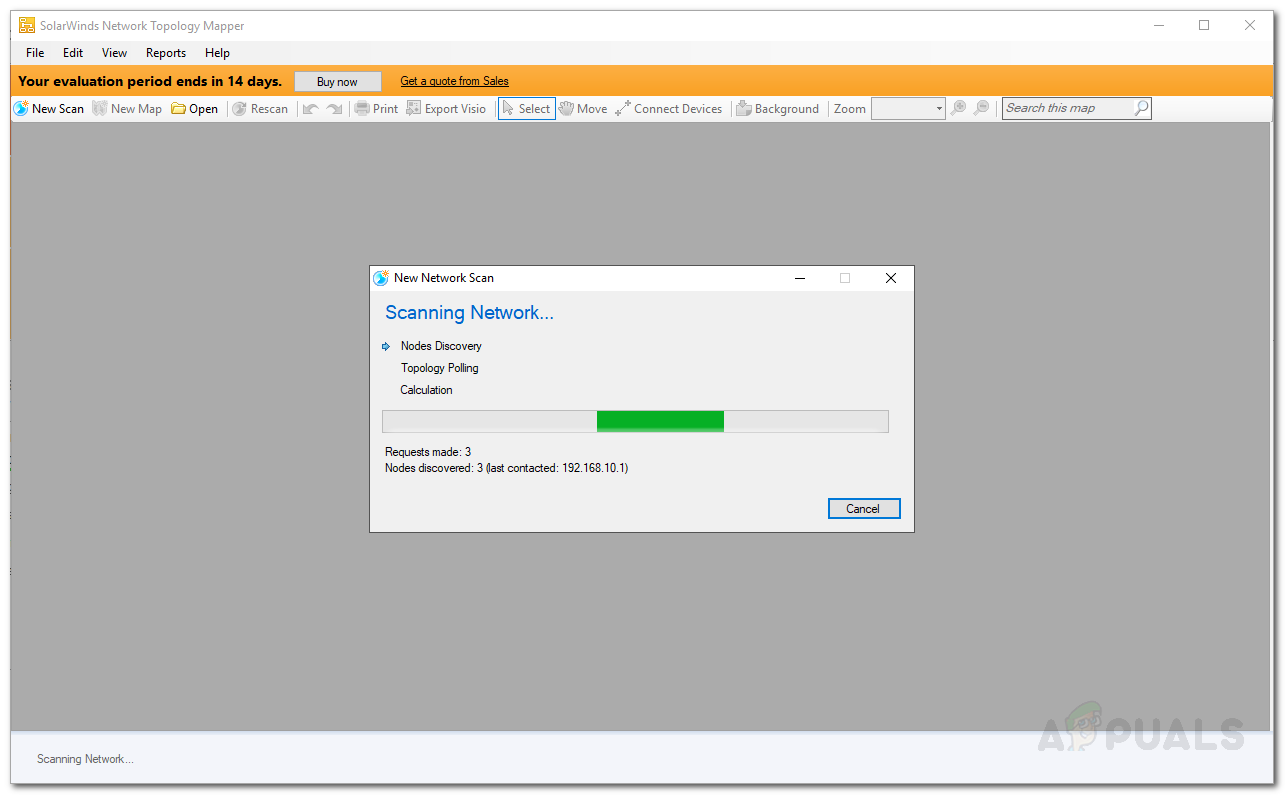
Discovering Network - Once the scan completes, you will be able to see your network map.
Working the Map
Now that you successfully mapped your network, you can work the map and find the information you need. Using NTM, you can connect devices by clicking ‘Connect Devices’ and then click-dragging from one device to another, display additional information about the nodes by expanding the ‘Node Display Options’ on the left-hand side. To view additional information about the devices, simply double-click on the device and it’ll show additional info about the device on the right-hand pane.
The connection line colors refer to the connection speeds of the connected devices. To check the speeds of different colors, simply expand the Connection Display Options entry.
You can also export the map to a Microsoft Visio file by clicking the Export Visio option on the toolbar.