How to Manage your Storage Arrays in Storage Resource Monitor?
In this digital world, everything relies on data. All the computers and networks require data to operate properly. At this point, it is safe to say that everything revolves around data. In order to be able to work with data at any given time without any delays, you will need to set up a near ideal storage system. This is one of the reasons why storage systems are emphasized so much in a network or by a network administrator. Storage monitoring has become really important if you take into account the vast amount of data that is being constantly stored and manipulated by computer networks. Large IT infrastructures rely heavily on data and thus any delay in receiving the data that is required is unacceptable and not per the standards.
As the storage environment gets bigger and bigger, the featured storage management system of every storage infrastructure starts lacking the requirements of managing the whole facility. Therefore, network administrators have no other option but to seek third-party storage management software to fulfill their needs. There is a vast variety of such tools present in the market that lets you get the job done, however, none of them tops the Solarwinds Storage Resource Monitor. Implementing a third-party solution is not just for large organizations. Using such a tool even in a smaller network has its fair share of benefits that cannot be overlooked.
Storage Resource Monitor
Solarwinds Storage Resource Monitor (SRM) (download here) is a tool that takes care of all of your storage issues with reliability even if your storage devices come from different vendors such as Dell EMC and many more. Developed by one of the leading companies in the network and system management field, Storage Resource Monitor keeps track of your storage devices in real-time and provides enhanced in-depth visibility into your multi-vendor storage performance. With the help of Solarwinds SRM, you will be able to pinpoint application and storage performance issues as well as performance bottlenecks that are being triggered by your storage arrays. With the help of Storage I/O Hotspot Detection, you will be able to locate issues way quicker due to the various detecting capabilities. Thus resulting in a much better resolution time for issues concerning storage. You can also automate the presentation and collection of storage capacity with end-to-end visibility.
Solarwinds offers free trials that last a month to organizations that want to test out the tool before paying for it. Once you have got your hands on the tool, you will have to install it into your network. After that, you will be able to monitor storage resources of your network. The installation process is pretty simple and straightforward, courtesy of the Orion Platform and can be found in the linked article with step-by-step instructions along with thorough instructions on adding your storage arrays in SRM. Once you are done with the installation of the tool, you are ready to follow through this guide.
Managing Thresholds
Once you have added your storage arrays to SRM, you can make use of many key features that will help you manage the storage arrays in a more precise manner. On the Orion Platform, you can set two kinds of threshold levels, Critical and Warning. These can be set at a global level where it will be applied to all of the storage arrays as well as a specific-array level.
To change thresholds at a global level, do the following:
- Log in to the Orion web console.
- Go to Settings and then All Settings.
- Head to the SRM Settings in the Product Specific Settings region.
- Under Global SRM Settings, select the object type.
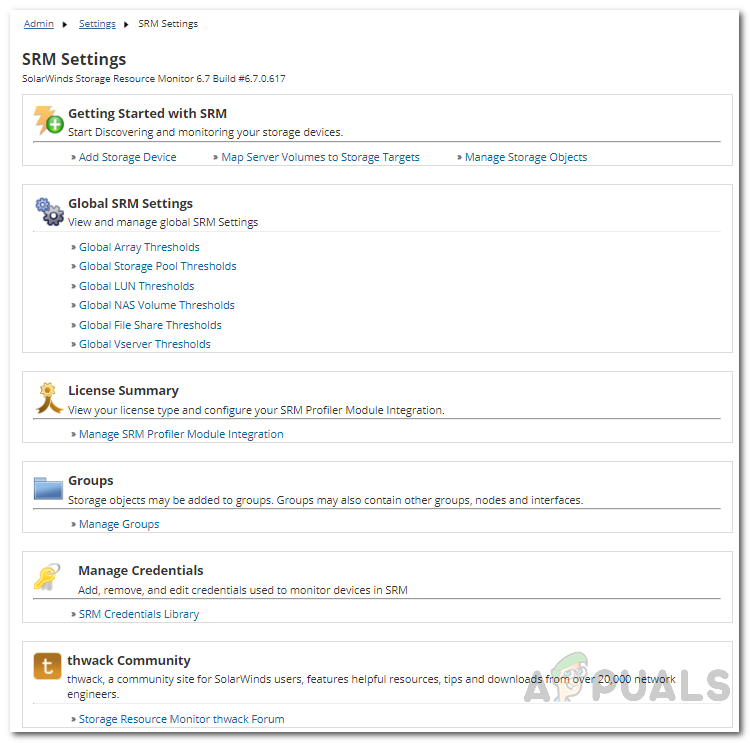
SRM Settings - There, you can change the threshold levels for all of the selected object types.
If you wish to change the thresholds for a specific object, do the following instead:
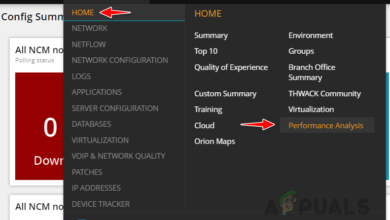
- Go to the Storage Resource Monitor summary page and then from there head to the Details page of the specific object.
- Click the Manage option at the top of the Details.
- Now, scroll all the way to Alerting Thresholds and tick the Override Orion General Thresholds. This will enable the object to use its own specified threshold values.
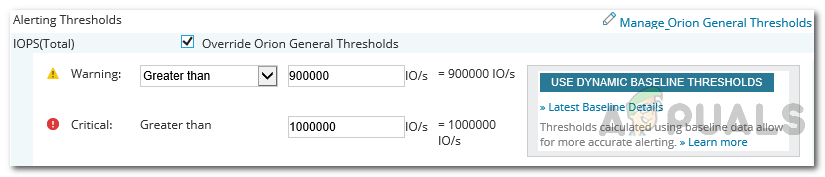
Alerting Thresholds - Adjust the values per your need and then Submit.
Editing the Array Polling Frequencies
You can also change the array polling frequencies in SRM if you wish to. When the storage arrays are first added to Storage Resource Monitor for monitoring, SRM uses the default polling frequency values. You can change the polling frequencies for a specific array or multiple arrays if you wish to.
Here’s how to do it for a specific array:
- Head to the SRM Summary page and then click on the array for which you would like to change the polling frequency. This will take you to the Array Details page.
- Scroll down to the Array Polling Details widget. There, in the Management widget, click on the Edit option.
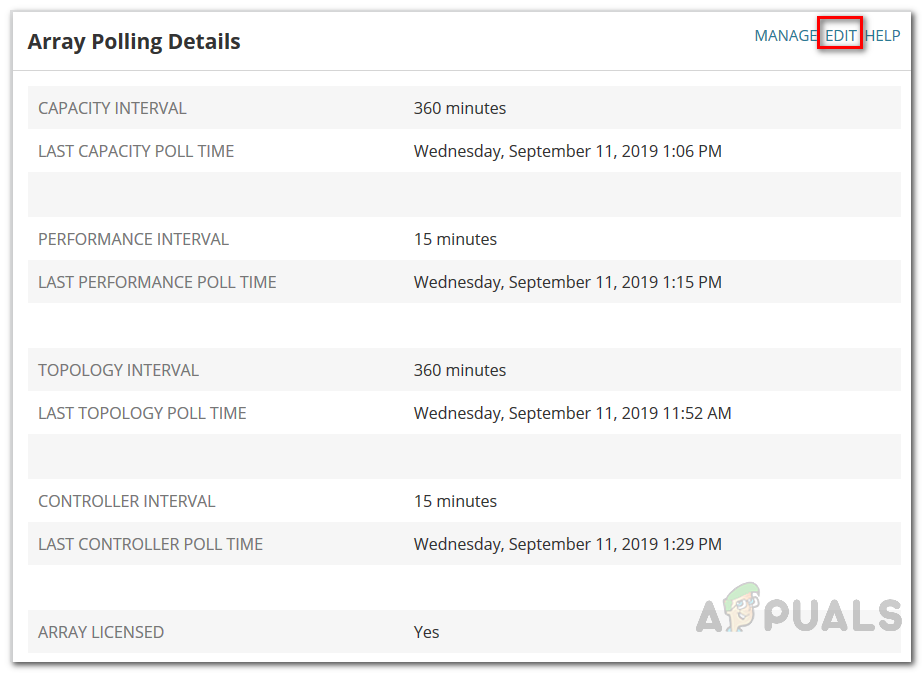
Array Polling Details - Adjust the values per your requirements and then click Submit.
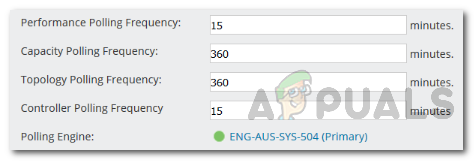
Polling Frequencies
If you wish to change the frequency for multiple arrays, do the following:
- Head over to Settings and then All Settings.
- In the Product Specific Settings area, click on the SRM Settings option.
- There, click the Manage Storage Objects option under the Node & Group Management section.
- This will take you to the list of arrays currently added to SRM.
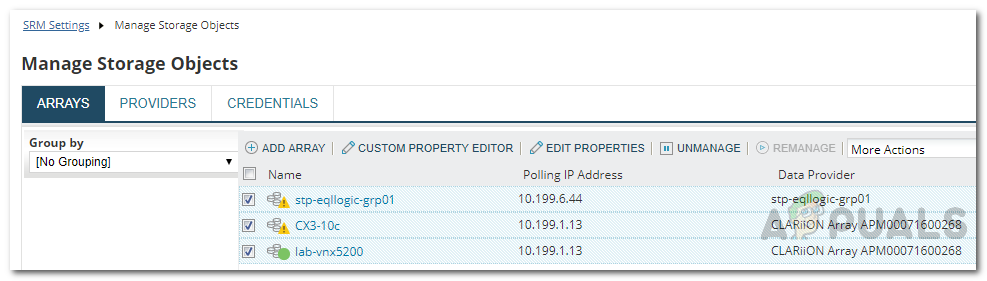
Storage Arrays - Tick the arrays that you want to change the frequencies for and then hit the Edit Properties button.
- Change the polling values per your need and then click the Submit button. This will apply the provided frequency values to all of the selected arrays.