How to Manage and Request IP Address Requests in IP Address Manager
IP addresses are everywhere. Every device connected to the internet has been assigned an IP address where the information is sent and received. This enables devices to communicate with one another over the internet. When it comes down to networks, IP address allocation would have been a nightmare and hectic had it been done manually. Thanks to Dynamic Host Configuration Protocol or DHCP servers as well Domain Name System or DNS servers, network administrators have been relieved of this mind boggling job. IP address management solutions give you a deeper insight into your network. This means network admins can see which device has been assigned what IP address as well as the devices that are currently connected to the entire network via an IP address management tool.
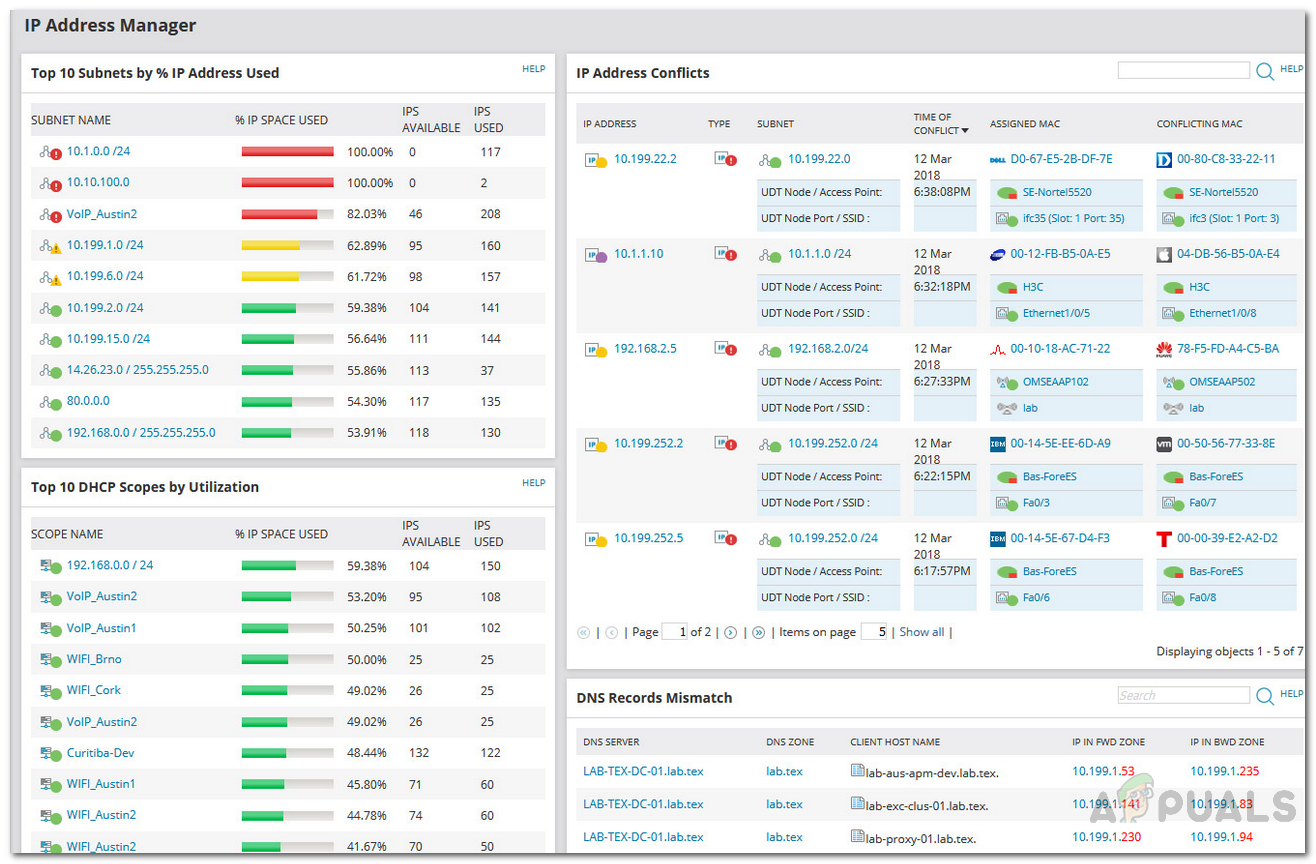
Thanks to IPAM software (download here) this has become very easy and there are some really good ones out there that get the job done with ease and efficiency. Solarwinds IP Address Manager would most probably top this list because of its exotic features and a very friendly user interface that it provides. Solarwinds IPAM lets you manage your network by keeping track of the IPv4 and IPV6 addresses that have been assigned to the connected devices as well as identify unauthorized devices trying to access the network. It also enables you to monitor IP address usage on your network. This helps in avoiding IP address conflicts and spotting abandoned IP addresses. This is one of the benefits of using IPAM tools and one of the key features of IP Address Manager.
IP address requests are pretty common in large networks. Whenever a new user wants to access the contents of the network, he will have to request an IP address. These requests can be managed via IP Address Manager by Solarwinds as it integrates with Network Performance Monitor. There are two ways you can request an IP address that we are going to discuss down below.
Prerequisite:
For you to be able to follow through this guide, you will have to make sure that you have the IP Address Manager installed in your network. In case you do not, the “Track and Manage IP addresses using IPAM” article will guide you through the procedure. Once you have followed the article, you should have IPAM on your network. With that on the network, you are ready to begin this guide. So, let us get started.
Requesting an IP Address
As we have mentioned earlier, there are two ways with which you can request an IP address in IPAM. One of these ways is using an account that comes built-in with IPAM just for this specific task. This account is referred to as iprequest account. The account is solely for requesting an IP address and takes the user to the IP Request wizard. This method can be utilized when you do not have access to IPAM. In the otherwise scenario, you can request an IP address with IPAM access. Once a user has requested an IP address, an administrator will be notified about the request after which he can go through the request and perform the required action.
Requesting an IP Address using the iprequest Account
The iprequest account can be given to users without any issues and worries as it only provides access to the IP Request wizard. This account can be used when you want users to request an IP address but do not want them to have access to the Solarwinds Orion web console. Both the username and password of the account is iprequest. Here’s how to request an IP address with the account:
- Log in to the Orion web console with the iprequest account (username and password are the same i.e. iprequest).
- Upon login, you will be taken to the IP Address Request page.
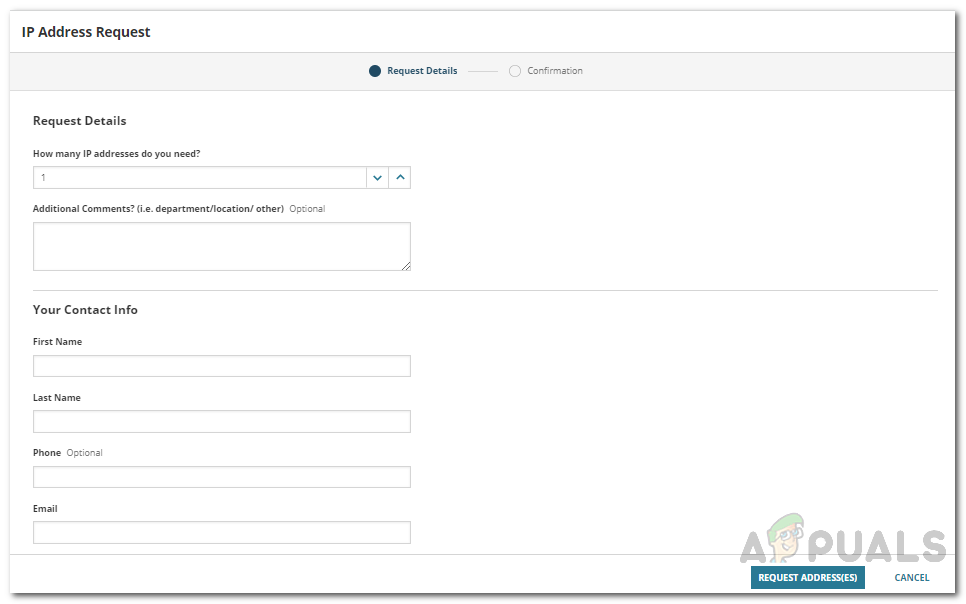
IP Request Account - Specify the number of IP addresses required. You can also enter additional comments/descriptions against this request.
- Provide your contact info and then finally, click the Request Address(es) button.
Requesting an IP Address with IPAM Access
If you have access to the Solarwinds Orion platform, you do not have to use the iprequest account to request an IP address. You can do it without the iprequest account. Here’s how to do it:
- Log in to the Orion web console and then click My Dashboards > IP Addresses > Request IP Address.
- You will be taken to the IP Address Request page. Here, you are provided additional options than the iprequest account.
- Specify the number of IP addresses required and if you wish to select the subnet of your IP addresses, make sure to select the respective option. You can add any comments against this request if you wish to. It is optional and not necessary.
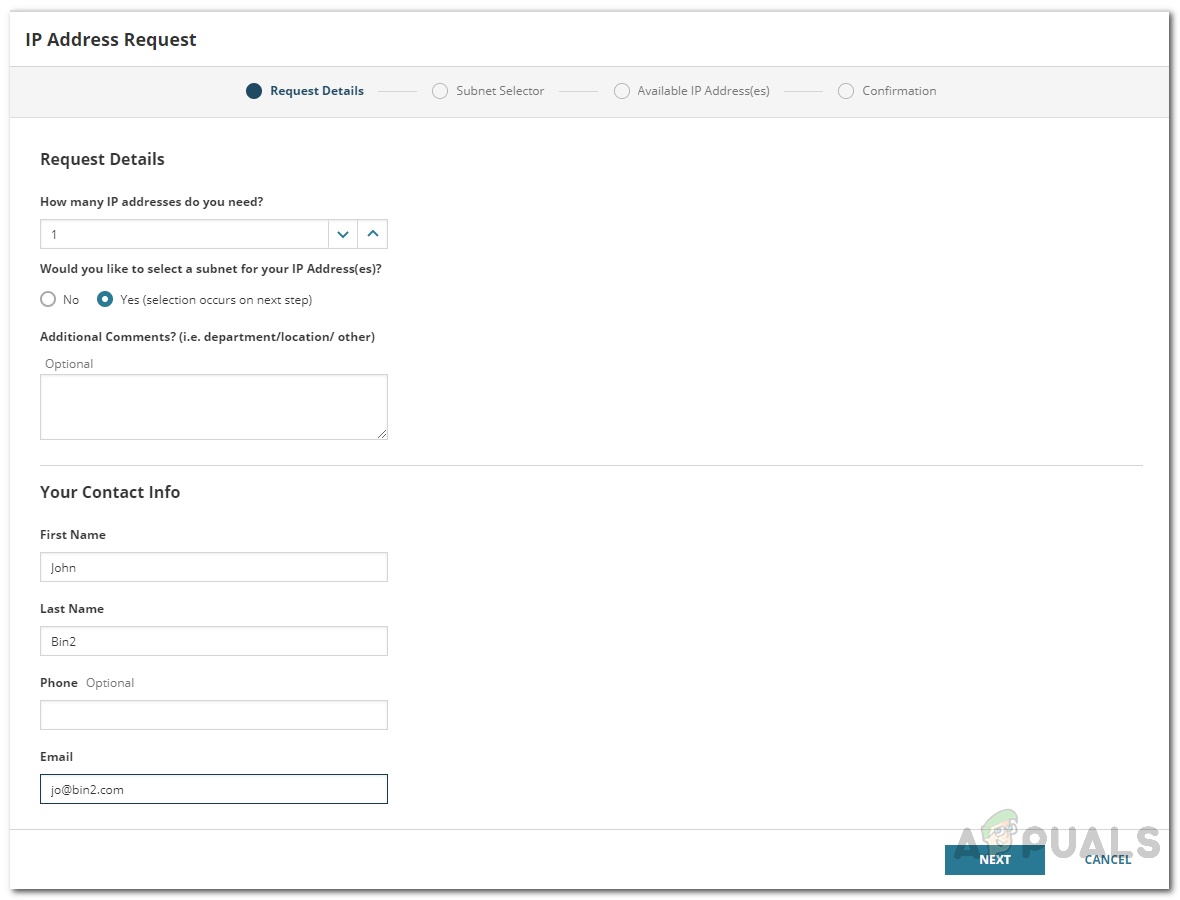
IP Address Request - Provide your contact information and then click Next.
- Now, if you selected to choose your subnet, you will be taken to the Subnet Selector page. Otherwise, a message will be shown confirming your request.
- On the Subnet Selector page, click the subnet you want to use and then click the Next button.
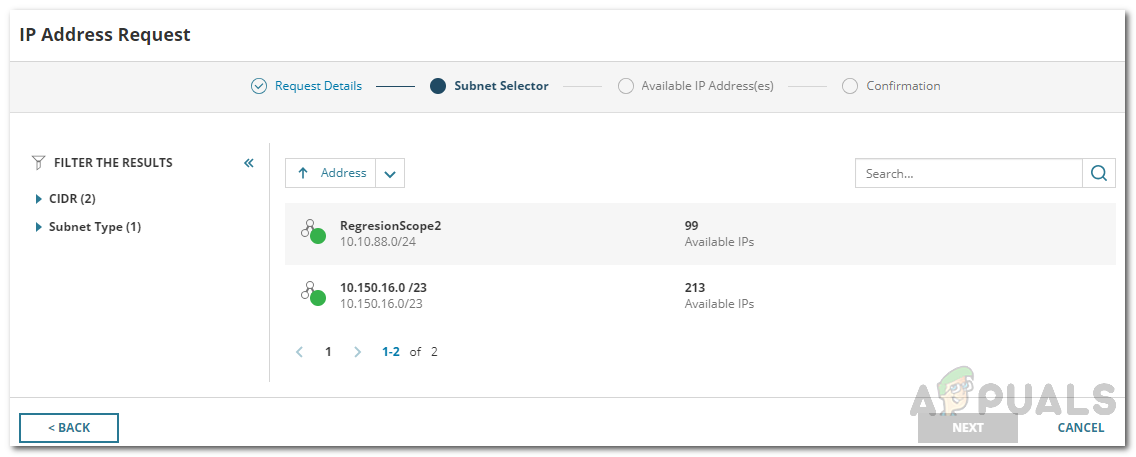
Subnet Selector - You will be shown the available range of IP addresses on the Available IP Address(es) page. You can enter the MAC address or hostnames for the reserved IP addresses.
- Finally, click the Reserve Address(es) button to confirm your request.
Processing IP Requests Alerts
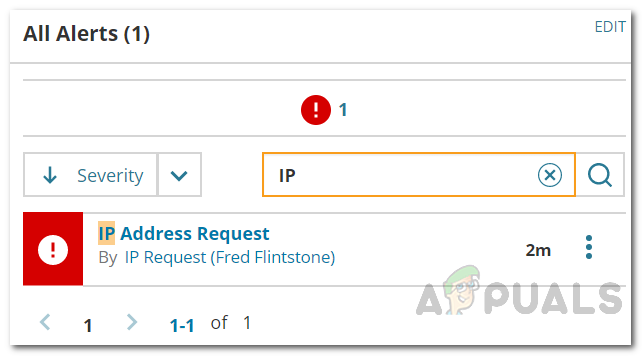
Once someone has made an IP address request, administrators will be notified of the request via an alert on the Orion web console. An alert pops up in the Active Alerts widget on the Orion Summary view. Click on the alert to be taken to the request page. Here, you can approve the requests as well as deny them per your requirements.
IP Request Settings
Administrators on the Orion web console can change the IP request settings if they wish to. You can add mandatory fields for the request page so that whenever a user tries to request an IP address, he will have to provide the required information. You can also create email notifications for the administrators. This will send out email notifications to the administrators whenever an IP address request is made.
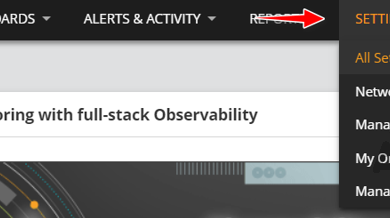
To make these changes, go to Settings > All Settings > IPAM Settings > IPAM Request Settings. Once you are done with making changes per your needs, click the Save Changes button to save the alterations.