How to install Hyper-V 2019 Server Core?
Microsoft released Microsoft Hyper-V 2019 a few weeks ago. It was unusual to wait eight months since Microsoft released Windows Server 2019. It is available now, so let’s give a brief introduction and show where to download it and how to install it on a physical server.
Hyper-V 2019 is a free standalone product that acts as a hypervisor. It hosts virtual machines regardless of the installed operating system. If you have installed Windows Server 2019 on your server, you can host Hyper-V by installing role within the operating system.
Imagine that we want to deploy Hyper-V 2019 Server Core on a physical server. The first step would be to check if the physical server is compatible with Hyper-V 2019 Server. Why is that important? If we want to have a functional, stable and reliable environment, we should follow the vendor recommendation.
What does it mean if a physical server is certified for Windows Server 2019 or Hyper-V 2019? The easiest way to understand it is to quote what Microsoft said: „The “Certified for Windows Server 2019” and “Certified for Windows Server 2016” badges identify hardware components, devices, drivers, systems and solutions that meet Microsoft standards for compatibility and recommended practices with the Windows Server 2016 operating system. Products and Solutions that have earned the Certified for Windows Server badge are also fully supported in Hyper-V environment.“
We will go through the procedure by using a real physical server, model Dell PowerEdge R730. In order to check if our server is compatible with Windows Server 2019 or Hyper-V 2019, we will need to access Windows Server Catalog by opening website www.windowsservercatalog.com. Please check compatibility for our server on this page.
As Dell Poweredge R730 is compatible with Windows Server 2019 and Hyper-V 2019, the next step is to download system image from Microsoft website and install it on a physical server. Let’s do it step by step.
- Open Google Chrome on your working PC and open Windows Server Evaluation by clicking on this page
- Expand Microsoft Hyper-V Server 2019 and click Continue.
- Fill the table by adding your personal information and then click Continue
- Please select your language and click Download. The ISO file will be download with default name „ 557.190612-0019.rs5_release_svc_refresh_SERVERHYPERCORE_OEM_x64FRE_en-us“. The speed of the download depends on the speed of your Internet. The size of the ISO file is 2.8 GB.
- Make bootable USB by following instructions on this article.
After you make bootable USB, you will need to change BIOS/UEFI settings and make USB as a first boot option. It depends on what kind of server you are using. If you are using a Dell server, you should reboot your server and press F11 server. After you successfully change BIOS or UEFI settings and boot your Hyper-V 2019 via USB you will need to follow the procedure below.
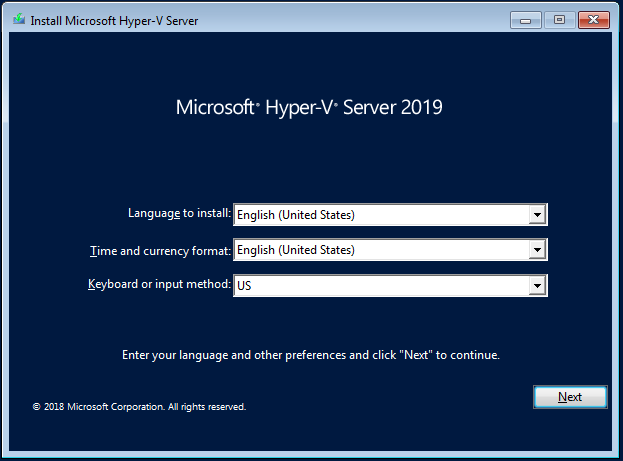
- Choose a language, time and currency format and Keyboard or input method and then click Next.
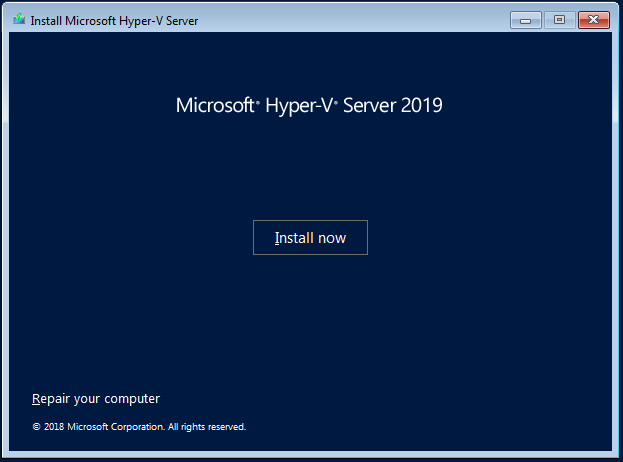
- Click Install Now
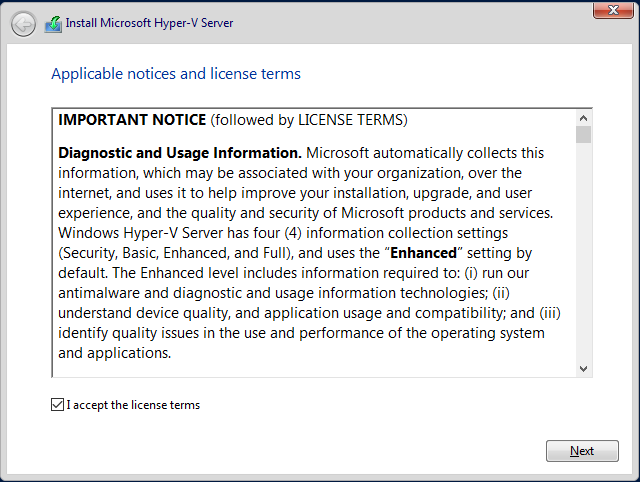
- Confirm license agreement by selecting I accept the license terms and then click Next
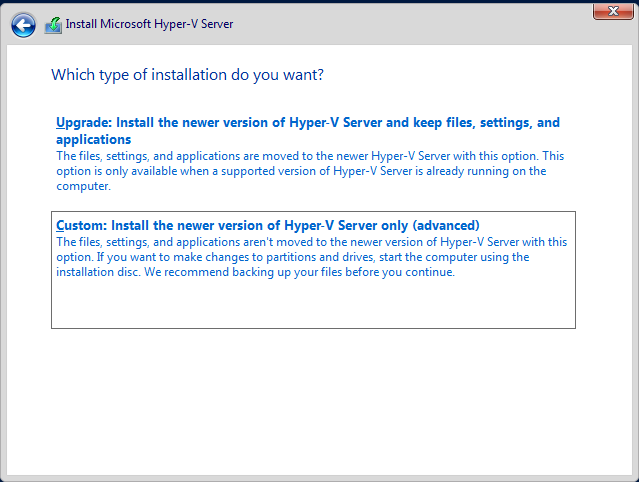
- Under Which type of installation do you want? Click on Custom: Install the newer version of Hyper-V Server only (advanced)
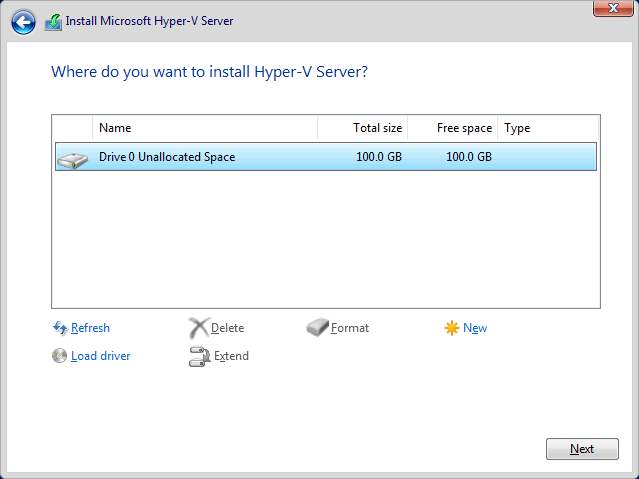
- Under Where do you want to install Hyper-V Server, select available partition and click New to create the new partition where you will install Hyper-V
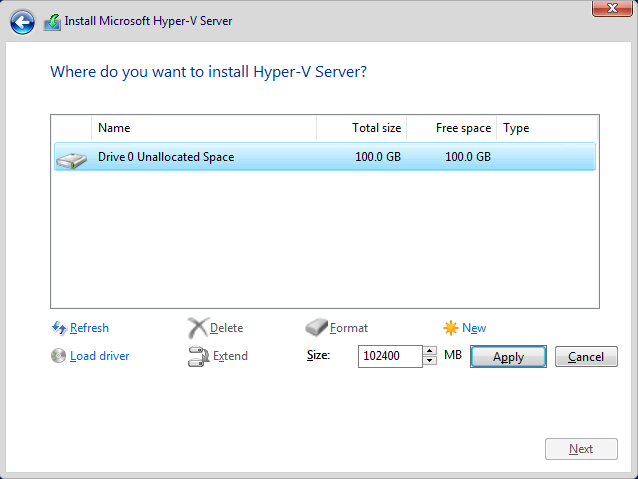
- Define the size of the partition and click Apply. In our case, we will use the entire disk for Hyper-V Server.
- Confirm creating a new partition by clicking on OK
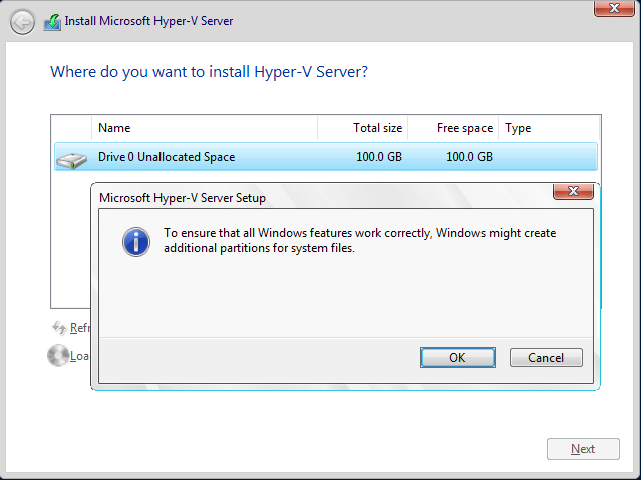
- Choose the new partition that you created and click You can also see a partition that is called System Reserved. It contains The Boot Manager code and Boot Manager Database, it reserves space for the startup files used for BitLocker Drive Encryption and Recovery Environment is also stored in System Reserved partition.

- Wait until Hyper-V is installed. The procedure takes a few minutes.
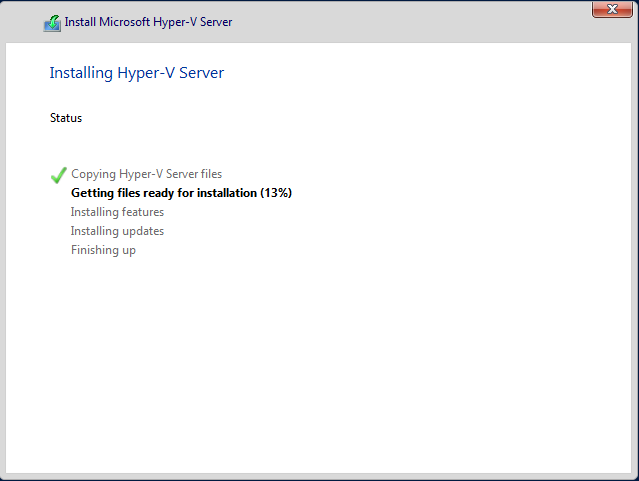
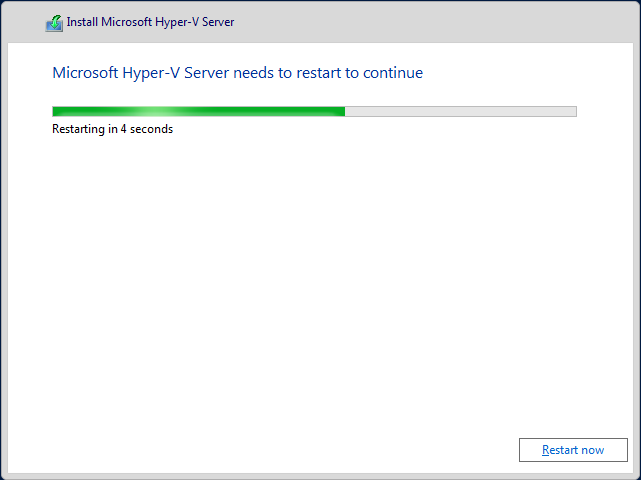
- After it finishes copying the files and installing the features it will be automatically restarted.
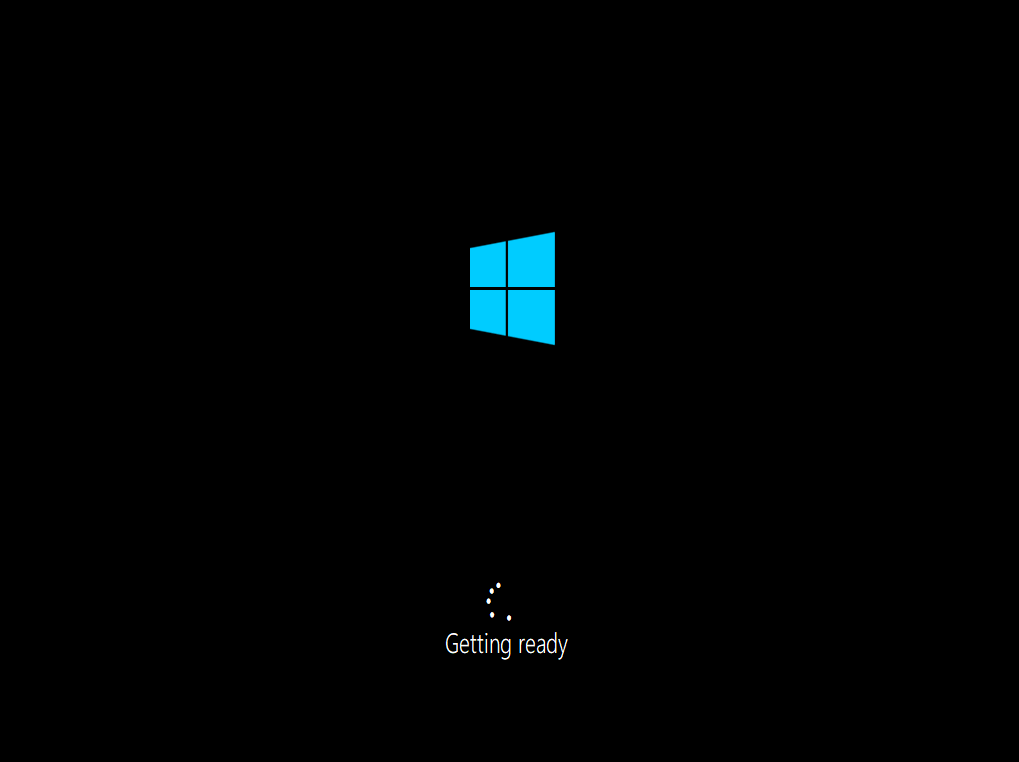
- It is preparing Hyper-V for a first start.
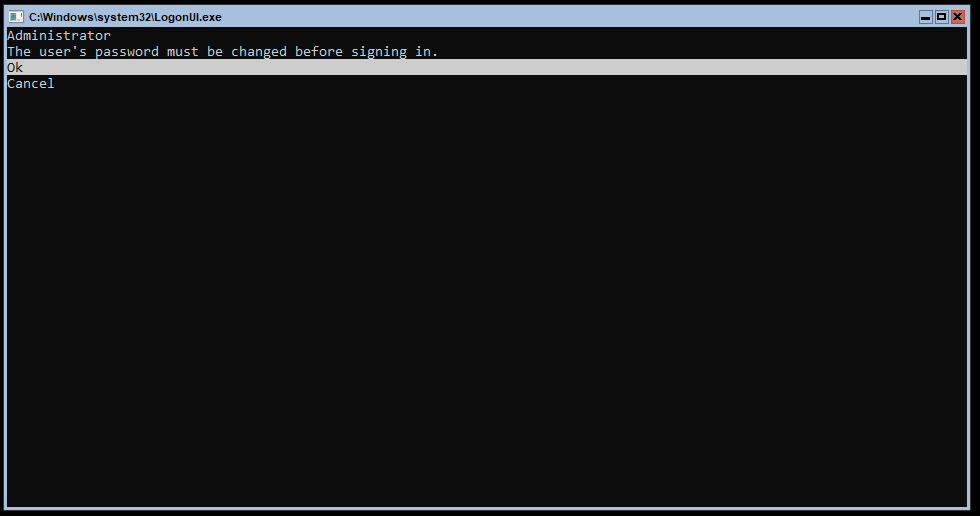
- We will need to create a new password for Administrator. Please select OK with your keyboard and press Enter
- Type the new password and press Enter
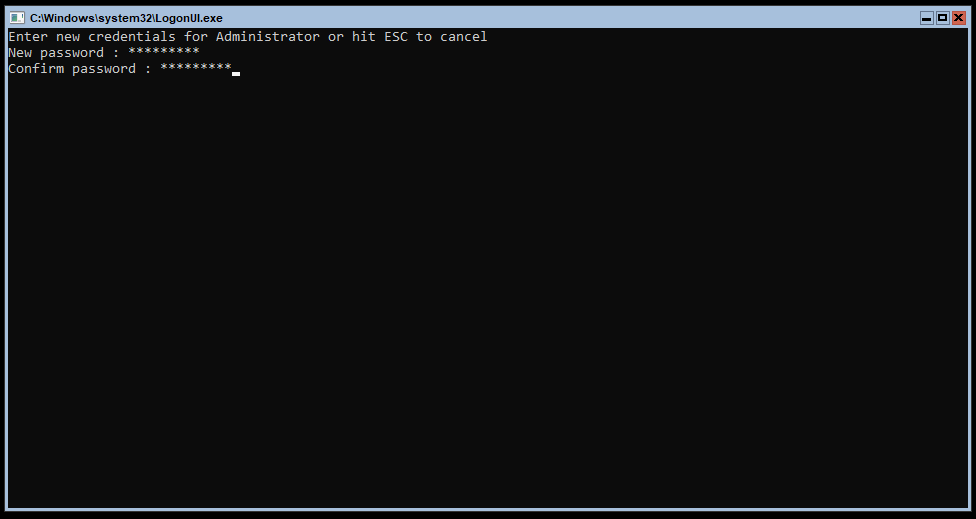
- You will be informed that your password is successfully created. Press OK by using the keyboard.
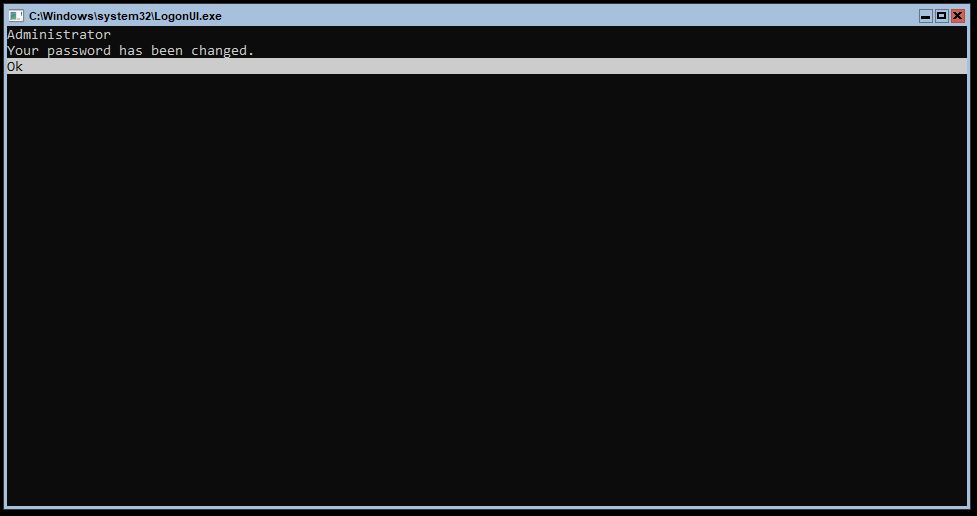
- You have successfully installed Hyper-V
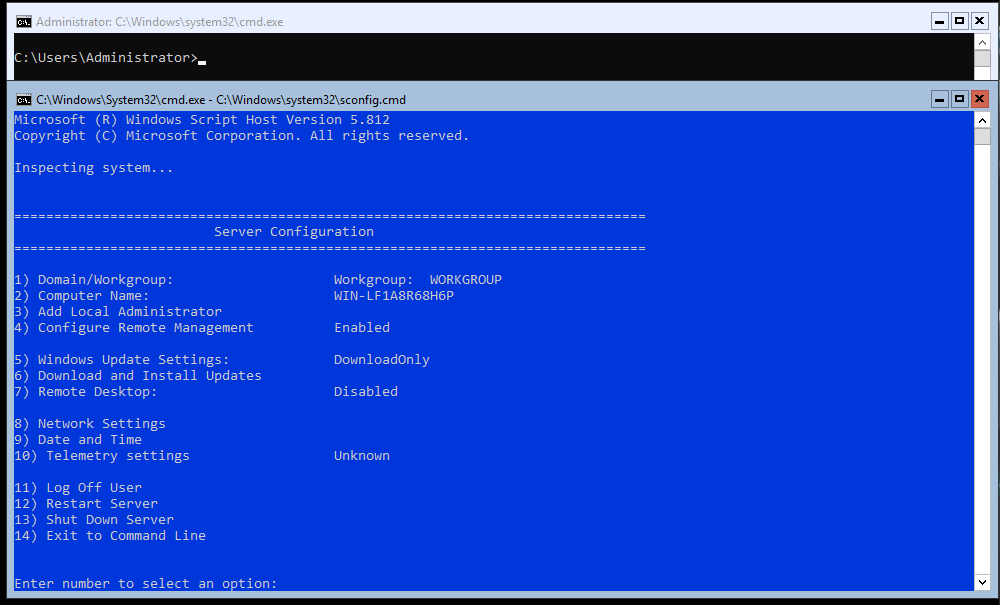
In the next article, we will cover all necessary steps to do an initial configuration of Hyper-V 2019 Server.


