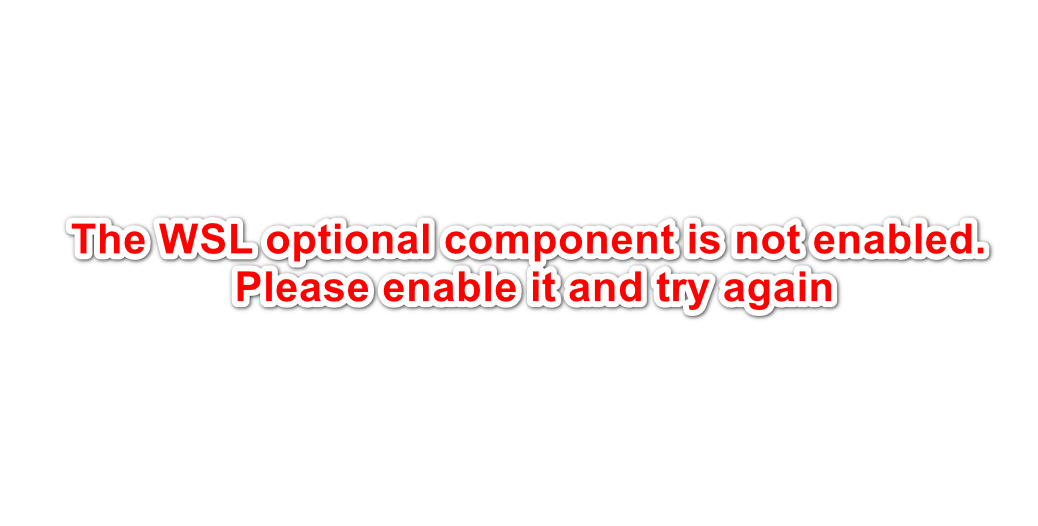
Fix: ‘The WSL Optional Component is not Enabled’ Error
Ubuntu is a Linux based distribution that is totally free and open source. The program also provides support for Windows 10 and is used by a lot of people for software developing purposes. However, quite recently a lot of reports have been coming in where users are unable to use it and the Error “The WSL Optional Component is not Enabled. Please Enable it and Try Again” is seen while trying to do so.
What Causes “The WSL Optional Component is Not Enabled. Please Enable it and Try Again” Error on Ubuntu?
After receiving numerous reports from multiple users, we decided to investigate the issue and devised a set of solutions to fix eradicate it completely. Also, we looked into the reason due to which this issue is triggered and listed it as follows.
- Disabled Component: As the error message indicates, the error is triggered if the Windows Subsystem for Linux is disabled. Windows Subsystem for Linux is a very important feature and needs to be enabled in order for Ubuntu to work properly on Windows 10 because it provides all the important configurations and distributions needed for Ubuntu to run correctly.
Now that you have a basic understanding of the nature of the problem, we will move on towards the solutions. Make sure to implement the solutions carefully, in order to avoid conflict.
Method 1: Turning WSL ON Through Control Panel
There are a couple of methods which we can apply to rectify the problem. However, in this step, we will be taking the easiest route and enable WSL through the Control Panel. For that:
- Press “Windows” + “R” keys simultaneously to open the Run prompt.
- Type in “Control Panel” and press “Shift” + “Ctrl” + “Enter” to provide administrative privileges.

Typing in “Control Panel” and pressing “Shift” + “Ctrl” + “Enter” to provide administrative privileges - Click on the “View By” option and select “Small Icons“.
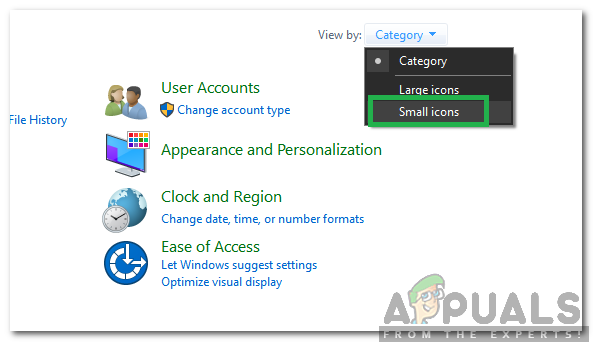
Clicking on “View By” and selecting “Small Icons” - Click on the “Programs and Features” option.
- Select the “Turn Windows Features On or OFF” option in the left pane.
- Scroll down and select “Windows Subsystem for Linux“.
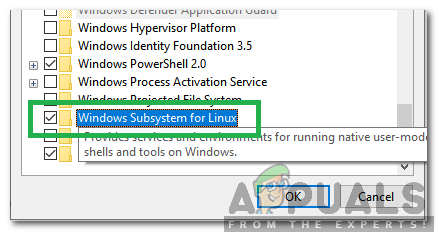
Checking the “Windows Subsystem for Linux” option” - Click on “OK” to enable the feature.
- Check to see if the issue persists.
Solution 2: Turning WSL ON Through PowerShell
We can also enable the WSL Feature by using the Command Prompt. Therefore, in this step, we will be implementing a command in the command prompt to enable the WSL Feature. For that:
- Press “Windows” + “R” keys simultaneously to open the Run prompt.
- Type in “Powershell” and press “Shift“+ “Ctrl” + “Enter” to provide administrative privileges.
- Type in the following command and press “Enter“.
Enable-WindowsOptionalFeature -Online -FeatureName Microsoft-Windows-Subsystem-Linux
- Wait for the command to be executed and check to see if the issue persists.

Enabling WSL


thanks