Fix: ‘Connection timed out: no further information’ in Minecraft
Connection timed out: no further information error in Minecraft stops players from joining a multiplayer server. The game tries to connect but eventually fails after waiting for a while. This error means there is a problem with the communication between the player’s computer and the server, usually due to network issues.
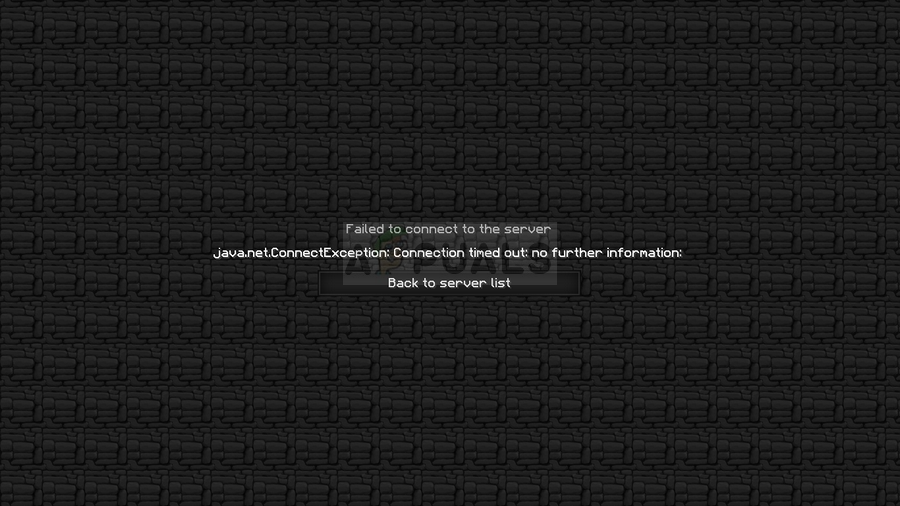
The most common cause is wrong or blocked ports on the router or firewall settings that stop Minecraft from connecting. Other causes can be old Java versions, problems with the server, or issues with the server’s IP or domain name settings. In this article, we will discuss solutions to this error.
1. Use a Different Antivirus Tool
Antivirus software can sometimes be too protective, wrongly blocking legit programs like Minecraft. By changing to a different antivirus tool or adjusting its settings, you can stop it from messing with the game’s network traffic, allowing smooth communication between the player’s computer and the server.
- Press Win + R keys together and type control the press enter. This should open Control Panel.
- In Control Panel, click on Uninstall a Program under the Programs section.
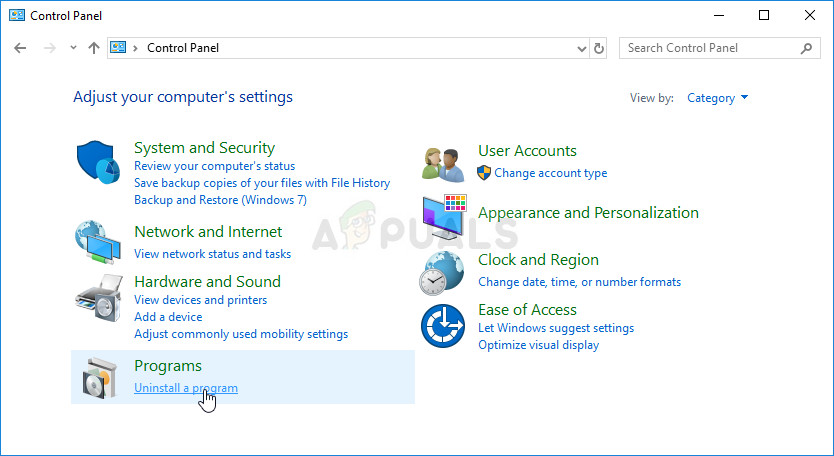
Uninstall a program in Control Panel
- If you are using the Settings app, clicking on Apps should immediately open a list of all installed programs on your PC.
- Locate your antivirus tool in Control Panel or Settings and click on Uninstall.
- Its uninstall wizard should open so follow the instructions to uninstall it.

Uninstalling Avast
- Click Finish when the uninstaller completes the process and restart your computer to see whether errors will still appear. Make sure you choose a better antivirus option. Check to see if the Minecraft Server connection timed out error appears to other players when trying to connect to your server!
2. Forward the 25565 Port in Your Firewall
To ensure your computer can talk to the Minecraft server without problems, you need to open port 25565 in your firewall. This step allows Minecraft’s network traffic to get past any blocks your firewall might have, making sure the server data can reach your computer.
- Navigate to Control Panel, click on System and Security > Windows Firewall.
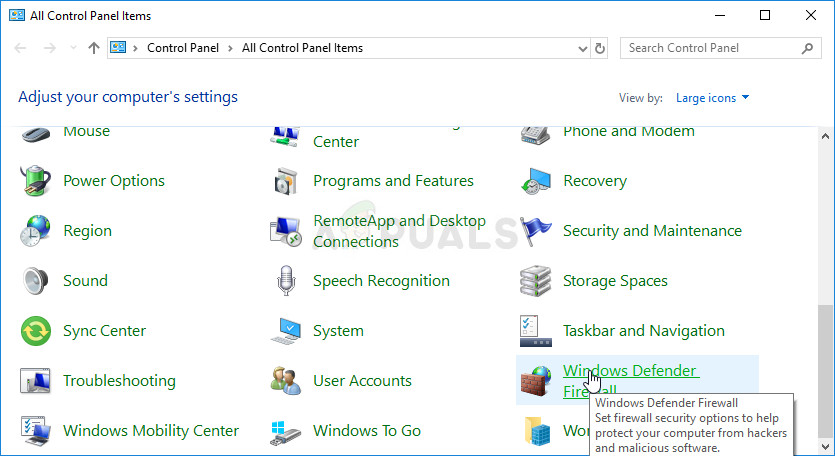
Opening the Windows Firewall
- Select the Advanced settings options and highlight Inbound Rules in the left section of the screen.
- Right-click on Inbound Rules and click on New Rule. Under the Rule type section, select Port. Select TCP or UDP from the first set of radio buttons (depending on which ports you are working on) and switch the second radio button to “Specific local ports. You will need to specify the 25565 port for both TCP and UDP to fix the problem with your Minecraft server.
- Select the Allow the connection radio button in the next window and click Next.
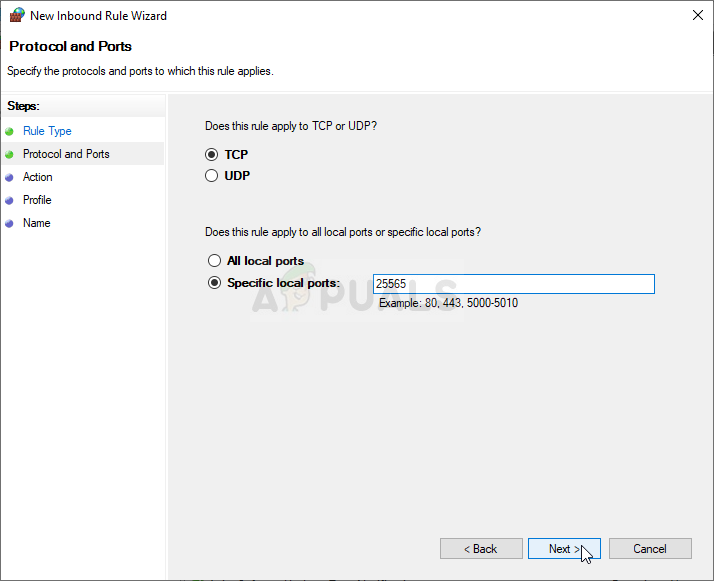
Forwarding the 25565 port in Windows Defender Firewall
- Select the network type when you want to apply this rule. If you switch from one network connection to another quite often, it’s recommended that you keep all of the options checked before clicking Next.
- Name the rule something that makes sense to you and click Finish. Make sure you repeat the same steps for Outbound Rules (choose Outbound rules in Step 2). Check to see if the Minecraft “Server connection timed out” error appears to other players when trying to connect to your server!
3. Forward the Port in Your Router
Port forwarding is important because Minecraft uses specific ports (usually 25565) to talk to its servers. By manually forwarding this port, you tell your router to send all incoming Minecraft requests to your computer.
- Open a Command Prompt window by searching for “cmd” or “Command Prompt” in the Start menu.
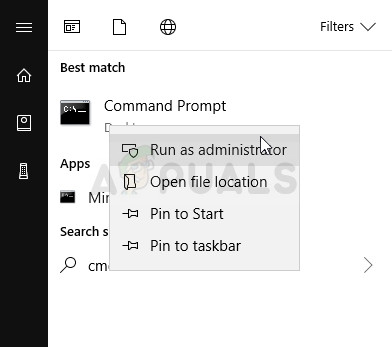
Running an administrative Command Prompt
- Type the following command and scroll down to the network adapter corresponding to the connection you are using. Note the Default Gateway, Subnet Mask, MAC, and DNS:
ipconfig /all
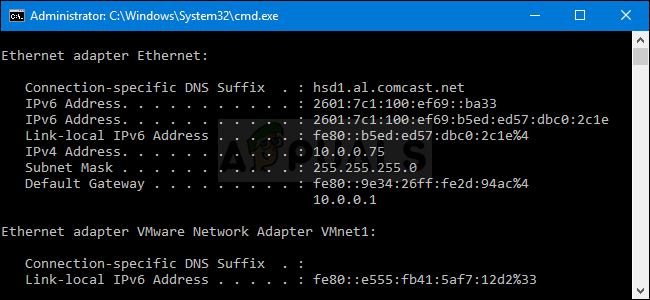
Running the ‘ipconfig’ command
- Press the Windows + R keys to open the Run dialog box, type ‘ncpa.cpl’ in the bar, and press OK to open the Internet Connection settings in Control Panel.
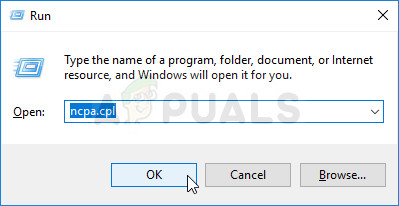
Opening network settings in Control Panel
- Right-click your active network adapter and select Properties. Locate the Internet Protocol Version 4 (TCP/IPv4) item in the list. Click on it to select it and click the Properties button.
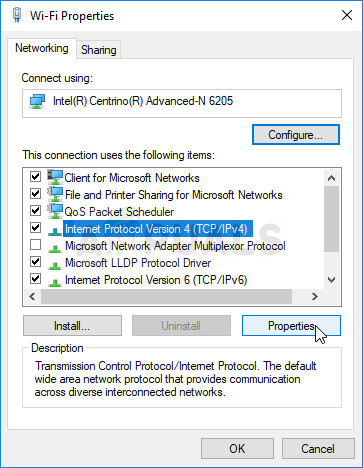
IPv4 >> Properties
- In the General tab, switch the radio button to “Use the following DNS server addresses” and enter 8.8.8.8 and 8.8.4.4 respectively. Switch to “Use the following IP address” and use the same number as the Default Gateway you noted, but change the last digit to something else. Fill out the other information as noted.
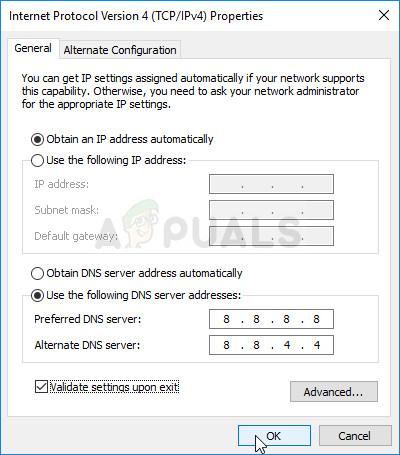
Setting up Google’s DNS address
It’s time to log in to your router and allow a few ports.
- Open your preferred web browser, type your Default Gateway number (IP address) into the address bar, and press Enter. Enter the username and password. This information should be available online.
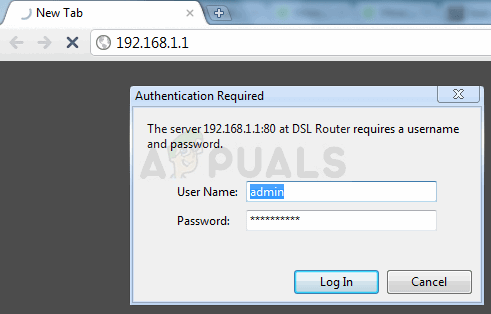
Logging into your router
- Find the Enable Manual Assignment setting and click the radio button next to Yes. Locate the window that allows you to type in the MAC address and the IP address of your choice, and enter the information you gathered in the previous steps for your computer.
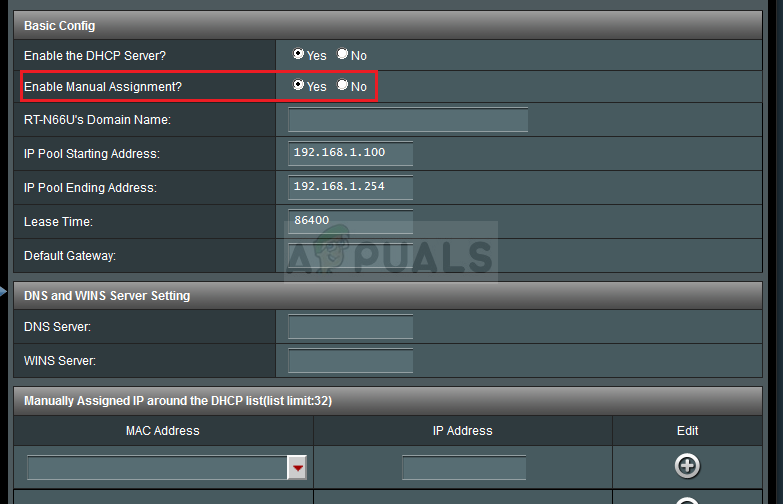
Enable Manual Assignment
- After that, click on the Add option to add your computer’s IP address to your router.
- Find the Port Forwarding section while still logged into your router’s interface. Each router will have different steps for this.
- Enter a range of ports to open under Start and End or use single ports for internal and external traffic. Specifically, for Minecraft servers, the only port you need to forward is 25565. Make sure you add it for both TCP and UDP!
- Enter the static IP address you created for your PC in the steps above, and make sure you click the Enable option if it is available.
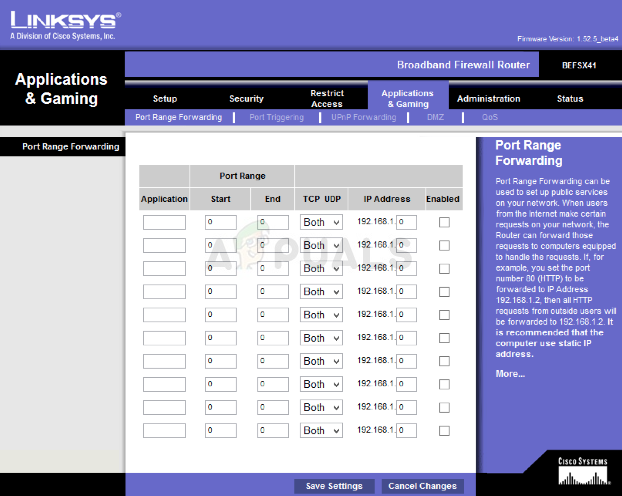
Port forwarding in your router
- Click the Save or Apply button and restart both your router and your PC to apply these changes. Check to see if the server timeout issues still occur when others try to join your server!
4. Try a Different Version of Minecraft
Sometimes, using a different version of Minecraft can fix connection issues because some servers may not work with newer or older game versions. Switching to a version that matches the server’s setup or one known to work well can avoid these problems and restore the connection.
- Open the Minecraft Launcher and click on the “Installations” button.
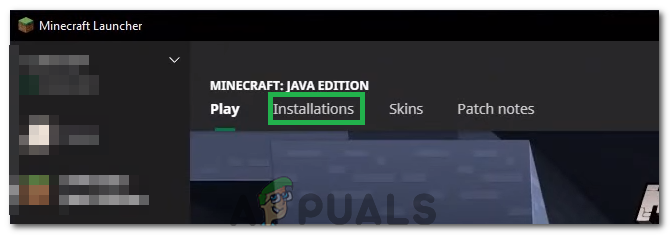
Clicking on the “Installations” option - Select the “New” option and click on the “Version” dropdown menu.
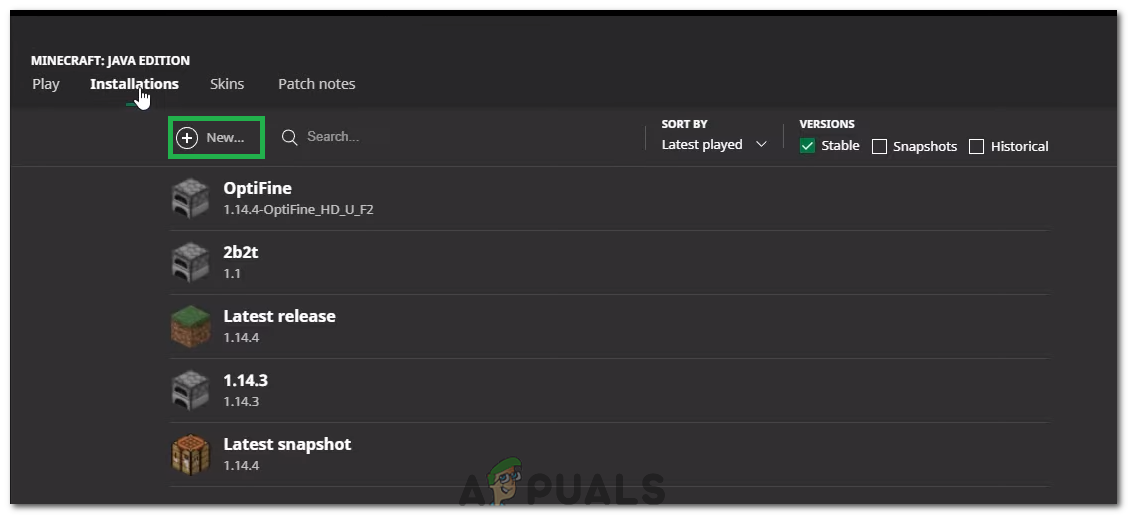
Clicking on “New” - Select any version of the game except for the current one and click on “Create”.
- This will start the download of that version, and it will be added to the Installations menu.
- Select this version and try to join your desired server.
- Check if this fixes the issue for you.
5. Check Server Status
Checking the server status helps you see if the problem is on your side or due to server issues, like maintenance or downtime. If the server is down, fixing your network or game settings won’t help.
- Click here to navigate to the server check website.
- Type in the server’s IP and click on “Get Server Status”.
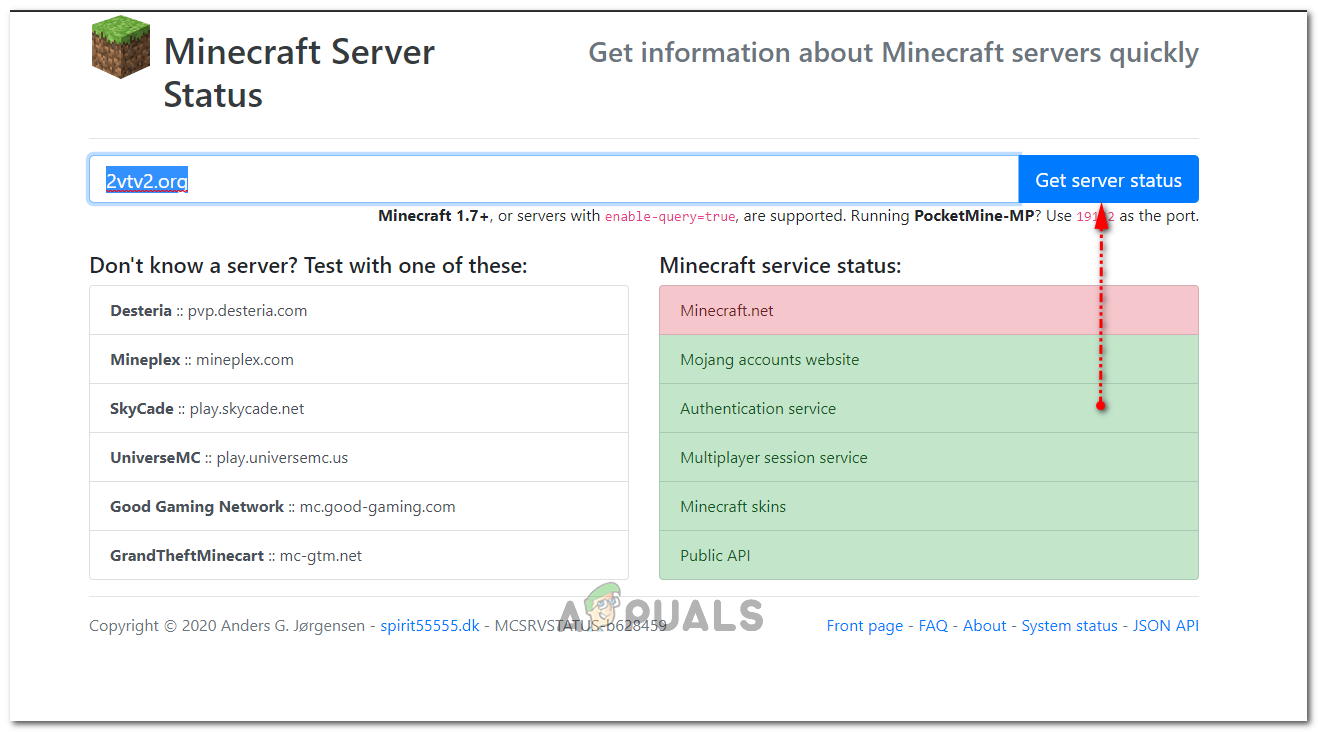
Clicking on the “Get Server Status” - Check if the server is working.
6. Reset Network Configurations
This issue can be caused by wrong or conflicting network settings, like an old DNS cache, incorrect IP settings, or firewall blocks. Resetting your network settings puts them back to their default state, fixing any hidden problems that might be stopping Minecraft from connecting to servers.
- Press “Windows” + “R” to open the Run prompt.
- Type in “cmd” and press “Shift” + “Ctrl” + “Enter” to provide administrative privileges.

Running the Command Prompt - Type in the following commands one by one and press “Enter” after each one.
ipconfig /release
ipconfig /flushdns
ipconfig /renew
netsh int ip reset
netsh int ip set dns
netsh winsock reset
- Restart your computer and check if the issue persists.
7. Allowing Through Firewall
Allowing Minecraft through your firewall ensures that all connections are permitted, which is essential for joining multiplayer servers. By allowing Java through the firewall, it lets the game communicate freely with external servers.
- Press “Windows” + “R” to open the Run prompt.
- Type in “Control” and press “Enter” to open the control panel.
Accessing the Classic Control Panel interface - Click on the “System and Security” option and select the “Windows Defender Firewall” button.
- In the left pane, select the “Allow an App through Firewall” button and select the “Change Settings” option.
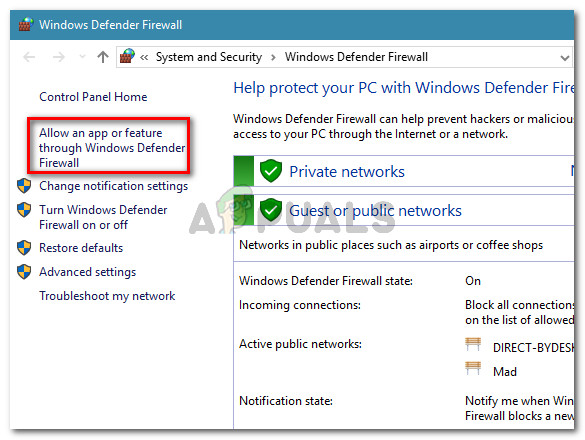
Click on Allow an app or feature through Windows Defender Firewall - Scroll down and check both public and private for Java Platform SE Binary.
- Click on “Apply” to save your changes and check to see if the issue persists.
8. Use a VPN
In some cases, your ISP might block certain sites or IP addresses, causing this issue. To solve this, it is recommended to use a VPN to connect to the server. Make sure to enable the VPN connection before starting the game. You can explore various gaming VPNs until you find the one that works best for you.


Good