‘Failed to fork on WSL with Ubuntu’ Solve this error in 2 minutes
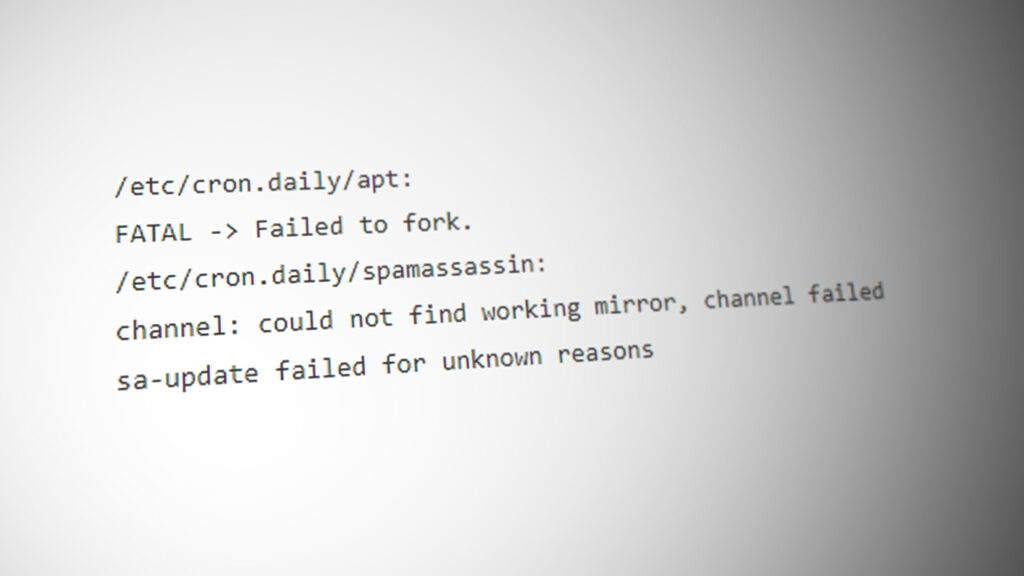
WSL (Windows Subsystem for Linux) is a compatibility layer that is used to run Linux binary executables in Windows 10. The program was introduced in Windows 10 and Windows Server 2019 and has allowed a lot of developers the ease of using Linux based executables on Windows. However, quite recently, a lot of reports have been coming in of a “# apt-get update FATAL -> Failed to fork” error while trying to update the Ubuntu system.
What Causes the “Failed to Fork” Error With Ubuntu in Windows 10?
After receiving numerous reports from multiple users, we decided to investigate the issue and devised a set of solutions to fix it completely. Also, we looked into the reasons due to which it is triggered and listed them as follows:
- Insufficient Swap Memory: In some cases, there might be insufficient SWAP memory that is accessible by the application due to which this error is being triggered. The application requires a considerable amount of memory to be free in order to work properly.
- Antivirus/Firewall: It was seen that a third-party antivirus or firewall might be blocking certain elements of the application from making contact with the server. The application requires a good internet connection to be established in order for it to work properly.
Now that you have a basic understanding of the nature of the problem, we will move on towards the solutions. Make sure to implement these in the specific order in which they are presented to avoid conflicts.
Solution 1: Disabling Antivirus
If you have a third party antivirus or Firewall installed it is recommended to completely disable it or add an exclusion for the Ubuntu application since it might be disabling some components of the application due to which the error might be triggered. In order to add an exclusion:
- Right–click on the application in the system tray.
- Select “Open” and click on the settings option.
- Select “Add an Exclusion” button and point to the direction of the Ubuntu application.
Solution 2: Creating New Swap File
It is possible that the Storage on the Swap File was running out due to which the error was being triggered. Therefore, in this step, we will be creating a new Swap file. For that:
- Launch Ubuntu.
Launching Ubuntu - Type in the following command and press “Enter“.
sudo fallocate -1 4G /swapfile
- The swap file has now been created but it still needs to be activated.
- In order to make the file more secure, type in the following command and press “Enter”.
sudo chmod 600 /swapfile
- Now, type in the following command to set up the swap space and press “Enter”.
sudo mkswap /swapfile
- In order to enable the swap space, type in the following command and press “Enter“.
sudo swapon /swapfile
- Check to see if the issue persists after executing these commands.


