How to Detect Host Outages using Ping Monitor?
Every business in this modern and digital world is going online. At this point, it has become for every business or an organization to have an online presence. If you do not have an online presence, you simply do not exist; it is as simple as that. This is one of the reasons why networks are becoming way common and its maintenance essential.
One of the worst fears of the network and system administrators is network outage or any downtime. There are many reasons that could cause a network outage. A network contains several devices which in reality forms the network. So, if anything were to happen to one of the devices in the network, it would have a direct effect on the network. That is why, monitoring your network devices is essential to maintain optimum performance.

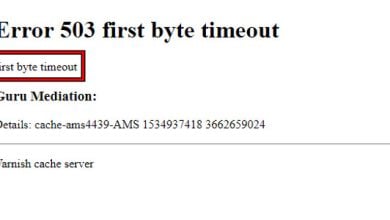
In order to have a better control of your network and to avoid any downtimes, you will have to continuously keep the devices under your eye. This doesn’t mean you will completely eradicate network downtimes, however, it certainly reduces it which is something that you can’t simply ignore. In the worst scenario, if your network faces a downtime, you will have to go through your entire network to see which hosts aren’t functioning properly. Doing this manually would be a lot of work and thus a greater downtime which you surely want to minimize. Therefore, in such a case, you will have to use a third-party tool that constantly pings your network hosts and returns the latency. In case a host is down, the ping will timeout and you will be able to know which device is causing the ordeal.
Downloading the Enhanced Ping Tool
To be able to scan for any host outages, you will have to ping the said host and see if it returns a response. For this purpose, Solarwinds has developed a perfect tool that is included in a toolset. Engineer’s Toolset (download here) is a network software that is like a heaven for network administrators. It contains over 60 tools that you can use to make your daily networking tasks way easier and fun. The more than 60 tools in the product are a must-have for network engineers that help you resolve many network issues, even the complicated ones.
No matter what task you have at hand, there is a tool in the product that you can use. Do you wish to discover your network? Use Ping Sweep or Switch Port Mapper. Want to manage the configuration files of your network devices? Don’t worry, ETS has got you covered by including a Config Viewer tool. That is why we will be using the said product in this guide so make sure you have downloaded the product and installed it on your system. The installation process is pretty simple and you are not required or asked to do any special configuration, it’s just a few clicks. If you wish, you can use the 14 day evaluation period that Solarwinds offers on all of its products so that you are able to test and evaluate the product for yourself.
What is the Enhanced Ping Tool?
Most ping tools lets you ping a specific host or device at a time, that is not the case with Enhanced Ping. Solarwinds Enhanced Ping is a tool that you can use to constantly ping as many devices as you want in your network and have the result returned in various formats. Enhanced Ping basically sends ICMP packets to the target host or IP address and identifies the latency as well as packet loss.
Other than your conventional tabular format, the tool provides a graphical overview of the ping statistics in different forms like bar graph and many more. The results can be printed and exported to various different formats that are available.
Detecting Host Outages
As we have mentioned before, detecting a host outage is simple. You ping it by sending packets to the destination IP address and if the said host responds to the ping, that means the host is up. However, in the contrary scenario, you will have a host outage and a downed network device. This is why it is very helpful during network downtimes as you will be able to locate the culprit host quickly. So, without further ado, let us get into it.
- First of all, you will have to run the Engineers Toolset tool. To do this, press the Windows key and then search for Toolset Launch Pad. It can also be found under Recently Added if you have installed it recently.
- Once the tool has opened up, you will have to launch Enhanced Ping. For this, either go to Diagnostics on the left-hand side and then click the Launch button for Enhanced Ping or you can just search for Enhanced Ping using the search field provided.
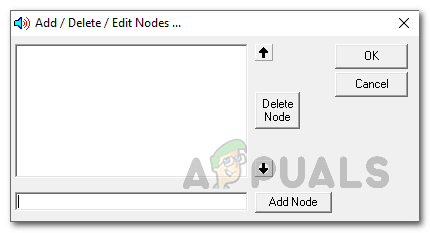
Launching Enhanced Ping - After you have launched the tool, you will have to add devices to it. To do this, click on the Add/Edit option under the menu bar. This will bring up a new dialog box.
- Here, provide the IP addresses one by one that you wish to ping. To do this, enter an IP address at the bottom field and then click the Add Node button. After that, follow it up with any more hosts that you wish to ping.
Adding a Node - Once the target devices have been specified, the tool will begin sending ICMP packets to it and you will be able to see a graph of the results. Every device is allocated a specific color via which you will be able to differentiate one from the others. If you wish to have a table as well, click on the Table option under the menu bar. This will bring up a table under the graphs.
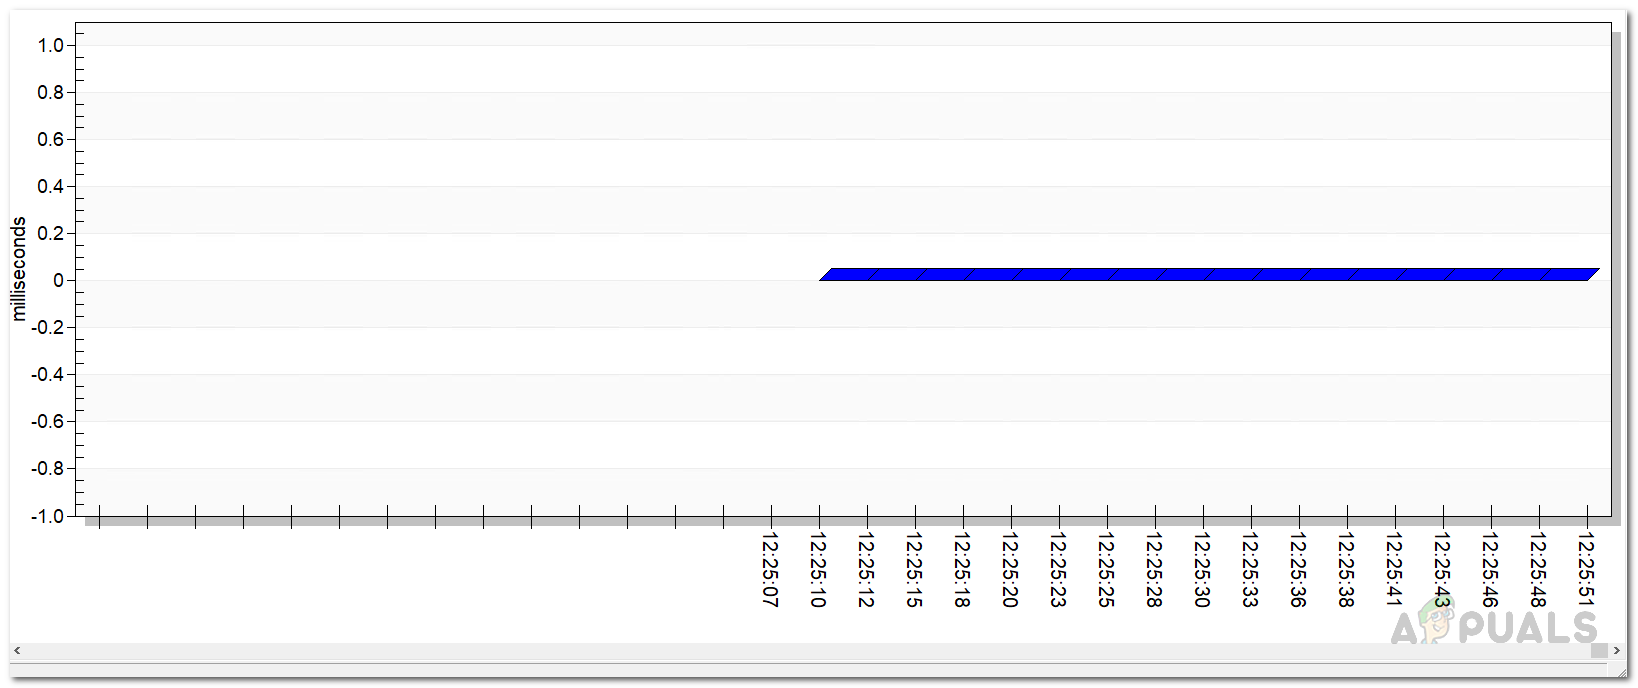
Ping Results - You can change the graph type as there are various available. Thus, you are able to choose from Bar Graph, Area Graph, Ribbon Graph and more.
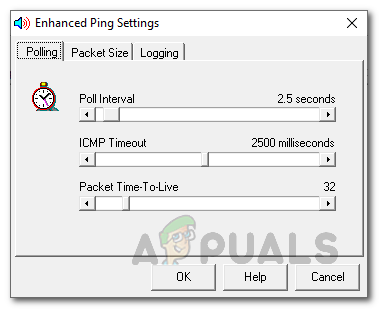
- If you want, you can change the polling interval, packet size as well as enable logging for the ICMP responses. To do this, click the Settings option under the menu bar.
- On the Polling tab, adjust the slider per your polling requirements. The default value is 2.5 second. On the Packet Size tab, you can edit the text box to change the size of the packets sent.
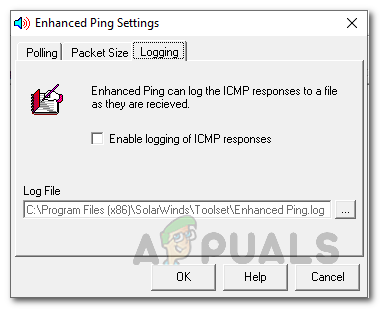
Polling Interval - To enable logging, switch to the Logging tab and then check the Enable Logging of ICMP Responses option. After that, provide a location for the log files.
Logging of Ping Responses - To export the ping results, click on the Export option and then choose a format.
- If you wish to print the ping results, you can easily do so by clicking the Print button provided under the menu bar.