How to Fix High Memory Usage by Chrome GPU Process?
 Reviewed by Muhammad Zubyan
Your system will become sluggish when the GPU process of the Chrome browser starts exhibiting high memory usage. This issue occurs on Chrome browsers in desktop systems including Windows, Mac, Linux, etc. It has been reported that updates to Chrome or the system can trigger this problem.
The high memory usage by Chrome’s GPU process can be caused by several factors. Firstly, we will try to clear the issue with less invasive methods and then we will move to methods like removing browsing data and uninstalling Chrome.
1. End the GPU Process in the Chrome’s Task Manager
The GPU process on Chrome will use high memory due to a malfunction in its core components. Here, ending the GPU process in Chrome’s Task Manager will solve the problem. The process will restart with the default configurations. You may have to reload some tabs.
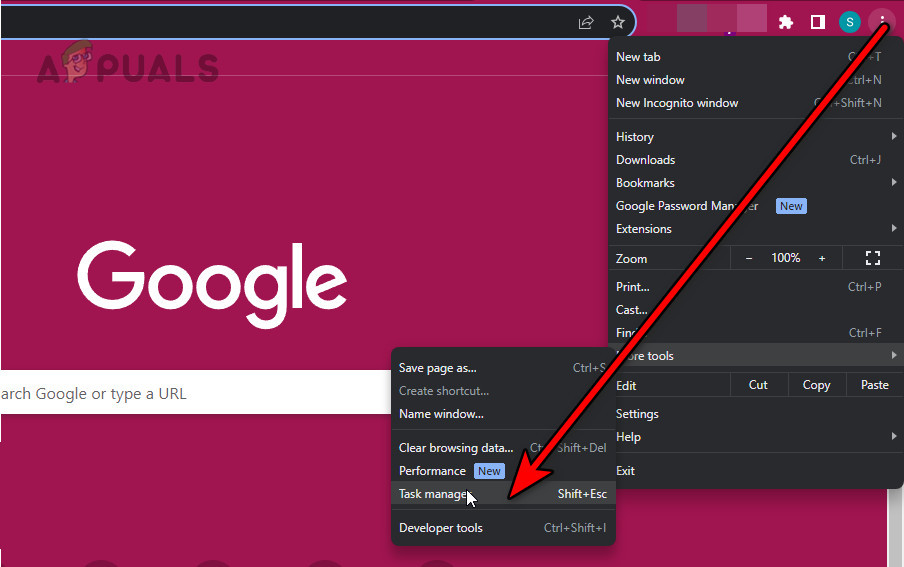
- In the Chrome window, expand the Chrome menu and hover over More Tools.
- In the sub-menu, open Task Manager and right-click on the column headings. You can also launch the Chrome Task Manager by pressing Shift + Esc keys.
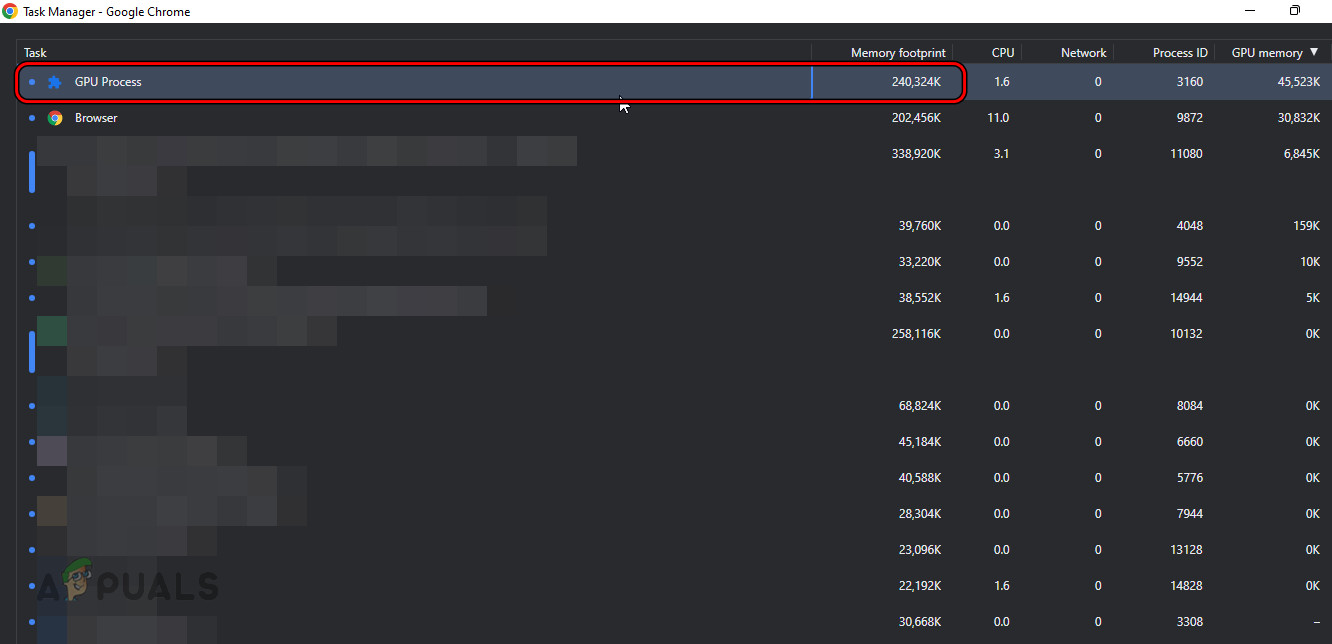
Open Google Chrome Task Manager - Select GPU Memory and click on GPU Memory to sort the processes w.r.t high GPU usage.
- See which of the tabs or processes are consuming the memory.
- Select the one and click on End Process.
- Repeat the same for other tabs.
- Select the GPU Process and click on End Process.
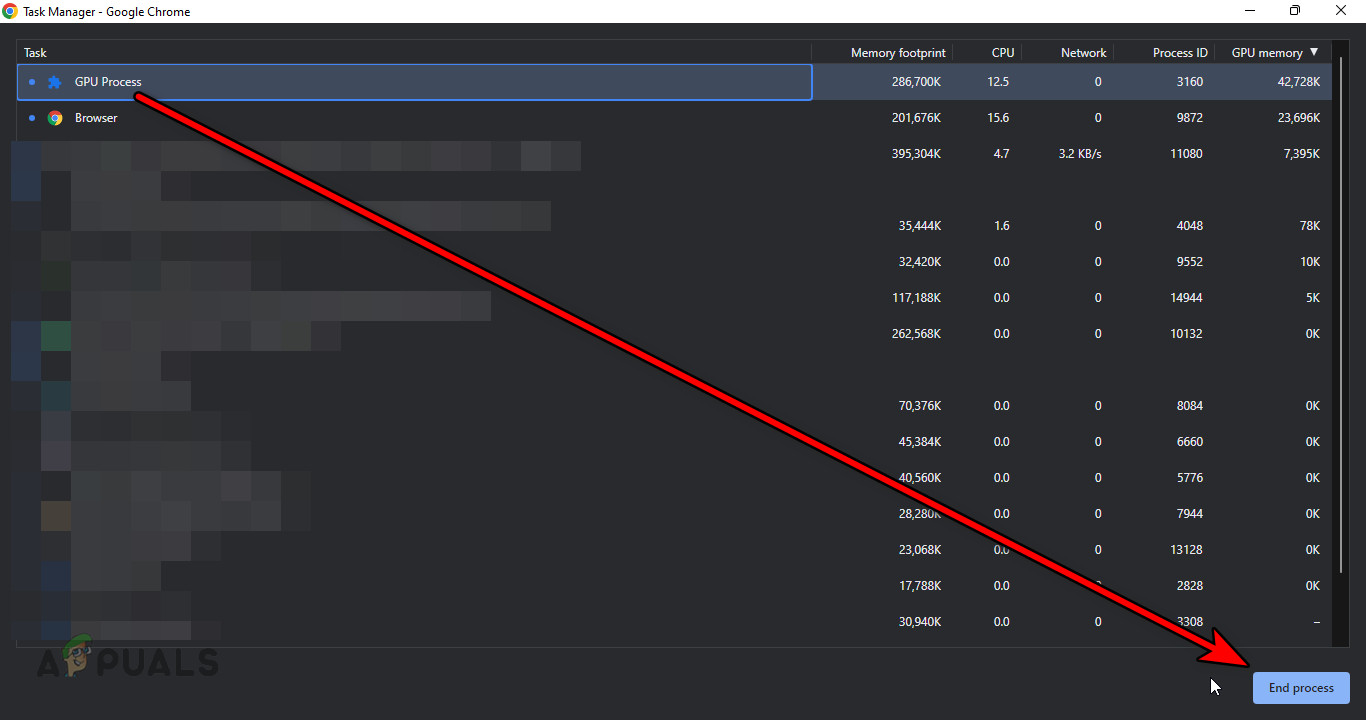
End GPU Process in the Chrome’s Task Manager - Close the Task Manager and check if the high memory usage issue is resolved.
2. Relaunch Chrome, Restart the Graphics Driver or the System
The GPU process of Chrome will consume excessive memory due to a malfunction in Chrome’s graphic-handling modules, an error loop in the system’s graphics driver, or the graphics components of the operating system being stuck in operation.
To resolve this issue, you can try relaunching Chrome, restarting the graphics driver, or restarting the system.
Relaunch Chrome
- Exit Chrome and open the system Task Manager or Activity Monitor.
- End all the Chrome-related processes and open Chrome. Verify if the GPU issue is resolved. You can also use the following in a new tab in Chrome to restart it:
chrome://restart
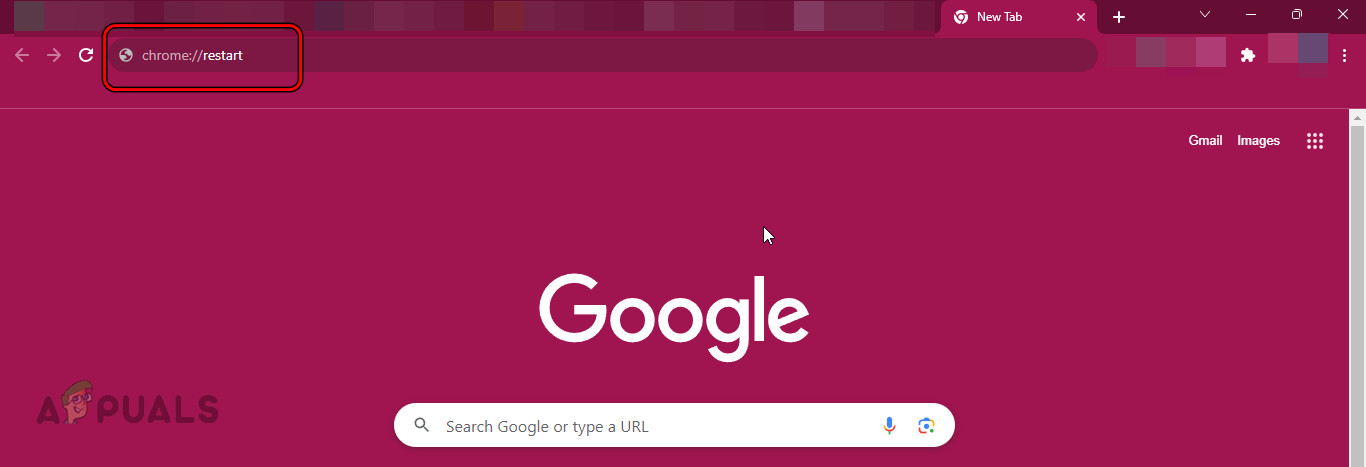
Restart Chrome
Restart the Graphics Driver
- Press the following keys on the keyboard:
Windows

Ctrl

Shift

B
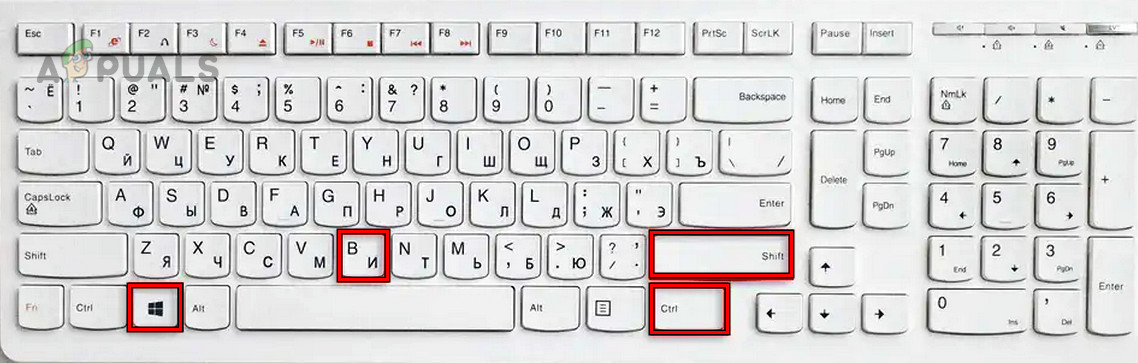
Restart the System’s Graphics Driver by Pressing Windows + Ctrl + Shift + B Keys - See if the memory usage by the GPU process is back to normal.
Restart the System
- Close the Chrome browser and restart the system.
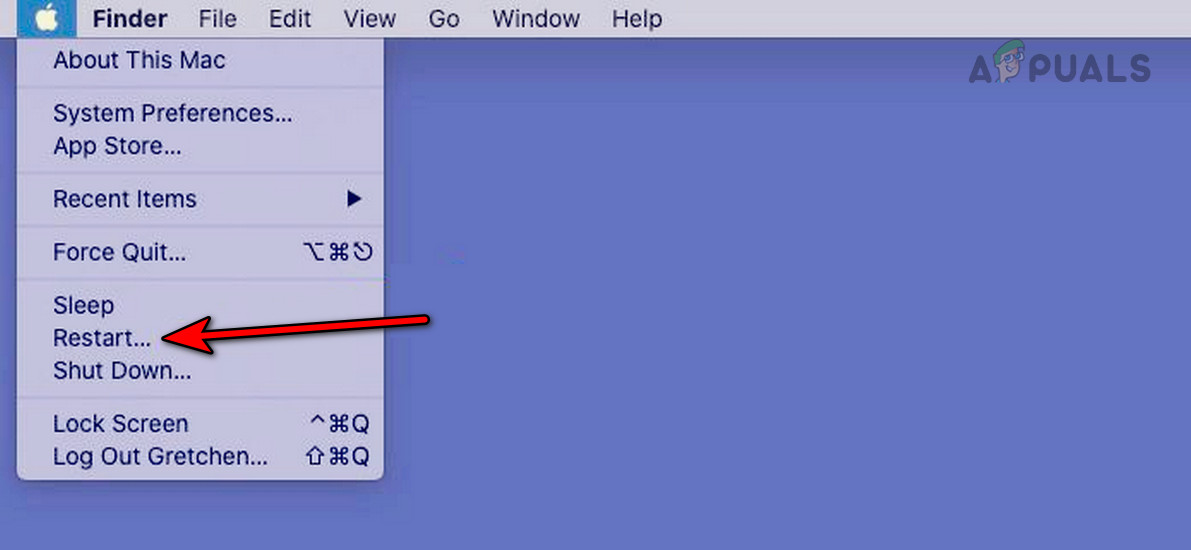
Restart the MacBook - Upon restart, launch Chrome and see if the issue is resolved.
3. Update the Chrome Browser to the Latest Build
A Chrome bug might have triggered excessive memory usage by the browser. Updating the browser to the latest build will fetch fresh files from Google & can clear the high memory usage.
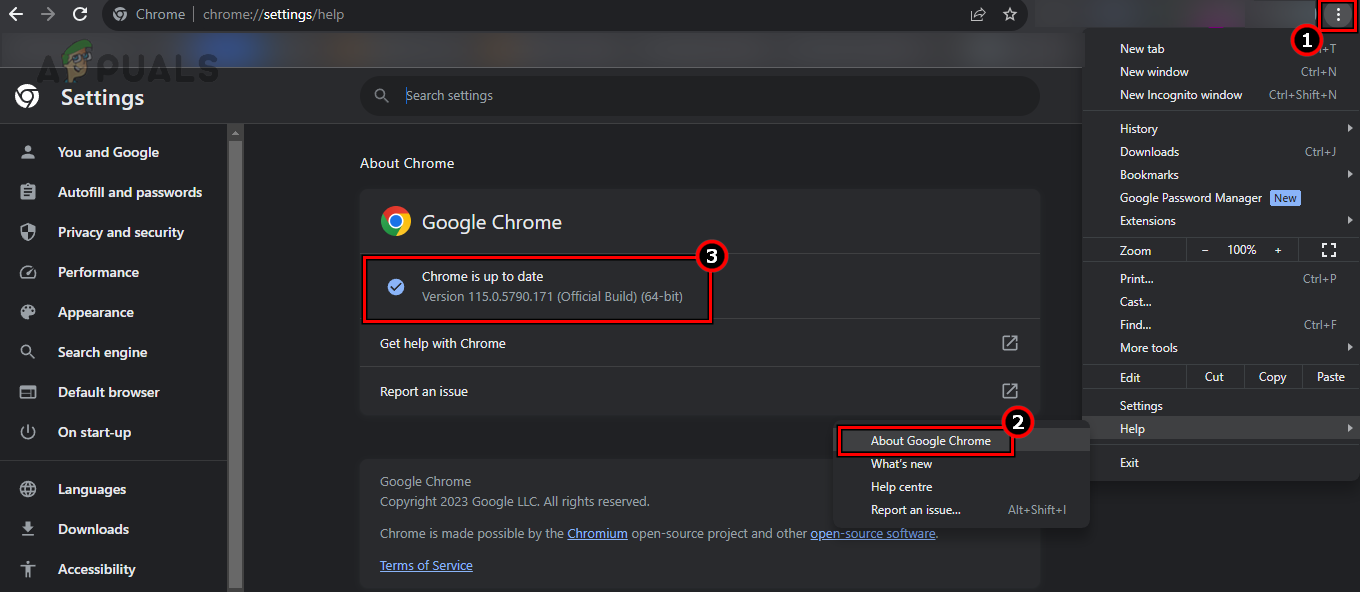
- Open the Chrome menu and hover over Help.
- Select About Google Chrome and make sure the browser is updated.
- Once done, click on Relaunch, and then check if the GPU process is back to normal.
Update Google Chrome
4. Update, Reinstall, or Disable the Graphics Driver (Windows Only)
If the graphic driver of the system is outdated or is not compatible with the Chrome browser, it won’t work correctly. This can lead to the GPU process using a lot of memory. To solve this problem, you can update, reinstall, or turn off the graphics driver
Update the Graphics Driver
- Right-click Windows and open Device Manager.
- Expand the Display Adapter tab and right-click on the graphics driver.
- Select Update Driver and once updated, restart the system.
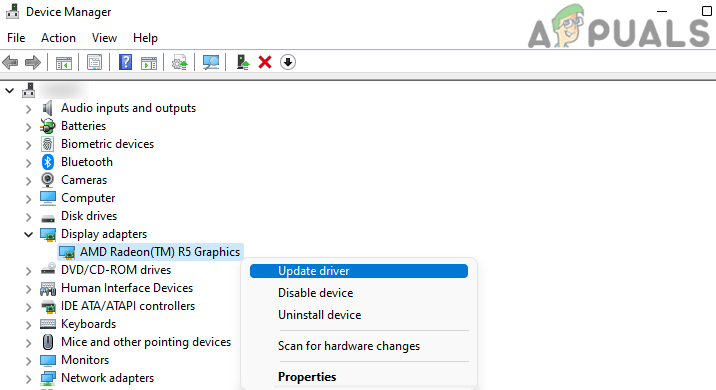
Update Driver of the Graphics Device in the Device Manager - Launch Chrome and see if the problem is solved.
- If this does not work and you have an update utility (like HP Support Assistant), use the utility to update the driver and restart the system. Check if this clears the issue.
Reinstall the Graphics Driver
- Download the latest graphics driver from the OEM website.
- Open the Device Manager and expand the Display Adapters tab.
- Right-click on the graphics driver and select Uninstall Device.
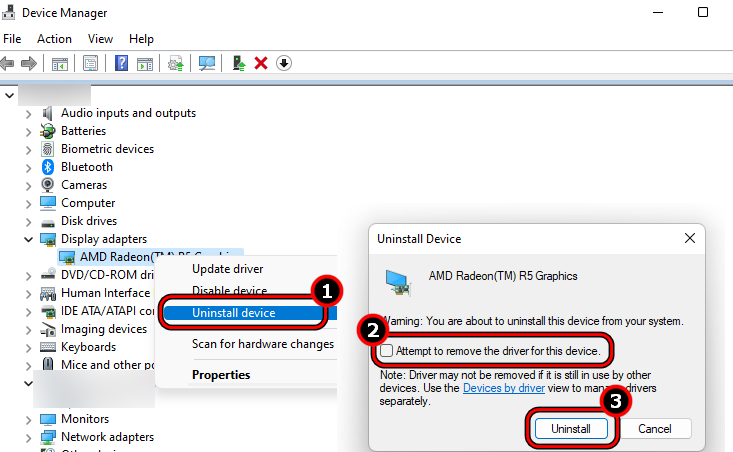
Uninstall Display Device in the Device Manager and Attempt to Remove Driver of This Device - Checkmark the option of Attempt to Remove the Driver of This Device and click on Uninstall.
- Restart the system, and if Windows tries to install a generic driver, let it complete. Check if this clears the issue.
- If not, install the latest OEM graphics driver and restart the system. See if the GPU issue is cleared.
Disable the Graphics Device
- Open the Device Manager and expand the Display Adapters tab.
- Right-click on the graphics driver and select Disable.
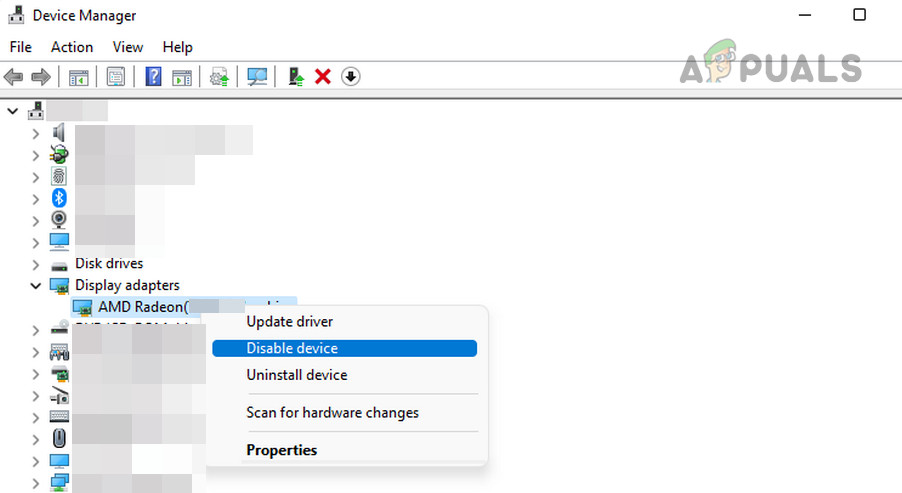
Disable Graphics Device in the Device Manager - Confirm to disable the device and see if this clears the high memory problem.
5. Disable Background Chrome Apps
You will see high memory usage by the Chrome GPU process if a background Chrome app is extensively using the GPU. In such a case, disabling Background Chrome Apps will solve the problem.
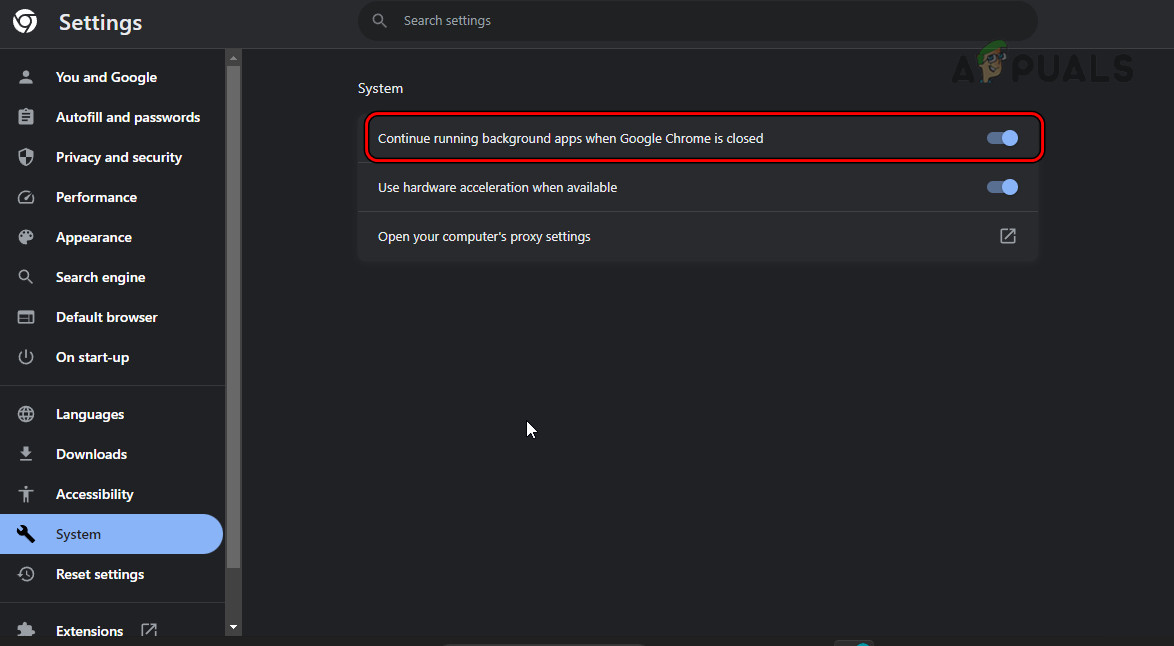
- Open the Chrome menu and navigate to Settings.
- Go to the System tab, and in the right pane, disable Continue Running Background Apps When Google Chrome is Closed.
Disable the Background Apps in Chrome - Close Chrome and end its running processes in the Task Manager.
- Launch Chrome and check if the high memory usage by the GPU process has ended.
6. Disable Chrome’s Hardware Acceleration
When hardware acceleration is enabled, the media-related tasks (such as playing a video in the browser) are handed over to the GPU from the CPU. If this feature is not optimal in your setup, it can cause high memory usage by the GPU.
To fix this, disable Hardware Acceleration in the Chrome settings.
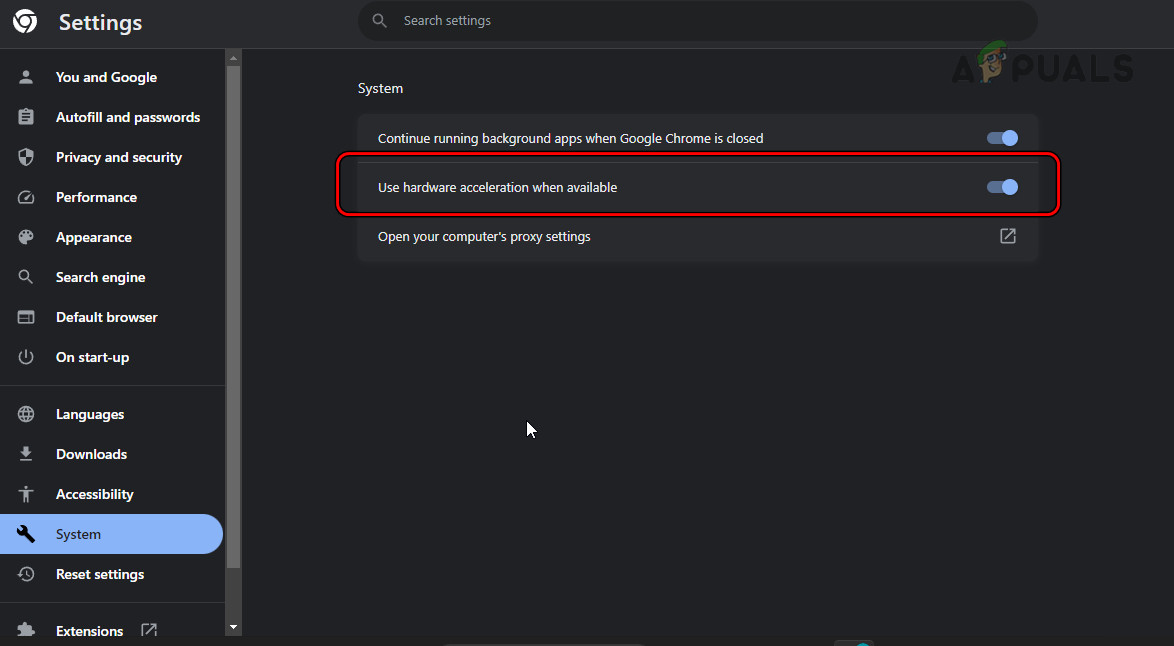
- Open the Chrome menu and go to Settings > System.
- In the right pane, disable Hardware Acceleration When Available and relaunch Chrome. See if the GPU issue is resolved.
Disable Hardware Acceleration in Chrome - If the Hardware Acceleration is already disabled, enable it and confirm if this clears the high memory usage.
7. Check for a Faulty Browser Extension
The GPU process will use memory extensively if an extension is misbehaving or not compatible with your system. In such a case, checking for a faulty extension and removing it will solve the problem.
- Click on the Extensions icon and open Manage Extensions.
- Disable all the extensions one by one and relaunch Chrome. Check if the issue is resolved.
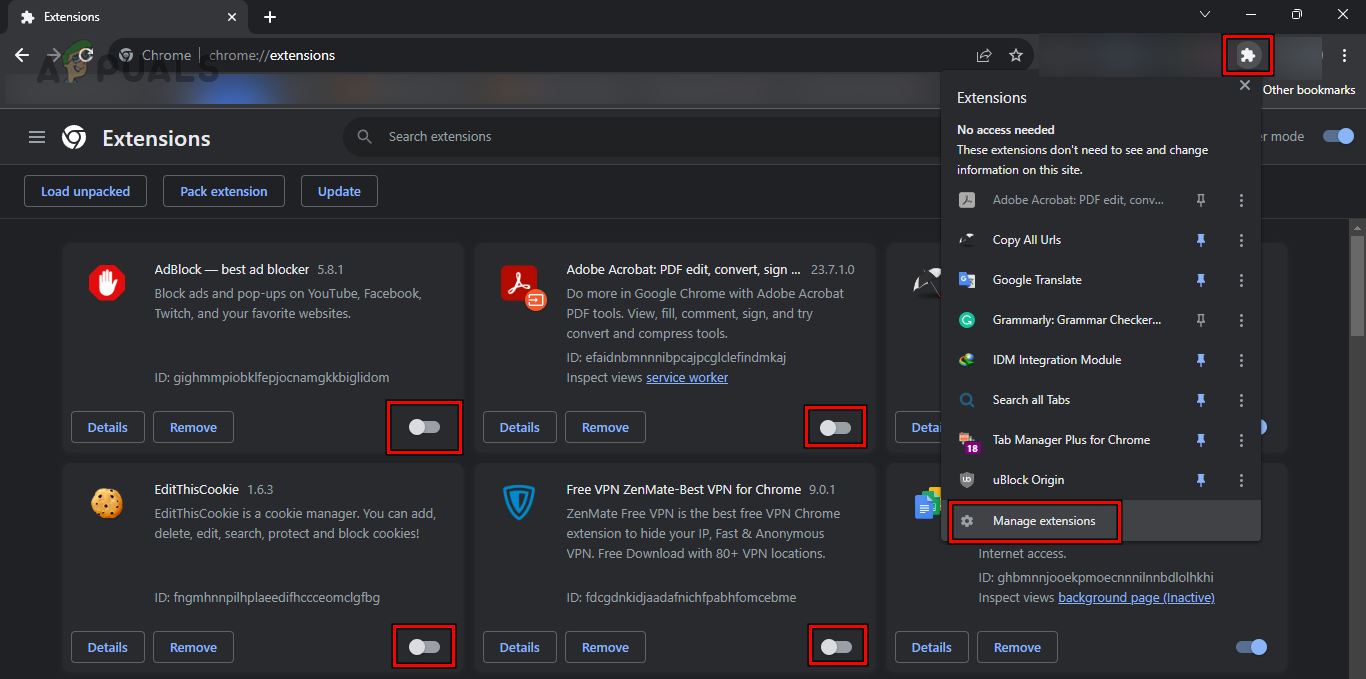
Disable Extensions on Chrome - If the issue is resolved, enable the extensions one by one to find out the offending one. Once found, uninstall it.
- If the issue persists even after disabling the extensions, uninstall all the extensions and see if that solves the problem.
Following is the list of extensions that are reported to cause the issue:
- Tab Sleeper
- LastPass
- Adobe Acrobat
- Grammarly
- Ghostery
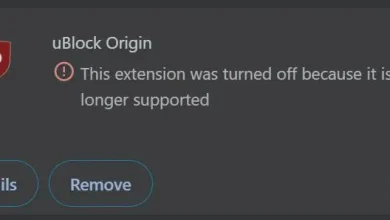
- Ublock Origin
- Augury
8. Clear Browsing Data of the Chrome
You will face a high memory issue if the browsing data (cookies, cache, and history) is no longer in a valid state and as a result, causes extra load on the GPU. This can be solved by clearing the browsing data of Chrome.
Backup any essential data (such as the website passwords) that you may require later.
- Open the Chrome menu and go to More Tools > Clear Browsing Data.
- Sign out of the Google account (to keep the history in the Google account) and set the Time Range of All Time.
- Select all the categories and click on Clear Data.
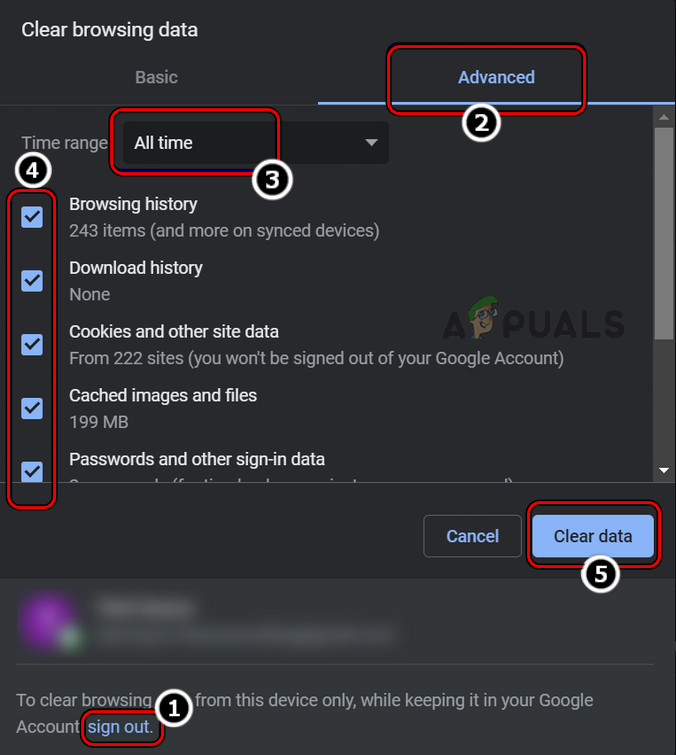
Clear Browsing Data of All Time in Chrome - Once done, relaunch Chrome and see if the GPU memory usage is normal.
If the issue clears but reoccurs after some time, you may use a Cache Killing extension to automatically delete the cache.
9. Create Another Chrome Profile
If your user profile in Chrome has invalid configurations or its core components are damaged, this can lead to excessive memory usage by Chrome. To solve this, create another Chrome profile on your system.
- Launch the Chrome browser and click on your user icon (near the three vertical ellipses).
- Click on Add and follow the prompts to complete the process.
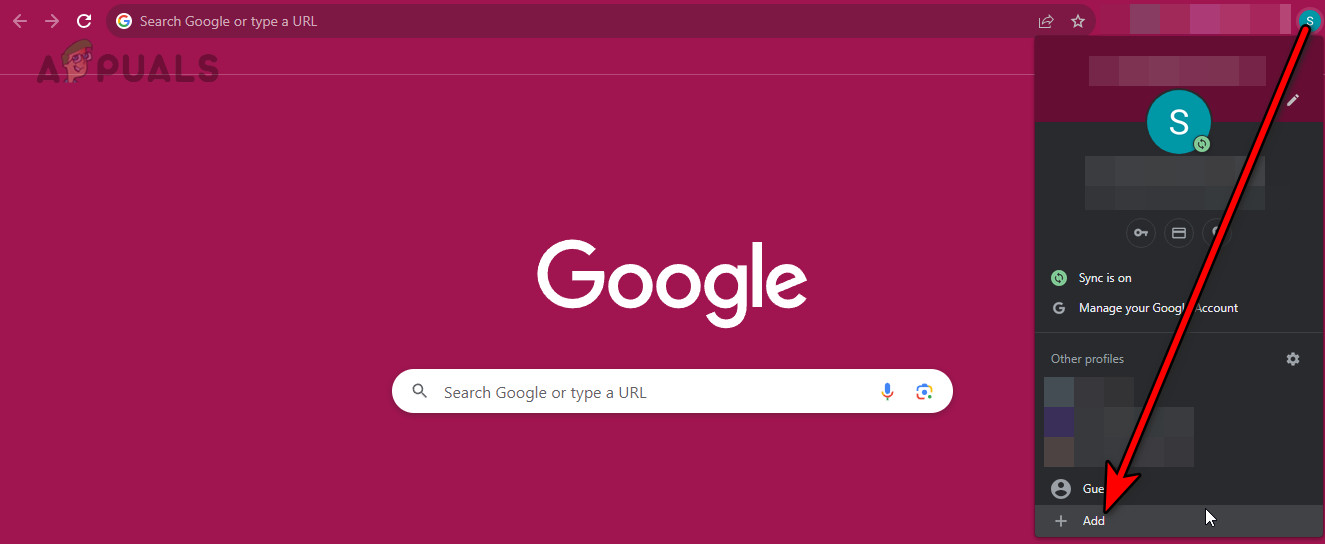
Add a New Profile to the Chrome Browser - Once done, check if the GPU usage is normal in the new profile.
10. Reset the Chrome Settings
You will get high memory usage by the GPU process if the customization of a graphic setting of the browser is not optimal for your system. To fix this, reset the Chrome Settings to the default settings.
- Open the Chrome menu and go to Settings.
- Navigate to the Reset Settings tab and click on Reset Settings to Their Original Defaults.

Reset the Chrome Settings to the Defaults - Confirm to reset the settings to the defaults and relaunch Chrome. Verify if the GPU process issue is resolved.
11. Reinstall the Chrome Browser
The GPU process will show high memory usage if its core modules handling graphics are damaged or malfunctioning. An update that did not properly patch the previous installation might have caused the issue.
In such a case, reinstalling the Chrome browser will solve the problem. Before uninstalling, make sure to note down or back up the data (such as website passwords) that may be required later. To uninstall Chrome on Windows:
- Close the Chrome browser and right-click on the Windows button.
- Open Apps & Features and expand the options for Chrome.
- Select Uninstall and confirm to uninstall the browser.
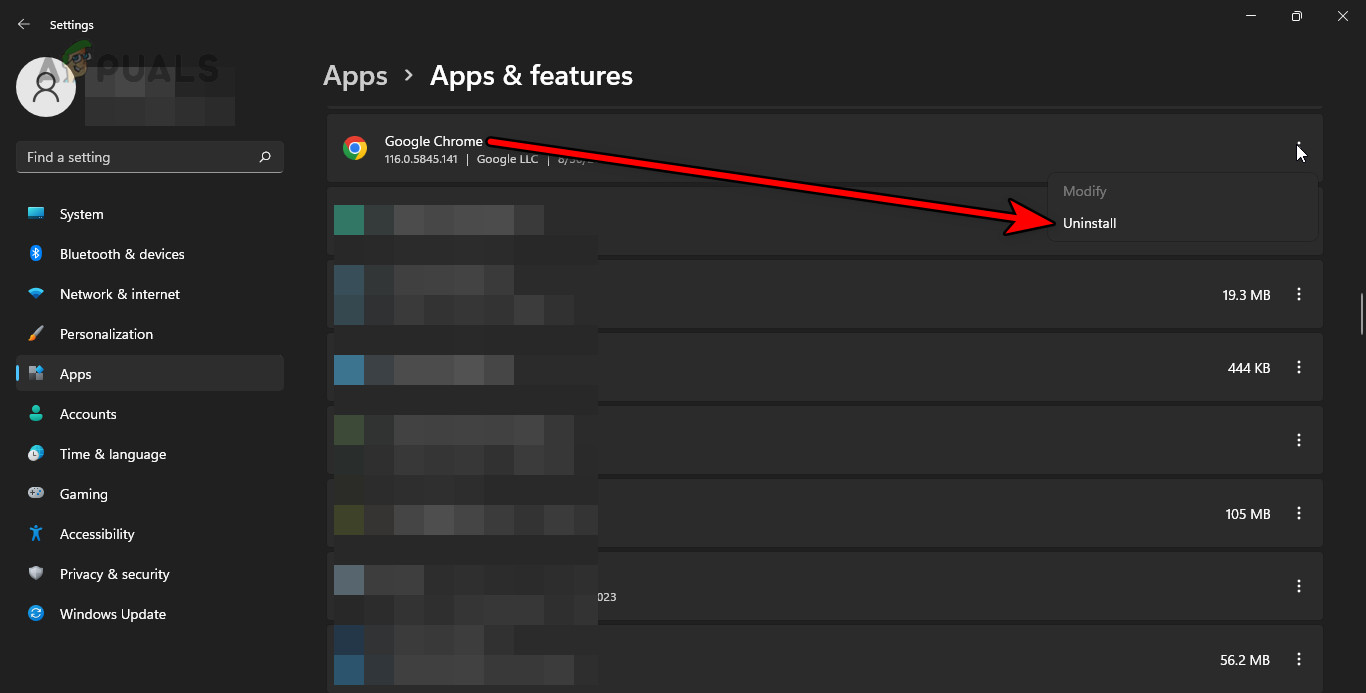
Uninstall Google Chrome on Windows - Follow the prompt on the screen to complete the process, and once done, restart the system.
- Open the Run command box and delete the Chrome folders from the following locations:
\Program Files\Google

%localappdata%\Google
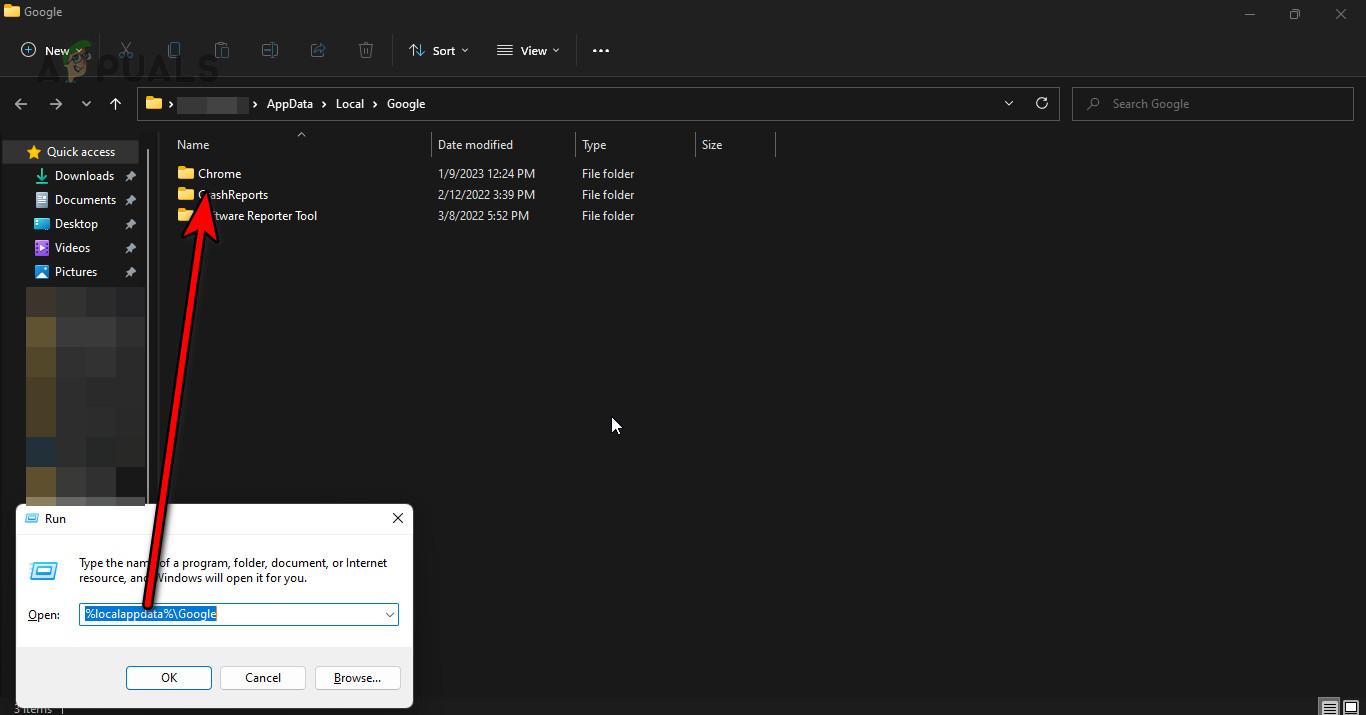
Delete the Chrome Folder in the Local App Data Directory - Reinstall Chrome and see if the high memory usage is cleared.
If none of the above works, reset the system to the factory defaults or reinstall the system’s OS. If not, replace the RAMs of the system and check if that clears the issue. If this does not work, contact Google Support. Till then, you may use another browser.
Reviewed by Muhammad Zubyan