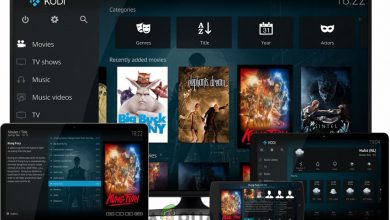
How to Fix Kodi Playback Failed Error
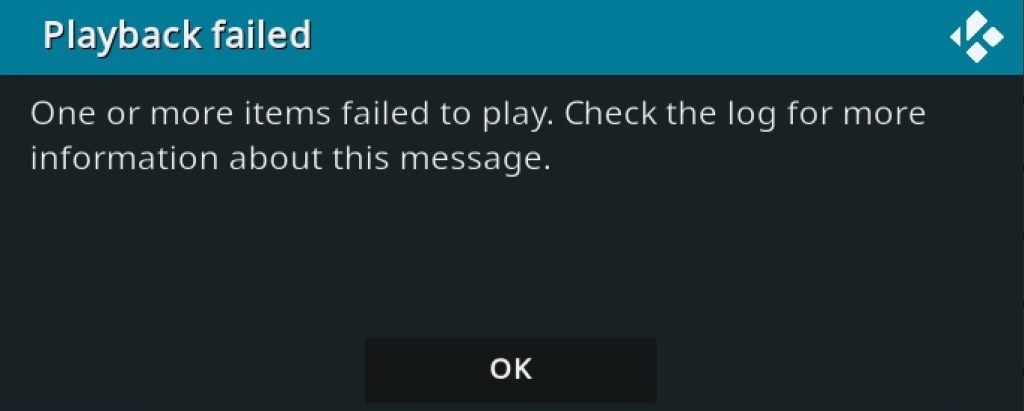
When encountering the “Kodi playback failed” error, users often find themselves unable to play media content, encountering a message that states one or more items failed to play and suggests checking the log file for details. This issue frequently results from problems with the media file’s compatibility, such as unsupported formats or codec issues, which manifest as errors like “ERROR: CDVDPlayer::OpenDemuxStream – Error creating demuxer” in the Kodi debug log.
A frequent cause of playback failure in Kodi is incorrect media file paths or access issues, especially with networked sources like SMB/CIFS shares. Permissions issues or SMB protocol mismatches between Kodi and the server can prevent Kodi from accessing or playing files stored on network-attached storage devices or other computers.
In addition to network-related issues, playback problems may also stem from user-agent blocking by certain content providers. For example, changing the user-agent setting in the IPTV Simple Client from “kodi” to “VLC” or another value can resolve playback issues with specific m3u lists that work in VLC but not in Kodi. This workaround implies that some providers may block Kodi’s default user-agent, possibly due to security concerns or to regulate access.
If this simple fix doesn’t work for you, try the following solutions:
1. Check Your Internet Connection
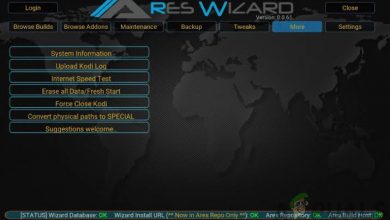
Test your Internet speed to determine if you have a stable and reliable connection, as an inconsistent connection can cause this error. If you are using a PC, check your Internet speed at Google Fiber Internet Speed Test.
Consider restarting your computer before proceeding with more advanced methods. Restarting your PC can eliminate temporary files and ensure applications, such as Kodi media player, function with the latest dependencies in the updated system environment.
2. Clear Maintenance Cache
Cache acts as temporary storage allowing for a smooth video-watching experience without buffering. However, if the cache becomes full, Kodi may have trouble maintaining video quality, leading to crashes or slowdowns.
- Open the Kodi Media Player.
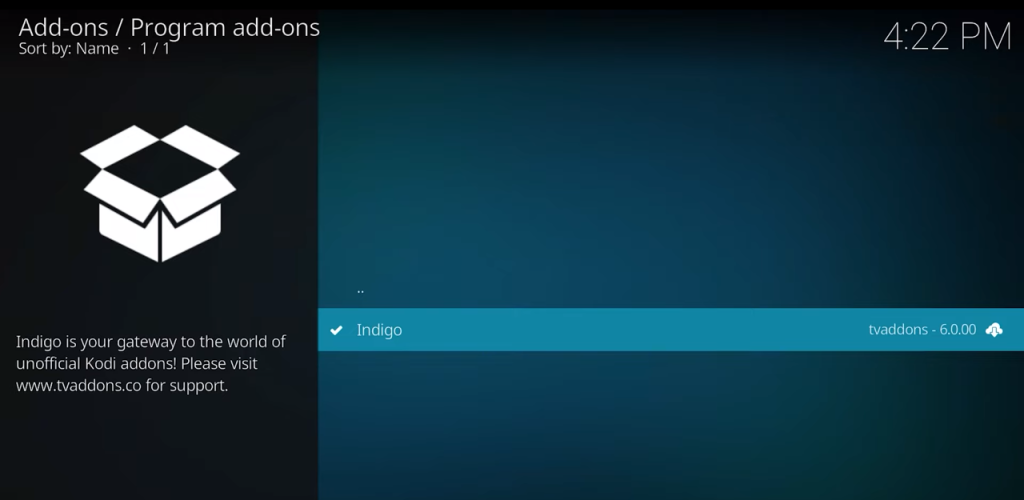
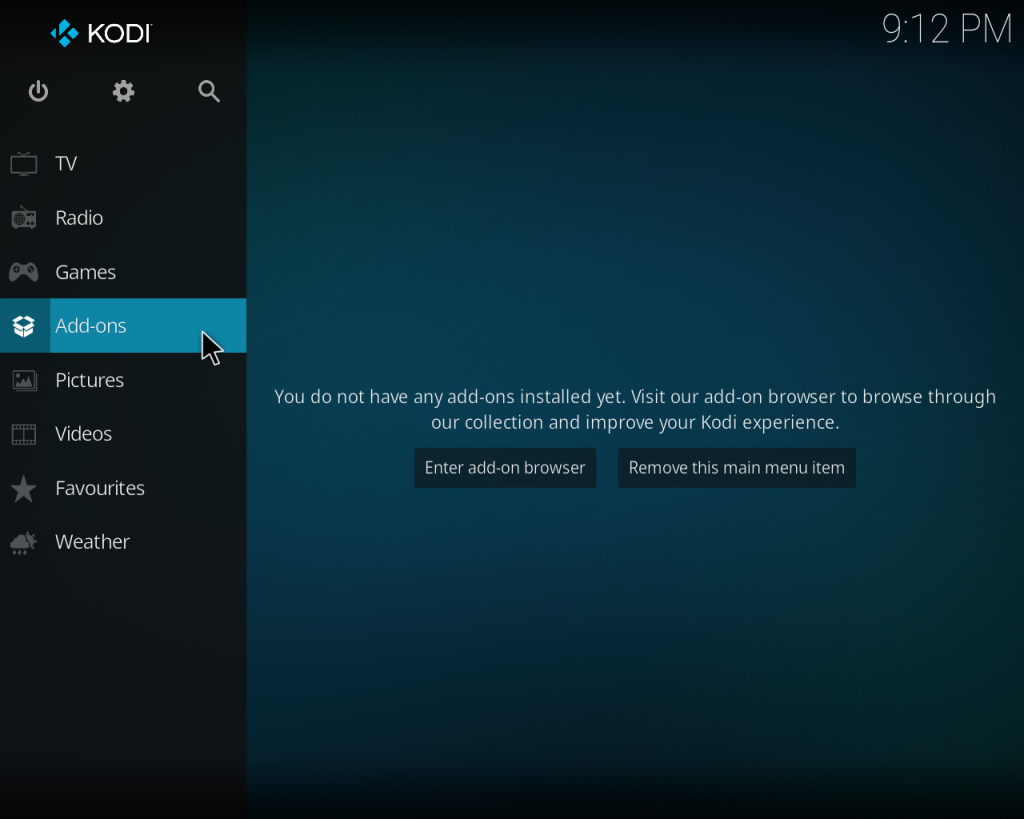
- Navigate to the Add-ons section.
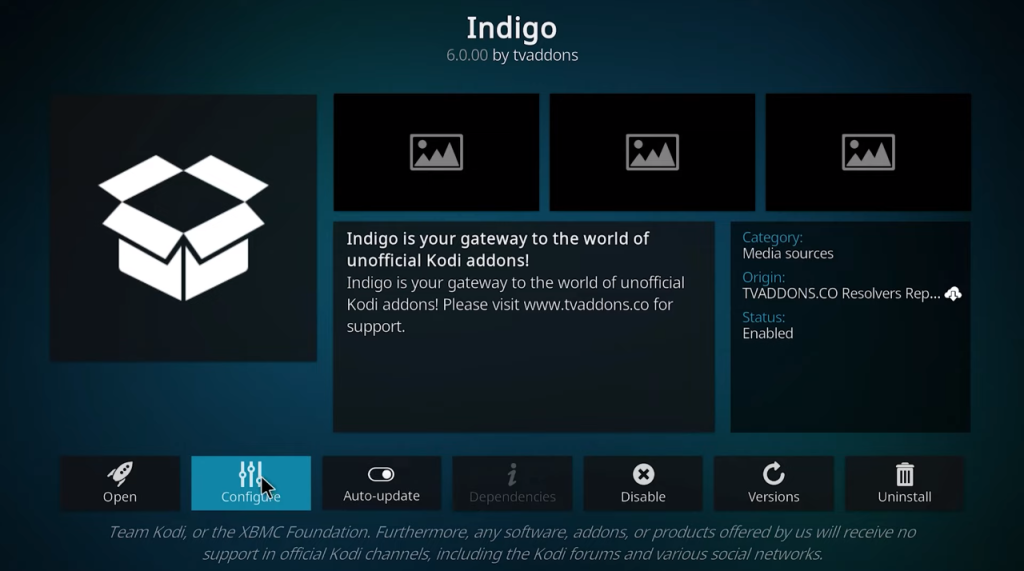
- Select Program Add-ons and open Indigo.
- Click on Configuration.
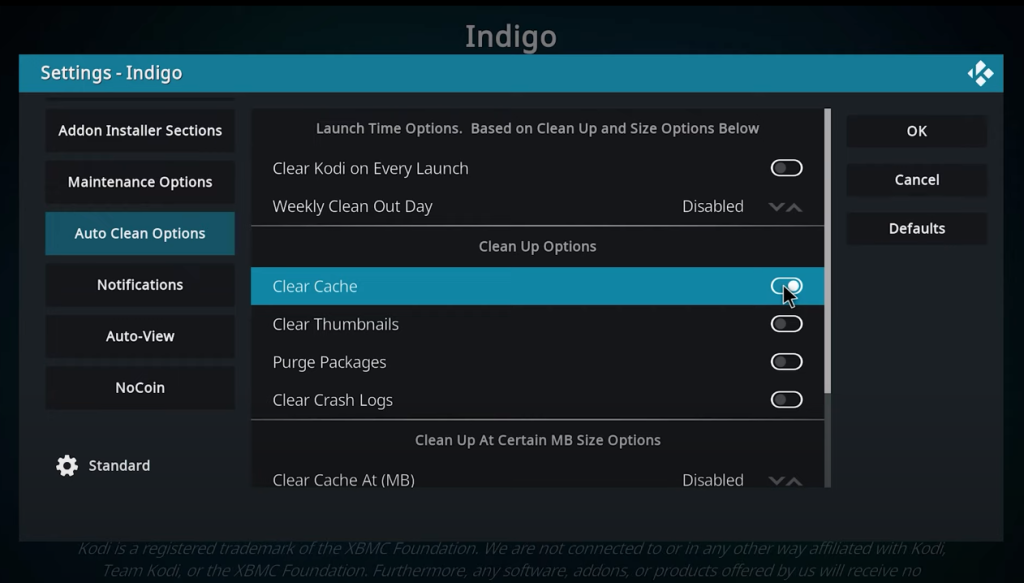
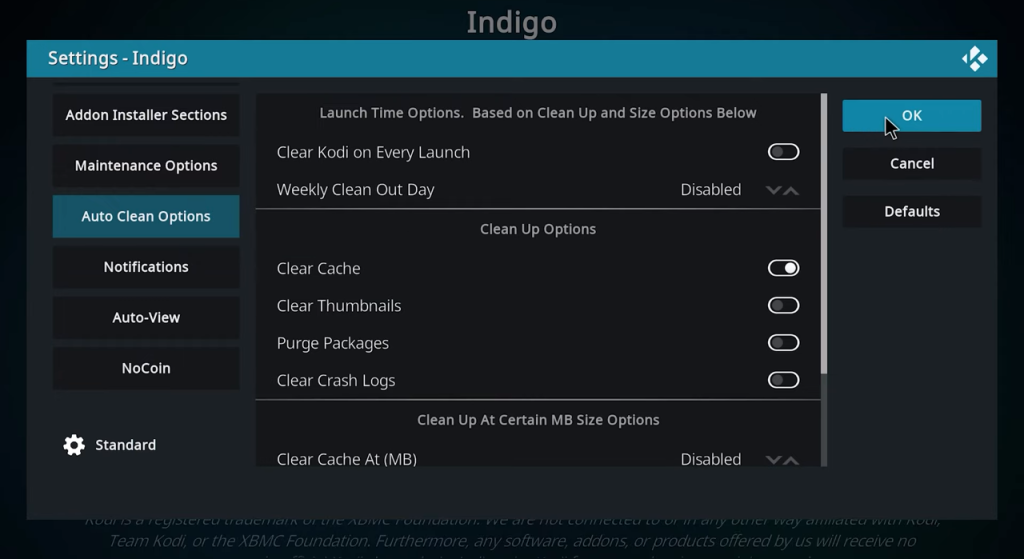
- Go to the Auto Clean option and select Clear Cache.
- After completing, click OK to Exit. You have now successfully cleared Kodi’s cache.
3. Update to the Latest Version
Regular updates refine and improve applications, providing a better user experience and avoiding many of the bugs, glitches, and errors found in earlier versions.
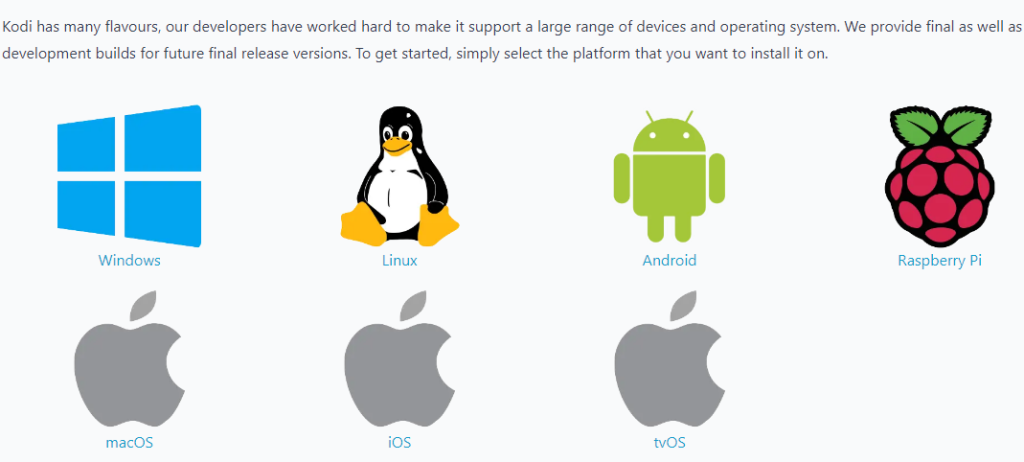
- Visit the Kodi official website.
- Select the platform currently being used for Kodi.
- Download the version (64-bit or 32-bit) appropriate for your operating system.
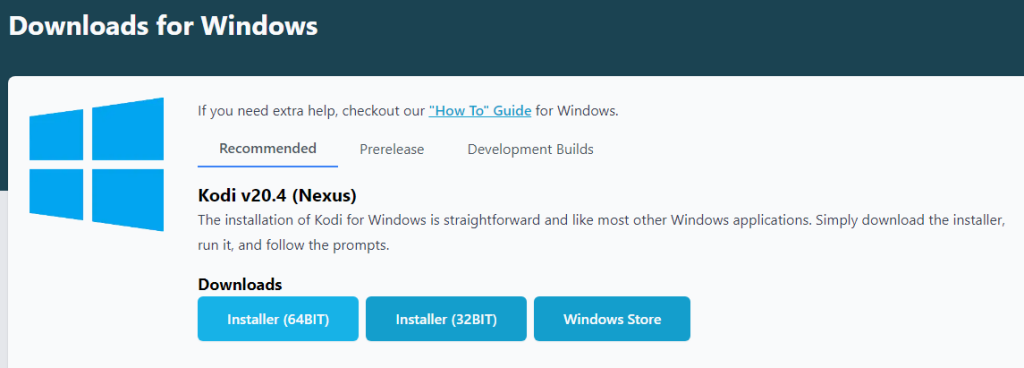
- Execute the installer and follow the on-screen instructions to install the latest version of Kodi.
It’s also important to ensure that add-ons are updated to be compatible with the current system environment, reducing the risk of bugs and crashes.
- Launch the Kodi Application.
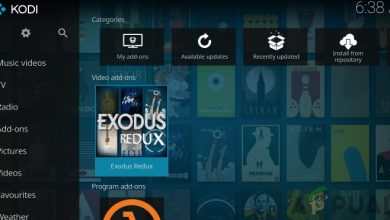
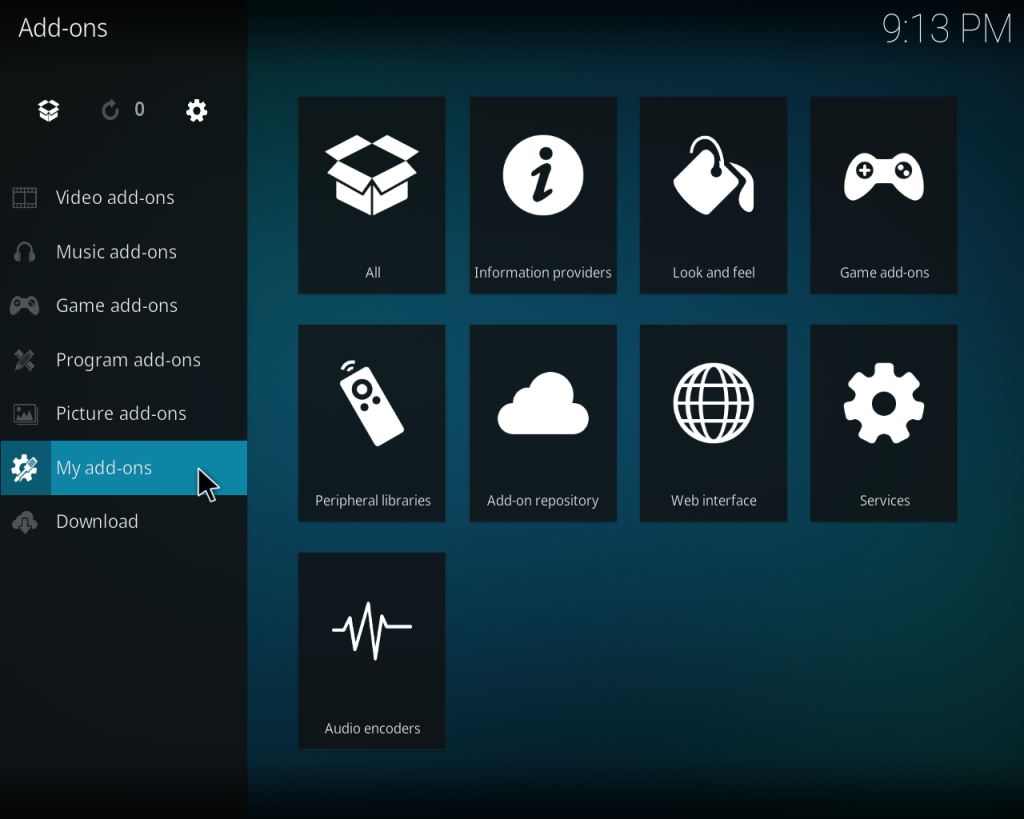
- Click on Add-ons.
- Select My Add-ons.
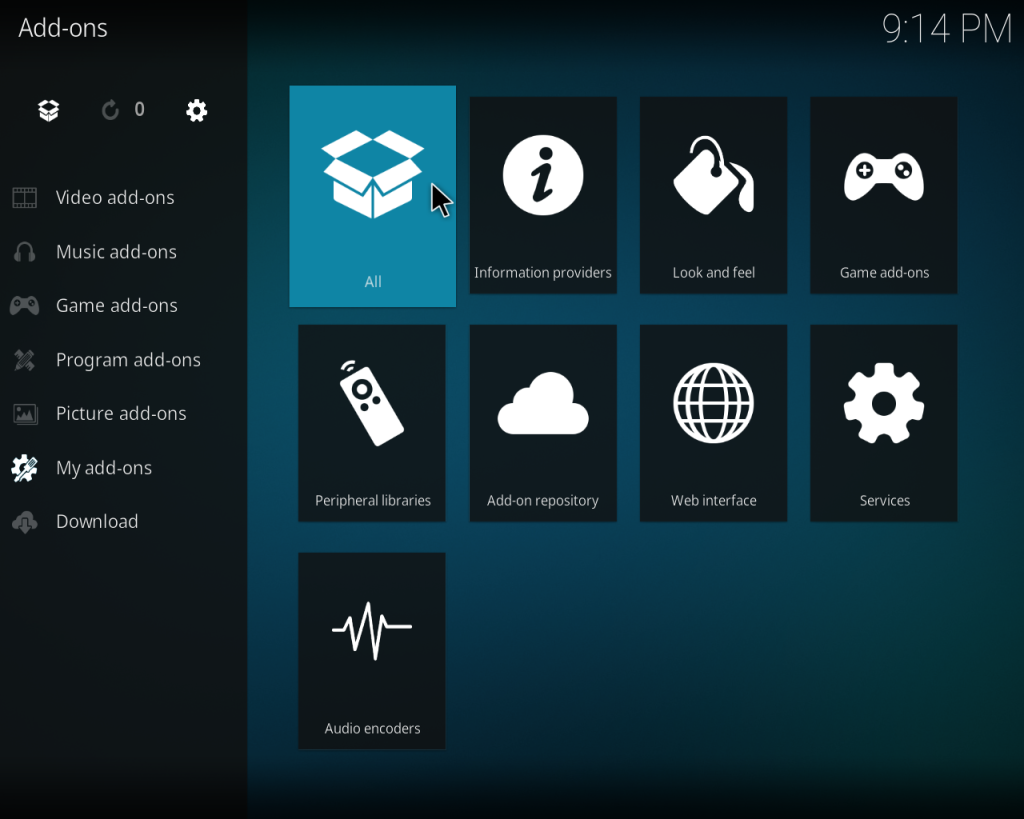
- Click on All.
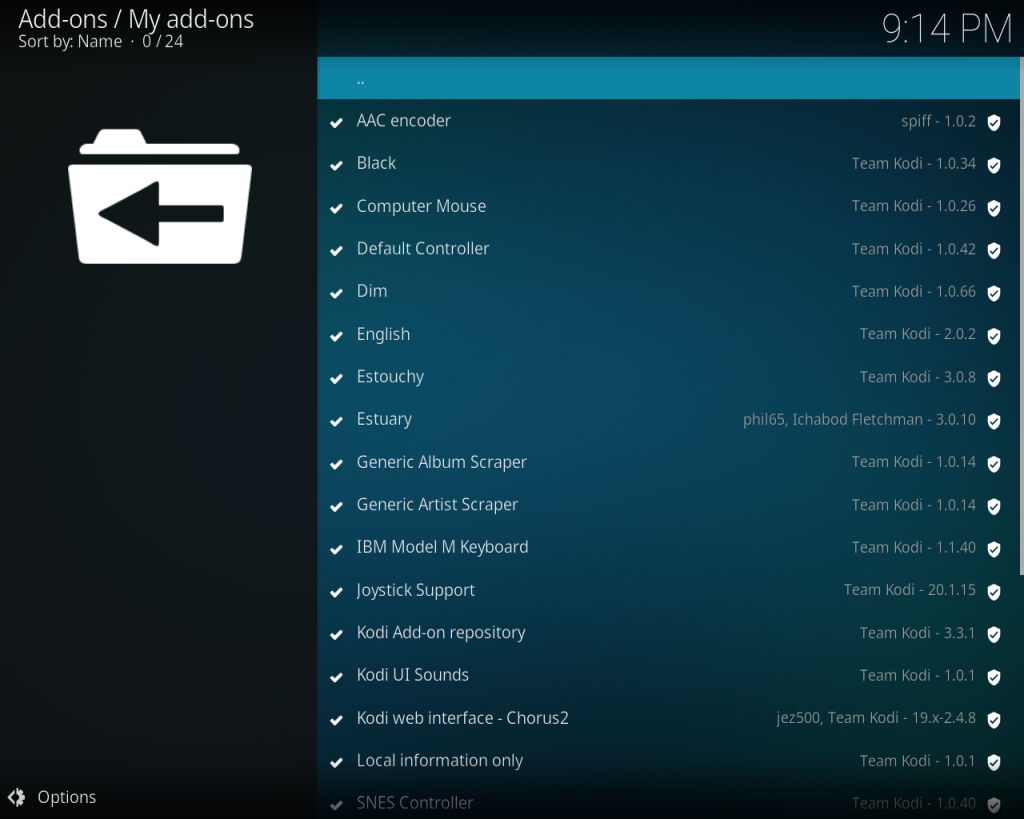
- Choose the add-ons you wish to update (e.g., Estouchy).
- Select Versions.
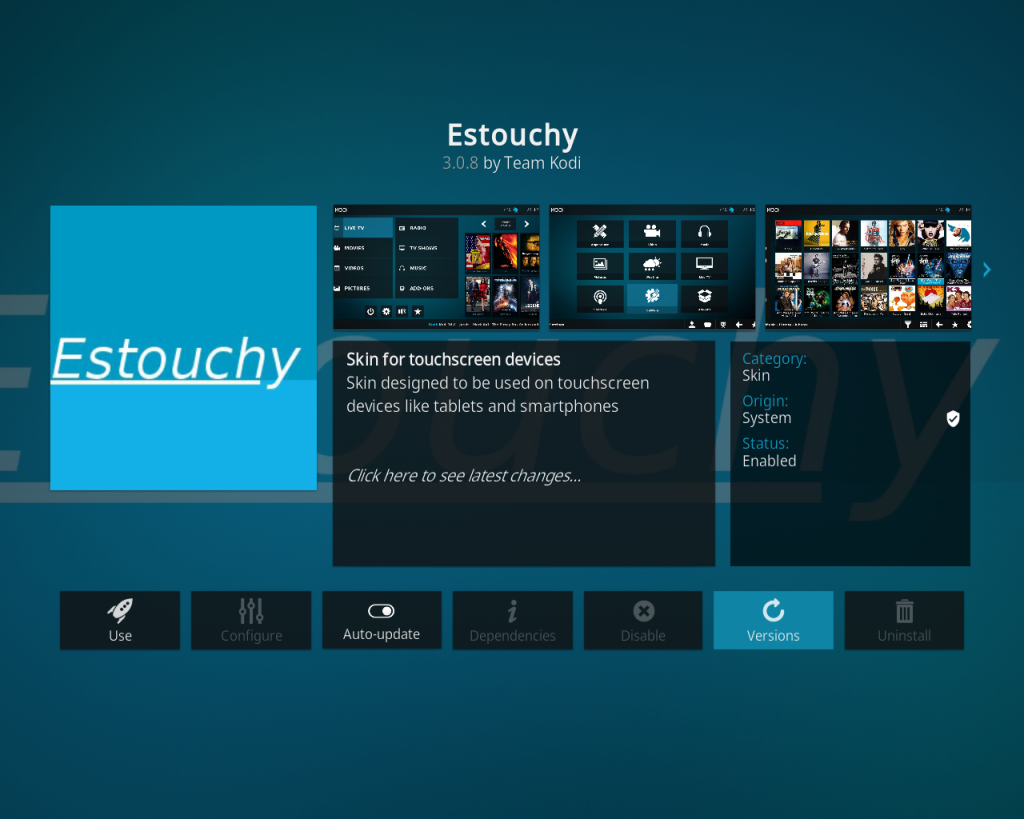
- Update to the latest version available.