Fix: HP Printer not printing
Hewlett Packard (HP) has made its way into the printing industry competing with other competitors such as Canon or Brother head-on. These printers are known for their durability and preciseness in printer colored and non-colored pages.
However, like all other printers, HP printers also have their share of problems. One of these problems is the printer not printing. It either prints half pages, misses some lines, doesn’t print in color or doesn’t print at all. This issue is very widespread and becomes a nuisance for HP users to this day. We have put together a list of solutions for you to try. Start with the first one and work your way down.
Solution 1: Performing basic checks
Before we move on with proper technical workarounds, it is advised that you implement these basic checks on your setup.
- Check the status of the connection between your printer and your computer. If you are using a network connection, make sure all the details (IP address and ports) are aligned with your printer’s configuration.
- Perform a power cycle of the entire setup (your computer and the printer) before you move on. There may be some misconfiguration which might induce unknown problems. Turn all the modules off, take out the power cord from the devices and let them sit like for ~10 minutes before plugging everything back in.
Solution 2: Checking Cartridge
Another major problem which HP users experience is of cartridges. All printers run on cartridges and they provide the ‘ink’ for printing. Issues you might face with cartridges are quite broad so we will only cover the basics so you get a rough idea.
Cartridges may sometimes be defective even if they are bought new from the store. Try replacing the cartridges. If you are using counterfeit cartridges, you should try using original ones and if you are using original ones, you should try counterfeit ones. This decision depends on system to system.
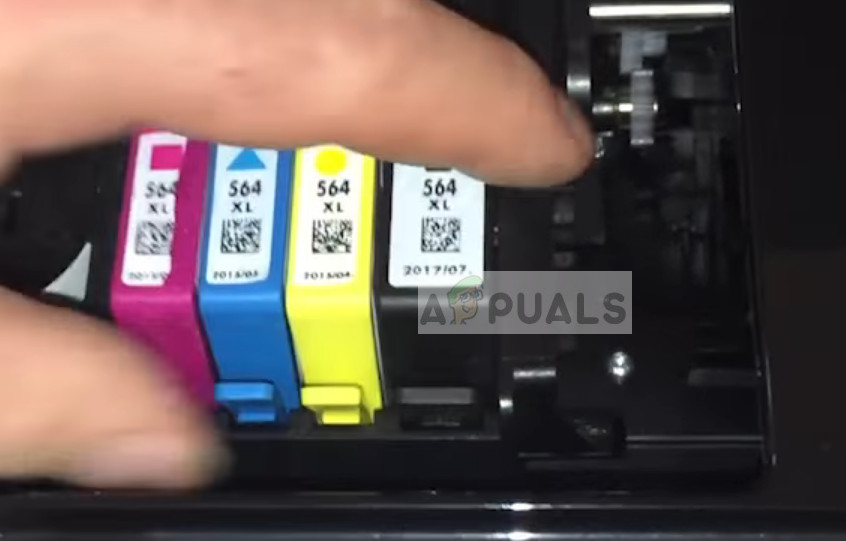
Furthermore, HP has introduced Regionalization to prevent counterfeit cartridges from making way to their printers. So in this case, even if you are using a genuine cartridge, you should make sure it is made for your region.
Solution 3: Cancelling all print jobs
Another workaround is canceling all print jobs which are submitted to the printer and then restarting the printer. This will prove to be a soft reset to the system and might solve any discrepancies in it.
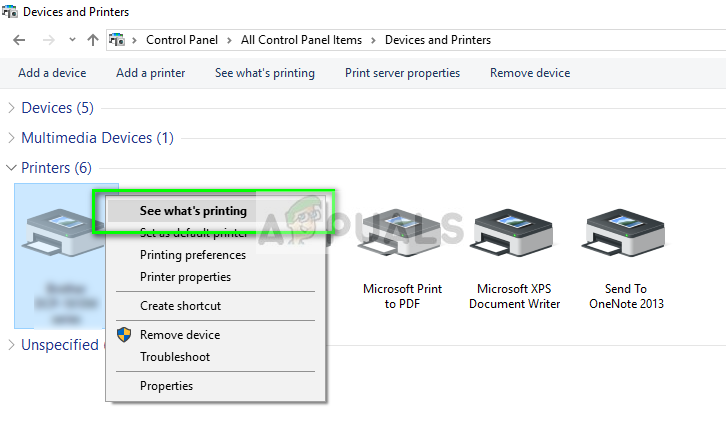
- Navigate to Devices and printers like we did earlier, right-click on the printer and click See what’s printing.
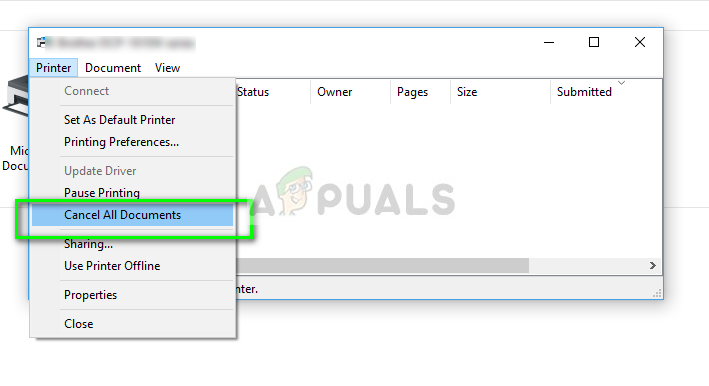
- On the new window which opens up, click on Printer and click Cancel all documents.
3. Now you should check if you can print perfectly.
Solution 4: Restoring Factory Settings
If all the above methods are not working in your case, you should consider restoring your printer to factory settings. When we restore to factory settings, all the existing configurations, profiles, and preferences will be removed automatically. Even the network connections will be reset so you have to connect it to your computer manually afterward.
The method of factory reset might be different for different products. We will cover the two most generic methods here.
- Turn the printer off and take out the power cable. Wait for ~1 minute before plugging it back in.
- Now turn the printer on while you press and hold the resume button for 10-20 seconds. The attention light will turn on. Once it is turned on, release the resume button.
- The attention and ready lights will cycle until the printer is restored to factory settings.
If this doesn’t fit your printer, it usually means that your printer has another reset mechanism. Try the one below.
- Turn the printer off and take out the power cable. Wait for ~1 minute before plugging it back in.
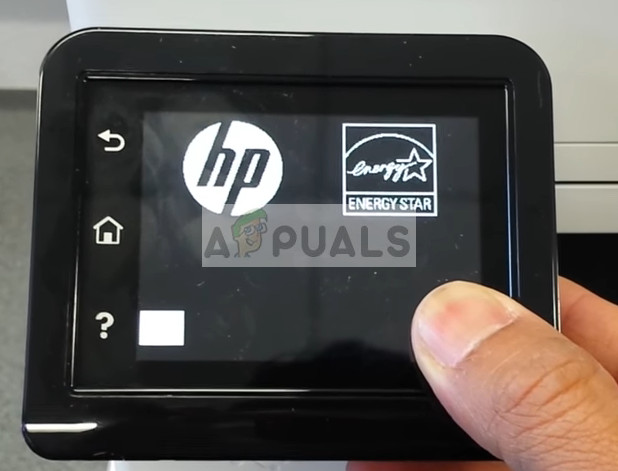
- Now turn on your printer using the power button and take your hand to the touchscreen. Now, wait for the first part of the initialization bar to appear then press and hold the screen as shown in the image below.
- Now wait for the reset to complete.
Solution 5: Cleaning the print heads
The leading problem which HP Printer users experience are the print heads jammed with dry ink. This is usually caused over time and is a very common phenomenon in the printers. The printers even have a mechanism to clean the print heads but it doesn’t works expected in most of the cases.
Before proceeding with this solution, you should try cleaning the print heads using the procedure in-built in the printer. If this doesn’t work, try the manual method listed below.
- Shut down the printer by unplugging the power cord from the back of the printer. Once the printer is shut down and the cord taken out, open the front lid of the printer.
- Once the front lid is opened, wait for the cartridges to be centered. Once they are centered, take them out one by one.
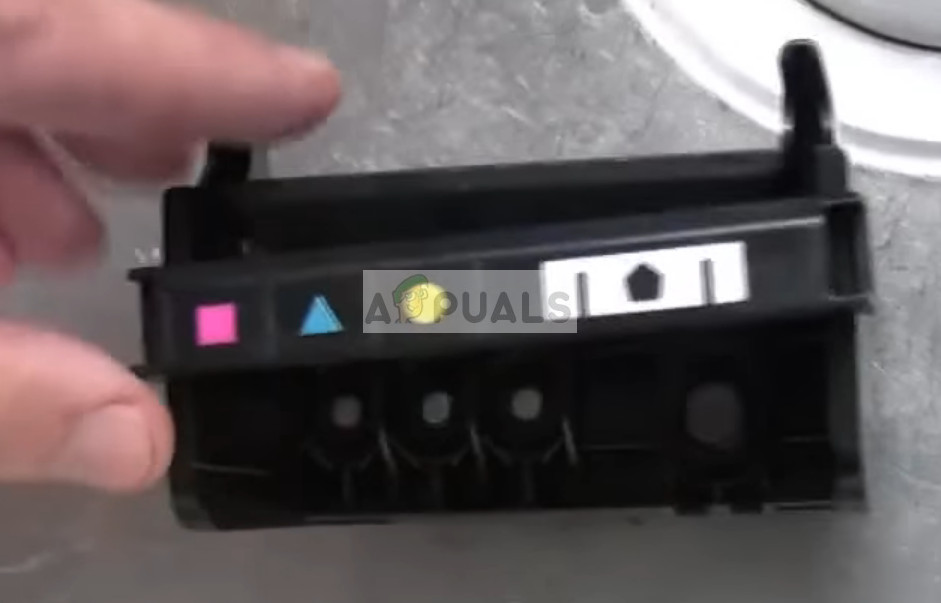
- Now take out the print head Do not force it out as it may break the components present inside. Once the printer head is out, you will see small circles on its inner side. The jammed ink is supposed to be here and this blocks the print heads from spinning. We will clean this up.

- Now click the bridge present on the print head upwards as shown in the picture. First slide it upwards from one side until you hear a click and then slide it upwards from the other side. You should hear two clicks. Now it will be easily removable.
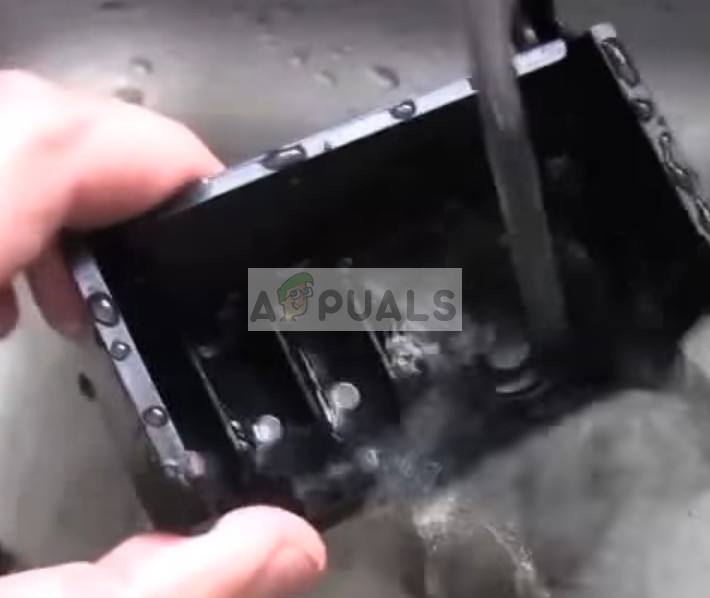
- Once the bridge is detached, turn on your tap and wait for warm water. Once the warm water is running, clean the print heads as shown in the picture. This will remove all the blocked ink from the cartridges.
- Now dry the ink head using a hair dryer or leave it be until you are absolutely sure that the module is completely dry. Once it is dried up, insert it into the printer and move it into the correct position.
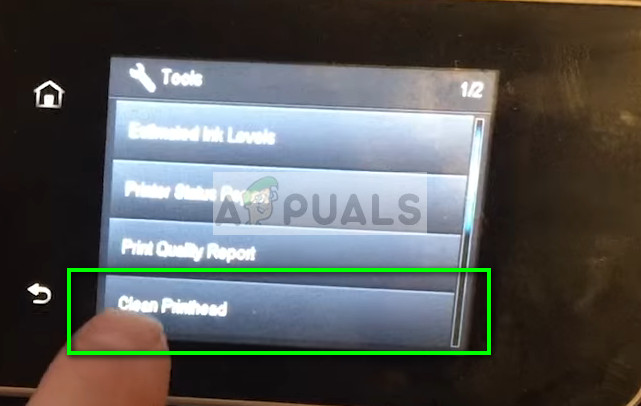
- Now plug the power cord back into the printer and turn it on. Click on the Settings icon using the touchscreen and select Tools.
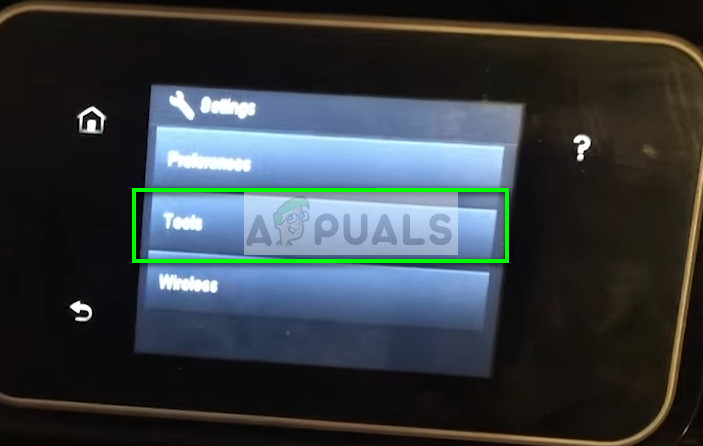
- Once in tools, click on Clean Printhead. The printer will now initialize the clean mechanism and might take some time. Let it finish at its own pace.
- Once the print heads are clean, print out a test page and check if you can print successfully without any problems.
In addition to the above solutions, you can also try:
- Updating the firmware on the printer to the latest version available.
- Setting the printer as the default printer for all print jobs on your computer.
- Updating the drivers of the printer on your computer by downloading them from the official website.
- Uninstalling the printer completely and then installing it.
- Checking for any error status on your printer.