How to Fix ‘Could Not Create the Java Virtual Machine’ Error in Applications?
When attempting to run certain applications or games, such as Hexxit II or Technic Launcher, users may encounter the “Could Not Create the Java Virtual Machine” error, which immediately stops the process. This error indicates that the Java Virtual Machine (JVM) — essential for running Java applications — cannot initialize due to specific issues.

The most common cause of this error is insufficient memory allocation or incorrect settings preventing the JVM from using the necessary resources. Other possible factors include outdated Java versions, configuration errors, or system limitations.
1. Add the _JAVA_OPTIONS to System Variables
Setting the _JAVA_OPTIONS variable in System Variables creates a universal setting for Java. It specifies a maximum heap size for the JVM, preventing memory errors like “Could Not Create the Java Virtual Machine.” For example, -Xmx512M limits Java to 512 MB of memory, ensuring a consistent setup and reducing crashes.
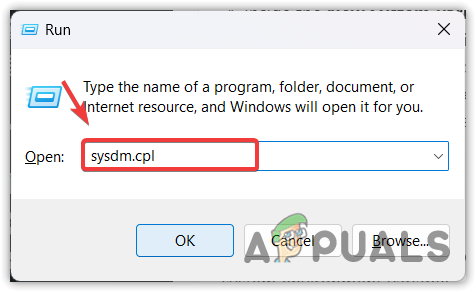
- Press Windows key + R, type “sysdm.cpl”, and press Enter to open System Properties.
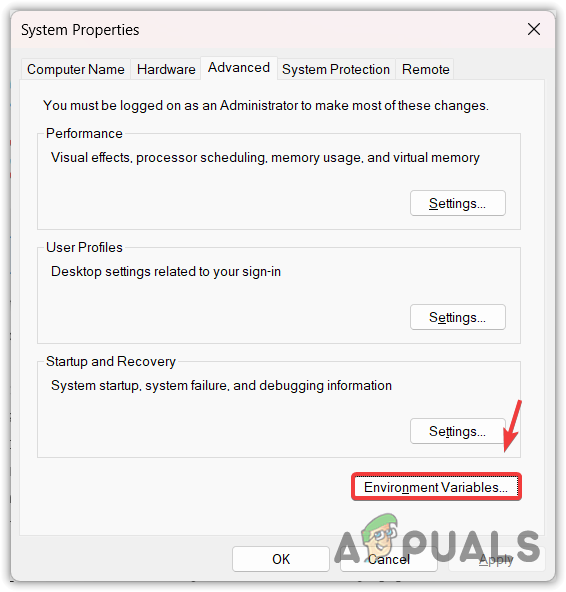
- In System Properties, go to the Advanced tab and click Environment Variables.
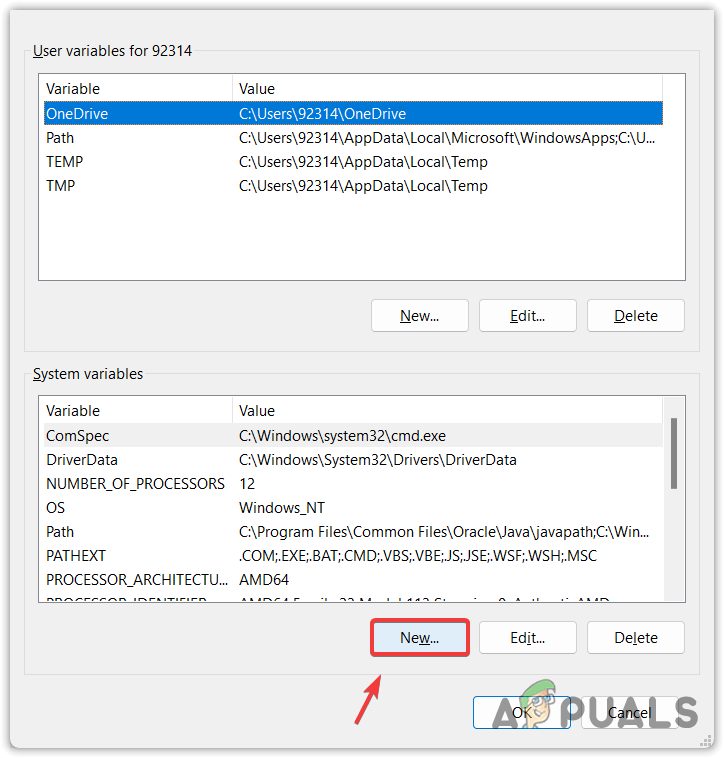
- In Environment Variables, click New under System Variables.
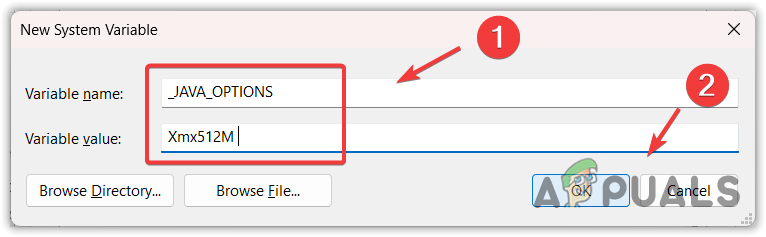
- Set Variable name to _JAVA_OPTIONS and Variable value to Xmx512M, then click OK.
- Close the windows and restart your computer to apply the changes.
- After restarting, open the application with the error to check if it works now.
2. Add the Java Bin Path to the System Environment Variable
Adding the Java Bin Path to the System Environment Variable helps the system find java.exe, ensuring Java runs properly. This makes Java accessible from anywhere on your system, avoiding errors.
- Open File Explorer with Win + E keys.
- Go to:
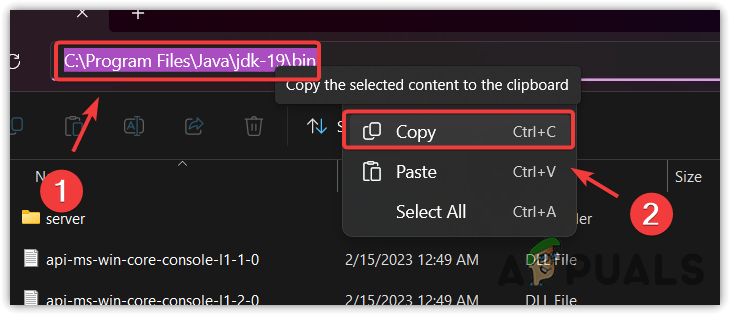
C:\Program Files\Java\jdk-19\bin
Your system may have a different JDK version installed. - Copy the Java path from the address bar.
- Press the Win key and type “About your PC”.
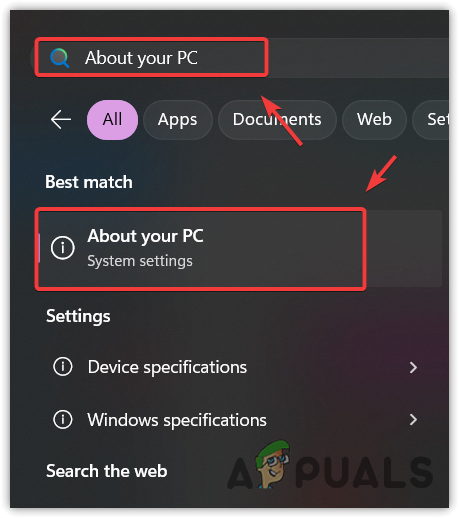
- Press Enter to open settings.
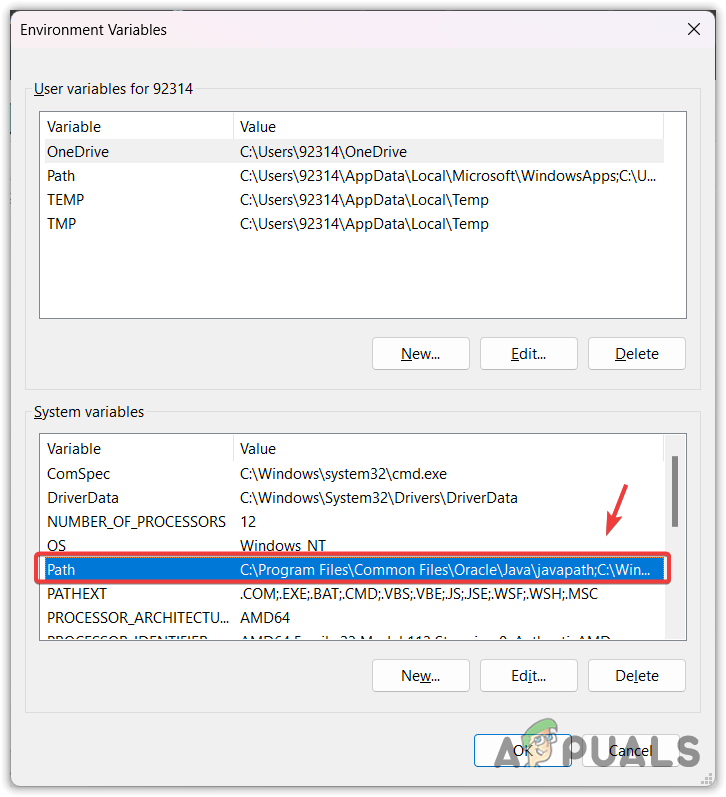
- Click Advanced System Settings, then Environment Variables.

- Double-click Path under System Variables.
- Click New and paste the path.
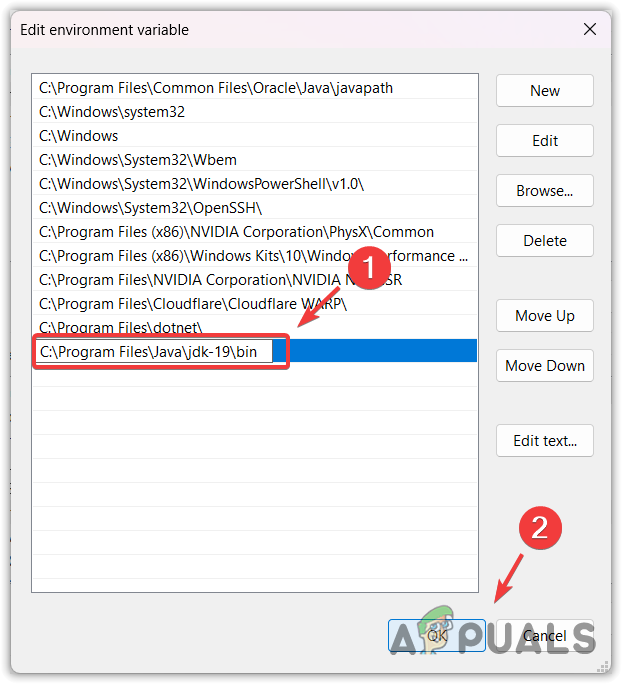
- Click OK and run the program to check if the error is resolved.
3. Remove _JAVA_OPTIONS From System and User Variables
Sometimes, hidden settings can affect Java’s operation. The _JAVA_OPTIONS variable can override system settings. Removing _JAVA_OPTIONS ensures Java uses the correct memory and performance settings, preventing errors like “Could Not Create the Java Virtual Machine.”
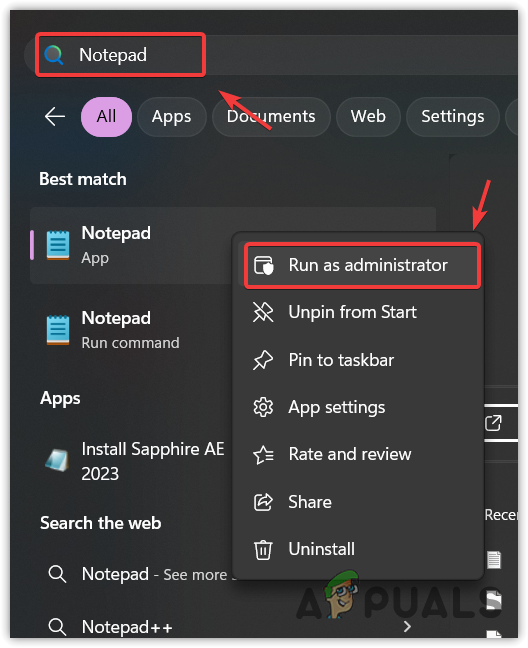
- Press the Win key and type Notepad.
- Right-click Notepad and select Run as administrator.
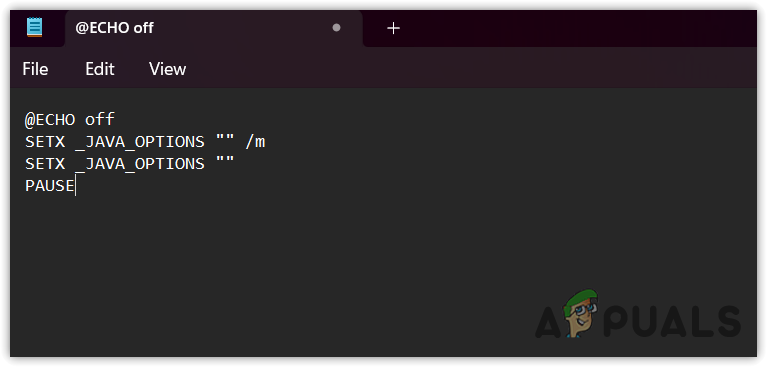
- In Notepad, type:
@ECHO off
SETX _JAVA_OPTIONS "" /m
SETX _JAVA_OPTIONS ""
PAUSE
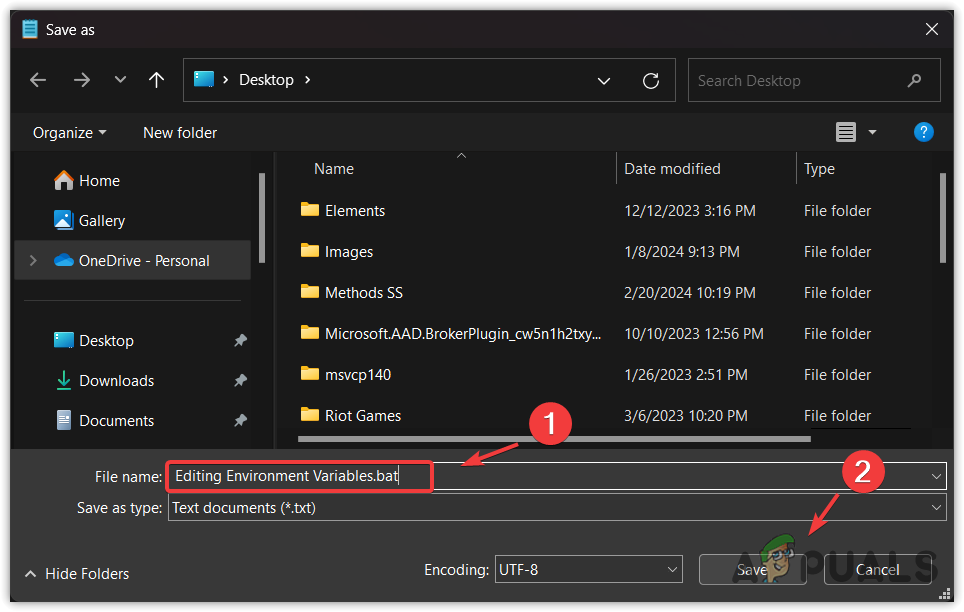
- Press Ctrl + S to save.
- Include the .bat extension when saving.
- Run the batch file as administrator and check if it works.
4. Reinstall Java
If previous solutions haven’t worked, reinstalling Java might help. This removes corrupted files and outdated components, ensuring you have the latest version. A clean installation often fixes hidden issues and provides a stable setup for Java applications.
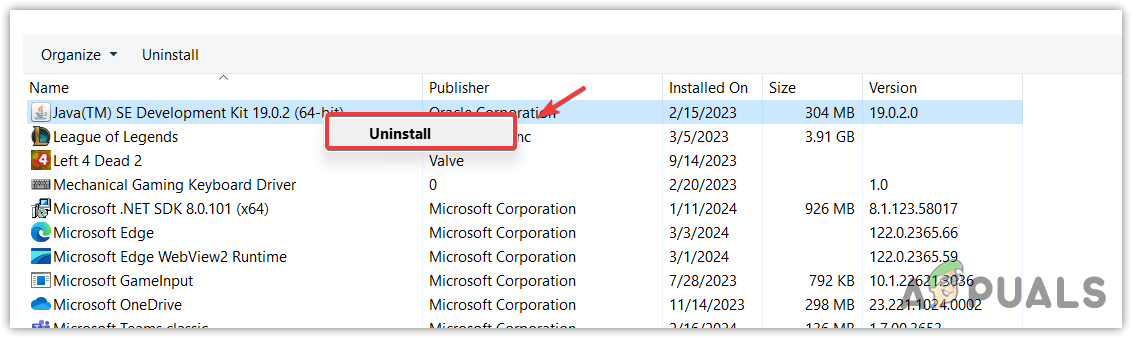
- Press Windows key + R and type “appwiz.cpl“.
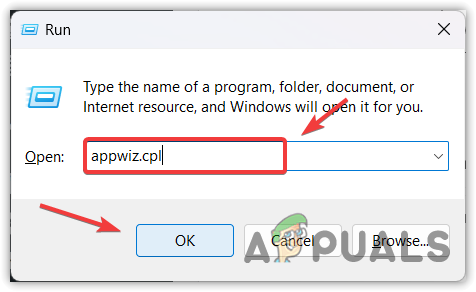
- Press Enter to open Programs and Features.
- Find Java, right-click, and select Uninstall.
- Delete all Java instances and restart your computer.
- After rebooting, download the latest JRE from here.

- If the issue persists, install the latest JDK from here.
Note: Consider changing JDK versions or uninstalling JRE if installed. - Verify if the issue is resolved.


So if both of these steps have been completed…
Full uninstall of all JAVA files and folders…
Attempted to install in compatibility mode…
Attempted online install…
Offline Install of 32 and 64bit (comp is 64)…
And I still get the same ERROR: Could not create the Java Virtual Machine.
What can I do?
I don’t even have JAVA installed on my machine now and its really limiting as you can imagine.