Getting Err 99 on Canon? Follow these steps
The “Error 99” ‘Shooting is not possible’ is shown on the Canon Camera’s LED while trying to take a picture and it usually indicates an issue with the camera’s shutter. This can be due to blockage in its path or it might be because the shutter is misplaced from its original position.

What Causes the “Error 99” with the Canon Camera?
We found the reasons behind the issue to be:
- Shutter Blockage: In most cases, the error is triggered because the camera’s shutter faces issues along its path. Sometimes certain debris can get in the camera and get stuck between its path, this can disturb the movement of the shutter and cause this issue. The path of the shutter needs to be absolutely clear to make sure that it doesn’t face interference while moving.
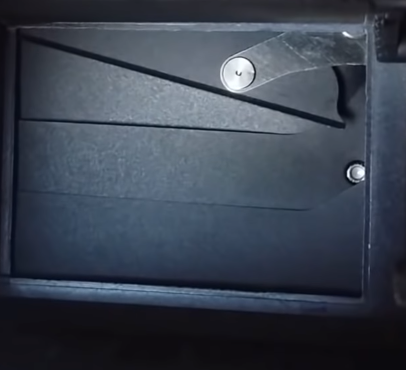
- Broken Shutter Material: If you remove the lens from the camera and look inside, you will be able to see a soft shutter material. This material might get kinked or misplaced from its original position which can prevent the shutter from closing and it will trigger the error. It is very important that this is nudged in its position firmly and that the shutter closes properly.
- Shutter Curtains: It is possible that the shutter curtains were jamming in the way due to which the shutter wasn’t able to close and the error was being triggered. This can occur due to wear and tear over time. It might also be a result of physical damage to the camera.
- Debris in Lens Contact: In some cases, certain debris can accumulate itself on top of the Lens’ contact points and prevent the user from being able to take pictures by triggering this error.
- Flash Card: In some cases, the card that you are using to store the pictures might be triggering this error. The card can sometimes interfere with the interface of the camera and prevent certain system functions. This can prevent the camera from functioning and it might show this error. It might also prevent the user from being able to connect their camera to the computer.
Solution 1: Troubleshooting Camera
First, we will be verifying and narrowing down the issue, for this, we will remove some of the components of the camera and test it without them. This will help identify the origin of the issue. For that:
- Remove the battery, the card and the lens from the camera.
- Turn the camera completely off for 20 minutes.

Canon Camera Off - Insert the battery back into the camera and hold down the “Shutter” button.
- If the error message is displayed, the issue is related to your camera’s hardware.
- If the error message isn’t returned, insert the card inside the camera and then hold down the “Shutter” button.

Pressing the shutter button - If the error is returned, the issue is being triggered due to a corrupted SD card and it needs to be replaced.
- If the error message isn’t shown, put on the lens and then press the “Shutter” button.
- If the error message is shown, clean the point of contact of the Lens and the camera body.
- Take a pencil eraser and clean those points and make sure that no debris falls into the lens hold.
- Put the lens back on and press the “Shutter” button.
- Check to see if the issue persists.
Solution 2: Checking Shutter
If you were unable to fix your issue from the method above, you will have to either take your camera in for service or verify some things yourself. However, it is a delicate process and a simple mistake might permanently ruin your camera.
- Remove the lens and look inside the camera.
- Check if there is anything blocking the Shutter material and also verify that it is placed perfectly in its position.

Checking the Shutter material for debris - Remove any debris, put the lens back on and check to see if the issue persists.


