How to Troubleshoot Roomba Error 15 iRobot?
You may encounter Error 15 on iRobot models of various generations. This error can occur after a firmware update, sometimes due to incompatibility or glitches within the new firmware version. The issue typically affects robots in use and is uncommon with new, out-of-the-box robots. Additionally, you may encounter a ‘failed navigation communication error’ message within the app.
1. Try Different Restart Methods
Error 15 on the iRobot often indicates that a crucial firmware module either didn’t load correctly or is locked in a loop. To resolve this, try various restart methods as detailed below.
Reboot Through the App
- Open the iRobot app and navigate to Products > (select your robot) > Product Settings > Reboot Roomba.
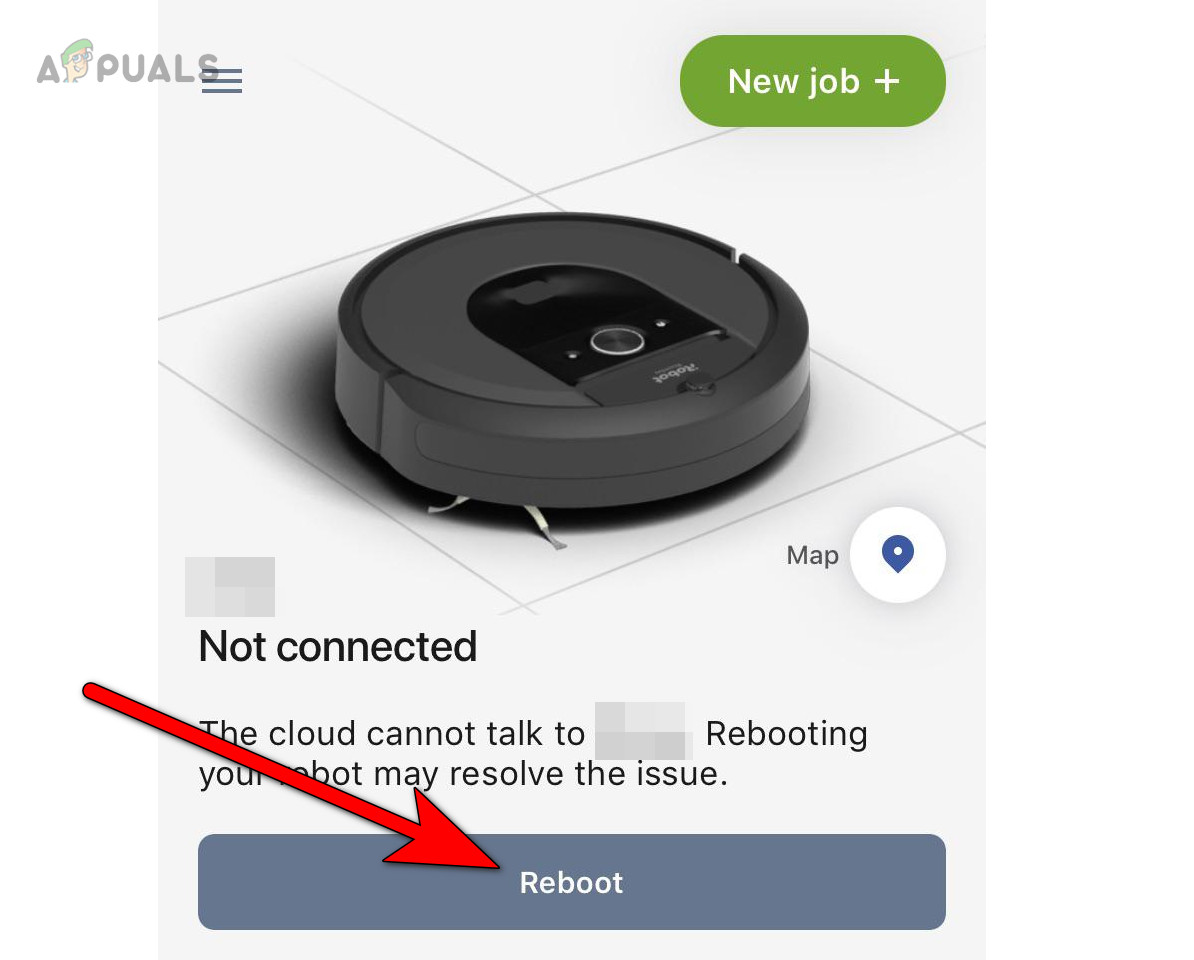
Reboot iRobot Through the App - Confirm to restart the robot and check if Error 15 is resolved.
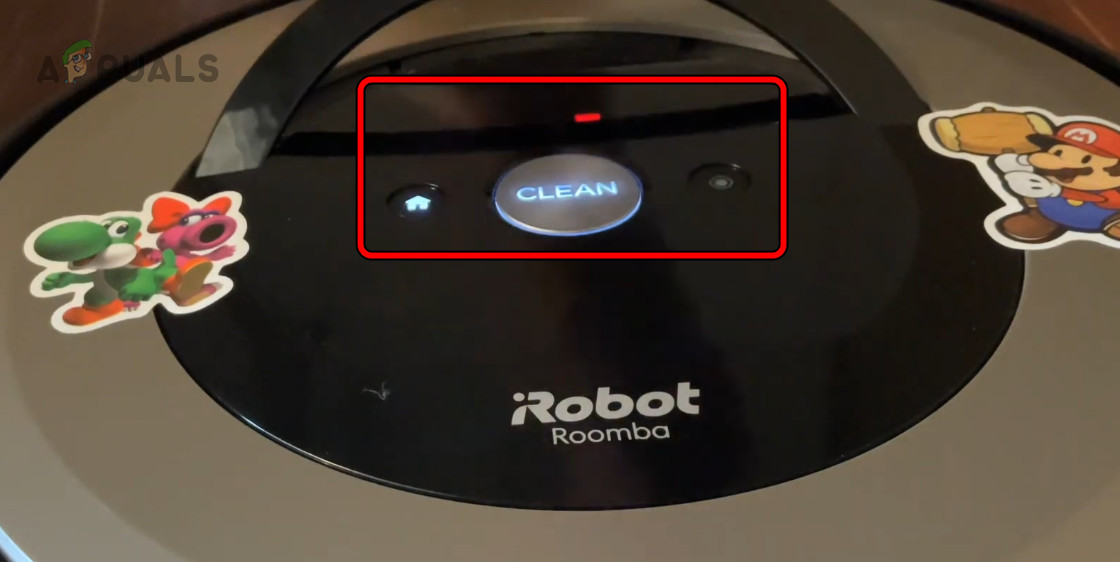
Hard Reboot Through the Buttons
- Press and hold the Clean button on the robot.
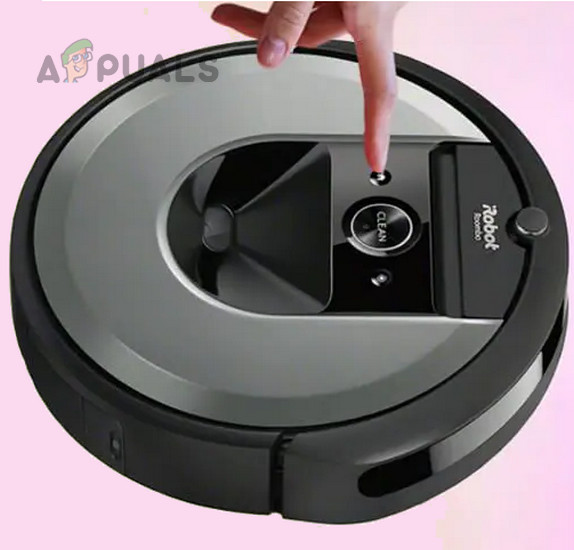
Press the Clean Button on the iRobot - Keep it pressed for 20 seconds, then release it.
- After the ring light turns off, power up the robot to check if it functions correctly.
Restart and Remove the Robot’s Battery
- Turn off the iRobot and place it upside down on a stable, flat surface. Have the necessary tools (like a screwdriver) ready.
- Remove the screws securing the back cover.
- Detach any screws holding the battery in place and extract the battery.
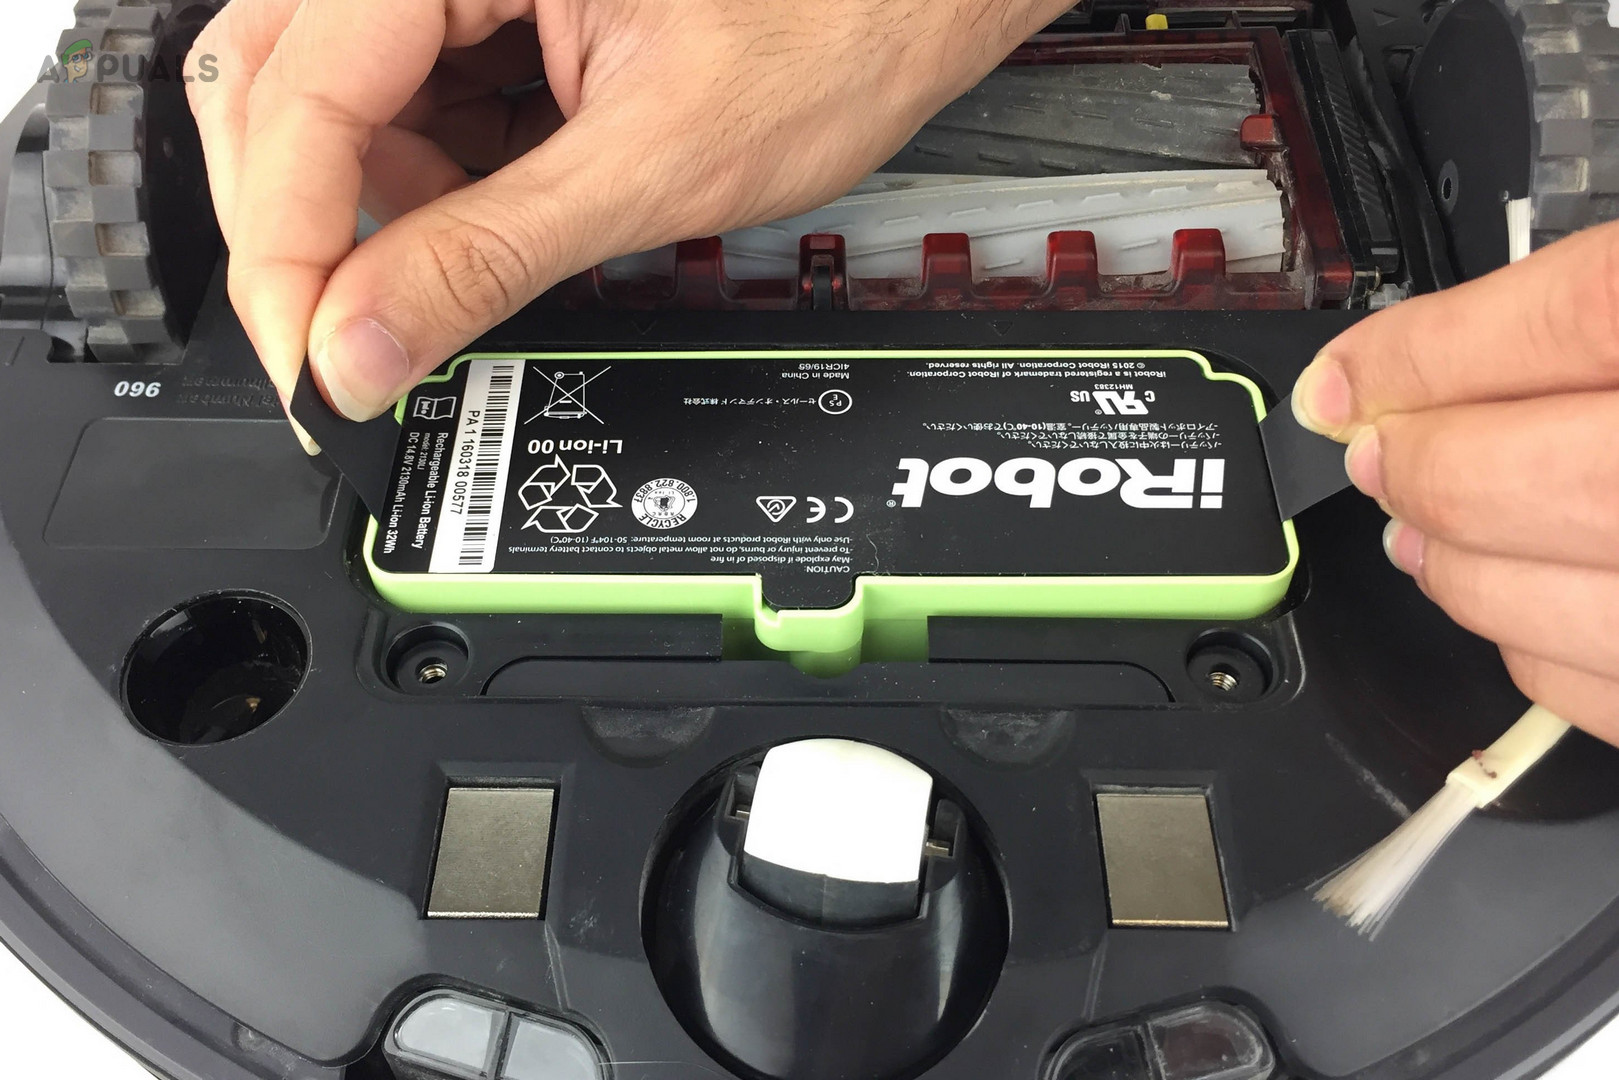
Remove the Battery from the iRobot - Wait for about 5 minutes before reconnecting the battery.
- Reattach the back cover and tighten the screws firmly.
- Switch on the robot and check if Error 15 has been cleared.
2. Fully Charge the Robot’s Battery
As Error 15 is a general communication error, insufficient battery power can affect the robot’s ability to communicate. Before indicating a low battery, the robot may instead display Error 15. Fully charging the robot’s battery can resolve this issue.
- Restart the robot and place it on the charging dock.
Put iRobot on Charging - Leave the robot to charge for at least 30 minutes, then verify if the error has been resolved.
3. Check for Electromagnetic Interference
Electromagnetic interference near the robot can disrupt its communication with your Wi-Fi network, resulting in the error in question. Eliminating potential sources of interference such as microwaves, cordless phones, large metal objects, and wireless devices like headsets is beneficial.
- Restart the iRobot and turn off other electronic devices in the vicinity. Specifically, power down gadgets like the Vive wireless headset and any similar devices.
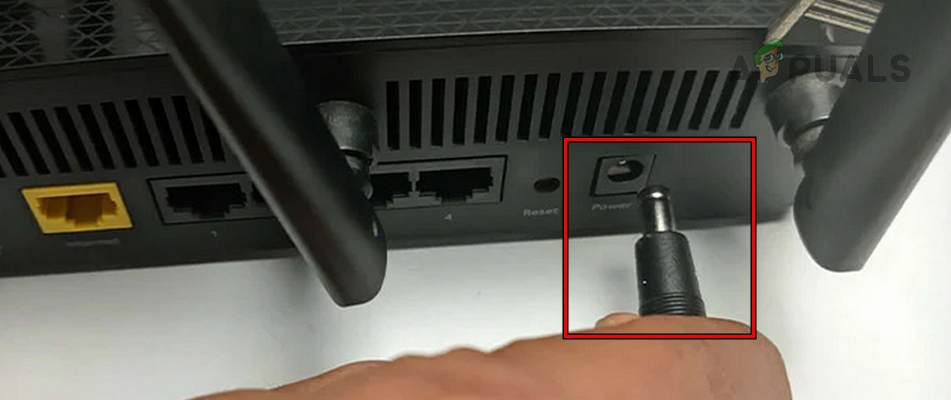
Unplug the Power Cable of the Router - Check if the iRobot is now operating smoothly. You may then turn on the electronic devices one at a time to pinpoint the source of the interference.
4. Connect the Robot to the 2.4 GHz Wi-Fi Band
If your router supports dual-band connectivity, ensure that the iRobot is connected to the 2.4 GHz band, as it may not support the 5 GHz band, leading to communication failures. Ensuring a connection to the correct frequency band can clear the error.
- Access your router’s admin portal through a web browser (the address is usually found in the router’s manual) and look for the wireless settings.
- Within the Wireless settings, select Bands.
- Disable the 5 GHz option and enable 2.4 GHz.
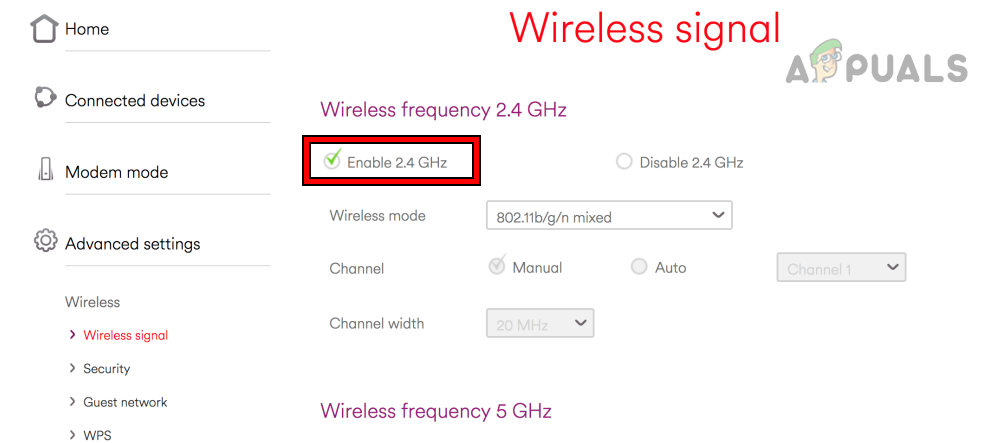
Enable 2.4 GHz in the Router Settings - Confirm that the security setting is at WPA2 level.
- Connect both your smartphone and the robot to the 2.4 GHz network to test if the issue is resolved.
5. Check the Wi-Fi Signal Around the Robot
A weak Wi-Fi signal in specific areas where the robot operates can cause Error 15. Improving the Wi-Fi signal strength in such spots can resolve the issue.
- Reboot both the robot and Wi-Fi router.
- Position the router closer to the area where the problem occurs and reconnect the robot to Wi-Fi. Check if the robot operates without issues around that spot.

Bring the Router Close to the iRobot - If the problem persists, set up a Wi-Fi hotspot on a different mobile phone (where the iRobot Home app is not installed).
- Link both the iRobot and your smartphone (with the iRobot Home app) to the new hotspot. Assess whether Error 15 has been resolved.
6. Delete and Relearn the Map on the Robot
Conflicts between the robot’s and the app’s maps can cause errors. Deleting the existing map and guiding the robot to relearn it can correct this mismatch.
- Open the iRobot Home app and navigate to the maps section of the affected robot.
- Delete the existing map and then restart the robot.
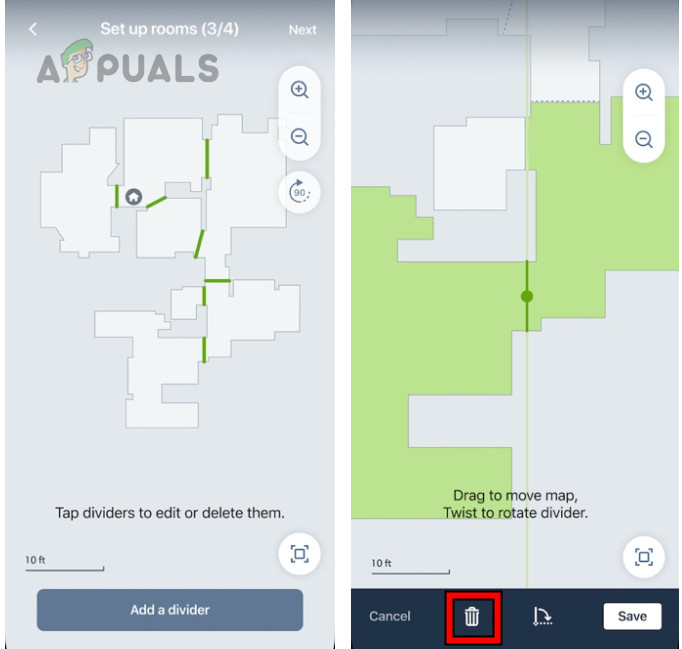
Delete the Map of the iRobot - Also, restart the smartphone and help the robot with the relearning process. Confirm that it operates without issue.
- If this doesn’t work, divide the cleaning jobs into segments shorter than 5 minutes to determine if the error is prevented with this approach.
7. Thoroughly Clean the iRobot
Dirt accumulation on the robot may cause it to use more power than usual during operations. This, in turn, may affect the current provided to the Wi-Fi antenna and result in Error 15. A thorough cleaning can solve the issue.
- Power off the robot and place it upside down on a clean, flat surface.
- Undo the screws and remove the back cover.
- Clean each component thoroughly to remove dust, debris, and hair. The use of a Compressed Air Can might be helpful in this step.
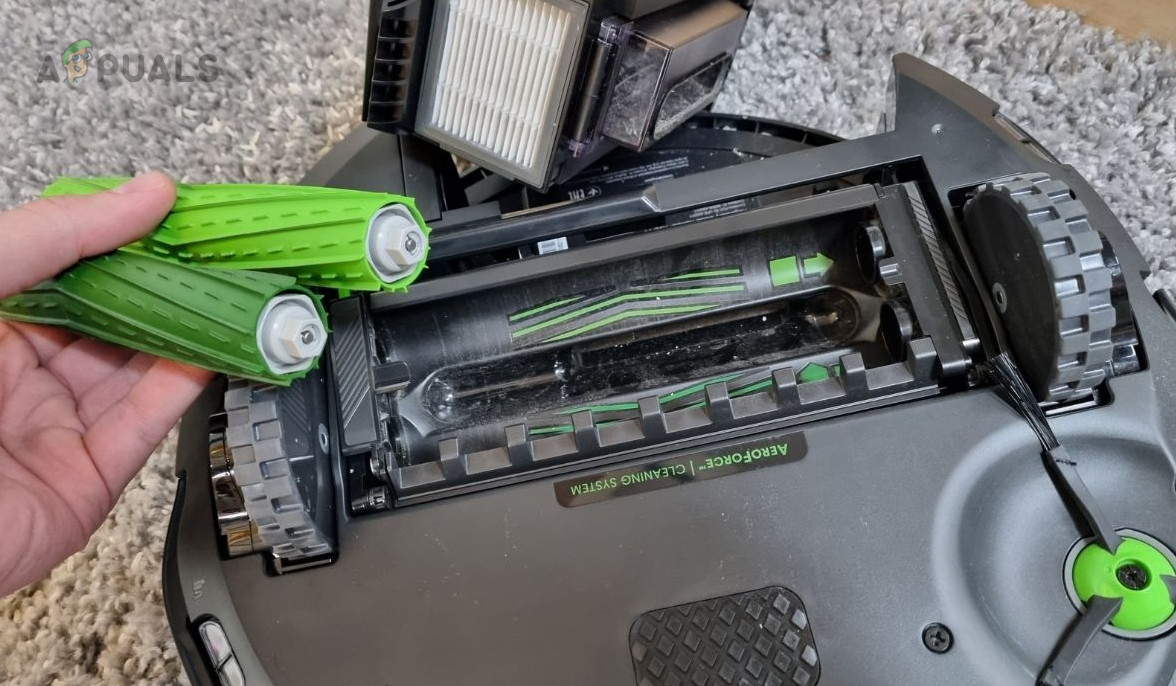
Thoroughly Clean the Robot - Wipe all sensors and brushes, and ensure the robot’s charging base is clean as well.
- Reassemble and secure the back cover with screws.
- Switch on the robot and check if Error 15 has vanished.
8. Reinstall the iRobot App
Damage to the iRobot’s firmware core could cause the app to deliver conflicting commands to the device, consequently leading to Error 15. Reinstalling the iRobot Home app may address the issue.
Steps for an Android phone:
- Restart the robot and open Android Phone Settings > Apps > iRobot Home.
- Select ‘Force Stop’ for the app and proceed to Storage.
- Clear the app’s cache and data to remove outdated references before reinstalling.
- Return to the previous screen and uninstall the app.
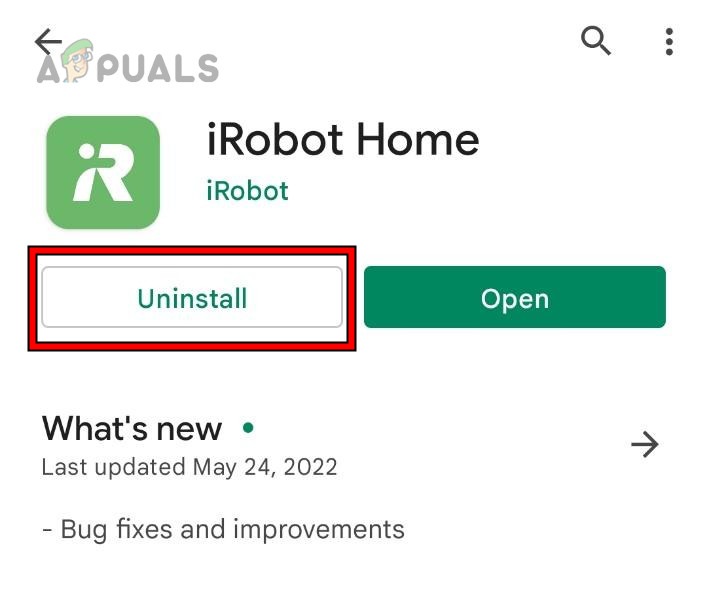
Uninstall the iRobot Home App - Reboot the phone and reinstall the iRobot Home app.
- Open the app and pair it with the robot to check if normal operation resumes.
9. Reset iRobot to Factory Defaults
If the robot’s firmware is damaged—perhaps due to an improper patch during a recent update—resetting the iRobot to factory defaults can help. Keep in mind, this action will erase all settings and remove the robot from your account if completed through the app.
Through the App
- In the iRobot Home app, head to the robot’s Product Settings > About (the robot) > Then select Remove Device from Account.
- Opt for the Factory Reset and adhere to the on-screen instructions to complete the reset. Save your maps beforehand if necessary.
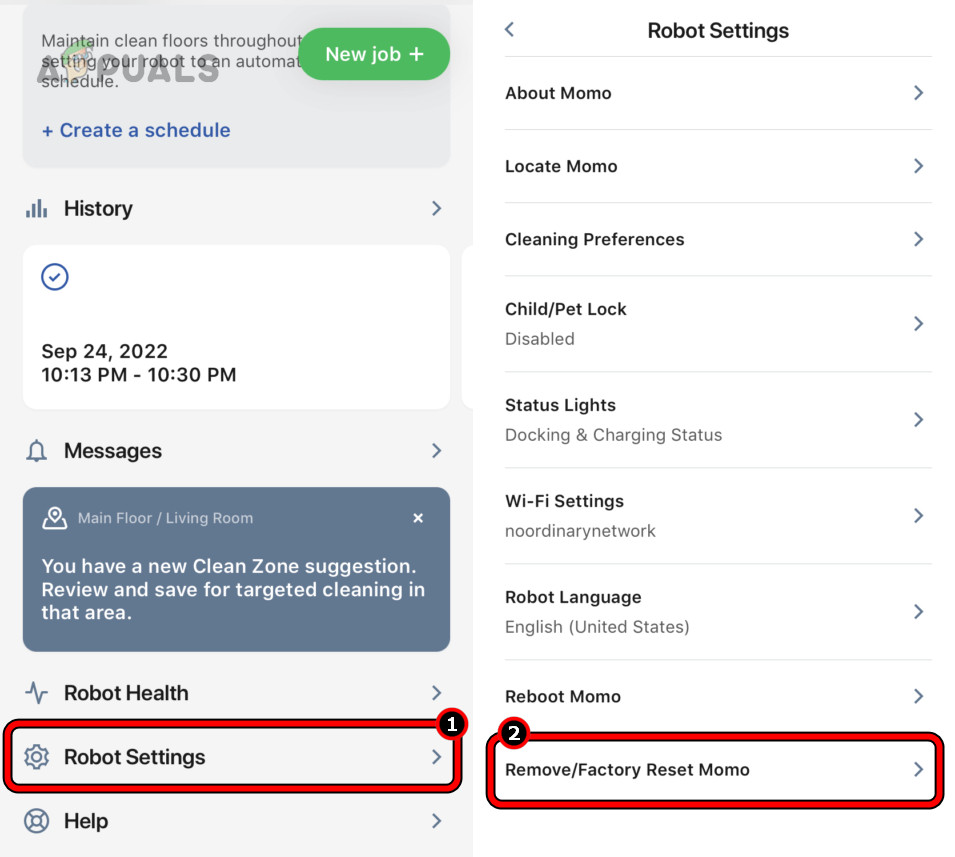
Reset the iRobot to the Factory Defaults - After the reset, set up the robot again according to your preferences and verify if the issue has been resolved.
Through the Robot’s Buttons
- Simultaneously press and hold the following buttons on the robot:
Home
Clean
Spot Clean
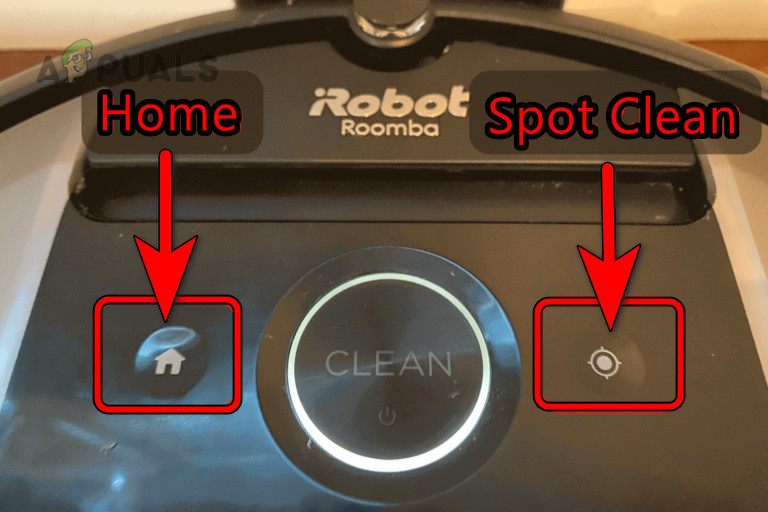
Factory Reset the iRobot Through the Buttons - Wait until the white light around the Clean button stops circling, then release the buttons.
- Reconfigure the robot to your preferences and check if Error 15 has been resolved.
10. Test the Robot in Diagnostic Mode
If a factory reset fails to resolve the issue, you can use the diagnostic mode to identify the problematic component.
To enter the diagnostic mode on the Roomba Discovery model #4100, follow these steps:
- Initiate the Roomba robot diagnostic mode.
Run Tests on the iRobot in the Diagnostic Mode - Proceed through the tests. If the robot fails any of them, investigate that particular component and attempt to rectify it.
Should the issue persist, it might be related to hardware, and you should consider having the robot examined for hardware errors. If your robot is still under warranty, contact iRobot Support for further assistance.