How to Fix a Samsung Ice Maker That’s Not Dispensing Ice?
You may encounter an issue where the ice maker in your Samsung refrigerator is not dispensing ice into the tray. This problem has been reported across various models and generations of Samsung ice makers.
At times, water fills the Ice Maker’s tray, but ice is not dispensed. In some cases, large blocks of ice may be found in the tray. Upon inspection, you might discover that although the ice tray is filled, no ice has been dispensed into the container below.
Troubleshooting Prerequisites
- Ensure the ice maker is turned on; many models have a button to activate this feature.
- Confirm that child lock or dispenser lock is not enabled, as this could prevent operation.
- Verify that the temperature of the freezer is set correctly; ideally, the temperature should be at 0 degrees F, which you can confirm with a thermometer—an essential condition for ice production.
- Use the Test button on the ice maker to verify that the mechanism is working correctly.
1. Defrost and Clean the Ice Maker
Ice build-up around the ice maker or its sensor may disable its operation. To address this, defrost and clean the ice maker. Prior to starting, disconnect the refrigerator from the power source.
Defrost with a Button
- Press and hold the ice maker and lights buttons on the front panel.
- Wait for a beep, then release the buttons.
- Continue pressing the light button until the Defrost option appears, then wait for the defrost cycle to finish, which could take about 30 minutes.
Use Forced Defrost
- Remove the ice bucket and press and hold the following buttons for 10 seconds:
Freezer
Cool Select
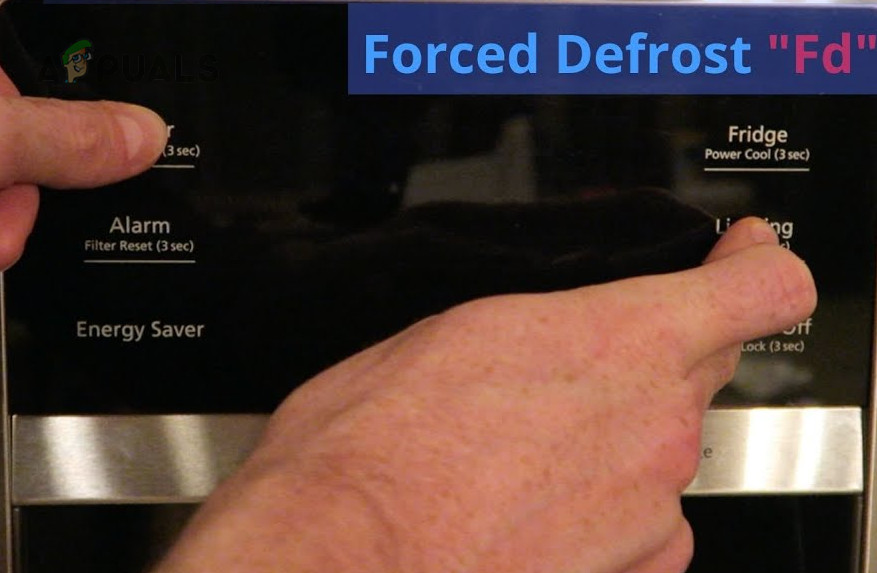
Forced Defrost the Samsung Ice Maker - Let go of the buttons, then press the Cool Select button again.
- Keep pressing the Cool Select button until the Forced Defrost mode is displayed. Be sure to select FD (Forced Freezer Defrost), instead of RD (Forced Refrigerator Defrost), and wait for the process to end.
Defrost Without a Button
- Use a hairdryer or a clothes steamer to melt the ice within the compartment.
- Ensure not to harm the insulation. Alternatively, leave the fridge or freezer unplugged, allowing it to defrost naturally over time.
Clean the Refrigerator and Ice Maker
Once defrosted:
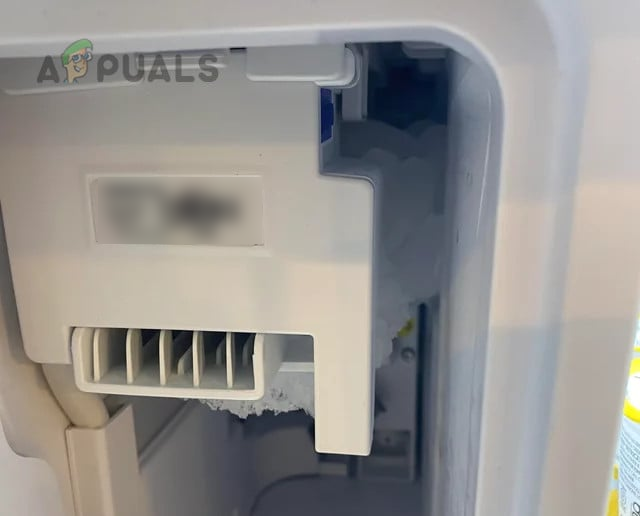
- Take out the ice bucket and look at the dispenser opening for bits of broken ice.

Clean the Samsung Ice Maker - Remove any ice from the dispenser opening as needed, by flushing it with lukewarm water.
- Clean out the compartment and the ice maker thoroughly, eliminating any ice residue. Handle the surfaces gently to prevent damage.
- Once the bucket is completely dry, put it back securely into place.
- Reconnect power to the refrigerator and examine whether the ice maker is now fully operational.
2. Clear the Passage to the Compartment Vents
Blocked air vents near the ice maker can disrupt the passage of cool air to the sensor, preventing it from activating the ice dispensing mechanism. Clear any obstructions to resolve this problem.
- Remove food and other items blocking the airflow within the fridge.
- After establishing proper airflow, test the ice maker again. If it works, reposition items to prevent future blockage of the vents.
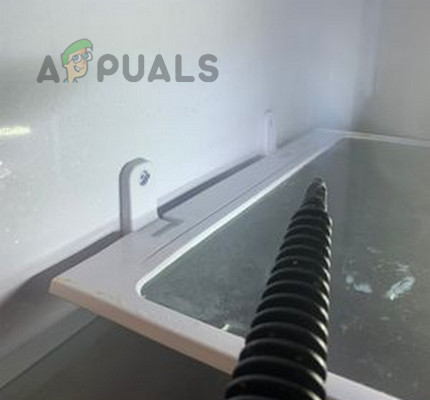
3. Check the Leveling of the Fridge or Freezer
An unlevel fridge or freezer can hinder proper ice production in the Samsung Ice Maker. Incorrect leveling could lead to water overflow, affecting temperature and preventing ice formation. Adjust the leveling of the appliance slightly to the back or to the side where overflow occurs, about 1/4 inch higher.
- Set a level on the top and sides of the fridge or freezer, making adjustments to the adjustable casters to achieve an even balance.

Level the Samsung Refrigerator - If you lack a level, employ trial and error to find the optimal balance. Ideally, the refrigerator door should close by itself when left slightly open, but it shouldn’t shut too forcefully.
4. Adjust the Water Pressure
Low water pressure, due to blockages or leaks in the supply line, can affect the operation of the ice maker. Adjusting the pressure may solve this issue.
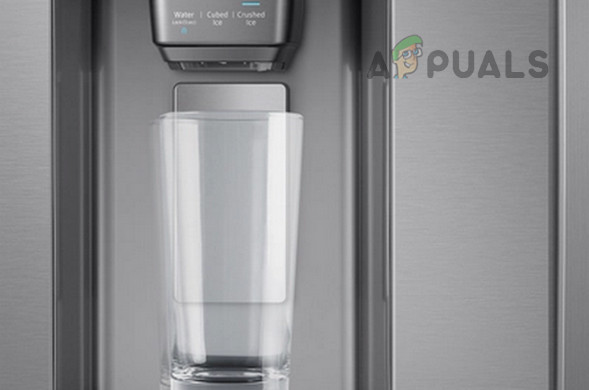
- Measure the water pressure by filling a glass to check if 6 ounces of water are dispensed in 10 seconds. Adjust the flow if necessary.
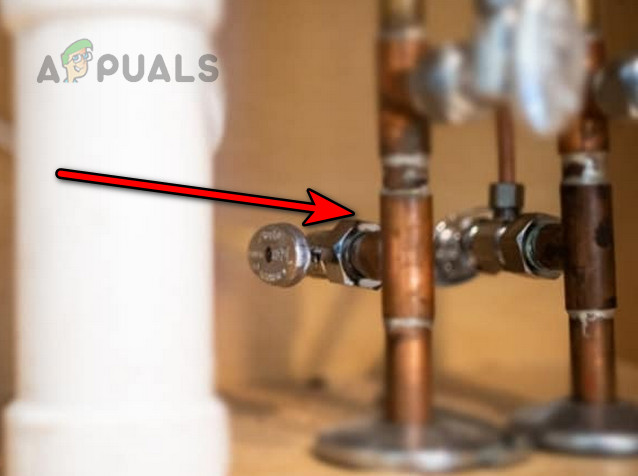
Adjust the Water Pressure for the Samsung Ice Maker - Check the water lines for any obstructions or leaks.
- If the lines are free of leaks and blockages, regulate the supply valve to correct the water pressure and check whether the ice maker issue is resolved.
- If the water pressure adjustments make no difference, examine the water filters. Samsung recommends changing filters every 6 months. If filters are clogged or due for replacement, switch them out and retest the ice maker.
5. Reset the Samsung Ice Maker and Fridge
A firmware glitch in the ice maker or fridge may cause the ice maker to malfunction. Resetting both devices to their default settings could rectify the issue.
Reset the Ice Maker
- Clear the ice bucket to get to the ice maker, where you will find a reset button.
- Press and hold this button until a chime sounds.
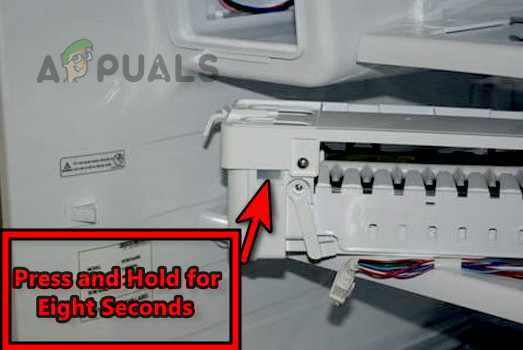
Reset the Samsung Ice Maker - Release the button and promptly put the ice bucket back. Verify if the issue has been resolved.
Reset the Fridge
- Disconnect the refrigerator from its power source and wait for about 5 minutes.
- Reconnect the fridge to power and confirm if the ice maker is now working correctly.
6. Seal the Ice Maker
Air leakage into the ice maker can slow the ice-making process, forcing the mechanism to overcompensate; this may result in a freeze-up around the sensor without dispensing any ice. Proper sealing of the ice maker can prevent this.
Consult the owner’s manual for instructions and use only sealants recommended by Samsung.
- Remove all items from the compartment.
- If there’s a defrost option available, use it to defrost the fridge and ice maker. If not, unplug the appliance and defrost with a hairdryer or clothes steamer, ensuring not to damage the insulation.
- With the refrigerator off, extract the ice box and apply a suitable sealant (such as DAP 100% Silicone or Caulk) around the ice maker.
Seal Around the Samsung Ice Maker - Make sure to seal both the interior and exterior efficiently, filling any gaps with sealant.
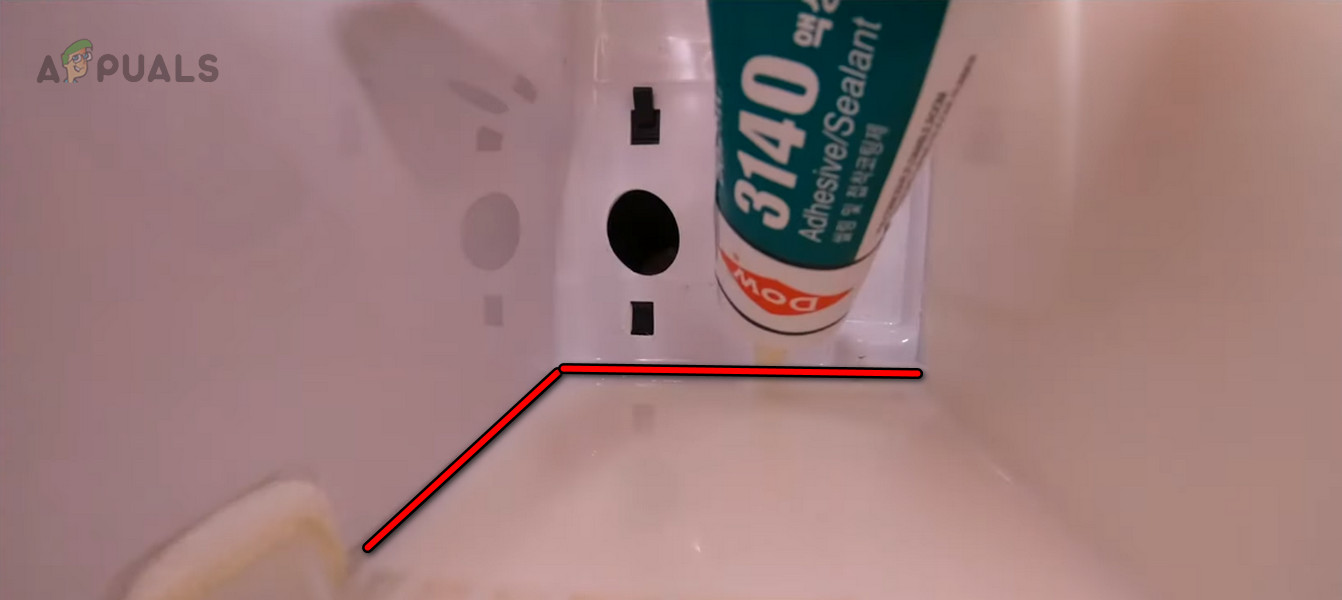
Apply Sealant Around the Samsung Ice Maker - Consider covering the box with Duct Wrap, which features an adhesive side and an aluminum surface, typically utilized for air conditioning ducts.
- Once the sealant is applied, reassemble all components and check the ice maker for proper operation.
If the issue still persists, get in touch with Samsung Support for further assistance. If your product is out of warranty, you may need to replace the ice maker.