How to Fix RemoBell S Not Connecting to WiFi
 Reviewed by Huzaifa Haroon
If your RemoBell S isn’t connecting to WiFi, you might notice some clear indicators: the device appears offline in the app, or you’re unable to stream video when someone rings the bell. These signs suggest that the doorbell is struggling to communicate with your home network, which is essential for its operation.
Here are some common reasons why these connectivity issues occur:
- Weak WiFi signal: If the WiFi signal at your doorbell’s location isn’t strong enough, it might not maintain a stable connection.
- Router issues: Sometimes, the problem lies with the router itself, possibly due to outdated firmware or specific settings that limit the device’s ability to connect.
Now that we understand the causes, let’s move on to the solutions.
Basic Troubleshooting
Before diving into more detailed steps to fix your RemoBell S’s WiFi problems, starting with some simple checks can help identify or even resolve the issue quickly:
- Check WiFi network: Start by verifying that your WiFi network is functioning correctly. You can connect other devices to the same network to ensure they can access the internet without issues. This step helps confirm whether the problem is with your RemoBell S or if it’s a broader network issue.
- Power cycle RemoBell S: Simply restarting your RemoBell S can resolve connectivity issues. To power cycle the device, disconnect it from its power source for about 30 seconds and then reconnect it. This process can refresh the device’s connection to your WiFi network.
- Check WiFi strength: The strength of your WiFi signal at your RemoBell S’s location is crucial for maintaining a stable connection. Use a WiFi signal strength testing app to check the signal quality right at your doorbell’s location. If the signal is weak, it might be causing the issue, and you may need to move your router closer or use a WiFi extender.
- Restart your WiFi router: Restarting your router or modem can clear up any temporary network issues or glitches that might be preventing your RemoBell S from connecting. It’s a quick way to refresh your home network, potentially resolving issues without more complex solutions.
1. Update RemoBell Firmware
Firmware updates usually fix issues, including connectivity problems, so updating your device could resolve the issue of your RemoBell S not connecting to WiFi.
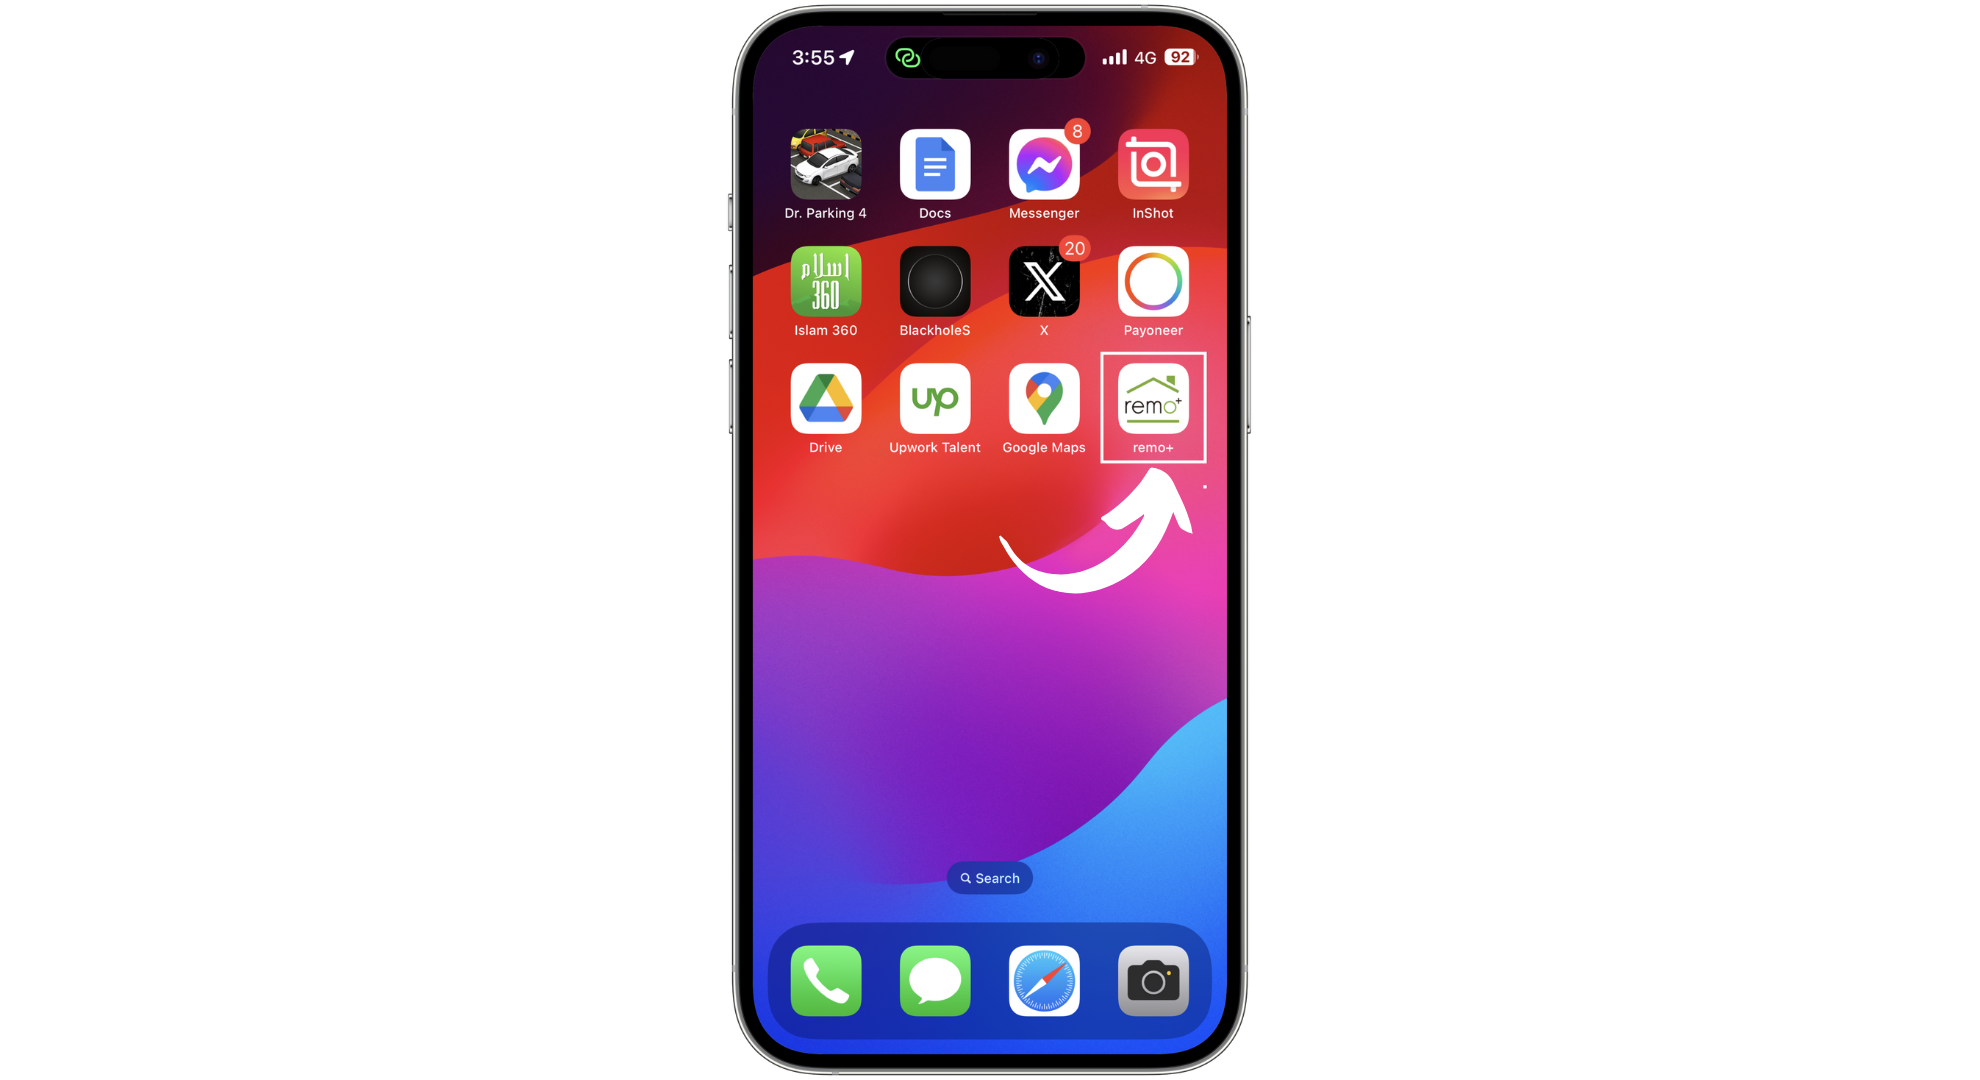
- Launch the Remo+ app on your smartphone (available for both iOS and Android).
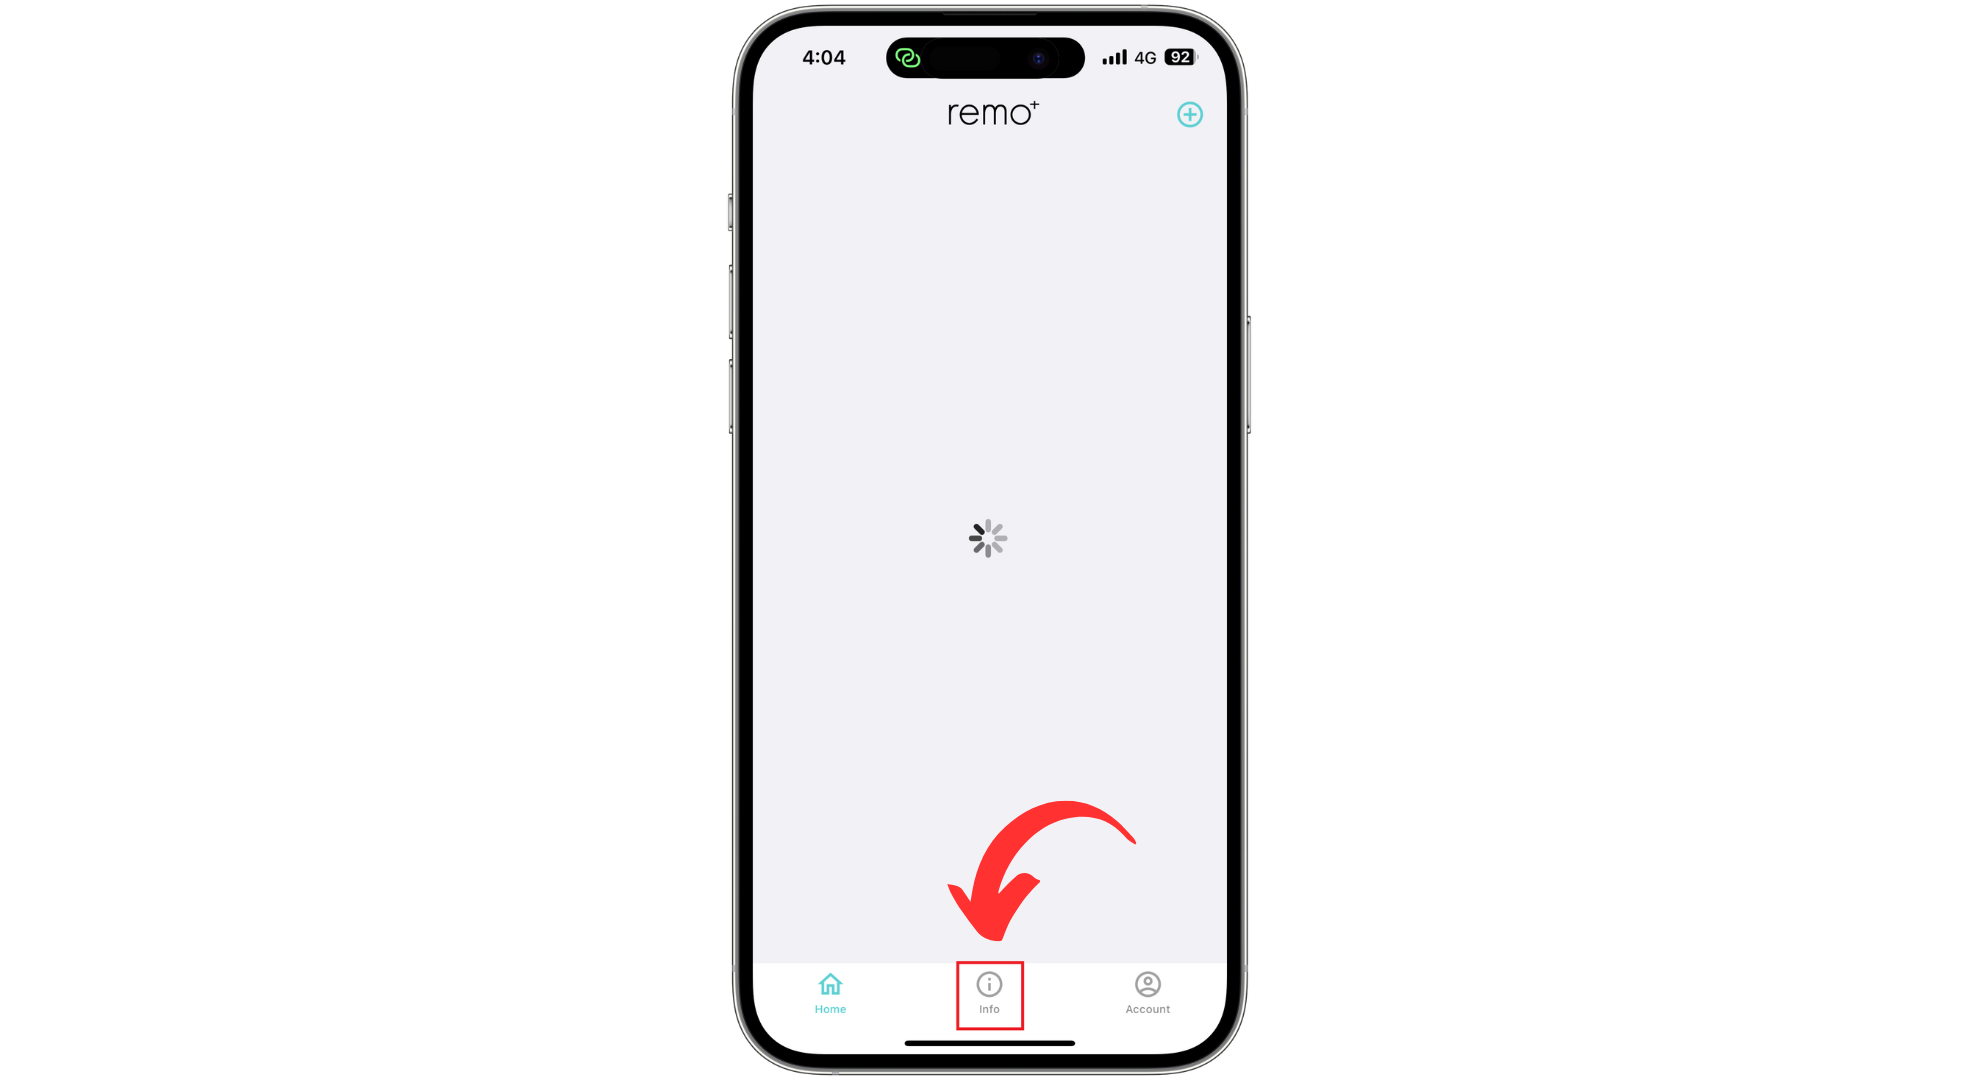
- Tap on the “info” icon at the bottom of the screen.
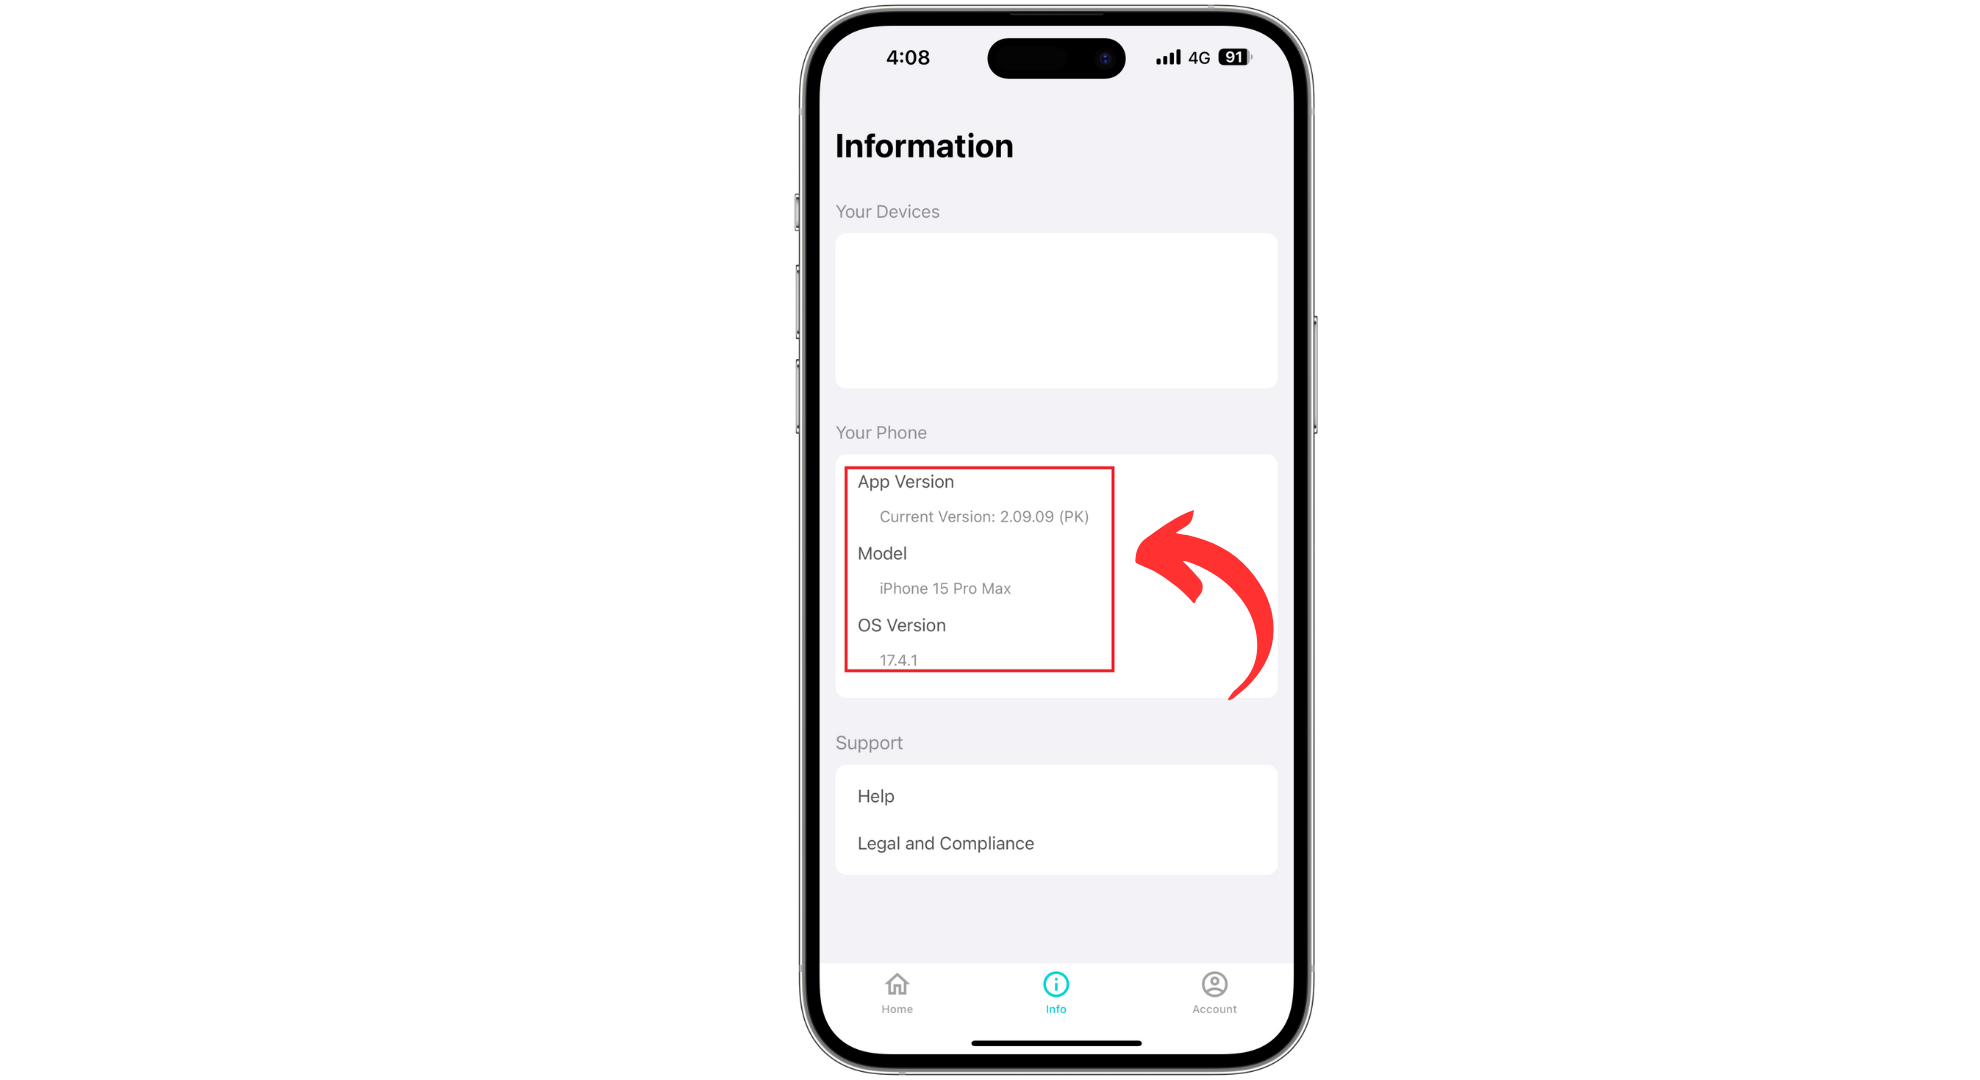
- Check for available firmware updates. If an update exists, select it and allow the process to complete uninterrupted.
2. Check WiFi Settings
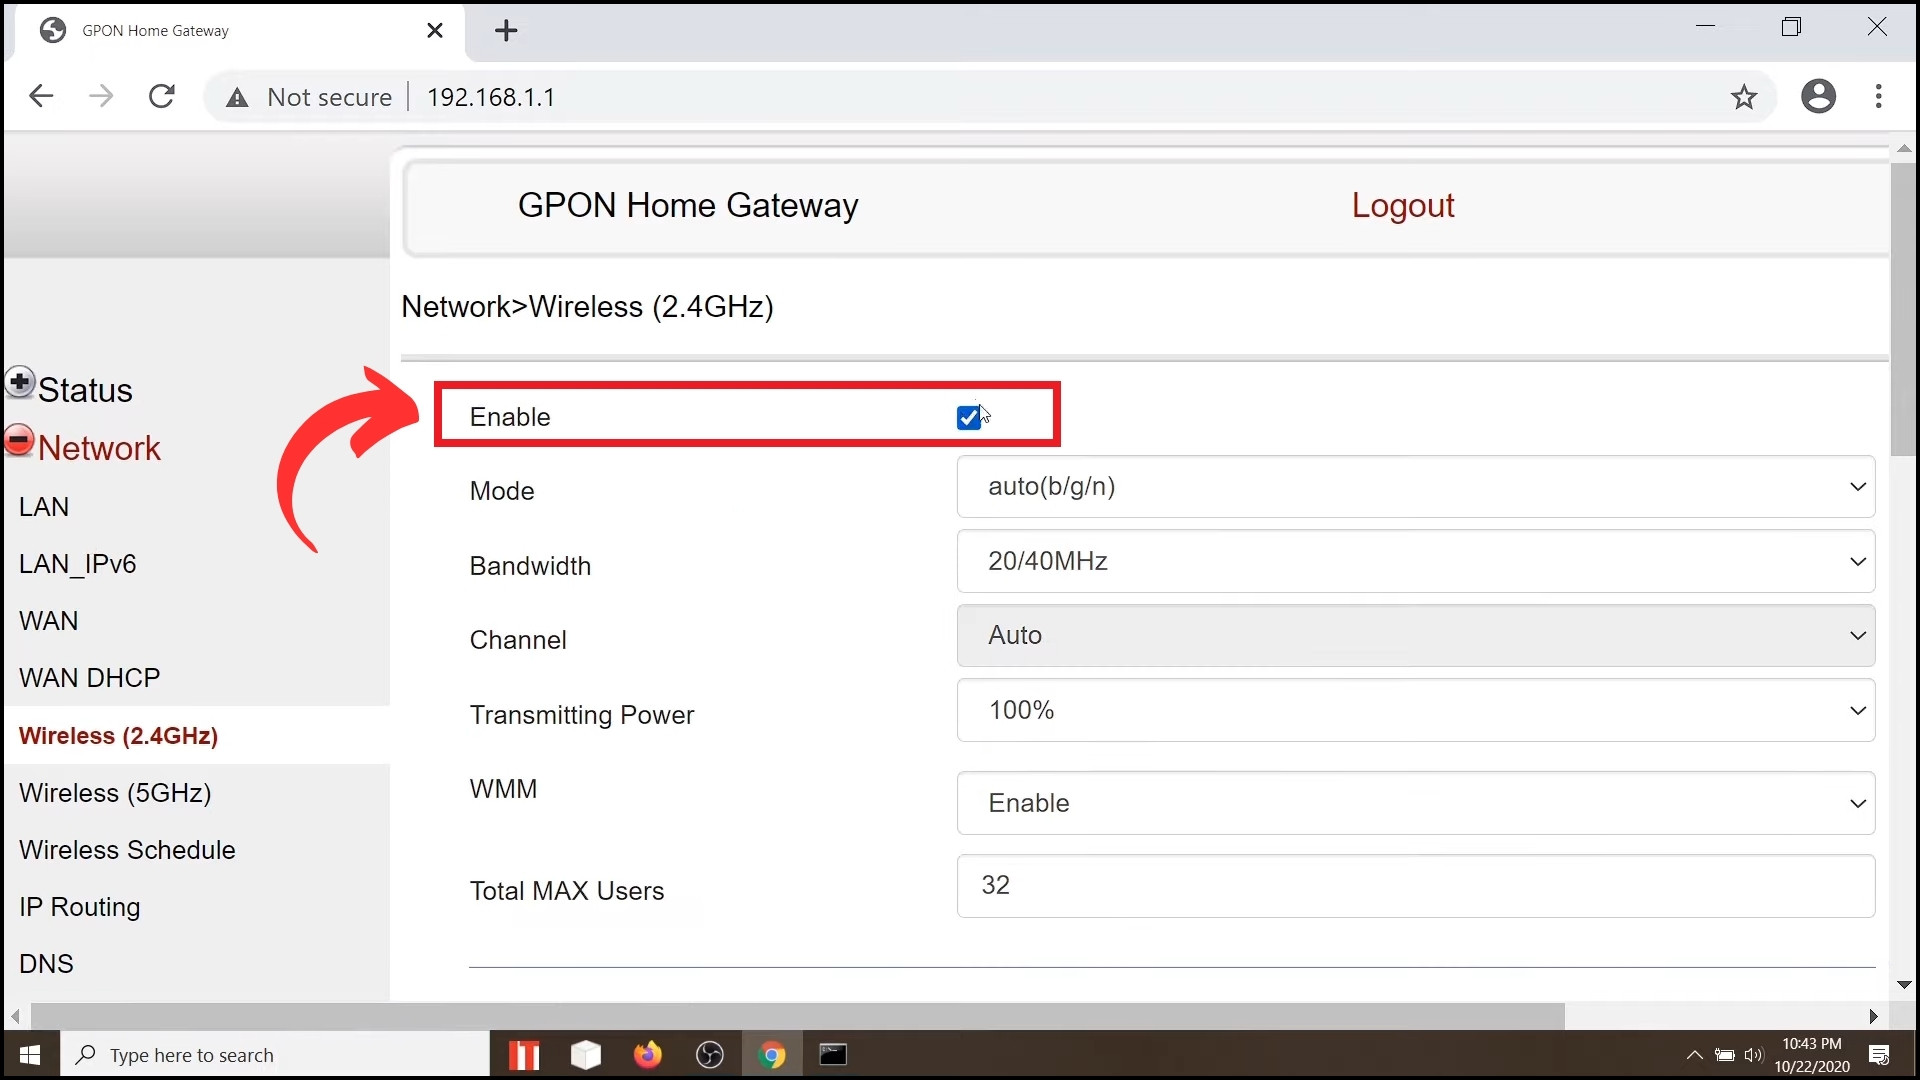
The RemoBell S requires a 2.4GHz WiFi network to connect properly. If your WiFi is set to 5GHz, it might cause connection issues, preventing the device from syncing up with your network. To resolve this, ensure your router is broadcasting a 2.4GHz signal.
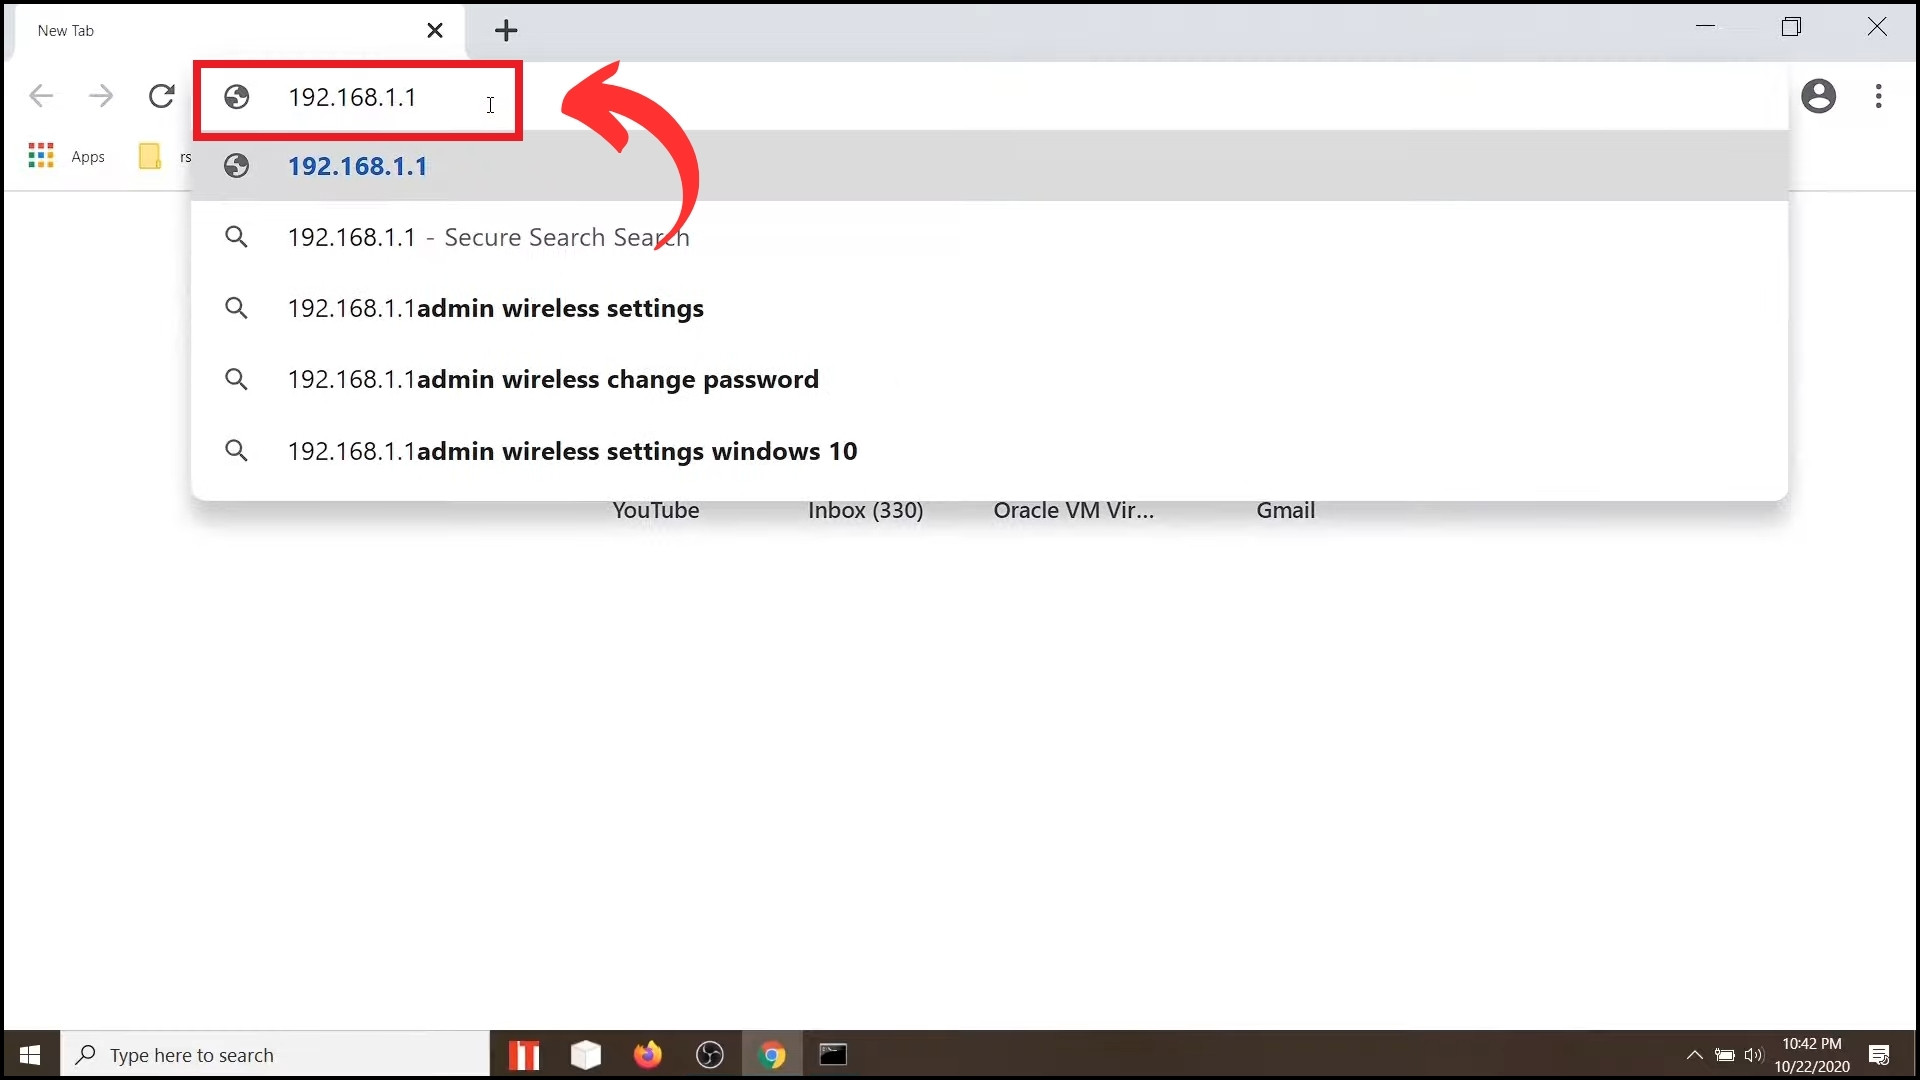
Note: IP address varies from router to router; you can check our article to determine what IP address your router is operating on.
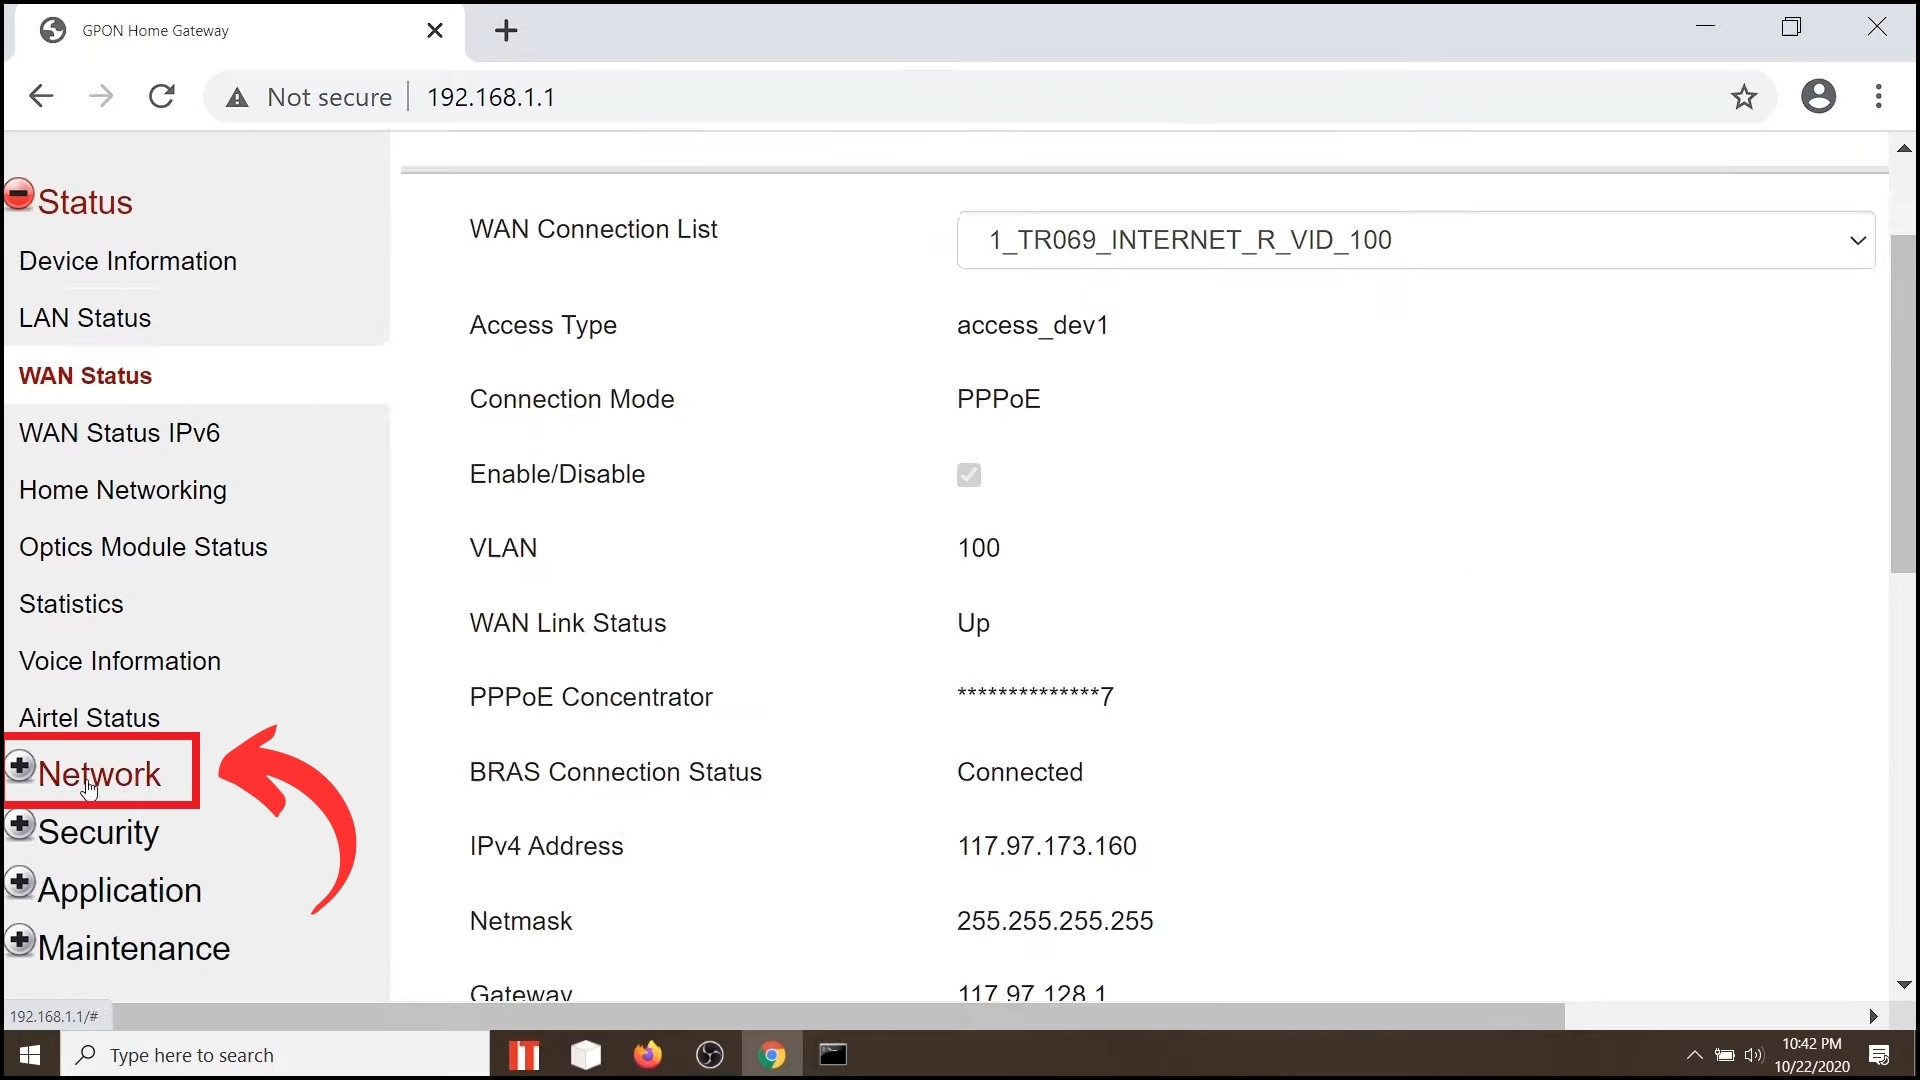
- Open a web browser or app to access your router’s settings using the router’s IP address.
- Navigate to the “Network” section.
- Ensure your WiFi is set to the 2.4GHz frequency band.
3. Reset RemoBell S
Resetting your RemoBell S can often solve connectivity issues by returning the device to its original factory settings, giving you a fresh start. This method is particularly helpful if you believe the problem is with the device rather than your network.
Warning: Doing this will remove all your data and reset the device to factory settings.
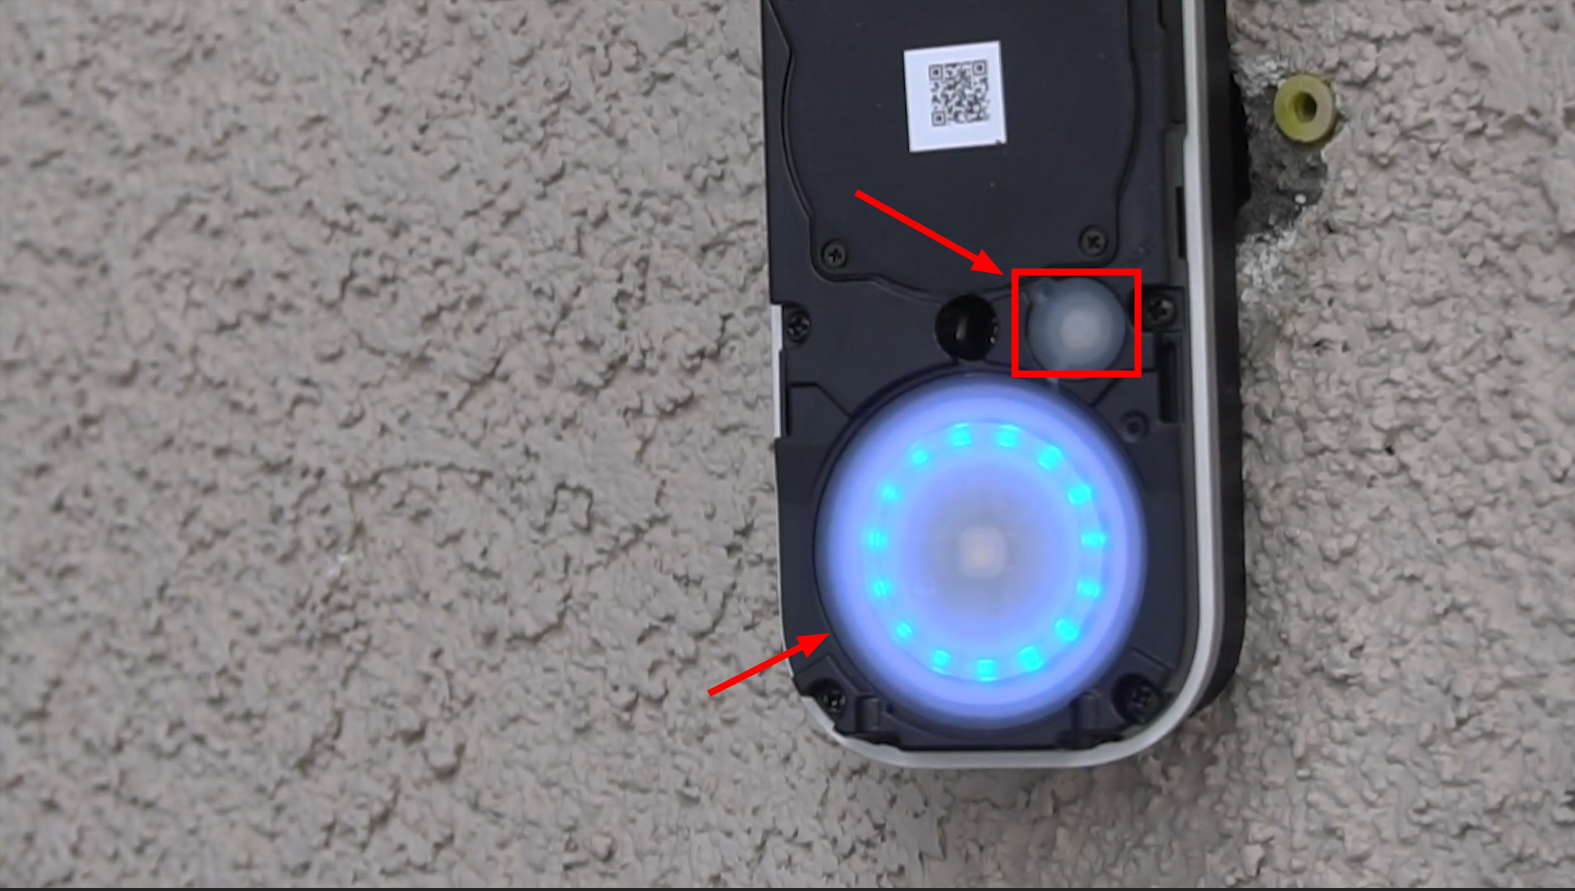
- Press and hold the “Reset button” on your RemoBell S for about five seconds until the LED lights turn red and then flash blue, indicating the reset process has started.
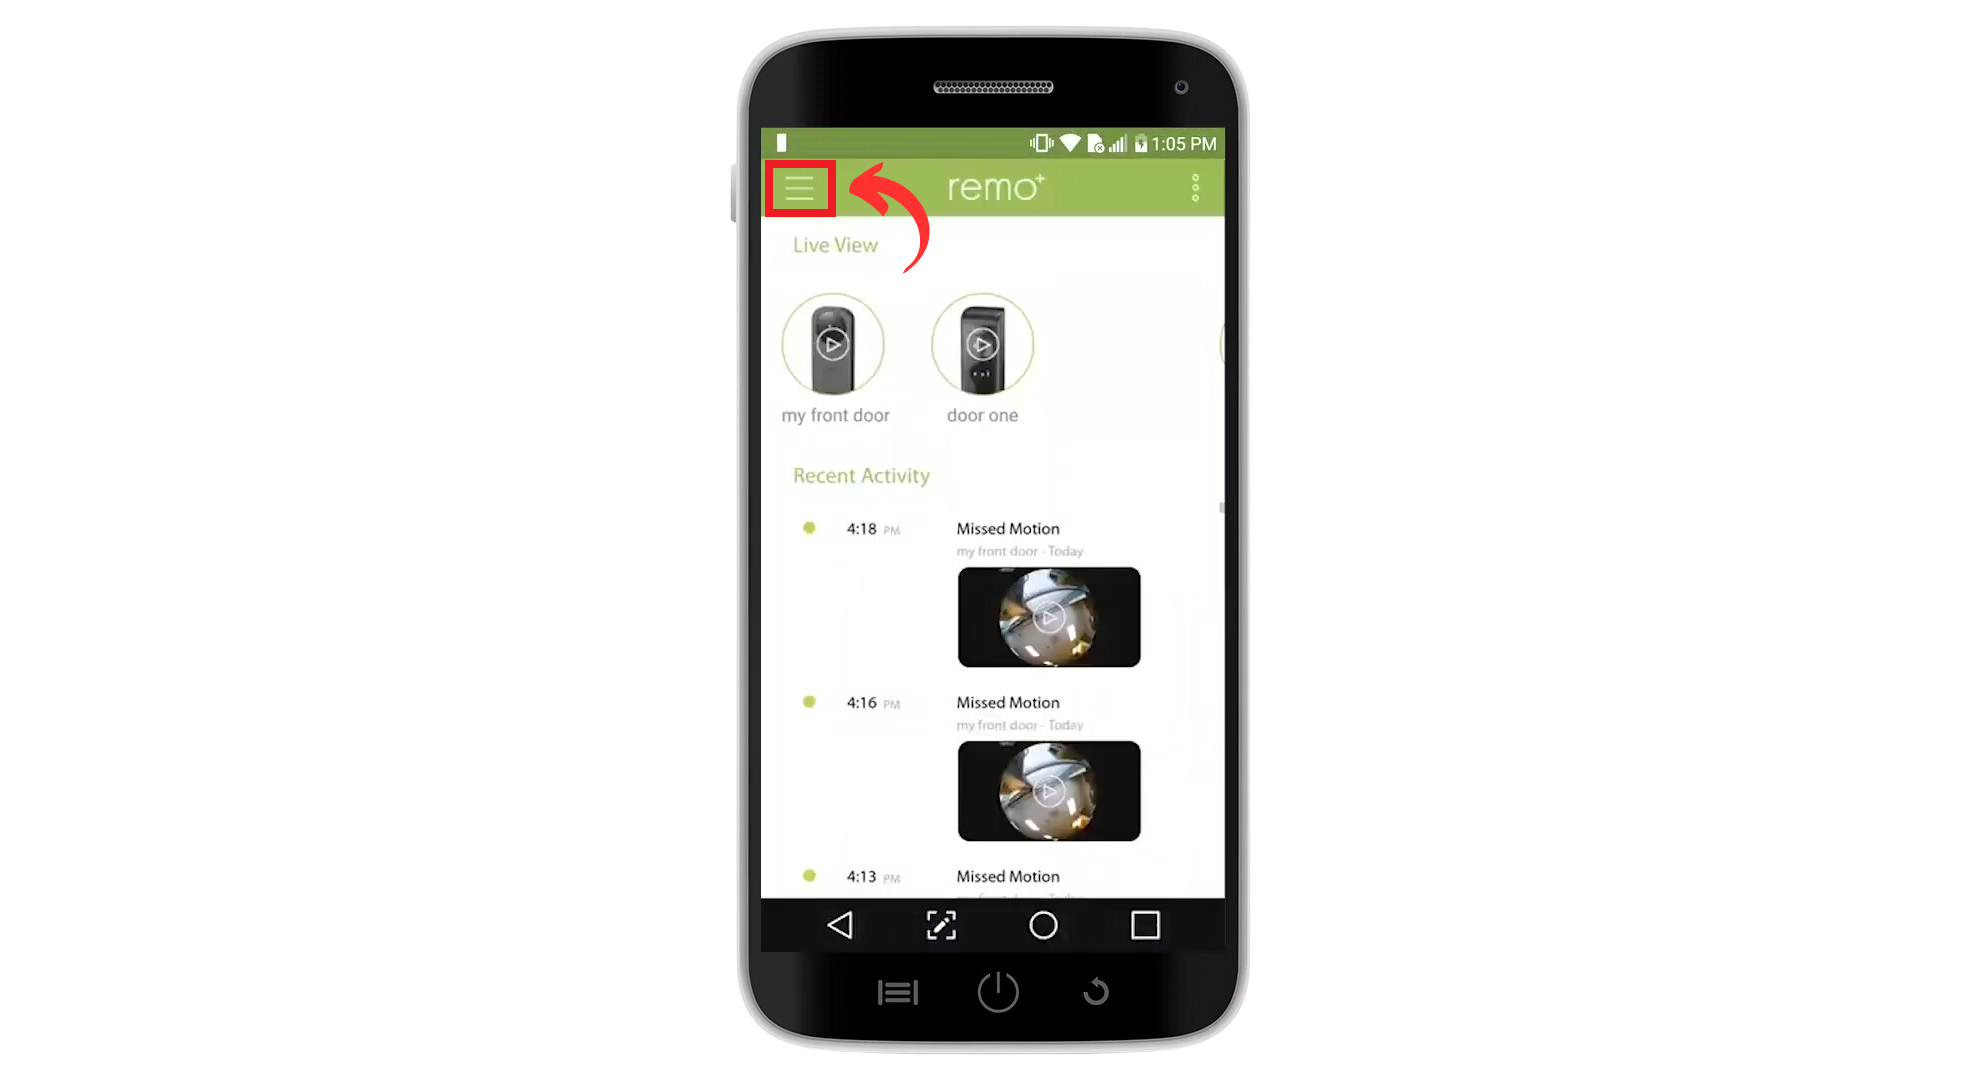
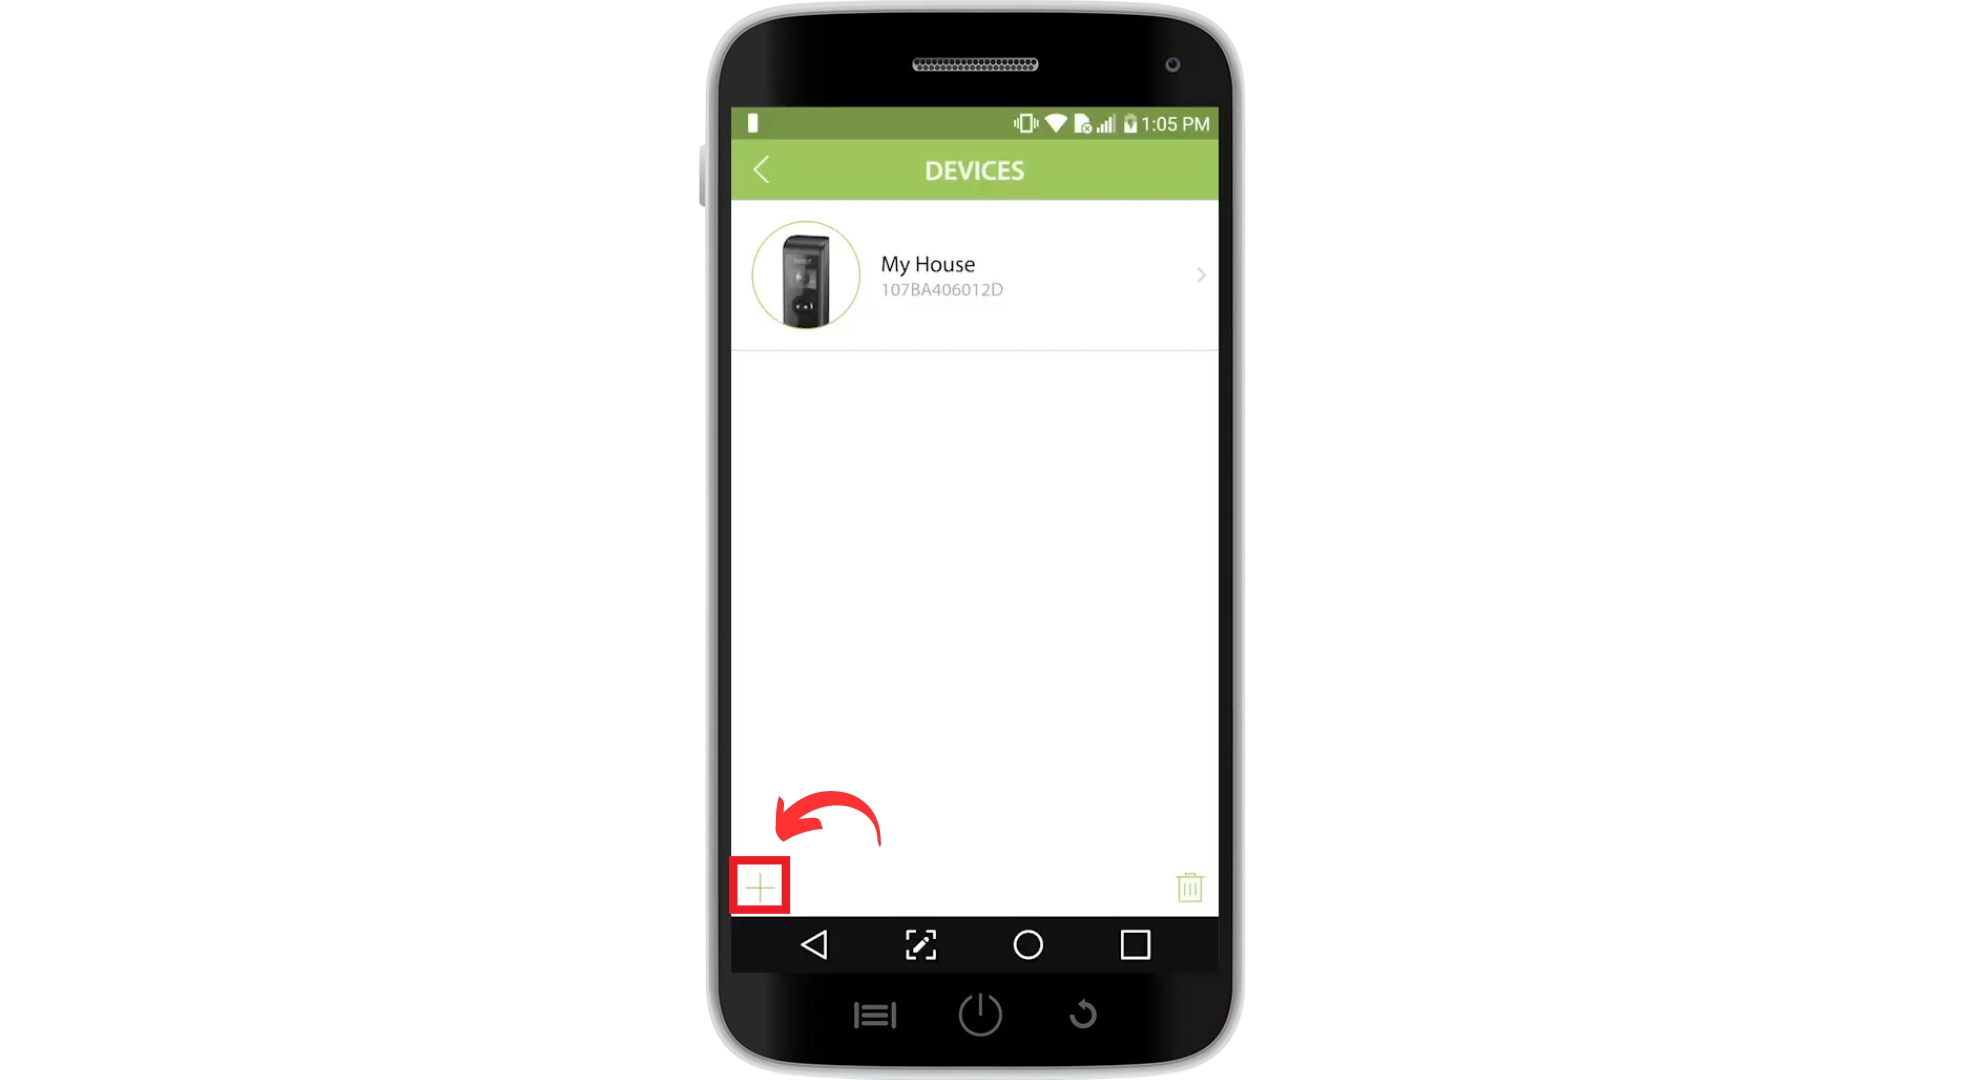
- Open the Remo+ app on your smartphone. Tap the menu icon (three horizontal lines) to go to the “Devices” section. Select your RemoBell S, tap the “Trash” icon, and confirm by tapping “Yes” to delete it.
- Tap the “Plus” icon to re-add your RemoBell S. Follow the prompts to choose your device type, select your time zone, and enter your “Network password.”
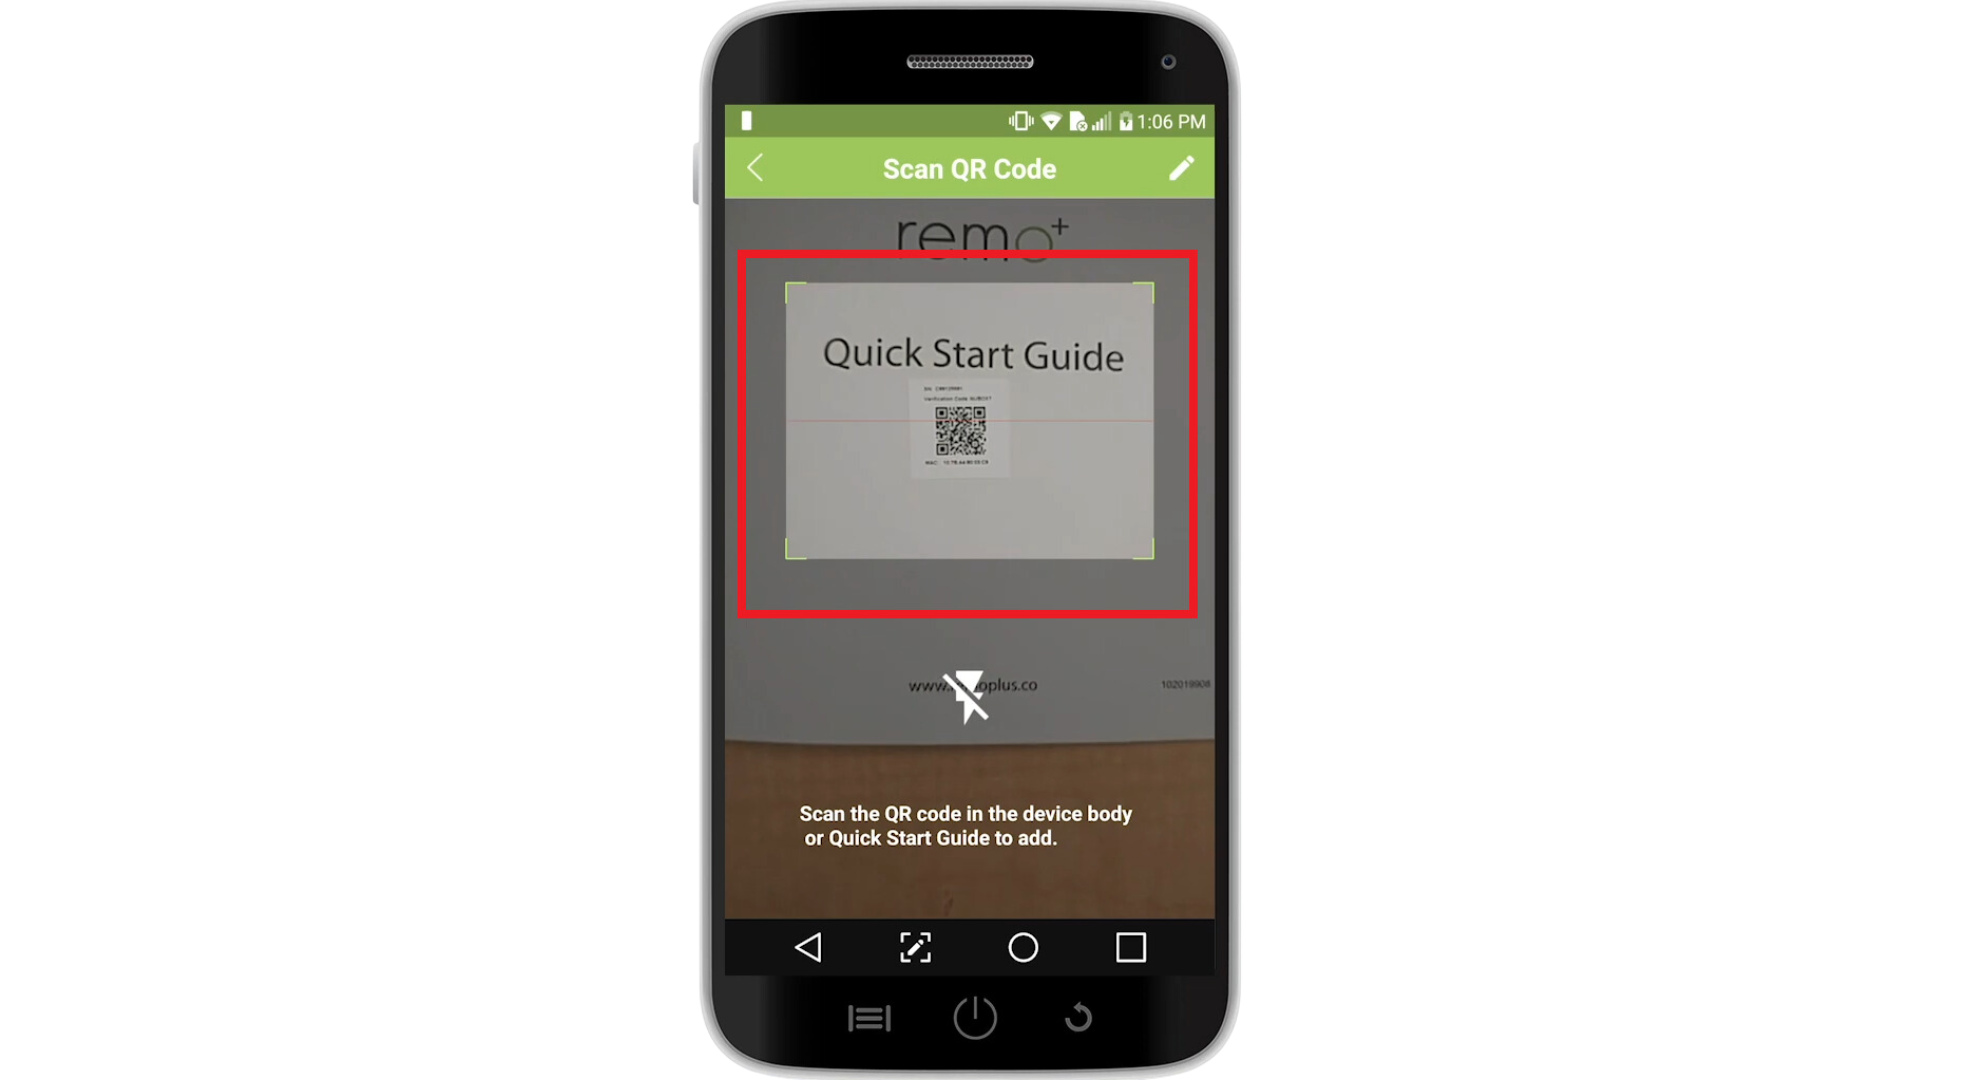
- Scan the QR code found on your RemoBell S or in the accompanying Quick Start Guide.
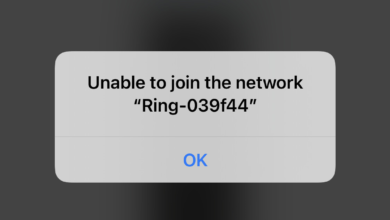
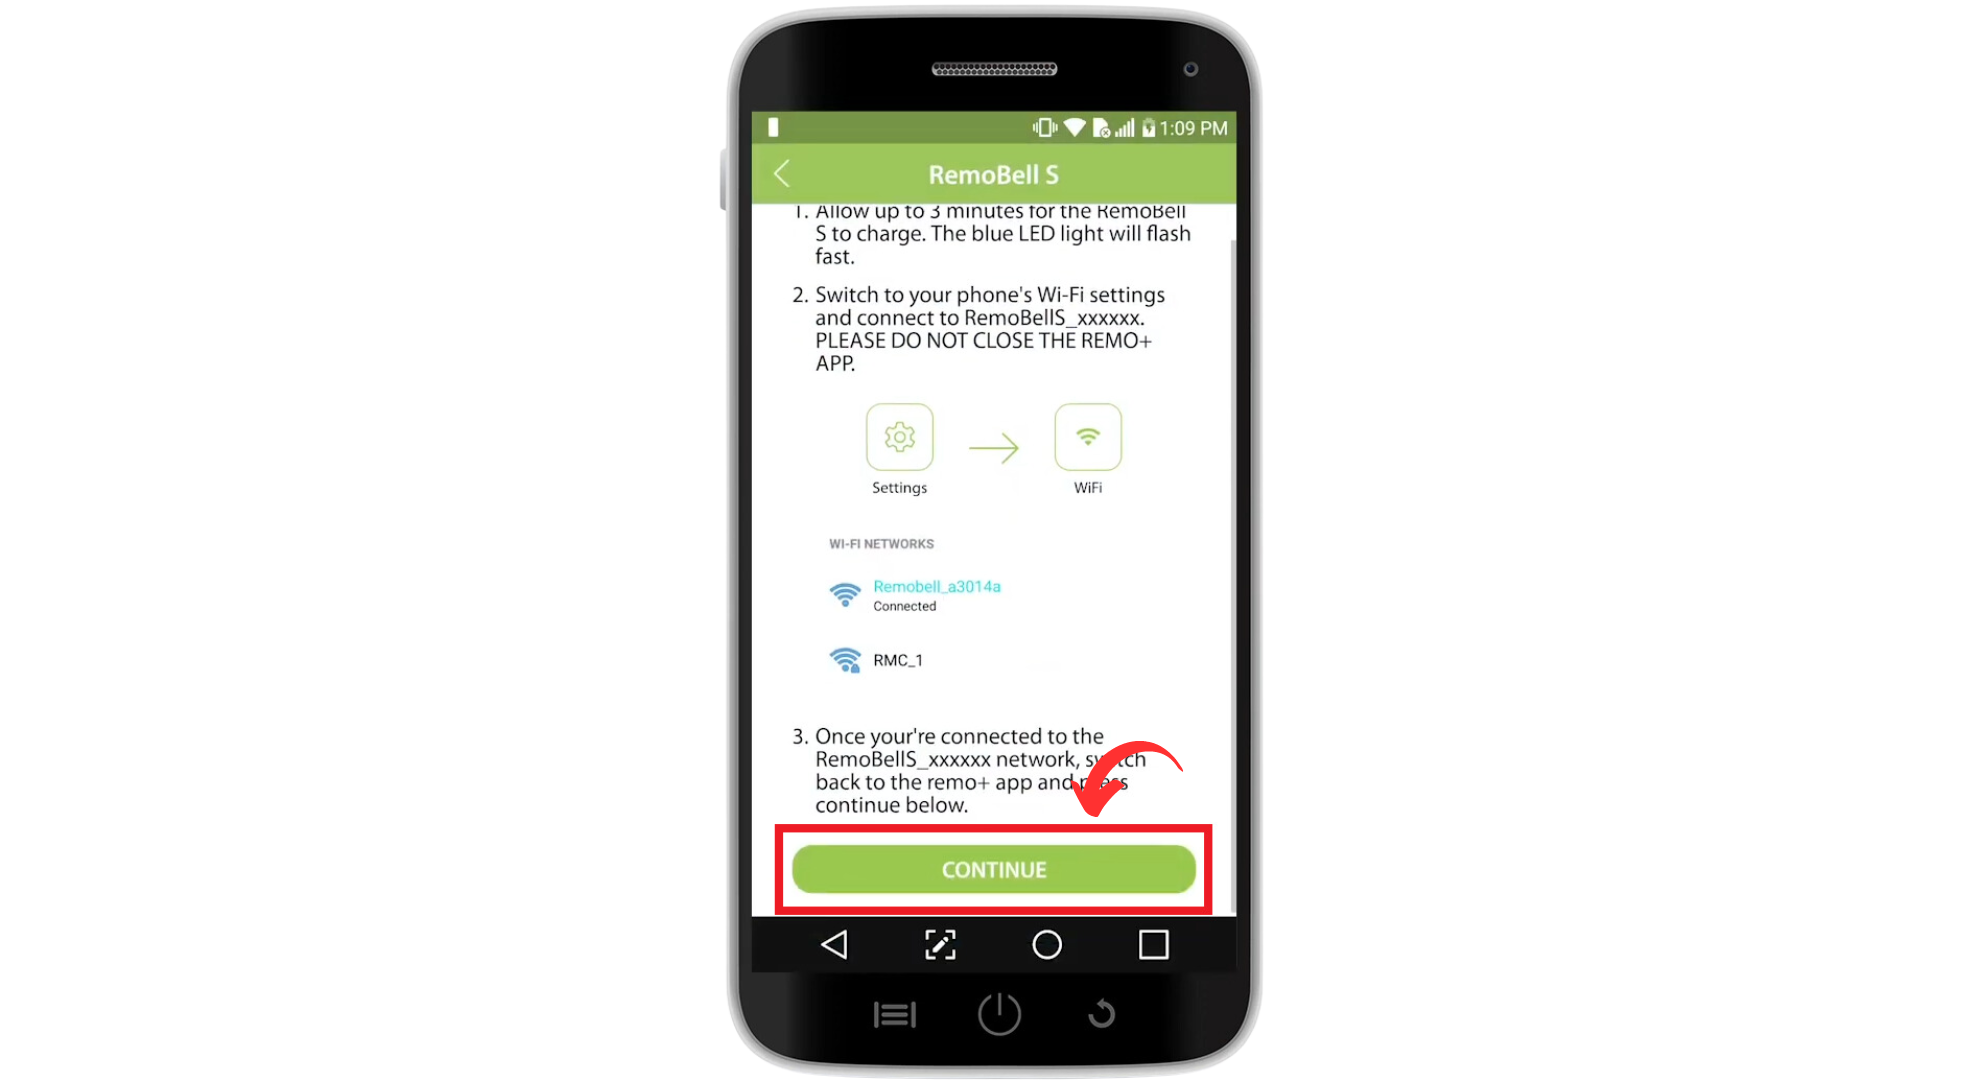
- Briefly navigate to your phone’s WiFi settings to connect to the RemoBell S network. Return to the Remo+ app, dismiss any “Internet not available” notifications, and tap “Continue.” Wait for the app to complete the registration process, which may take up to three minutes.
Reviewed by Huzaifa Haroon