DISM Host Servicing Process High CPU Usage? Here’s how to fix
In order for an operating system to work as intended and without any issues, it has to rely on hundreds of processes that run in the background. While these processes are important, at least some of the core ones, there are scenarios where the background processes can cause some issues. One of these scenarios would be when the processes consume more resources than it should be. Processes don’t eat away at the resources present on your computer that includes the computing power, memory and more while it is sitting idle. However, when there is an issue with a process, you might notice it does the contrary. DISM Host Servicing Process can sometimes become a victim of this due to which it begins to have a high CPU usage percentage.

Before we get into more detail, let us first establish what even is this service and what is used for? As it turns out, the DISM or Deployment Image Servicing and Management is basically a command-line tool that comes with Windows. It is often used to prepare and service Windows images which means if your Windows files ever get damaged or corrupted, you can rely on DISM to repair your Windows operating system.
In addition to that, when you are installing Windows updates on your computer, the process works in the background to help with that as well. One of the scenarios where you notice high CPU usage of the DISM service is when you are running a Windows update. If that is the case for you, then you have nothing to worry about as it is pretty common and everything should get back to normal once Windows has installed the on-going updates. However, if you notice high CPU usage without that via the Task Manager, then you can follow through this article to resolve the problem. With that said and out of the way, let us get started with showing you how you can resolve this problem via the different workarounds available. So, without further ado, let us get right into it.
Disable Superfetch or SysMain Service and Background Intelligent Transfer Service
Superfetch is a Windows service that is responsible for speeding up your experience on the operating system over time by seeing how you use your computer. On newer versions of the Windows operating system, this has been renamed to SysMain. Therefore, if you are running a newer build of the Windows 10 operating system, you should be looking for SysMain instead of Superfetch. The mentioned service can sometimes malfunction which can cause the high CPU usage issue that you are facing.
In addition to this, the BITS or Background Intelligent Transfer can also be causing the problem in question. This service is mainly used to transfer files in the background using your network and then passes them to the DISM process. Therefore, in such a scenario, you will have to disable the service to resolve the problem. To do this, follow the instructions given down below:
- First of all, open up the Run dialog box by pressing the Windows key + R combination.
- Once the Run dialog box is up, type in services.msc and then hit the Enter key.
Opening Windows Services - This will open up the Windows Services app.
- Here, you will be able to see all the services that are on your system, both running and stopped.
- From the list of the services, look for Superfetch or SysMain.
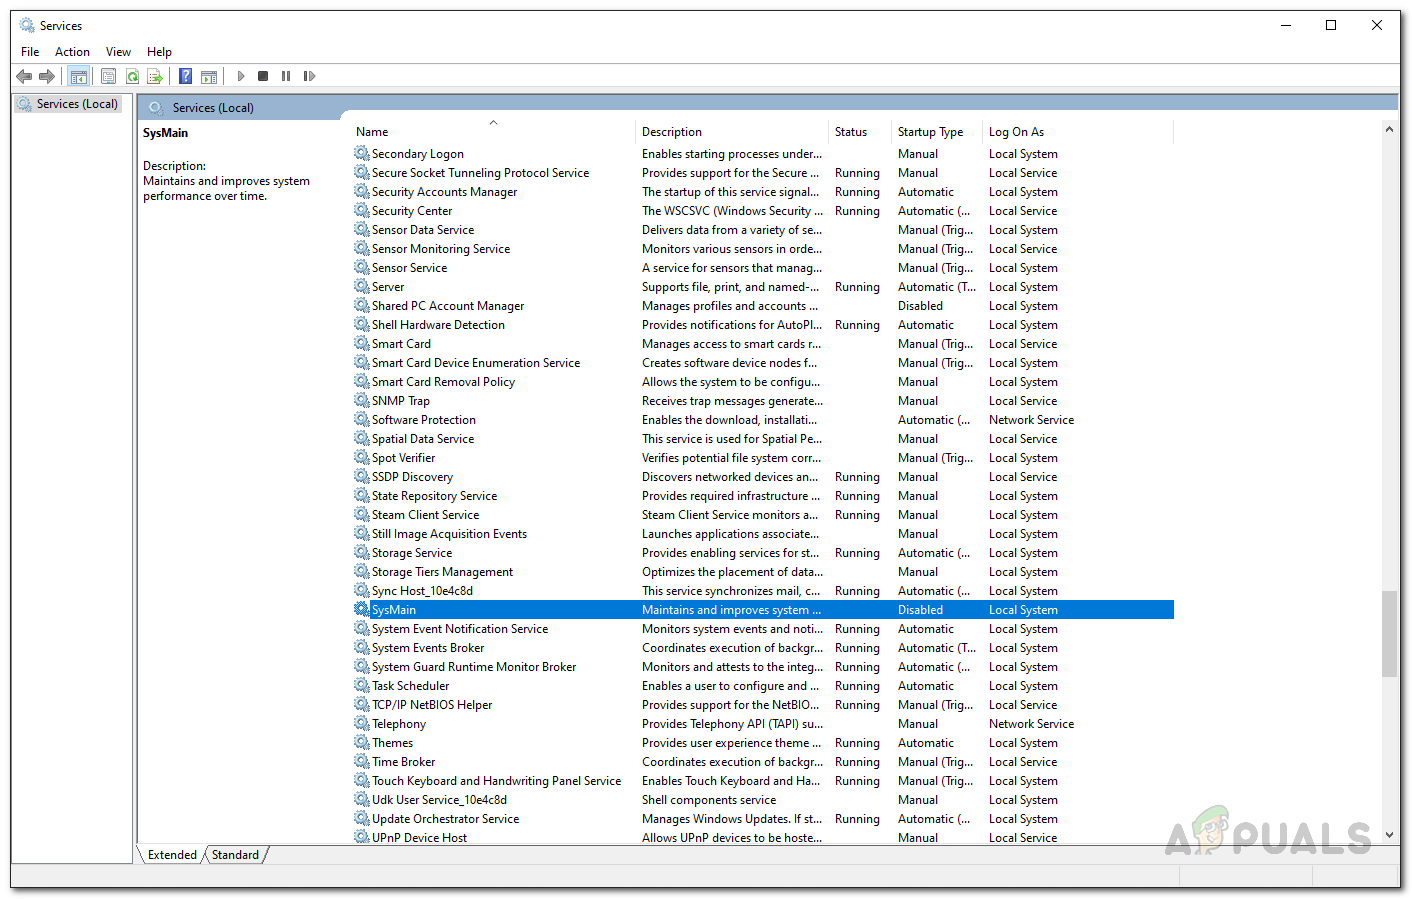
SysMain Service - Once located, double-click on it to open up the Properties window.
- On the Properties window, click the Stop button to stop the service. In addition to that, change the Startup type from the drop-down menu to Disabled.

Changing Startup type of SysMain - After doing that, click on Apply and then hit OK.
- Once you have done, from the list of services, look for the Background Intelligent Transfer Service. To make it easy for yourself, press the B button on your keyboard which will take you to the start of the services starting with the alphabet B.
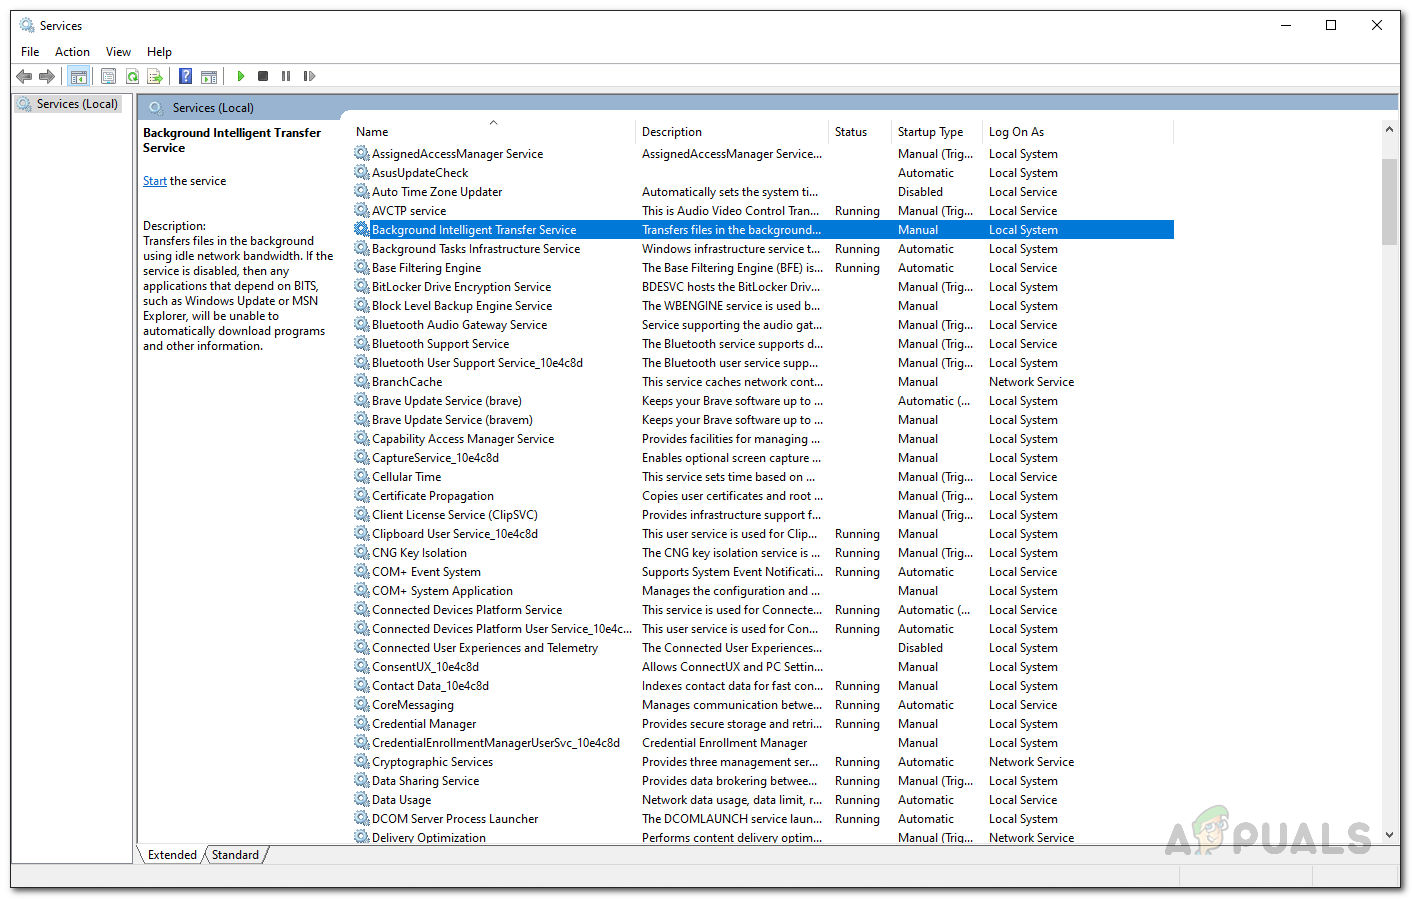
Background Intelligent Transfer Service - Upon finding the service, double-click on it as well to open up the Properties window.
- Stop the service by clicking the Stop button and then change the Startup type to Disabled from the drop-down menu.
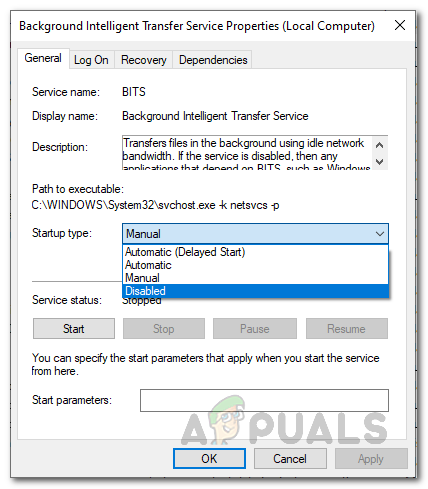
Changing Startup type of Background Intelligent Transfer Service - Click Apply and then hit OK.
- After you have done all of that, go ahead and restart your computer. When your computer boots up, see if the problem is still there by opening up the Task Manager.
Run System File Checker
System File Checker or SFC is a tool that comes with Windows that is used to scan your system files and if there are any corrupted files found, it will replace them. The tool does this by downloading a manifest of the important files of the Windows operating system and then compares them with the ones that are present on your computer. The files are replaced in case of any issues found. Since the high CPU usage issue can sometimes be caused due to your system files, running an SFC scan can help you resolve the problem. To do this, follow the instructions given down below:
- First of all, you will be needing an elevated command prompt window. For this, open up the Start Menu and search for cmd. Right-click on the result shown and choose Run as administrator from the drop-down menu shown.

Opening Command Prompt as an Admin - Once the elevated command prompt window is open, type in “sfc /scannow” without the quotes in the prompt and then hit the Enter key.
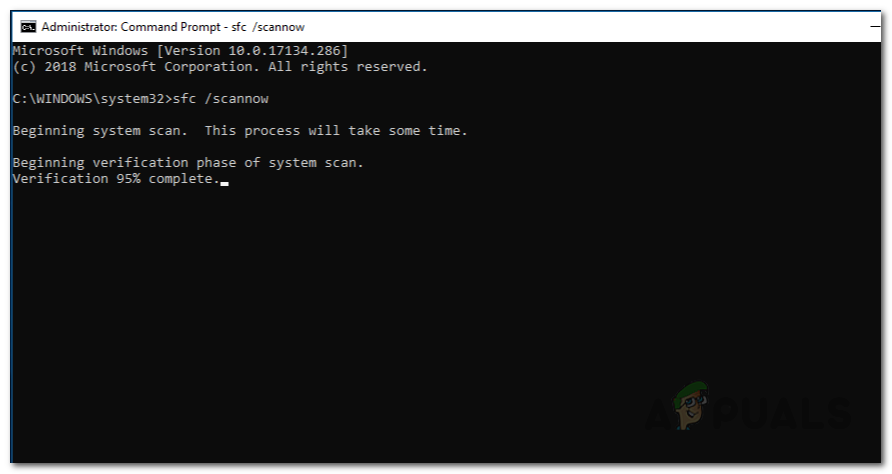
Scanning system using SFC - The SFC tool will now begin scanning your system files for any discrepancies. Wait for the process to finish as it can take some time.
- After it finishes the scan and you are prompted with a corrupted files found message, type in the “DISM /Online /Cleanup-Image /RestoreHealth” command without the quotes and then hit Enter.
- Once this process is done as well, check your CPU usage by opening up the Task Manager.
Perform a Clean Boot
As it turns out, in some cases, the problem can be caused by a third-party application on your system. In such a scenario, you will have to perform a clean boot that will essentially disable all the non-important services and applications on your computer that run at startup. That is all a clean boot does. When you perform a clean boot and the issue is not there, it will be apparent that the problem is being caused by a third-party application. In such a scenario, you will have to uninstall any applications that you might have installed recently before the issue started. To perform a clean boot, follow the instructions given down below:
- First of all, open up the Run dialog box by pressing Windows key + R.
- Then, in the Run dialog box, type in msconfig and hit Enter.
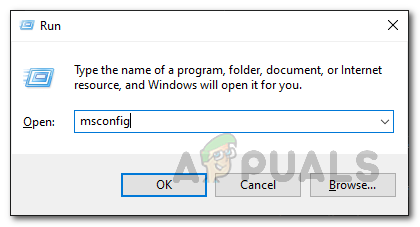
Opening System Configuration - This will open up the System Configuration app.
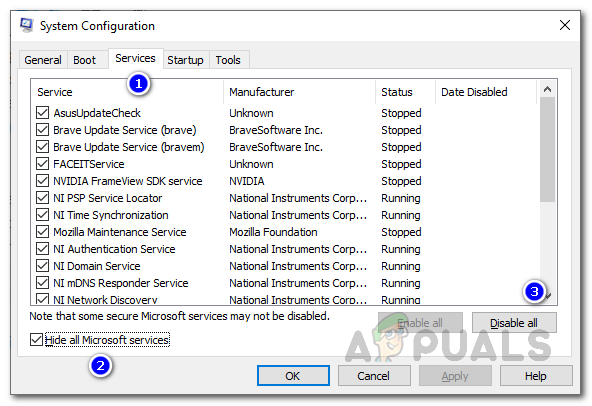
- There, switch to the Services tab. On the services tab, click the Hide all Microsoft services checkbox. This will hide all the Microsoft services from the list.
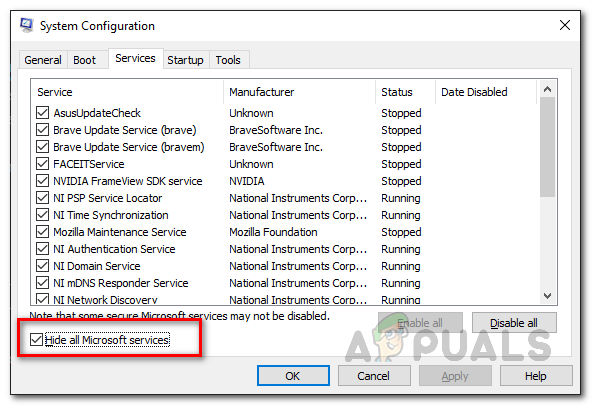
Hiding all Microsoft Services - Once you have done that, click the Disable all button to disable all of the remaining services. Click Apply.
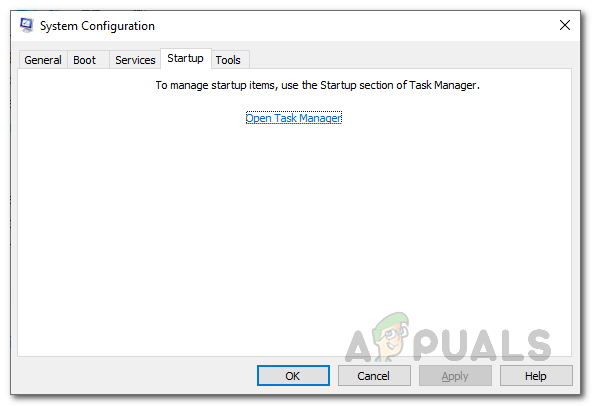
Disabling all Third-Party Services - After that, switch to the Startup tab. There, click on the Open Task Manager option.
System Configuration Startup Tab - In the Task Manager window that opens up, on the Startup tab, click all the applications one by one and then click the Disable button to disable them from starting at startup.

Startup Applications - Once you have done all of that, go ahead and restart your computer. After your PC boots up, see if the problem is there. In case it isn’t, the problem is being caused by an application on your system and you will have to start uninstalling any potential apps that might be resulting in the issue in question.


