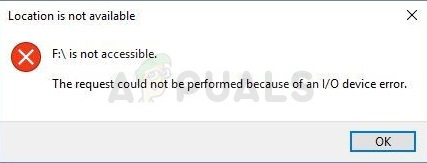
How to Fix “The Request Could Not Be Performed Because of an I/O Device Error” (0x8007045D) on Windows 11/10
The error “The request could not be performed because of an I/O device error” usually appears when Windows cannot properly read from or write to a storage device. It is commonly reported when opening an external hard drive, copying files, creating a backup, accessing a USB drive, or working with an SSD, SD card, or DVD. In some cases, it may also appear alongside Error 0x8007045D.
This problem is usually caused by a bad connection, failing storage device, file system corruption, or a driver issue preventing Windows from communicating with the device correctly. If the drive is physically failing, software fixes may only help you recover data before replacement becomes necessary.
Before trying the fixes below, back up the drive immediately if it is still accessible. Repeatedly using a failing drive can make data recovery harder.
This error can appear for several reasons, but the most common ones are:
- Loose or damaged cable: A faulty USB, SATA, or enclosure cable can interrupt communication with the drive.
- Corrupted file system or bad sectors: Logical errors on the drive can stop Windows from reading or writing data properly.
- Failing storage device: A dying HDD, SSD, USB drive, or SD card can trigger this error during file access or transfer.
- Corrupt or incompatible drivers: USB and storage controller drivers may prevent the device from working correctly.
- Third-party software interference: Security software, sync tools, and background services can sometimes interrupt file operations.
- Device-specific hardware problems: A bad enclosure, adapter, port, or disc drive can also cause the error.
1. Reconnect the Drive and Try Another Port or Cable
Before moving to software fixes, rule out a simple connection issue. This error often appears when the drive is connected through a faulty cable, unstable USB port, or malfunctioning enclosure.
- Disconnect the affected drive from your PC.
- Reconnect it using a different USB port. If possible, avoid USB hubs and connect it directly to the motherboard.
- If the drive uses a removable cable, try a different compatible cable.
- If it is an internal drive, power off the PC and reseat the SATA and power cables.
- If available, test the drive on another computer.
If the drive works normally on another system, the problem is more likely related to your PC, drivers, or port rather than the drive itself.
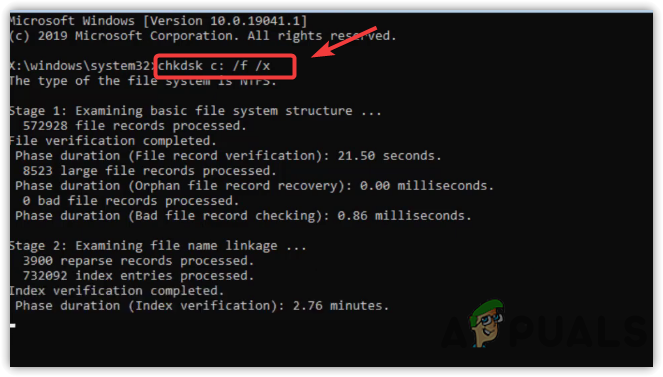
2. Run CHKDSK on the Affected Drive
If the drive has bad sectors or logical file system errors, running CHKDSK can help repair them. This is one of the most useful fixes when the error appears while opening folders, copying files, or performing backups.
- Press the Windows key, type cmd, right-click Command Prompt, and choose Run as administrator.
- Type the following command and press Enter:
chkdsk X: /f /r /x
 Note: Replace X with the actual letter of the affected drive.
 - Wait for the scan to complete. This may take some time, especially on larger drives.
- Restart your computer and check whether the error is gone.
If the issue appears while backing up files from your main drive to another device, run CHKDSK on the source drive as well.
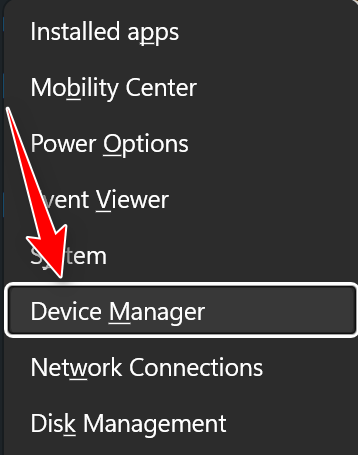
3. Reinstall the USB or Storage Device Drivers
Corrupted USB or storage drivers can prevent Windows from properly communicating with a connected drive. Reinstalling them forces Windows to load a fresh copy.
- Right-click the Start button and select Device Manager.
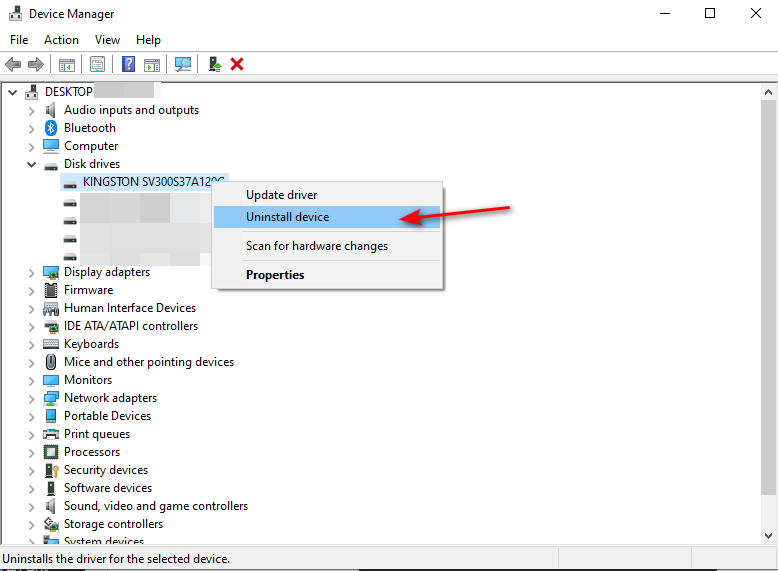
- Expand Disk drives.
- Right-click the problematic drive and select Uninstall device.
- If the error appears on a USB-connected device, also expand Universal Serial Bus controllers and uninstall the relevant USB controller entries one by one.
- Restart the computer.
- Reconnect the drive and allow Windows to reinstall the drivers automatically.
After restart, test the drive again and see if the I/O error still appears.
4. Try the Operation in Safe Mode or Perform a Clean Boot
If the drive works intermittently or the error only appears during copying, backup, or installation, a background application may be interfering. This is common with antivirus tools, sync clients, burning software, or third-party startup services.
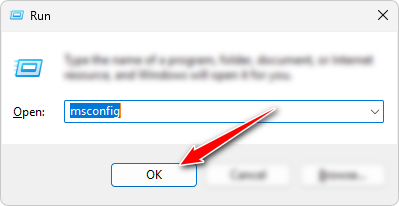
- Press Windows + R, type msconfig, and press Enter.
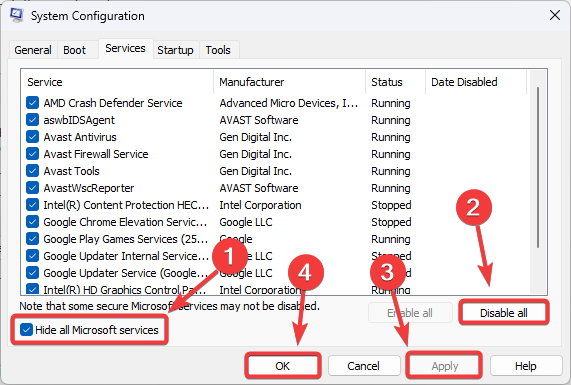
- Open the Services tab and check Hide all Microsoft services.
- Click Disable all.
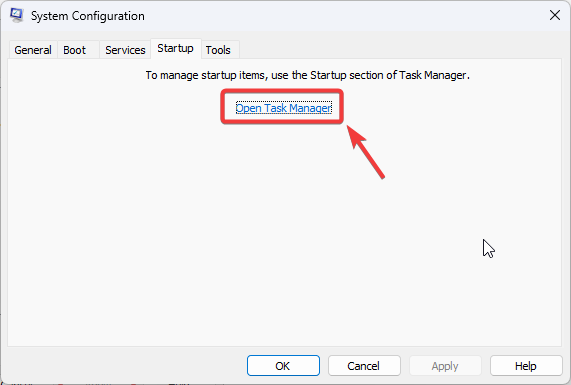
- Go to the Startup tab and disable non-essential startup items.
- Restart your PC and test the same file operation again.
If the problem disappears in a clean boot state, one of the disabled services or startup apps is the cause. Re-enable them gradually until you find the one triggering the error.
5. Check the Drive’s Health
If the error keeps returning, the drive may be failing. In that case, your priority should be confirming its health and recovering important files before the condition gets worse.
- Open Command Prompt as administrator.
- Run the following commands:
wmic
diskdrive get status
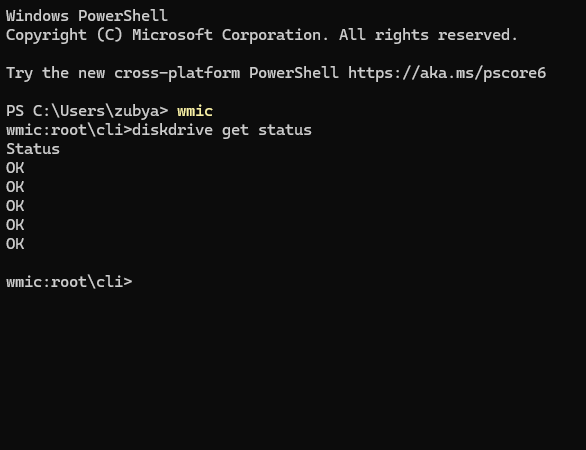
If the result shows anything unusual, or the drive behaves abnormally despite showing OK, use a manufacturer or diagnostic tool for a more reliable check. You can use tools such as:
- SeaTools
- Western Digital Data Lifeguard
- CrystalDiskInfo
If diagnostics report a health issue or SMART warning, stop using the drive for normal file transfers and focus on recovering your data.
6. Recover Important Data First
If the drive is accessible only sometimes, or if errors appear repeatedly during transfer, avoid unnecessary writes to it. The safest next step is to copy important files off the drive while it is still readable.
If Windows cannot access the files normally, you may need to use recovery software or connect the drive to another PC. Recovery should come before formatting, because formatting can reduce your chances of getting the files back intact.
7. Format the Drive
If the drive is not physically damaged and you have already recovered your files, formatting it can fix corruption and restore normal access. This is most useful when the error is caused by file system damage rather than hardware failure.
- Open This PC.
- Right-click the affected drive and choose Format.
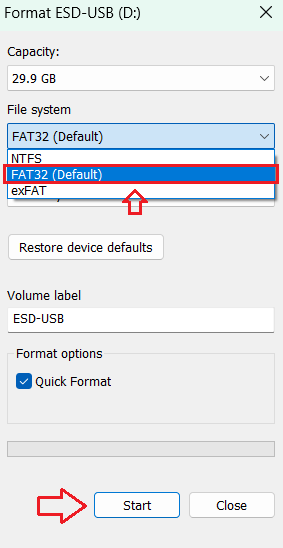
- Select the appropriate file system.
- Click Start and wait for the process to complete.
8. Replace the Drive or Enclosure if the Error Persists
If the same error continues after changing the cable, scanning the drive, reinstalling drivers, and testing on another PC, the hardware may be failing.
In external drives, the issue may come from the USB enclosure or adapter rather than the disk itself. In internal drives, it may be the drive, cable, or storage controller.
If diagnostics confirm failure, replacing the faulty drive is the most reliable solution.


