How to Fix CS:GO Crash after Changing Video Settings?
CSGO can crash after you change the game’s video settings due to a number of reasons which include the config file executed by the game, system-controlled display scaling, and more. In some scenarios, you can also experience the issue when there are missing game files on your computer or corruption.

The issue often occurs when you try to change the resolution of the game which leads to an initial black screen followed by a crash, taking you to your desktop. In most cases, there is no crash report or error message associated with the game. Rather, the game simply closes.
In this article, we will take you through several methods and a possible workaround that will allow you to resolve the issue or at the very least mitigate it for the time being.
Workaround
A potential workaround to the game crashes when changing video settings is to use the main menu to make any changes. This means instead of changing your video settings while you are on a server, you should try changing the game settings in the lobby or the main menu.
These crashes are pretty common in CSGO and have been around for quite a while. In some scenarios, you can get rid of the issue via a specific method, but in others, the issue seems to be persistent in which case you can implement this workaround to get the job done.
Simply use the Main Menu to make any changes to your video settings and that should not result in the game crashing at all. If the problem originally occurs when you change the video settings in the Main Menu, we would recommend joining a server and then trying to change your video settings.
1. Use Autoconfig
When starting to troubleshoot the game crashes while changing your video settings, the first thing you should do is change your config. In some scenarios, the problem can occur due to the config that the game is using. This can happen when you have a custom config that is being executed every time the game launches via the launch options.
Autoconfig essentially forces CSGO to use the default settings of the game instead of a custom config file. You can do this by adding the autoconfig command in the launch options of the game. If the problem goes away in the default settings, you will have to create a new config file for yourself to ensure the issue does not persist in the future.
Follow the instructions below to use autoconfig:
- First, open the Steam client on your computer.
- On the Steam client, navigate to your Library.
- Right-click on Counter-Strike: Global Offensive and choose Properties from the drop-down menu.
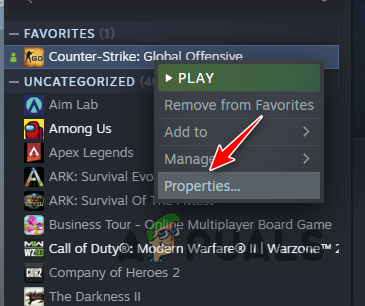
Navigating to Game Properties - Then, on the Properties window, add the -autoconfig command in the Launch Options area.
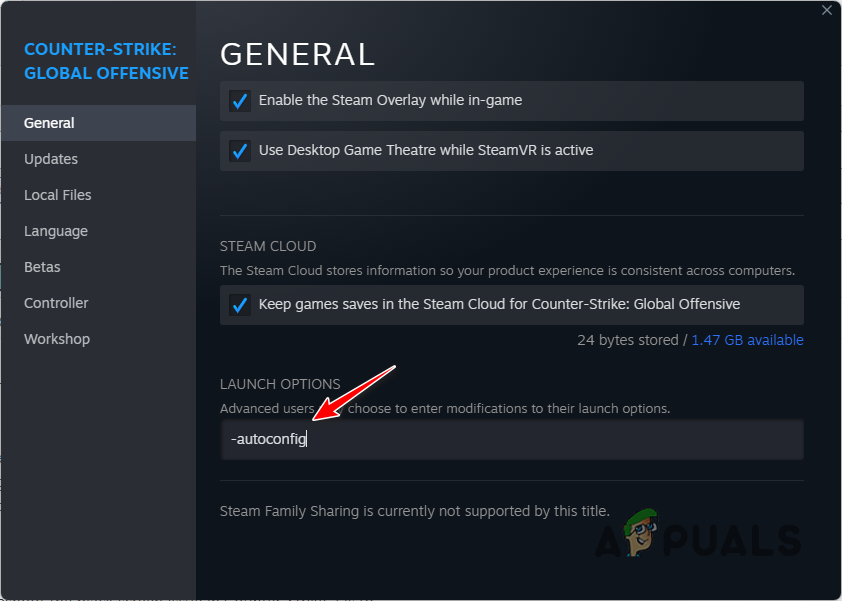
Adding -autoconfig to Launch Options - If you are executing a custom config file via the launch options, make sure to remove that.
- After that, open the game and see if the problem persists.
2. Clear Steam Download Cache
Steam uses a dedicated cache on your computer to store any ongoing game updates, and game installation while the download completes. In some scenarios, corruption in the Steam download cache can trigger issues with the games you play on the client.
CSGO crashes are no exception to this scenario which is why you will have to clear the Steam download cache on your computer. Doing so will not affect the games that are currently installed on your system, so there is nothing to worry about. However, you will be forced to log in once you clear the cache.
Follow the instructions below to clear the Steam download cache:
- First, open the Steam client on your PC.
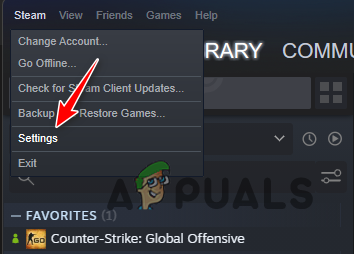
- In the top-left corner, click on the Steam option. Choose Settings from the drop-down menu.
Navigating to Steam Settings - On the Settings window, navigate to the Downloads tab.
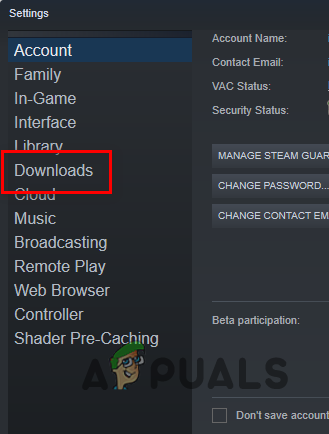
Navigating to Steam Downloads Settings - There, click on the Clear Download Cache option.
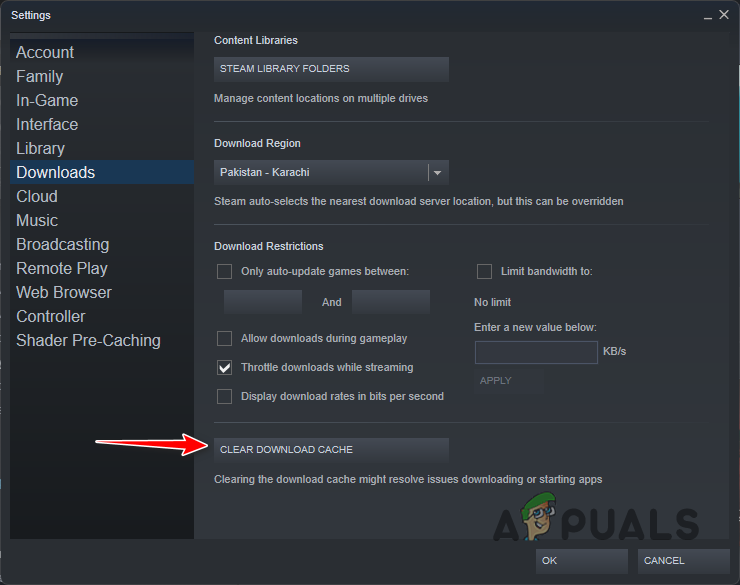
Clearing Steam Download Cache - Once you do that, open CSGO to see if the problem persists.
3. Disable System Display Scaling
Windows has a default display scaling feature that scales the programs on your computer. This can sometimes cause compatibility issues with the apps on your computer that can lead to crashes. In such a scenario, you will have to disable the system-controlled display scaling to fix the issue.
In addition to system-controlled scaling, Windows allows the programs to manage the display scaling on their own. However, this option is overridden by the system-controlled scaling by default. As such, you will have to switch to application-controlled display scaling to fix the issue.
Follow the instructions below to do this:
- Start by opening the Steam client.
- Navigate to your Library.
- Then, right-click on Counter-Strike: Global Offensive and choose the Manage > Browse local files option from the drop-down menu.
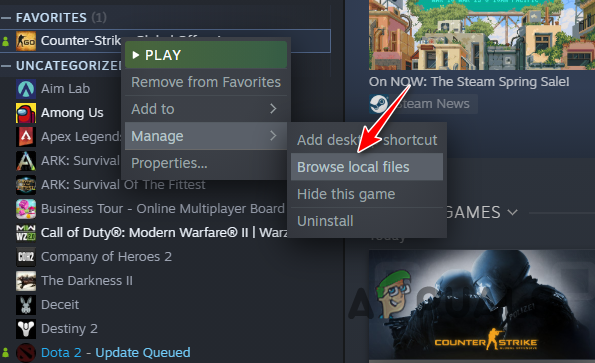
Navigating to CSGO Installation Directory - This will open a File Explorer window in the installation directory of CSGO.
- There, right-click on the csgo.exe executable file and choose Properties from the drop-down menu.
- On the Properties window, switch to the Compatibility tab.
- There, click on the Change high DPI settings button.
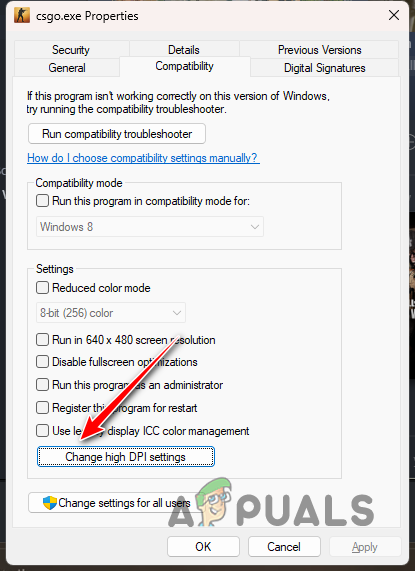
Changing Display Scaling Settings - After that, tick the Override high DPI scaling behavior option under High DPI scaling override.
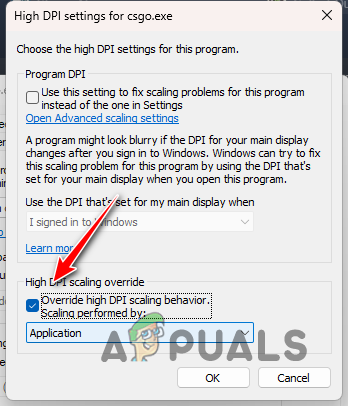
Overriding Default Scaling Option - Choose Application from the drop-down menu.
- Finally, click OK and hit Apply.
- Close the Properties window and open the game to see if the game still crashes.
4. Verify Game Files
In some scenarios, the game crashes on your computer can be caused by missing game files or corruption in the game files. When this happens, you will have to repair the game files on your computer to resolve the issue.
To do this, you can use the verify integrity of game files feature on the Steam client to scan for any missing or damaged game files. Any such files are replaced by a fresh copy from the Steam download servers. Follow the instructions below to verify the integrity of game files:
- First, open the Steam client on your system.
- On the Steam client, navigate to your Library.
- There, right-click on Counter-Strike: Global Offensive and choose Properties from the drop-down menu.
Navigating to Game Properties - On the Properties window, switch to the Local Files tab.
- There, click on the Verify integrity of game files option.
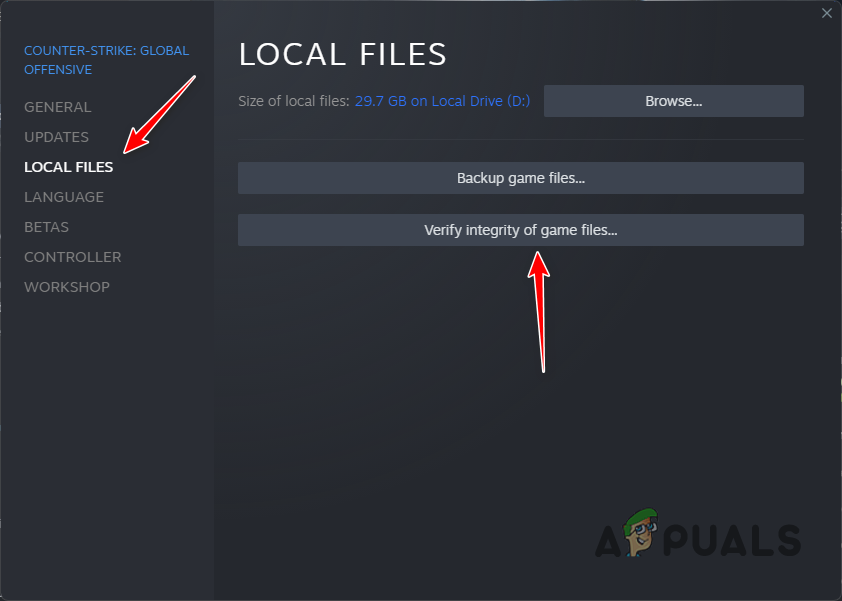
Repairing CSGO Game Files - Wait for the game files to be scanned and repaired.
- After that, open the game to see if the issue persists.
5. Update Graphics Drivers
The graphics drivers on your computer can also be a factor in the game crashes you are experiencing. This is because the graphics drivers are used to communicate with the graphics card on your motherboard which renders the graphics on your monitor.
If the graphics drivers on your computer are obsolete or damaged, it can cause various issues with the games that you play on your system. Therefore, updating your graphics drivers should be a priority. To do so, you will have to uninstall the existing drivers completely via a third-party utility like Display Driver Uninstaller (DDU).
Follow the instructions below to do this:
- First, download the latest version of DDU from the official website here.
- Extract the downloaded file to any location on your PC.
- Navigate to the extracted location and open the Display Driver Uninstaller.exe file.
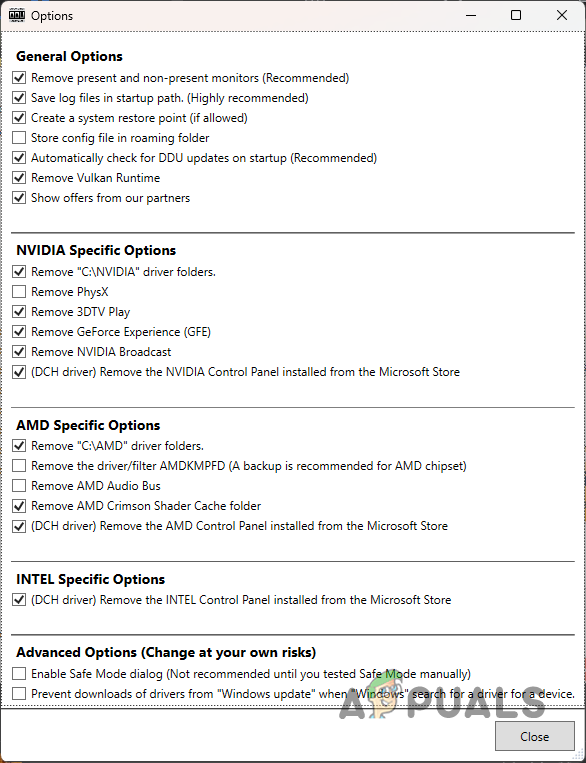
- Once DDU launches, you will be shown the General Options window. Click on the Continue button to proceed.
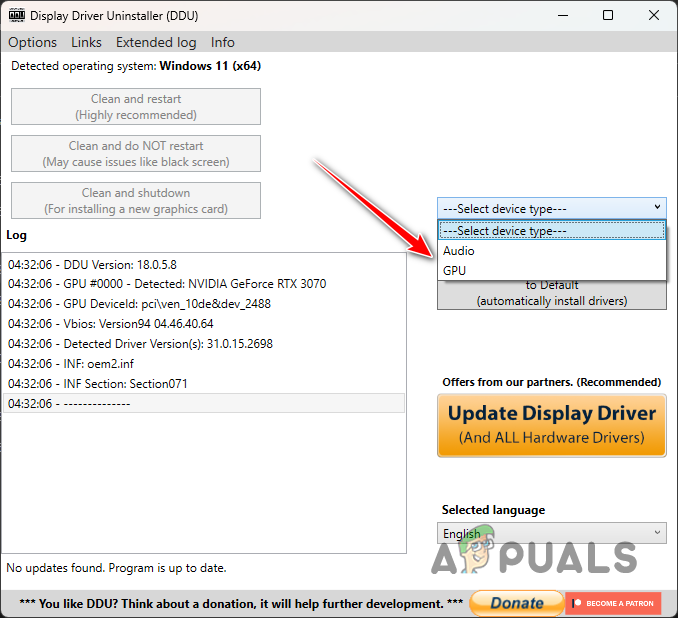
DDU General Options - After that, choose GPU from the Select device type menu.
Selecting Device Type - Follow that up by selecting your graphics card manufacturer from the Select device menu.
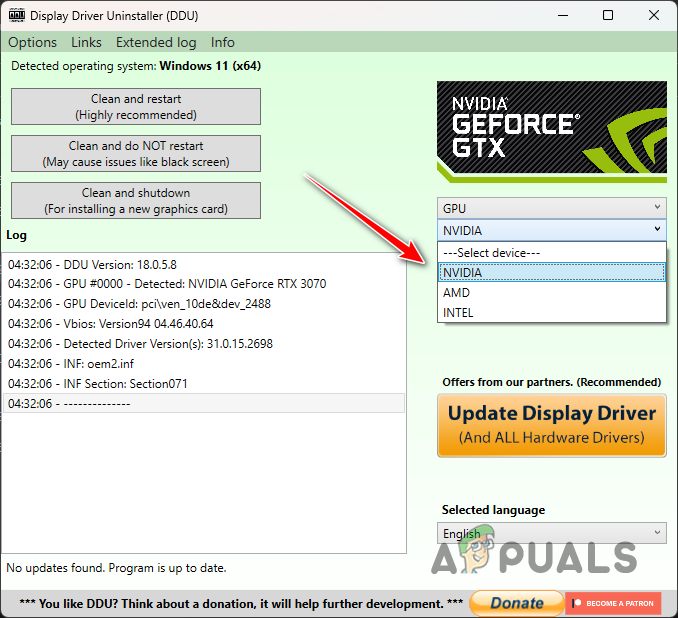
Selecting Graphics Card Brand - Finally, click on the Clean and restart option to uninstall your current graphics drivers.

Uninstalling Graphics Drivers - After your PC boots up, navigate to your graphics card manufacturer’s website and download the latest version of graphics drivers available.
- Install the new graphics drivers and see if that resolves the issue.
6. Perform a Clean Boot
Finally, if none of the above methods resolves the crash for you, it is likely the problem is caused by the interference of a third-party program on your computer. This is a pretty common cause where the interference of a program running in the background with the game files causes the game to crash.
In such a scenario, you can perform a clean boot to see if that resolves the issue. If the problem goes away in clean boot, it will be evident the issue is being triggered by a third-party program. This is because a clean boot starts your PC with only the required Windows services running in the background.
If this case is applicable, you can find the culprit by enabling the services one by one. Follow the instructions below to perform a clean boot:
- First, open the Run dialog box by pressing the Win key + R on your keyboard.
- In the Run dialog box, type in msconfig and hit Enter.
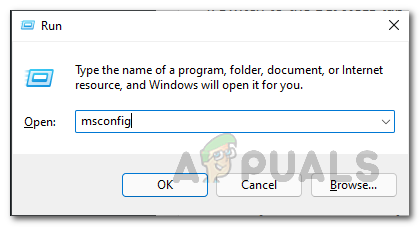
Opening System Configuration - This will open a System Configuration window.
- There, navigate to the Services tab.
- Tick the Hide all Microsoft services checkbox.
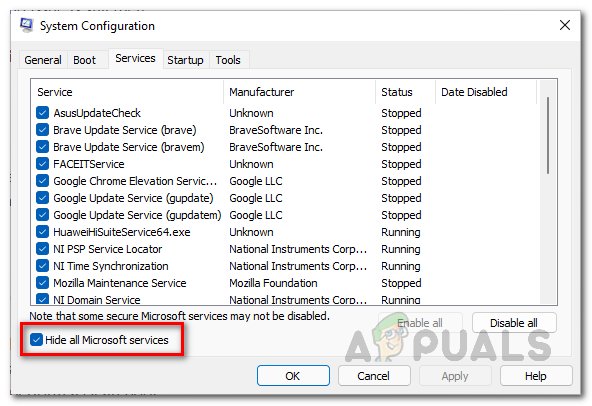
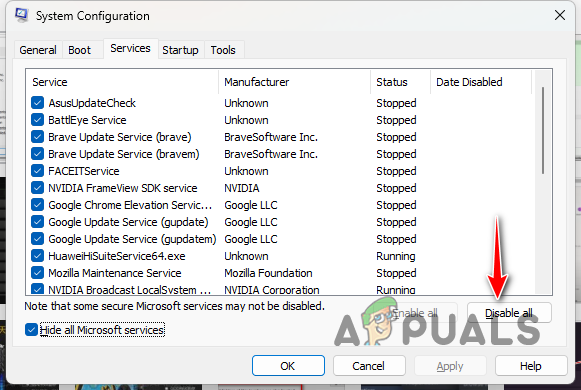
Hiding Microsoft Services - After that, click on the Disable all button and hit Apply.
Disabling Third-Party Services - Then, navigate to the Startup tab and click on the Open Task Manager option.
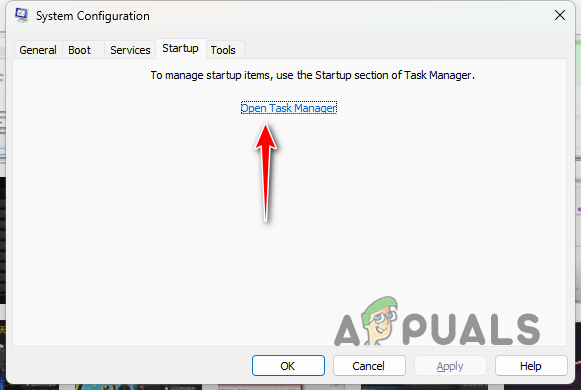
System Configuration Startup tab - On the Task Manager window, select the startup apps one by one and choose the Disable option.
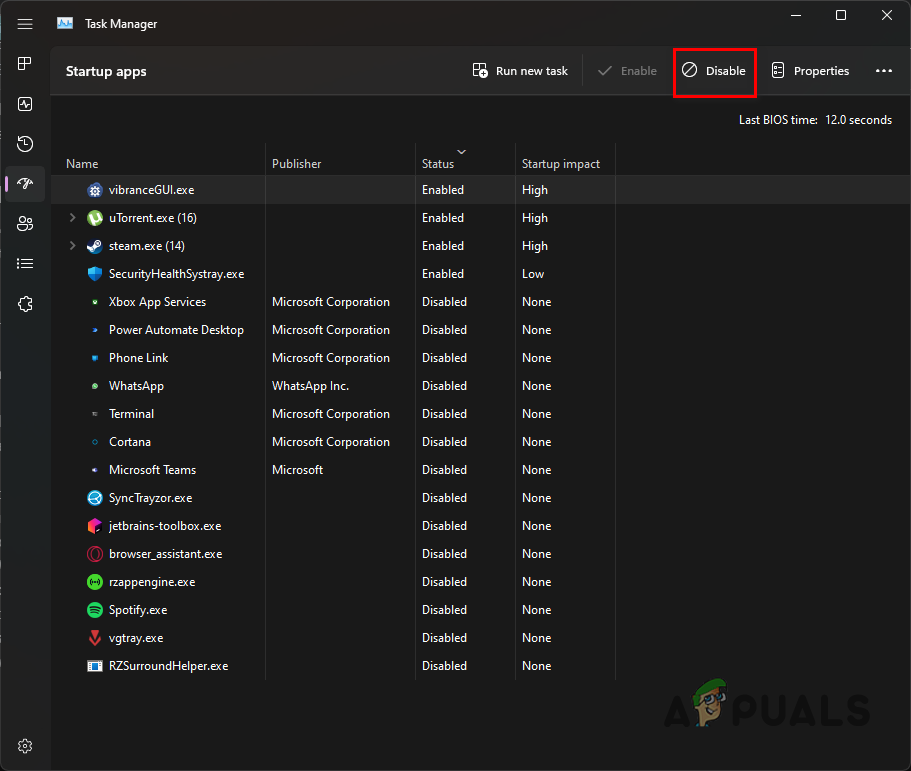
Disabling Third-Party Apps - Once you do that, restart your computer.
- After your PC boots up, open the game to see if the problem persists.
- In case the problem has gone away, start enabling the services one by one to find the culprit.


