How to Clear Outlook Cache in Windows PC?
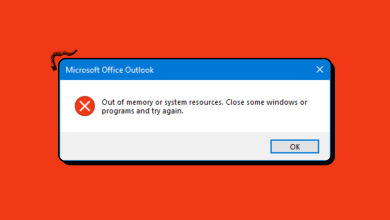
Outlook, just like any other application, consists of its own cache. These are temporary files that store temporary data from your Outlook account. However, this cache can become problematic over time if it’s not refreshed. It may start displaying outdated information, degrade Outlook’s performance, and cause visual glitches. Therefore, deleting the Outlook cache is a must to avoid these issues.

We have prepared this guide to help you clear all the unwanted files stored in the Outlook cache that prevent the application from running at its full potential.
This guide won’t delete any of your emails; these temporary files are meant to be removed. Feel free to follow all three methods of clearing cache provided below.
1. Delete the RoamCache folder.
You can delete the RoamCache folder, as Outlook is known to create new cache files each time you open the application. Below are the instructions to guide you in deleting the Outlook RoamCache folder:
- Open Windows Explorer by pressing the Win + E keys together.
- Now, navigate to the following path in File Explorer:
%localappdata%\Microsoft\Outlook\RoamCache
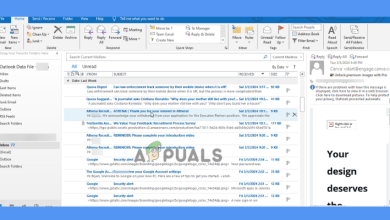
- If the folder has multiple cache files, you should delete them.
- Simply, press the Ctrl + A keys together and then press the Delete button.
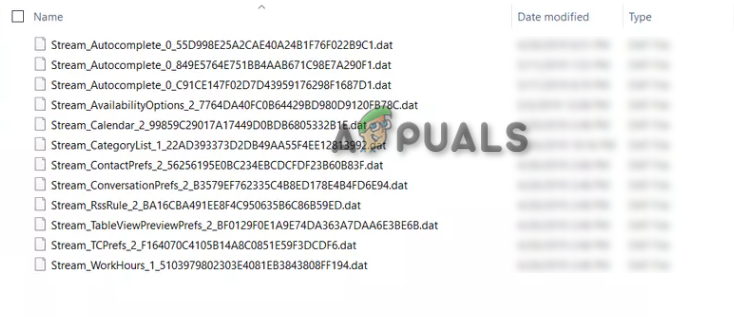
Deleting all RoamCache files in outlook - This will delete all the cache files in the RoamCache folder.
2. Clear the auto-complete cache.
The Auto-Complete cache is a list that contains all the SMTP addresses and LegacyExchangeDN entries. This list saves the names of the accounts to which you have sent an email. In some cases, this data is unnecessary and needs to be deleted for a boost in Outlook’s performance. You can delete this cache list by following the instructions given below:
- Press the Win key to access the Start menu.
- Search for “Outlook” and open the app.
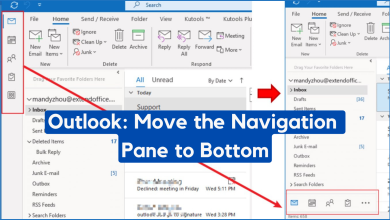
- Click on the “Files” option in the top left corner.
- Open the options above ‘Exit.’
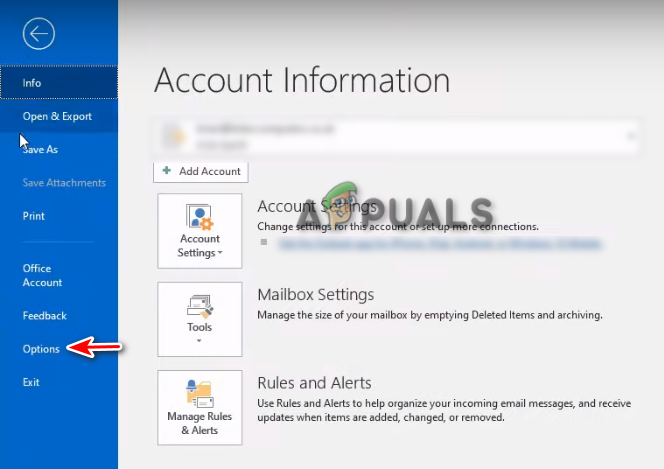
Opening the Outlook options - Select “Mail” on the Outlook Options page.
- Scroll down to the section titled ‘Send messages.’
- Click on the “Empty Auto-Complete List” button.
- Confirm the action by clicking ‘YES‘ on the confirmation prompt.
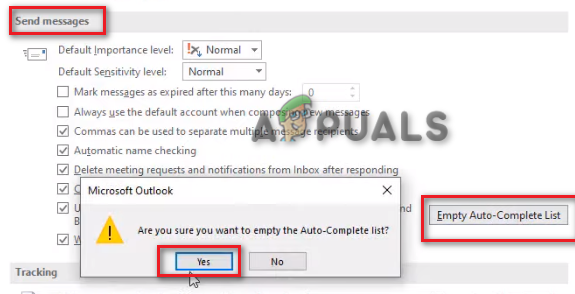
Clearing Auto complete list in outlook - Click OK and close the Outlook options page.
- Doing so will clear all the cache in your auto-complete list.
3. Delete the cache using Windows PowerShell.
You can also use a PowerShell script to completely remove the Outlook cache from your Windows computer. Follow these steps:
- Open the Windows start menu with the Win key.
- Type “PowerShell” in the search bar.
- Right-click on the app and select “Run as administrator.
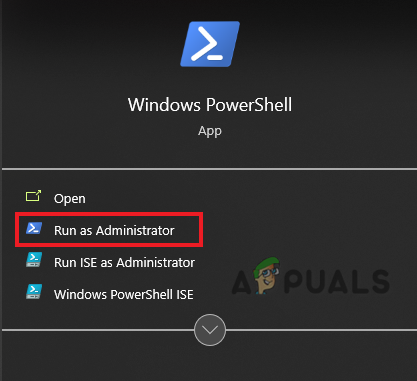
Running PowerShell as an administrator - Type the following command into PowerShell to forcefully delete the contents of the Outlook cache:
Remove-Item "C:\Users\$env:UserName\AppData\Local\Microsoft\Windows\INetCache\Content.Outlook\*" -Recurse -Force
- After the command has been executed, restart your computer to make the changes.
- Open the Windows start menu with the Win key.
- Click on the Power option and select Restart.
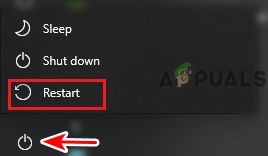
Restarting the computer
These three methods should delete your Outlook cache, and while you’re at it, feel free to delete your Windows temporary cache files as well.