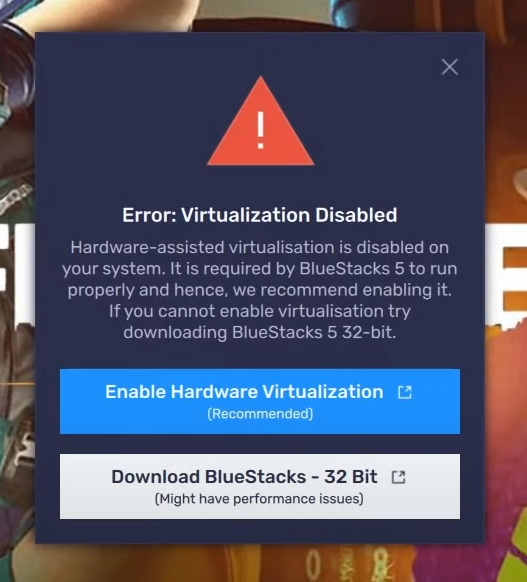
How to Fix “Error: Virtualization Disabled” in Bluestacks?
If you’re experiencing performance issues or unexpected errors in BlueStacks, the problem may be related to hardware virtualization. This typically happens when virtualization is either disabled in BIOS/UEFI or restricted by conflicting Windows features like Hyper-V. Virtualization is a key feature that allows BlueStacks to make better use of your computer’s CPU, resulting in smoother performance and fewer slowdowns.
In this guide, we’ll walk you through a set of proven solutions to help you identify and fix hardware virtualization issues, so you can run BlueStacks more efficiently.
1. Check If Hardware Virtualization Is Enabled
Before applying any fixes, the first step is to check whether hardware virtualization is enabled on your system. If it’s disabled, BlueStacks may not perform properly or may not run at all. Verifying this setting is essential before moving on to other solutions.
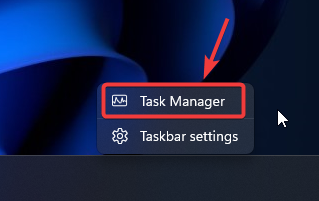
- Right-click on an empty space in your Windows taskbar and select Task Manager from the context menu.
- In Task Manager, click on the Performance tab at the top, then select CPU from the left panel.
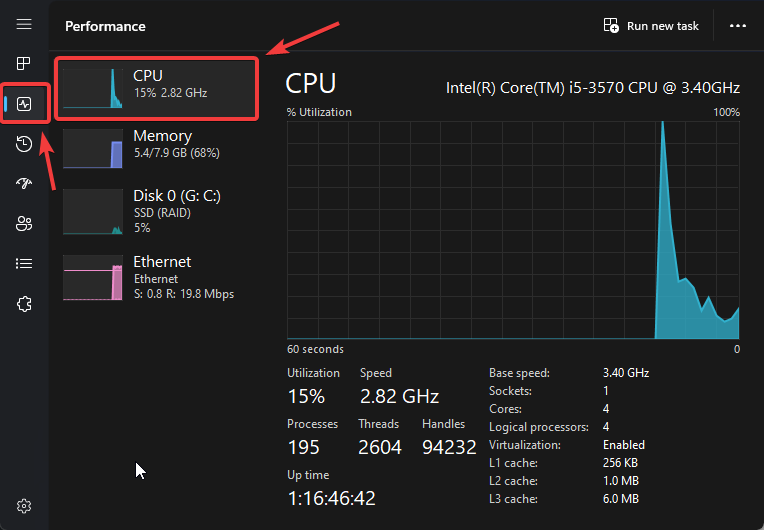
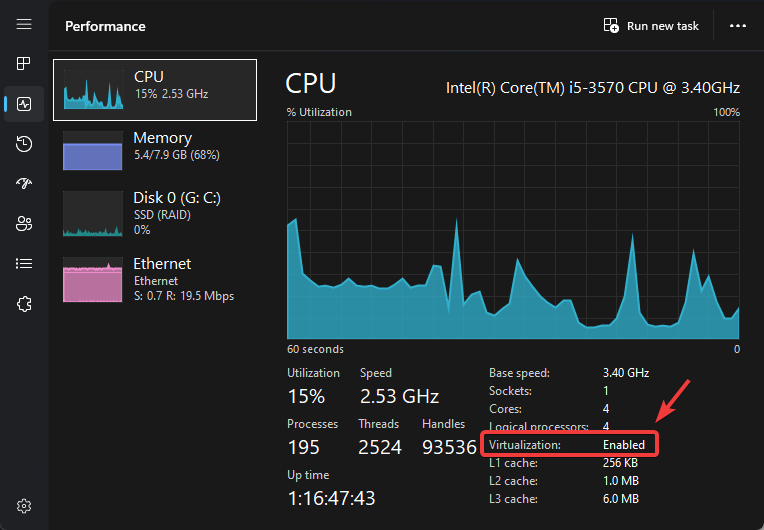
- Look at the bottom of the CPU performance panel for the Virtualization status field.
- Check the status:
- If it shows Enabled, your system already has hardware virtualization active.
- If it shows Disabled, you’ll need to enable virtualization in your computer’s BIOS/UEFI settings.
- If it shows Enabled, your system already has hardware virtualization active.
2. Enable Hardware Virtualization from BIOS Settings
If Hardware Virtualization is disabled in your system’s BIOS settings, you’ll need to enable it manually. BlueStacks depends on virtualization technology to emulate Android apps efficiently, so enabling this feature is essential for optimal performance.
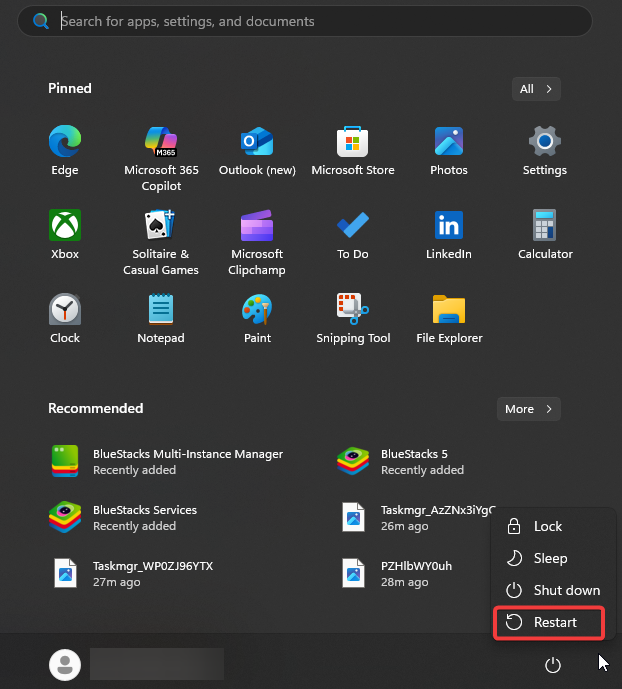
- Restart your computer completely (select “Restart” instead of “Shut Down” from the power menu).
- As soon as the boot screen appears, repeatedly press your BIOS key (common keys: F2, F12, F10, Del, or Esc – varies by manufacturer).
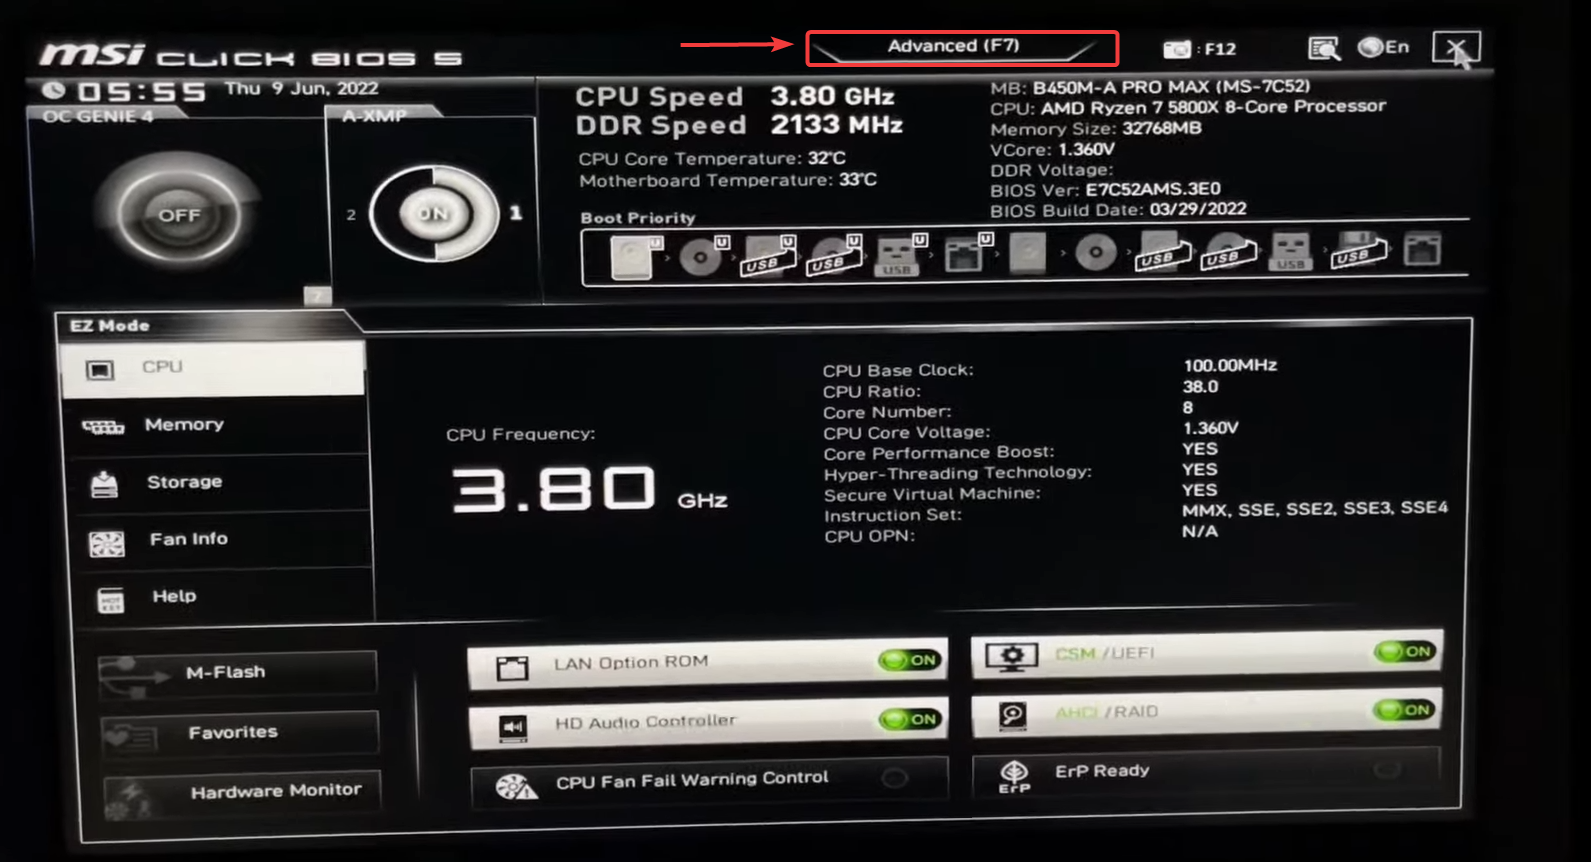
- Navigate to the Advanced tab using your arrow keys in the BIOS/UEFI interface.
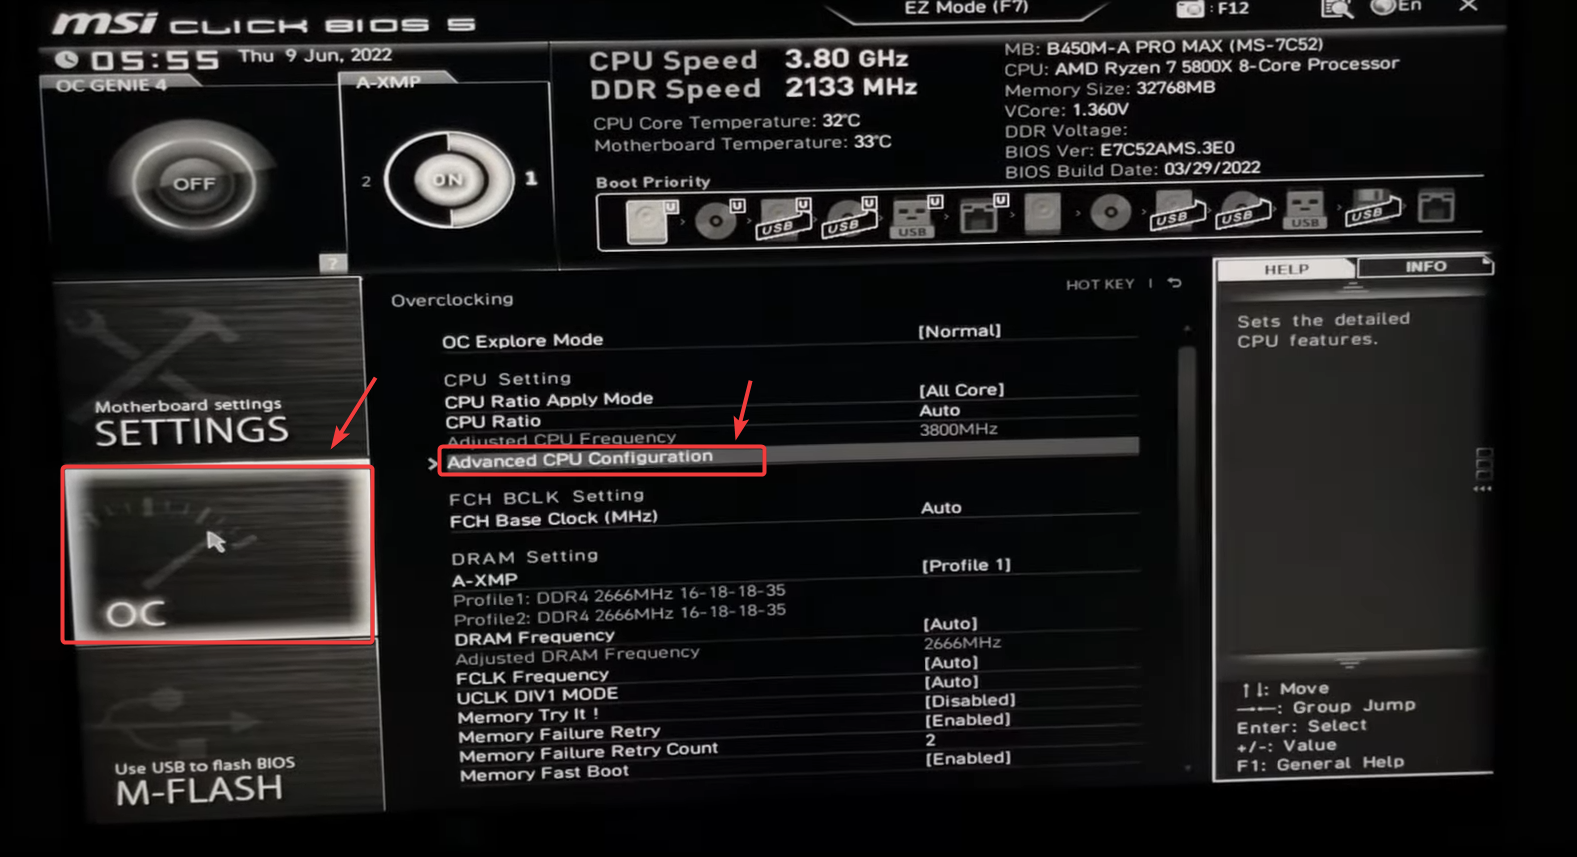
- Select OC (Overclocking) menu, then choose Advanced CPU Configuration (or similar).
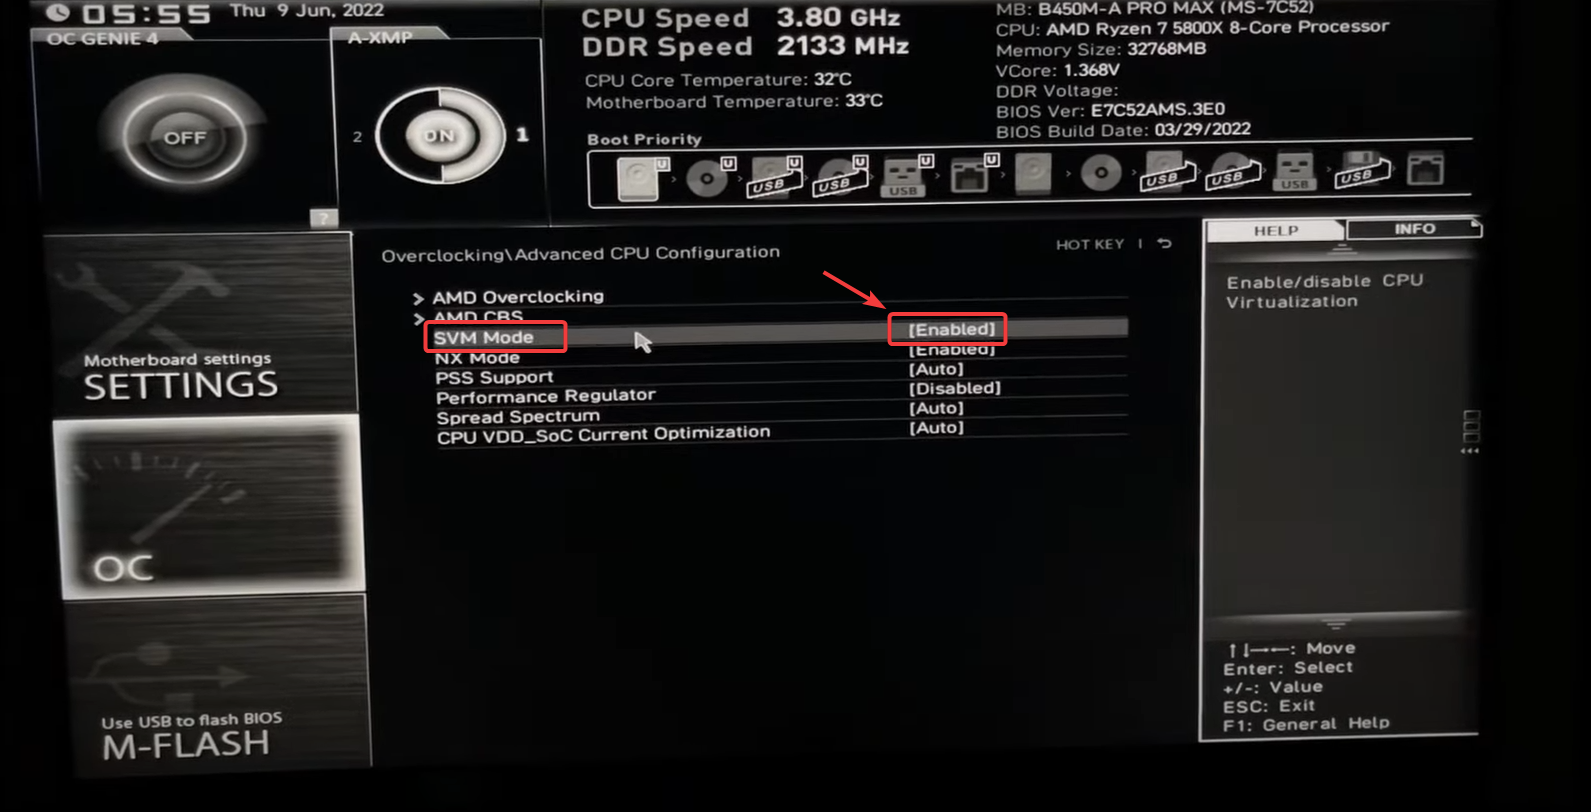
- Locate the virtualization setting (may appear as SVM Mode for AMD or Intel VT-x for Intel processors).
- Change the setting from Disabled to Enabled using the +/- or Enter keys.
- Press F10 to save changes and exit (or follow on-screen save/exit instructions), then confirm to restart your computer.
3. Run BlueStacks as Administrator
Running a program as an administrator ensures it bypasses restrictions placed on standard user accounts, which can sometimes prevent BlueStacks from fully utilizing features like virtualization or accessing required system components. If you haven’t tried this yet, launching BlueStacks with admin rights might resolve the issue.
Note: While this doesn’t directly affect virtualization, it ensures BlueStacks has full system access, which may resolve permission-related conflicts.
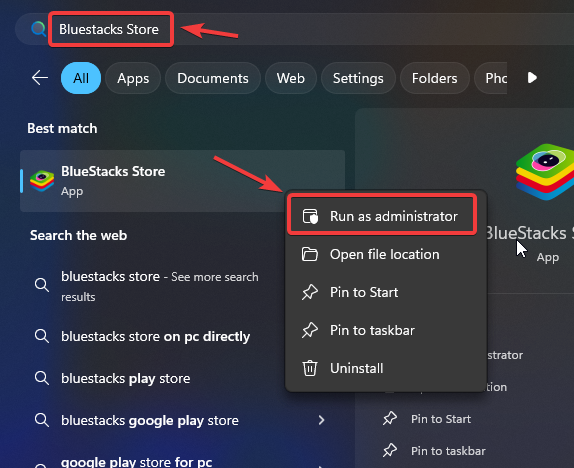
- Click the Windows search bar (or press Windows key + S) and type “BlueStacks“.
- When BlueStacks appears in the results:
- Right-click on the BlueStacks application
- Select Run as administrator from the context menu
- Click Yes if prompted by User Account Control
4. Disable Hyper-V Feature
When the Hyper-V feature is enabled on Windows, it takes control of the hardware virtualization layer, which can prevent other applications—like BlueStacks—from accessing it. Since BlueStacks relies heavily on hardware virtualization to run Android apps smoothly, Hyper-V can interfere with its performance or prevent it from launching altogether.
If Hyper-V is enabled, consider turning it off to allow BlueStacks full access to virtualization. You can follow this guide to manage Hyper-V settings and disable the feature if needed.
Note: Disabling Hyper-V will also affect other tools that rely on it (e.g., Windows Subsystem for Android, Docker Desktop, etc.), so only disable it if you’re not actively using those.
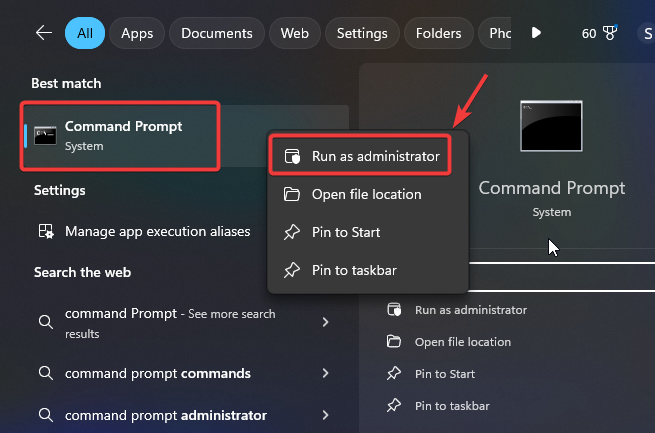
- Press Windows + S to open Windows Search, type “Command Prompt“, then right-click it and select Run as administrator (click “Yes” if prompted by UAC).
- In the Command Prompt window, carefully type this command exactly as shown and press Enter:
bcdedit /set hypervisorlaunchtype off
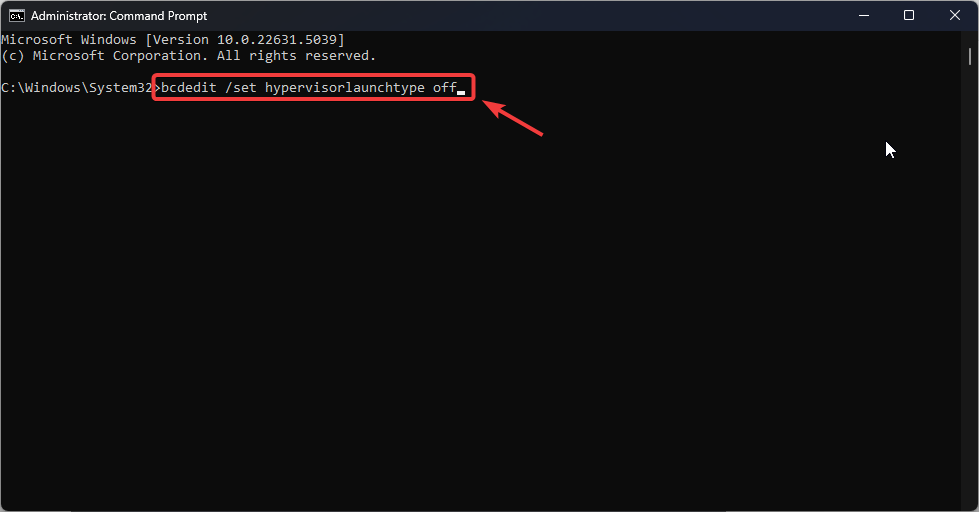
Note: This disables Windows Hyper-V virtualization features - Restart your computer immediately for the changes to fully apply. You must restart for this setting to take effect.
Finally, if the issue is still not resolved and you have properly followed the above methods, reinstalling BlueStacks might be the only solution we have not tried that can fix the issue.


