How to Fully Automate your Home using Google Assistant?
Home automation with Google Assistant lets you easily control your lights, appliances, security systems, and routines just by using your voice. You can do things like turn off the lights, change the temperature, and lock the doors automatically with schedules or simple voice commands.
The best results come from having a strong Wi-Fi connection, smart devices that are connected the right way, and routines that are set up properly in the Google Home app.
Step 1: Buy A Smart Display Or A Smart Speaker
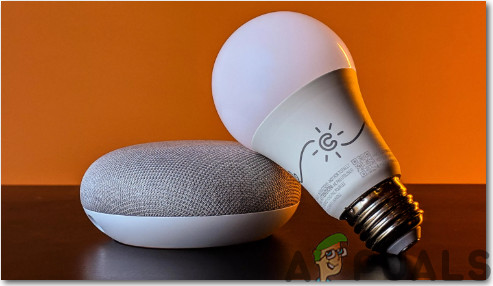
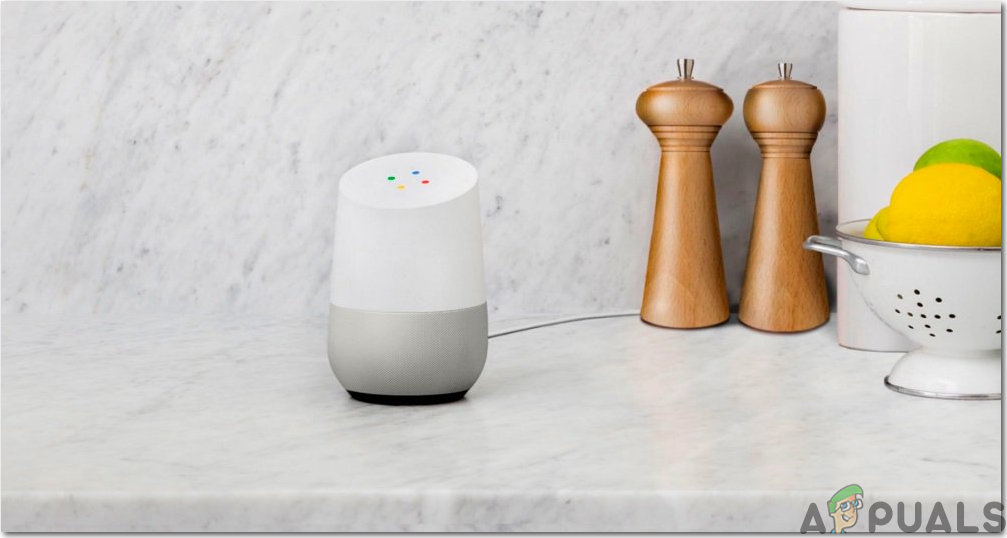
To make voice commands work for your smart home, you’ll need a device that listens and responds to your commands without needing your phone all the time. The best solution is to get a smart display or a smart speaker that works with Google Assistant. There are plenty of choices in the market, but the most popular ones are the Nest Hub and Google Home Mini.
The Nest Hub is a top-rated smart device. It includes a speaker that responds to your voice and a touchscreen display, which lets you control your devices just by tapping the screen. The display gives you a clear overview of everything connected, and you can access controls easily by swiping down on the screen.
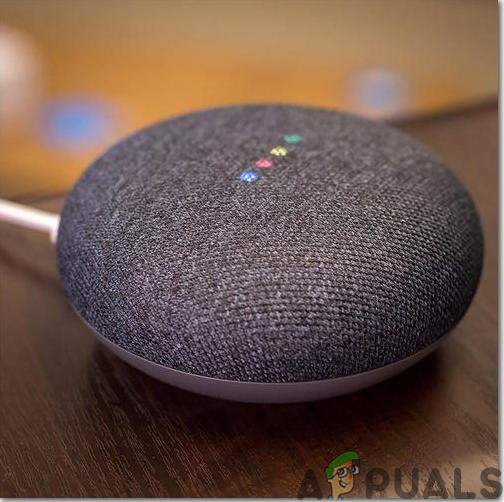
The Google Home Mini is a budget-friendly and very popular option. It’s compact, easy to use, and also responds to your voice commands just like the Nest Hub, though it doesn’t have a screen.
These devices make it possible for everyone in the family to control the smart home using only their voice or by using the Hub’s touchscreen. They also reduce the need to control smart devices from your phone, saving you both time and effort.
Step 2: Let’s Train Google Assistant
Now that you have a smart gadget, it’s time to introduce Google Assistant to your household. Google Assistant can be trained to recognize different voices in your family, so it responds correctly to each person.
Every family member who wants to use Google Assistant will need a Google account, but they can use an existing one—they don’t need to create a new account. Simply sync each Google account with the Google Home app. Once you’ve synced, each family member can speak a few repeated phrases so that Google Assistant learns their voice.
This training process helps Google Assistant respond more personally, but don’t worry if you skip it—it will still react to anyone’s commands.
Step 3: Pick a Location
After your Google Assistant is ready, you’ll need to decide where to put your smart device. Pick a location where your family spends the most time and where the device can easily hear everyone. For instance, the kitchen is a great spot for the Nest Hub, as it can help guide you through recipes while you cook.
If you have a large or multi-story house, you might need more than one device. It’s a good idea to start with one in the busiest room, like the living room or kitchen. Later, you can add more units to cover the whole house. Don’t worry about devices competing for your attention—Google Assistant is designed so that only the closest device responds.
Step 4: Pick Gadgets For Your Smart Home
With your smart speaker or display set up, you’re ready to start automating your home. The next step is to select a few smart gadgets to connect with Google Assistant. For beginners, it’s best to start small by buying two or three devices, such as smart bulbs or smart plugs, to try things out. After you’ve tested them and feel comfortable, you can gradually add more smart devices—like cameras, thermostats, doorbells, or locks—to your setup.
For example, start by installing smart lights. You can either use smart bulbs or swap out your old wall switch with a Wi-Fi-enabled smart switch. Once you see how convenient it is, you can add more devices to make your home even smarter.
Step 5: Sync Your Smart Home
If you aren’t using C by GE bulbs, you’ll need to use the manufacturer’s app to set up each new smart device. This usually means creating an account and connecting each gadget to your Wi-Fi. Once everything is connected, open the Google Home app. If you don’t have the app yet, click here to download it. Now, follow these steps to sync your devices:
- In the main home tab, tap the Add button.
- Select “Set up device”.
- Choose the “Works with Google” option.
- Scroll through the list of brands to find the one you need. You can search by name or browse the alphabetically ordered list.
- Use your Google account to link your smart device account.
- Be sure to name each device clearly. When you have many connected devices, having clear names makes them easy to control by voice.
Step 6: Manage Routines and Set Up Rooms
You might run into confusion if you have a few devices that are similar—for example, four table lamps. To avoid this, organize your devices into different rooms in the Google Home app. After everything is set up, click on a device’s name and assign it to a room. Always give each device a unique name to keep things simple. For example, if you assign kitchen lights to the “Kitchen” room, just say, “Turn off lights in the kitchen,” and Google Assistant will turn them all off.
Besides setting up rooms, you can manage routines in the Google Home app. Routines make it easy to control several devices at once. For example, saying “Good morning” can turn on lights, start the coffee maker, and play the news. To set this up, click Routines on the main page of the Google Home app, then tap “Manage Routines” and look for the plus icon to create your own.
With routines and rooms in place, you can easily ask Google about the weather, your daily schedule, traffic, or even news updates.
Step 7: Testing
Now that your devices are set up and connected to Google Assistant, and your routines and rooms are organized, it’s time to test everything out. You don’t have to do any additional training—Google Assistant understands normal conversation. Try simple commands like “Turn on the lights” or “How is the weather today?” to see it in action.