An audio stream is currently in use? Here’s How to Fix
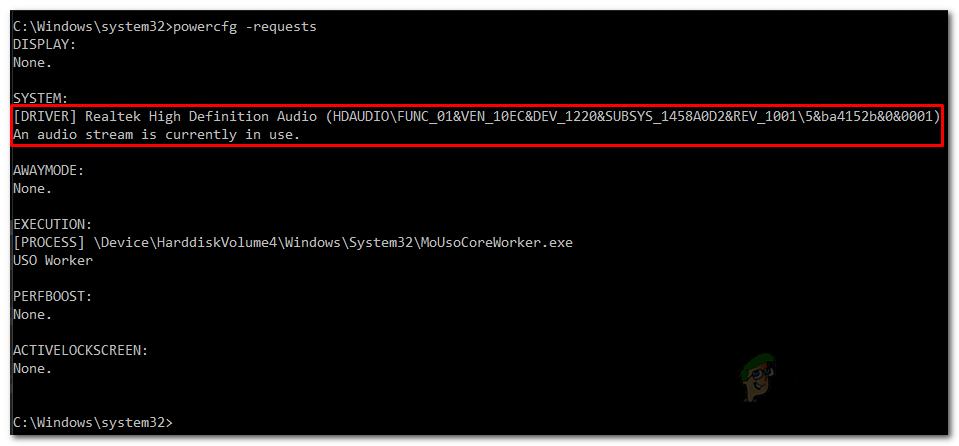
The system won’t go to sleep or hibernate, and when you run powercfg -requests, you see the message: “An audio stream is currently in use,” even if nothing is playing. This means that an audio driver or app is keeping the sound system active, which stops your computer from sleeping.
The most common reason is a background Realtek audio driver or a USB/Bluetooth audio device that doesn’t fully turn off the audio stream. Sometimes, issues can also be caused by NVIDIA HDMI audio, Steam’s virtual microphone, or other third-party audio drivers.
Now that you know what this message means, let’s walk through how to resolve it so your computer can sleep without any issues. Let’s get started.
1. Disable Cortana
The first thing to check is whether Cortana is enabled on your computer. Cortana often listens in the background thanks to the “Hey Cortana” feature, which lets it respond to your voice. Sometimes, this activity can keep your computer from sleeping properly. To stop this, you’ll want to disable Cortana.
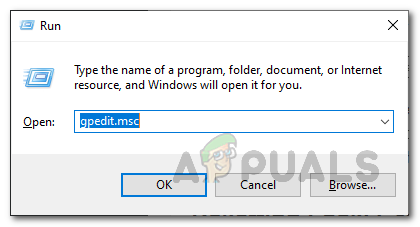
- Press the Windows key + R to open the Run dialog box.
- Type gpedit.msc in the box and press Enter.
Opening Local Group Policy Editor - The Local Group Policy Editor will open up. We’ll use this to disable Cortana.
- In the left panel, navigate to Computer Configuration > Administrative Templates > Windows Components > Search.
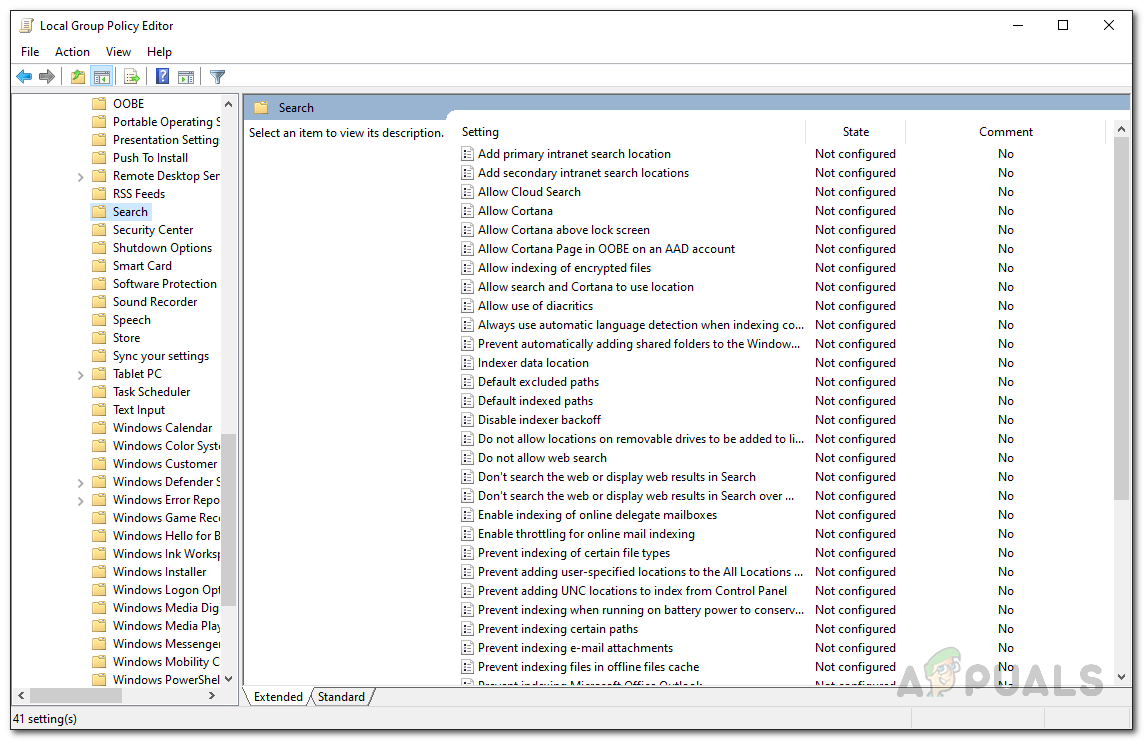
Search Policies - On the right-hand side, look for the Allow Cortana policy. Double-click it to edit.
- Select Disabled and then click Apply. Finally, click OK.
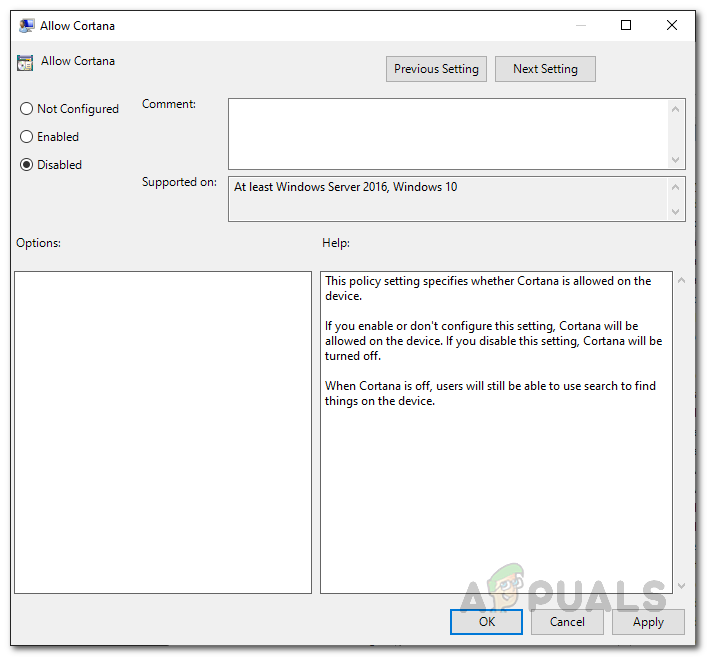
Disabling Cortana - Now Cortana should be disabled, and this may solve your issue. If not, continue to the next solution.
2. Disable Line In from Sound Settings
Another possible cause is the Line In jack on your sound card, which is used to connect audio devices for recording or input. If Line In is active, it might prevent sleep mode.
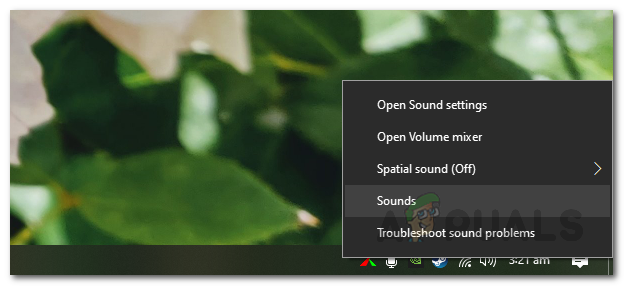
- Right-click the sound icon on your taskbar.

Sounds Icon on Taskbar - Choose Sounds from the menu.
Opening Sounds Window - In the Sounds window, switch to the Recording tab.
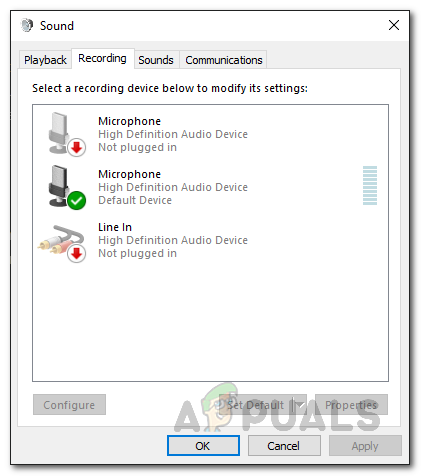
Recording Tab - Right-click the Line In device and select Disable.
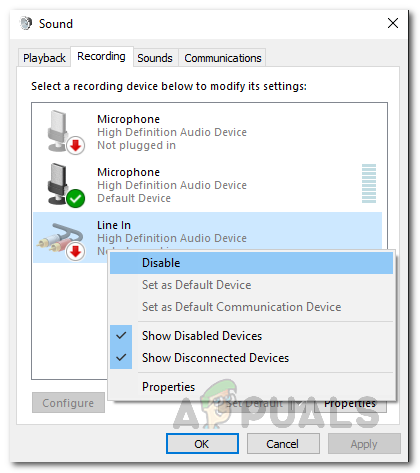
Disabling Line In - Click Apply, then OK.
- Check if your computer now goes to sleep as expected.
3. Override Power Management Settings
The main reason your computer isn’t sleeping is often due to a device streaming audio, which Windows interprets as ongoing activity. You can override this by telling Windows to let your device sleep even when audio is playing.
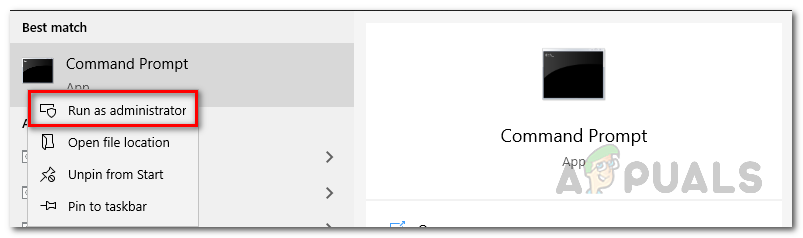
- Open an elevated command prompt by searching for cmd in the Start Menu, right-clicking it, and choosing Run as administrator.
Opening Command Prompt as an Admin - Type powercfg /request and press Enter.
- This will display all the devices that are currently streaming audio. You’ll also see the “An audio stream is currently in use” message.
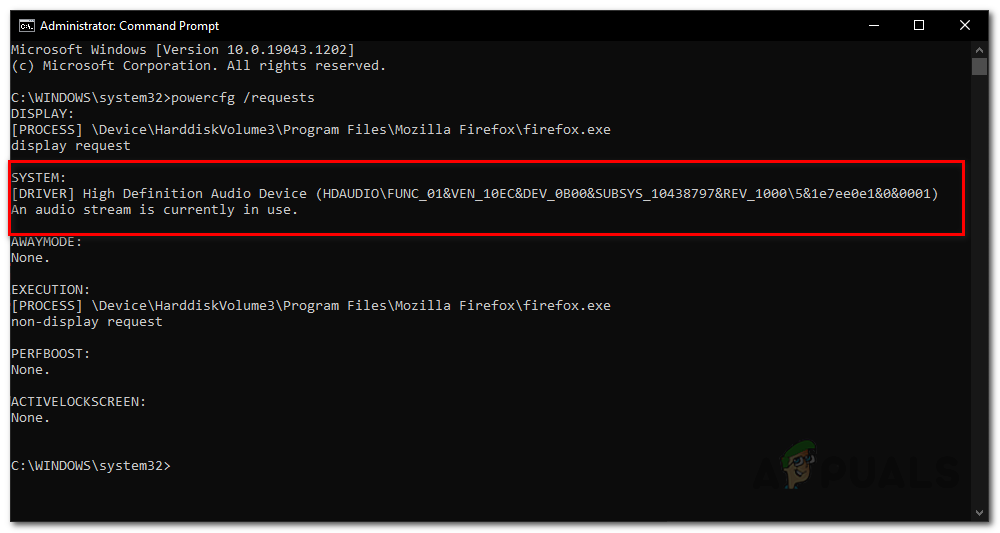
Checking the Device Streaming Audio - Identify the device name from the list. Then, use this command:
powercfg /requestsoverride DRIVER “DEVICE NAME” SYSTEM
Replace DEVICE NAME with the correct device name (without the quotes), then press Enter.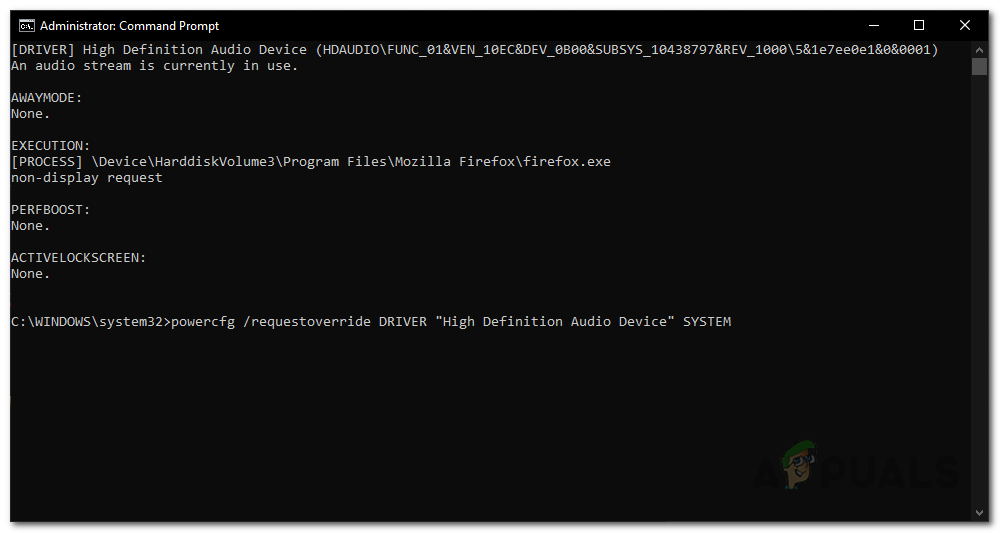
Overriding Power Management Settings - In some cases, you may need the full device identifier. If so, just use the value shown next to the device in the command prompt.
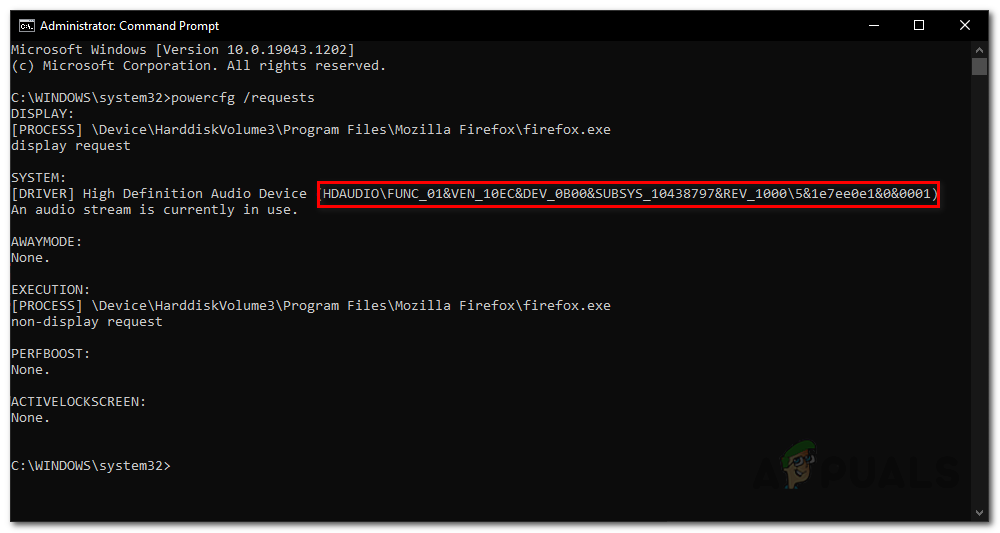
Full Device Identifier - After running the command, your computer should be able to sleep even when the specified device is streaming audio.
4. Reinstall Audio Drivers
If none of the solutions above have worked, your audio drivers might be causing the issue. In this case, reinstalling the drivers can help. You can let Windows reinstall them for you automatically, or manually download the drivers from your sound card manufacturer’s website.
- Open Device Manager by searching for it in the Start Menu, then clicking to open.
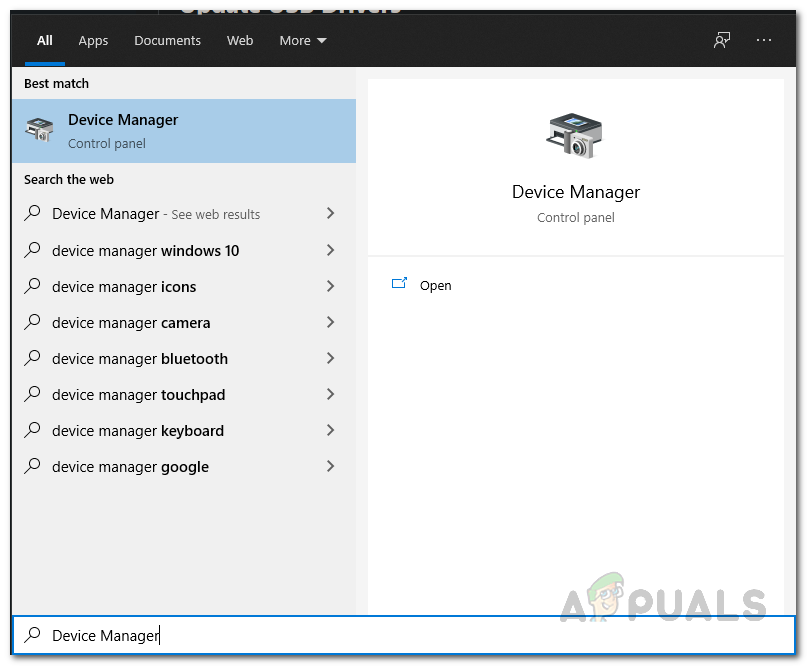
Opening up Device Manager - Expand the Sound, video and game controllers section.
- Right-click your audio driver and choose Uninstall device.

Uninstalling Audio Driver - Restart your computer. After restarting, Windows should automatically reinstall the required audio driver for you.


Step 4. in the corana thing is missing a step “Administrative Templates”.
– Didn’t work though as it was already off.
– Disabling line-in no dice.
– I did the override before but it didn’t stick, that’s how I enden up here.I’m thinking of adding the override command to a batch file icm with the requests command for checking purposes, I might have to run that (maybe automatically) every time I reboot.